
Hello,
It would be really great if everyone here could just post one or a few pictures showing the current state of their house.
I'll start right away.
For renovations, it’s best to provide a comparison of before and after the remodeling.
Before March 2014:
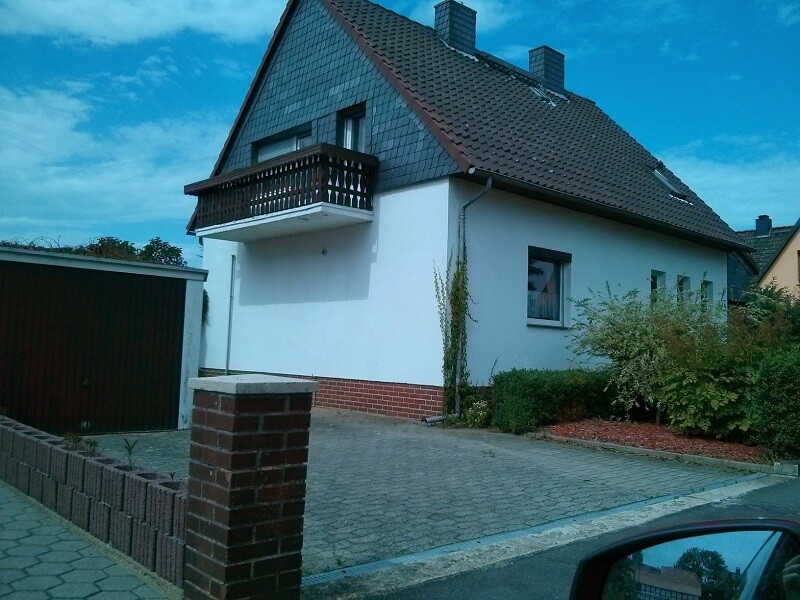
After May 2015:
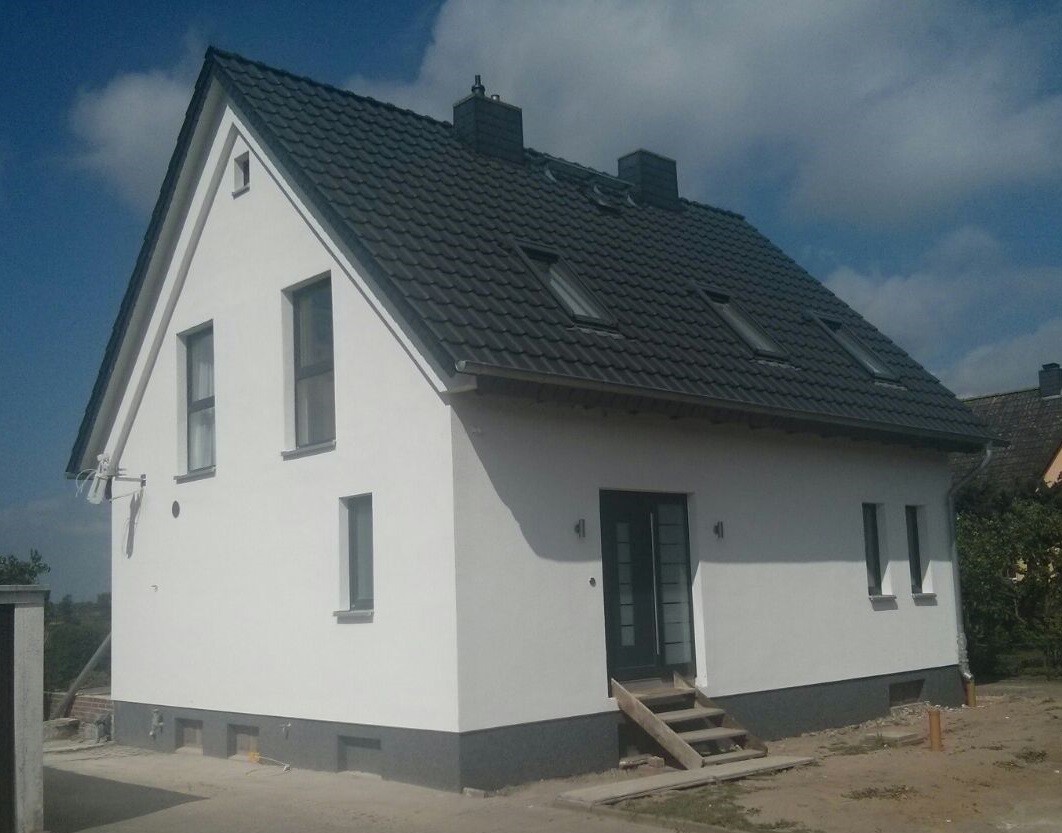
It would be really great if everyone here could just post one or a few pictures showing the current state of their house.
I'll start right away.
For renovations, it’s best to provide a comparison of before and after the remodeling.
Before March 2014:
After May 2015:
T
Traumfaenger23 Apr 2019 20:49Traumfaenger schrieb:
always requires maintenance. This applies to many extras, for example.My statement was based on an illustrative list: various extras always involve maintenance. Personally, I feel the need to have a controlled ventilation system completely cleaned and disinfected. I do not offer such services and therefore do not compare the work of private builders and professional companies. As mentioned above, anyone who wants to perform the maintenance themselves is free to do so. There are already plenty of discussions and posts here in the forum specifically about the hygiene and cleaning of controlled ventilation systems. I won’t start that again here.
Solveigh schrieb:
Do you have a picture of your emergency overflow? Did you install a gutter heating system? Do you hear dripping noises from the downpipe?I can gladly take a picture for you and send it via PM, but you can hardly see anything (not even a box or similar). The emergency overflows are neither on the front nor the garden side. By cleverly arranging the slope behind the parapet, the water is diverted sideways into emergency overflows. These are only visible from the rear garage exit or from the side above some planting. No heating was necessary for this design (we have already tested it through a winter). There are no dripping noises at all, everything is soundproofed. Even during heavy rain, you hear absolutely nothing.
P
pffreestyler23 Apr 2019 21:55Who needs it… I don’t
We worked hard on the Easter weekend, struggling with all the pipes. I looked like a snowman because we needed a 1 cm (0.4 inch) slope near the doors, so we had to thin the screed by 1 cm (0.4 inch). In the end, we installed three layers of floor insulation.
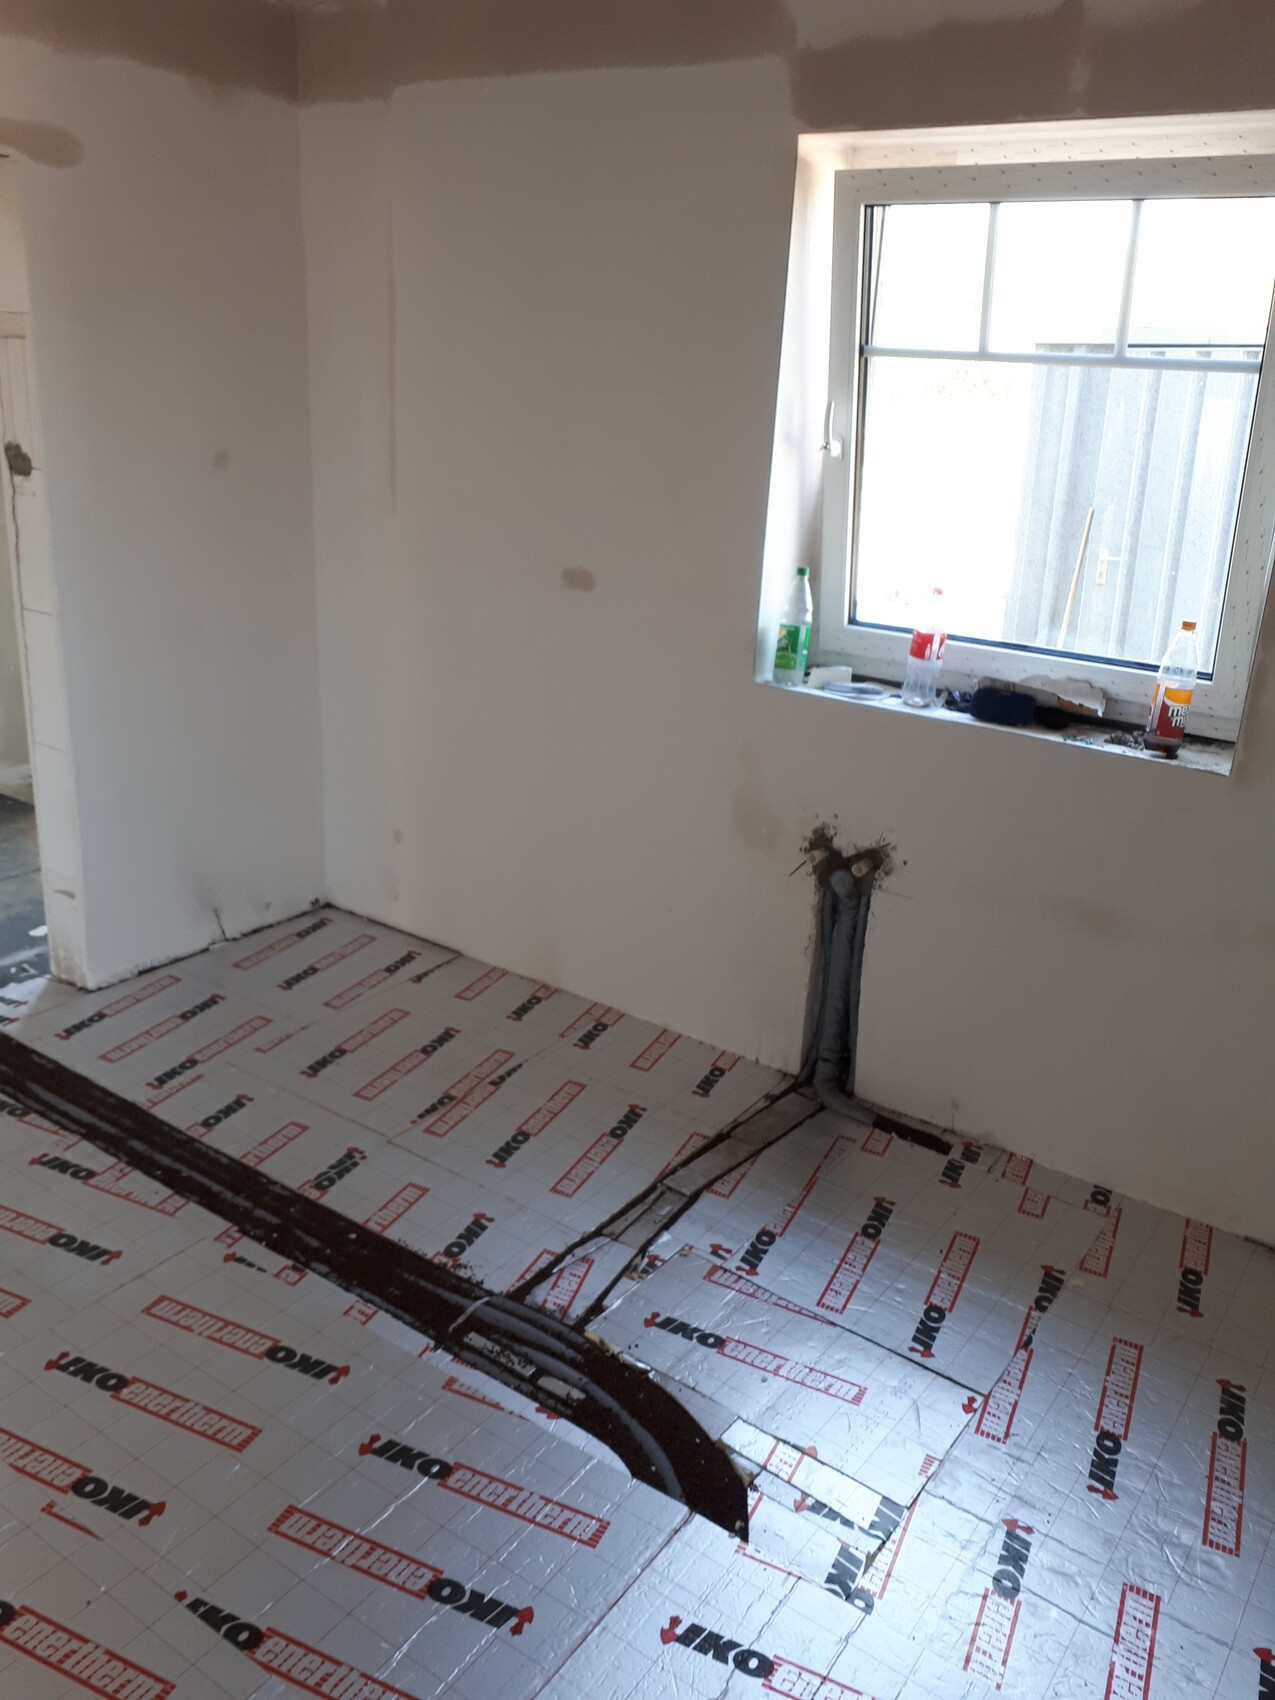

Today the heating loops were unrolled.
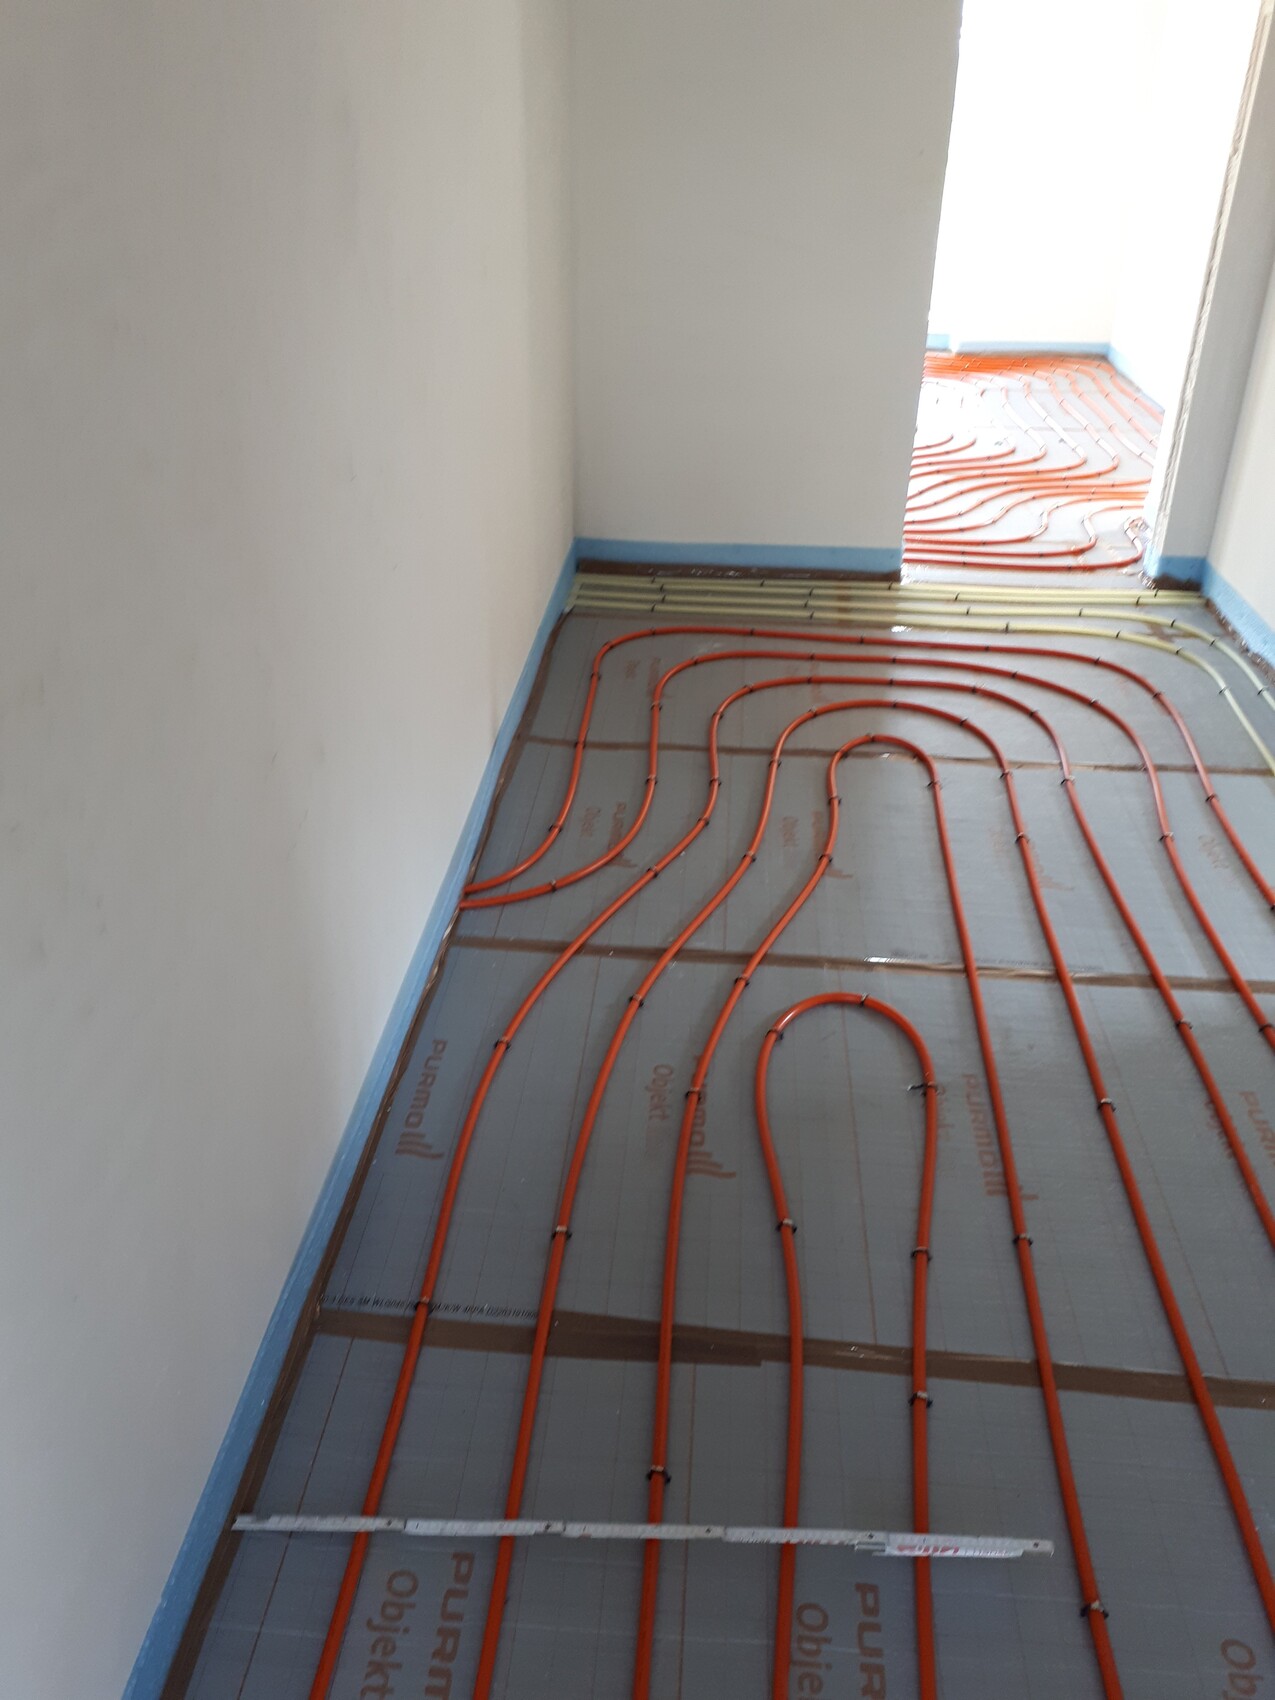
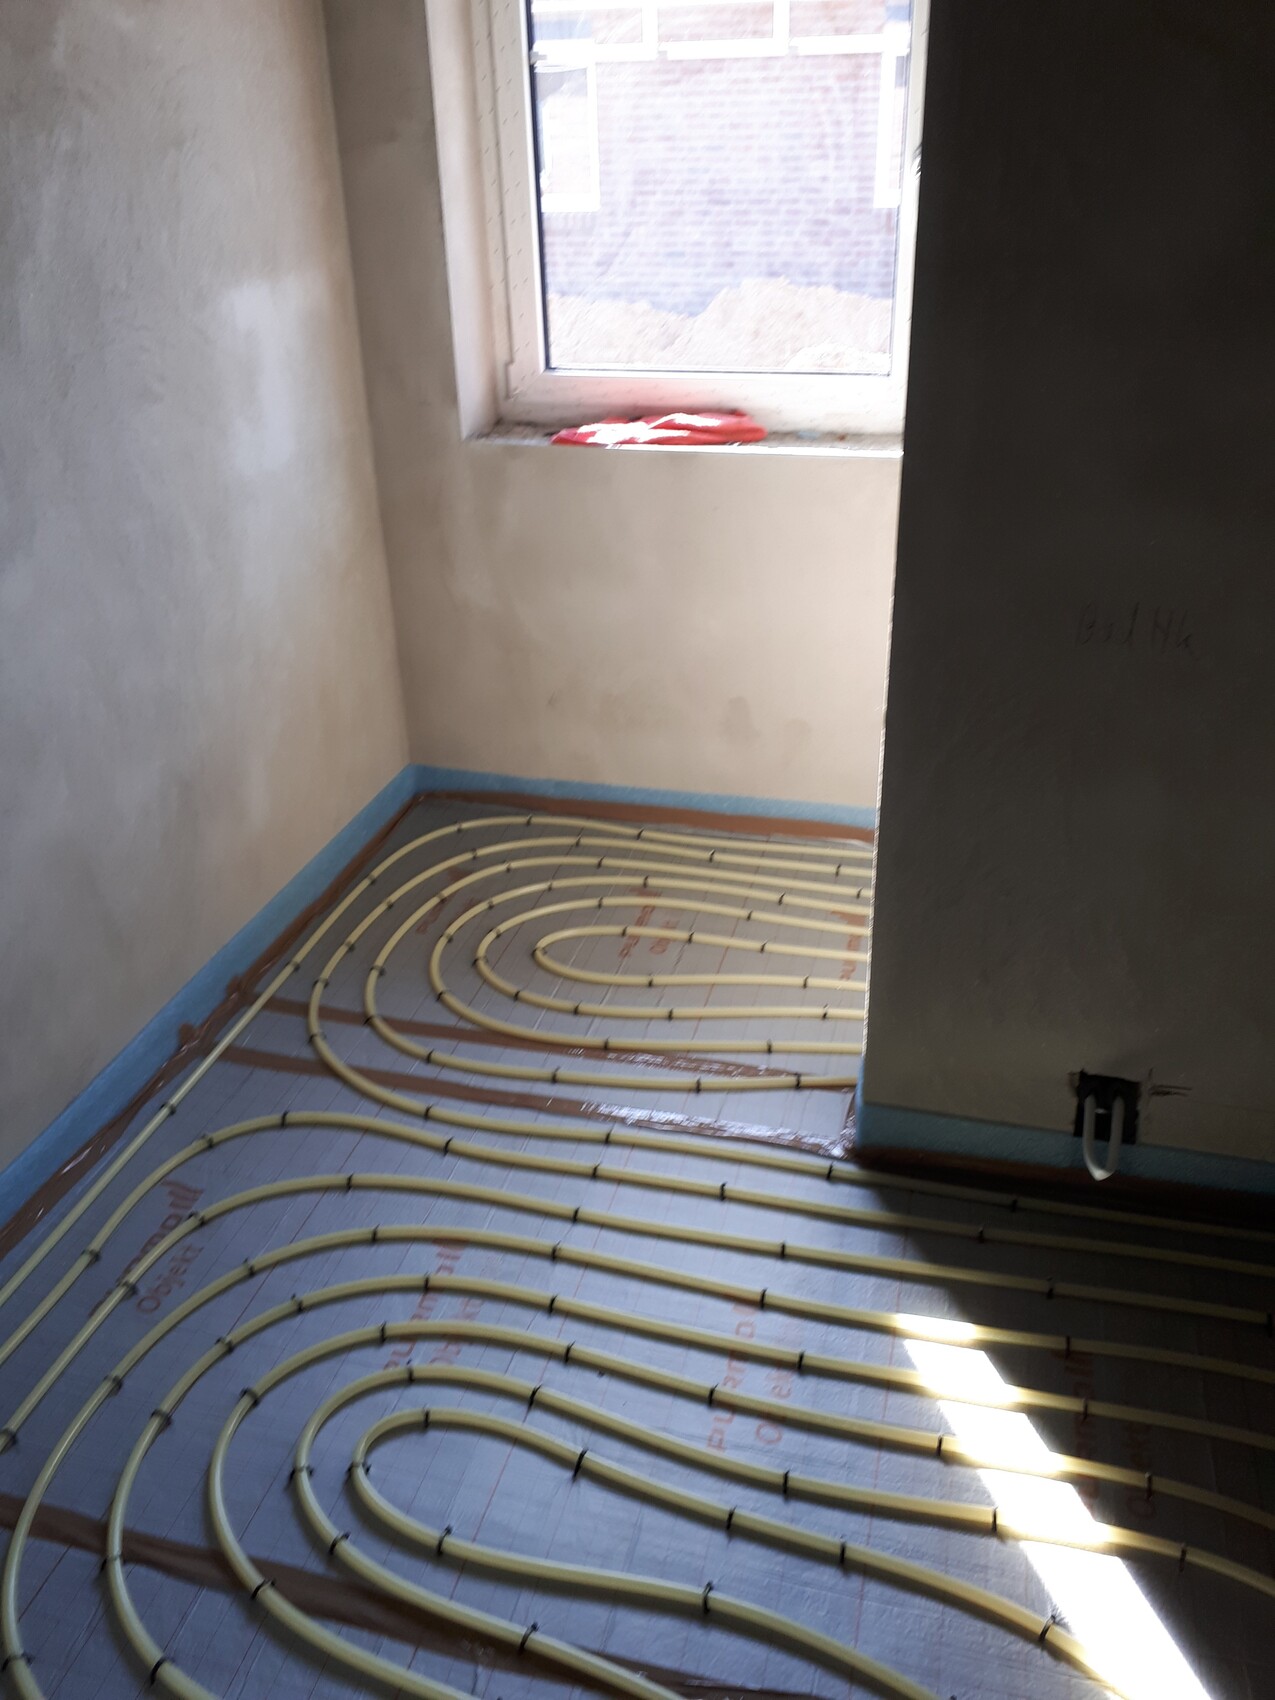
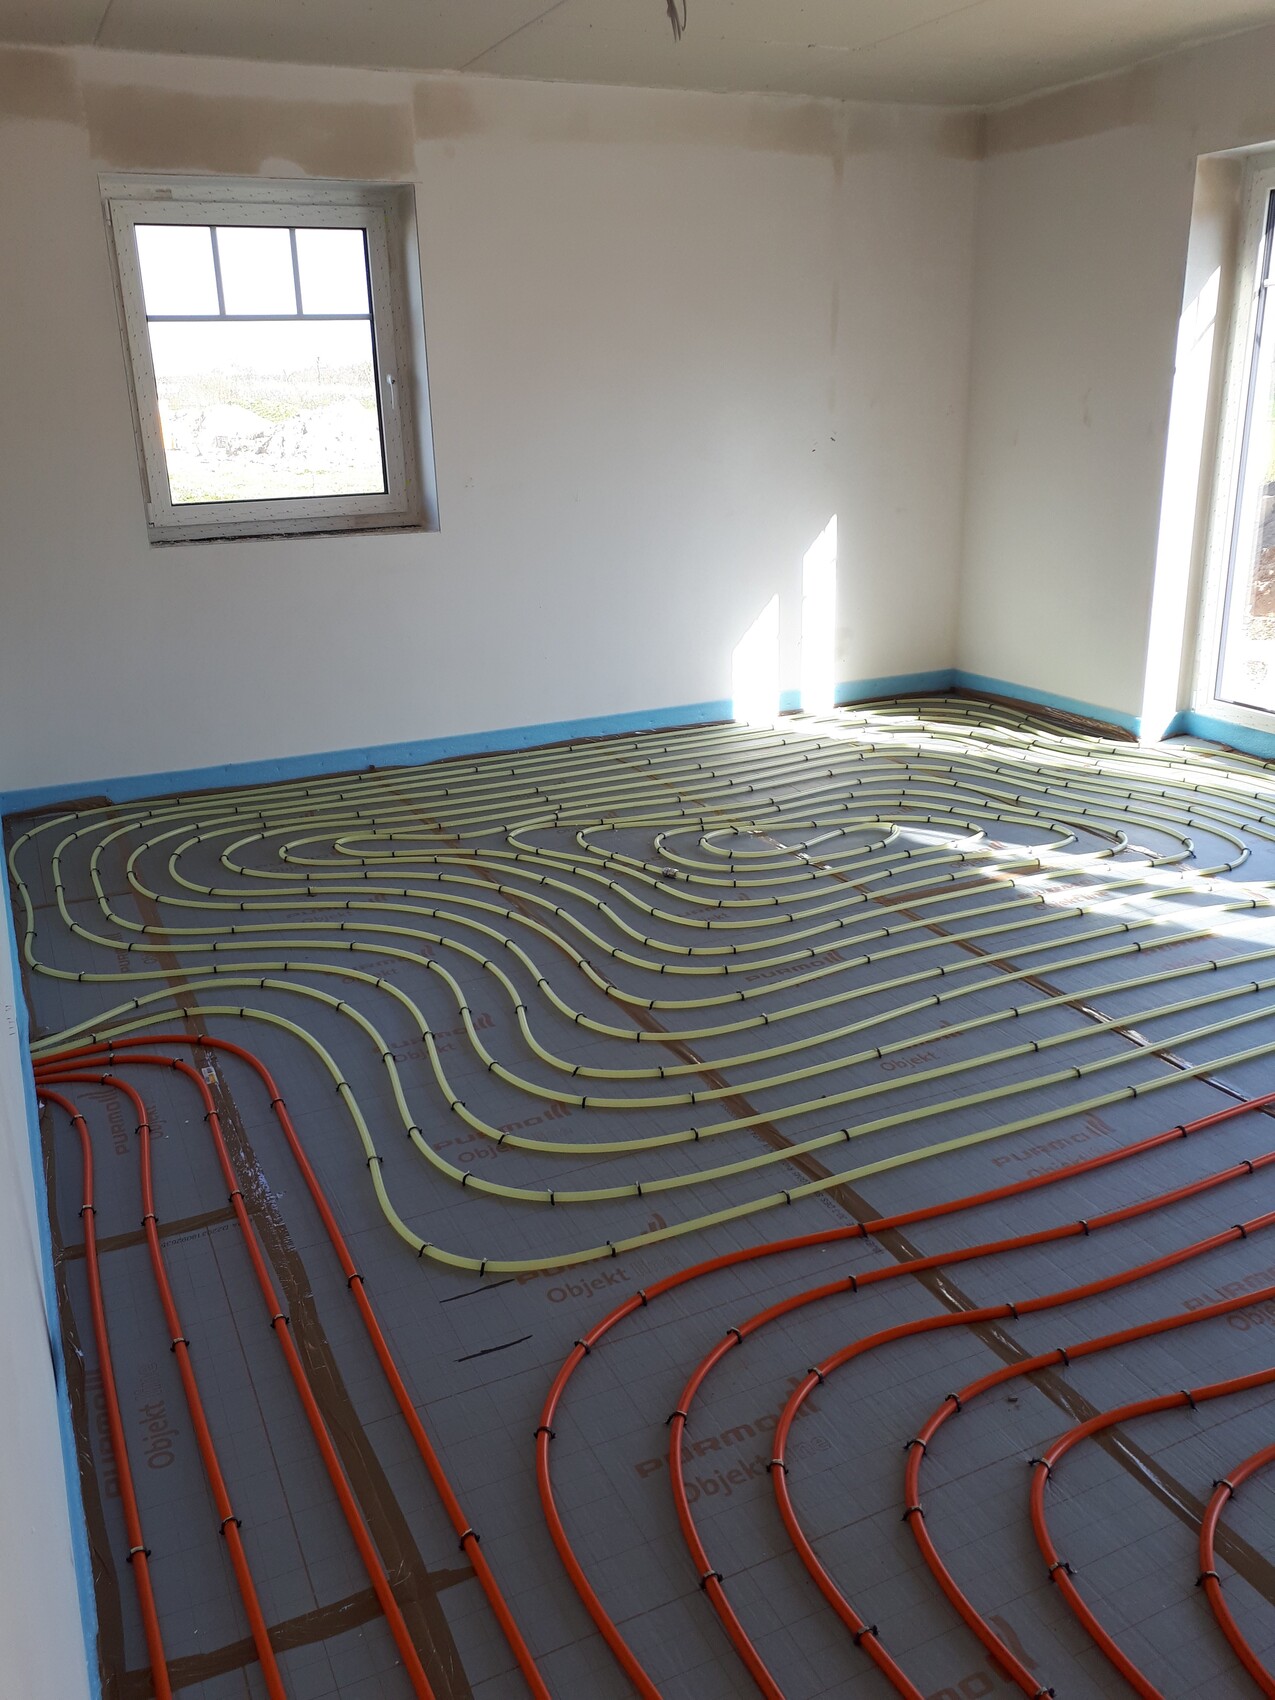
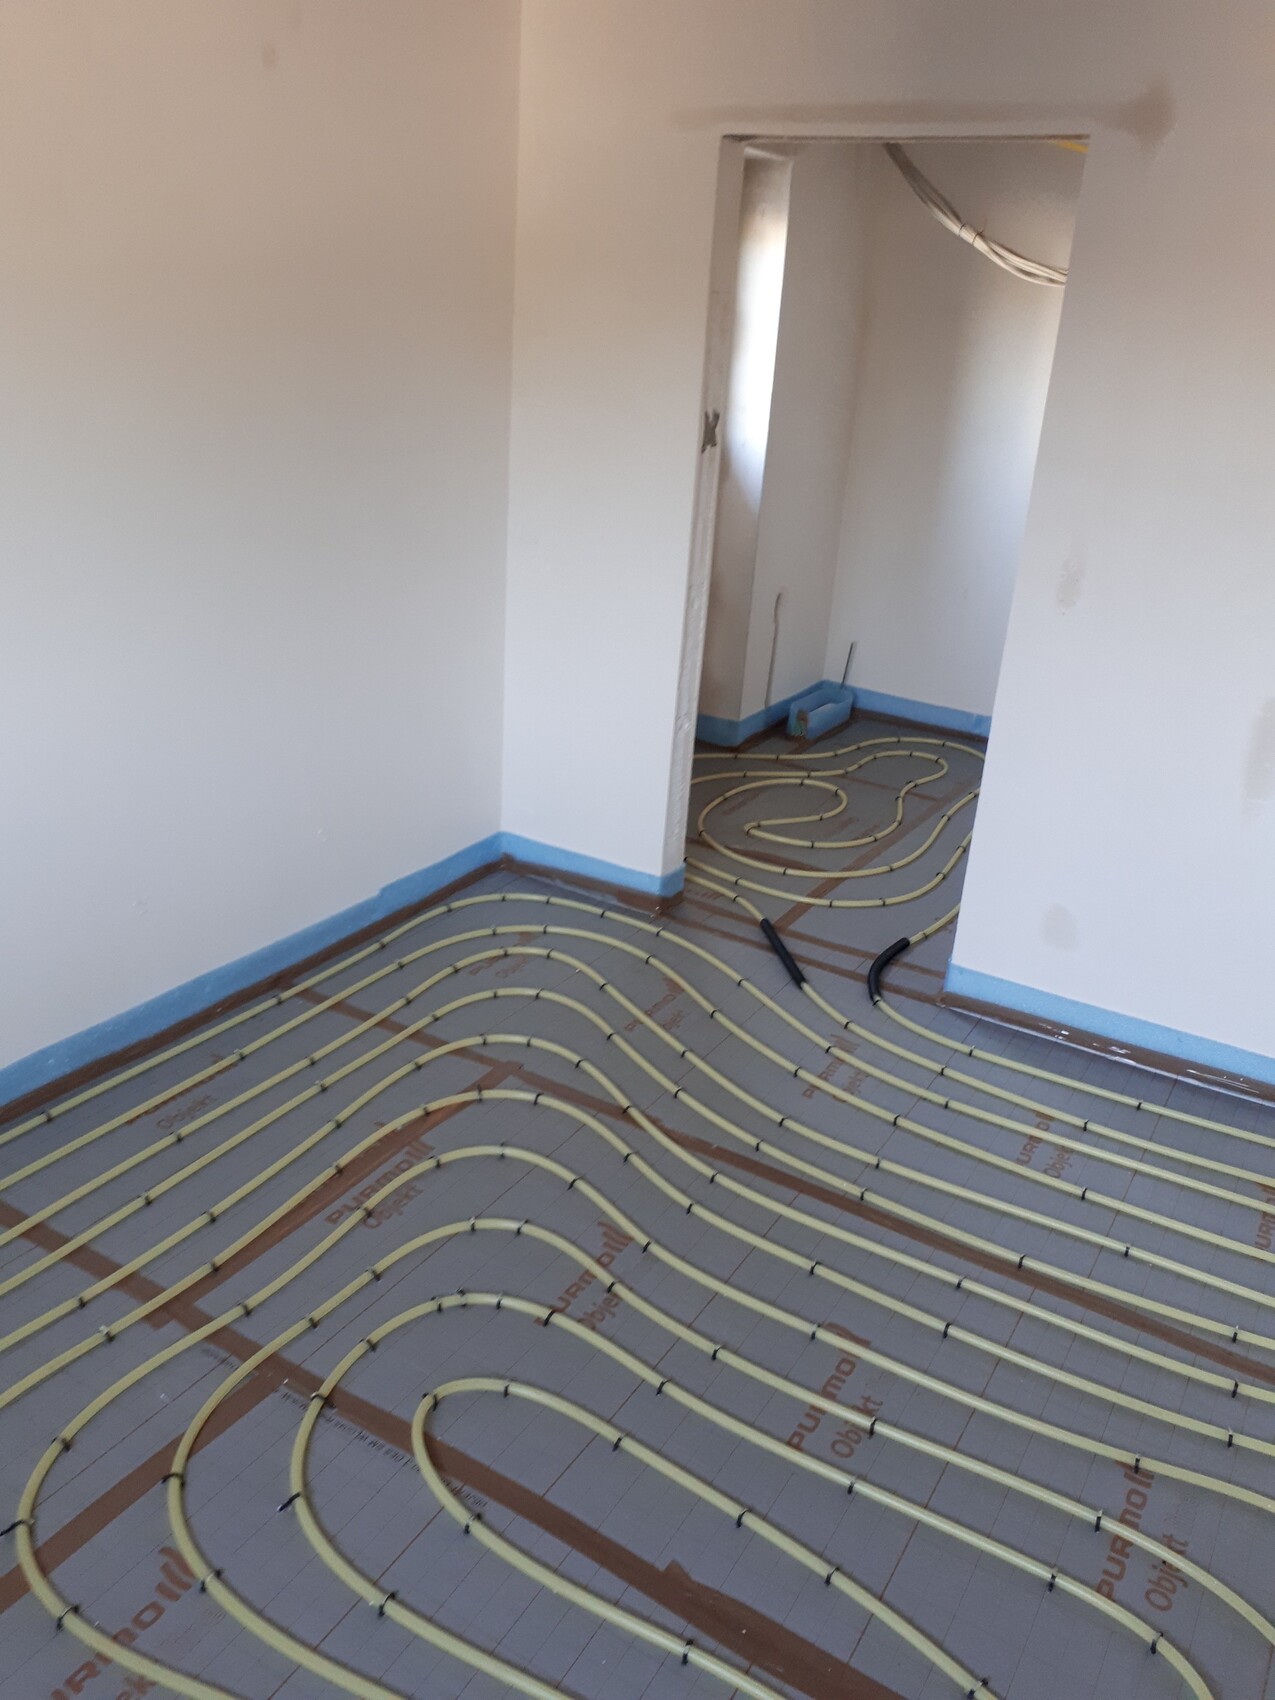
Luckily, the screed will be poured on Thursday or Friday. Otherwise, the civil engineering contractor for gas, water, and electricity would have left again after 5 minutes on Monday, because they only start work once the multi-utility duct is embedded in the screed. Oh, and I took four truckloads of sand from the neighbor. He doesn’t have to pay for disposal, and we don’t have to buy expensive fill material for the site. Win-win.
We worked hard on the Easter weekend, struggling with all the pipes. I looked like a snowman because we needed a 1 cm (0.4 inch) slope near the doors, so we had to thin the screed by 1 cm (0.4 inch). In the end, we installed three layers of floor insulation.
Today the heating loops were unrolled.
Luckily, the screed will be poured on Thursday or Friday. Otherwise, the civil engineering contractor for gas, water, and electricity would have left again after 5 minutes on Monday, because they only start work once the multi-utility duct is embedded in the screed. Oh, and I took four truckloads of sand from the neighbor. He doesn’t have to pay for disposal, and we don’t have to buy expensive fill material for the site. Win-win.

Currently, pipes and cables are being installed – a lot of work, but not very impressive visually.
Now something more noticeable is happening again: our multi-utility connection is being installed, and as part of this, our basement entrance as well – so we have earthworks again. Our temporary balcony in front of the large living room window also had to be removed for this:
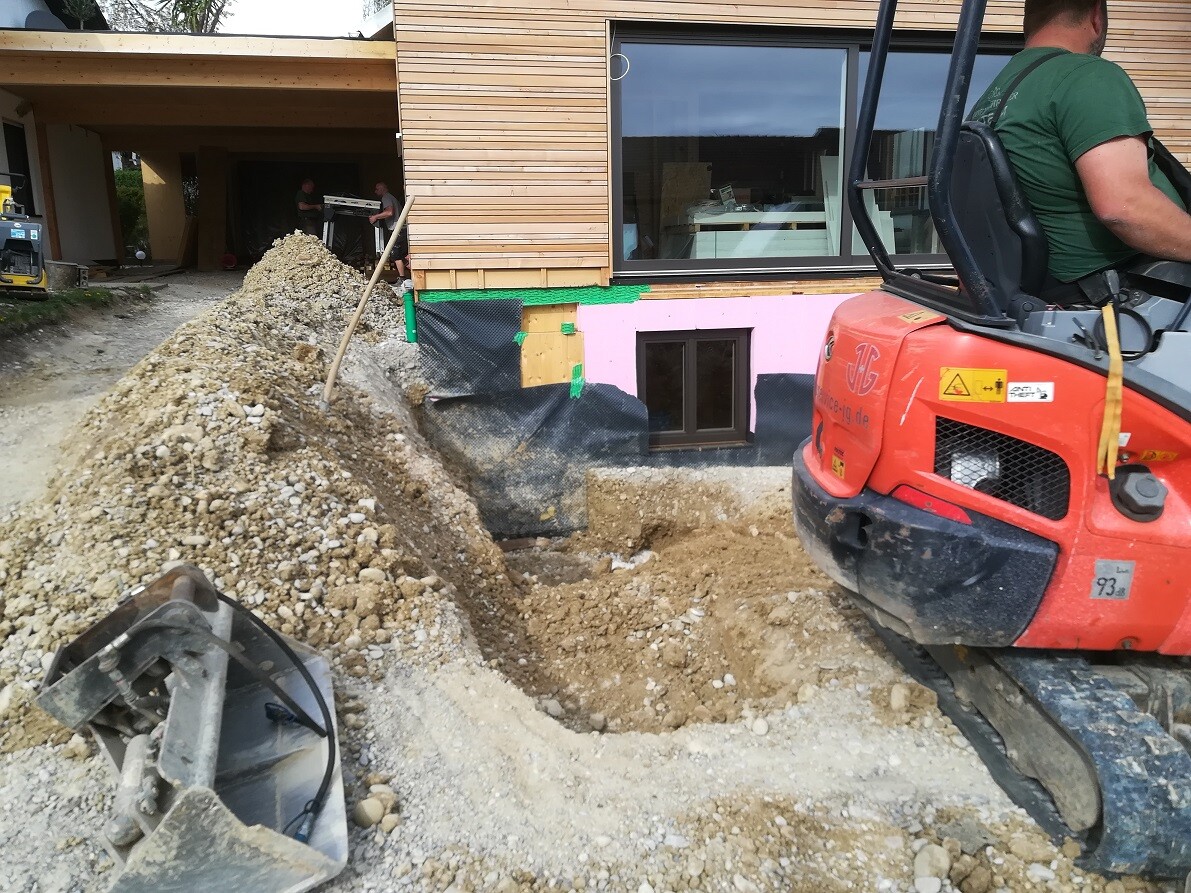
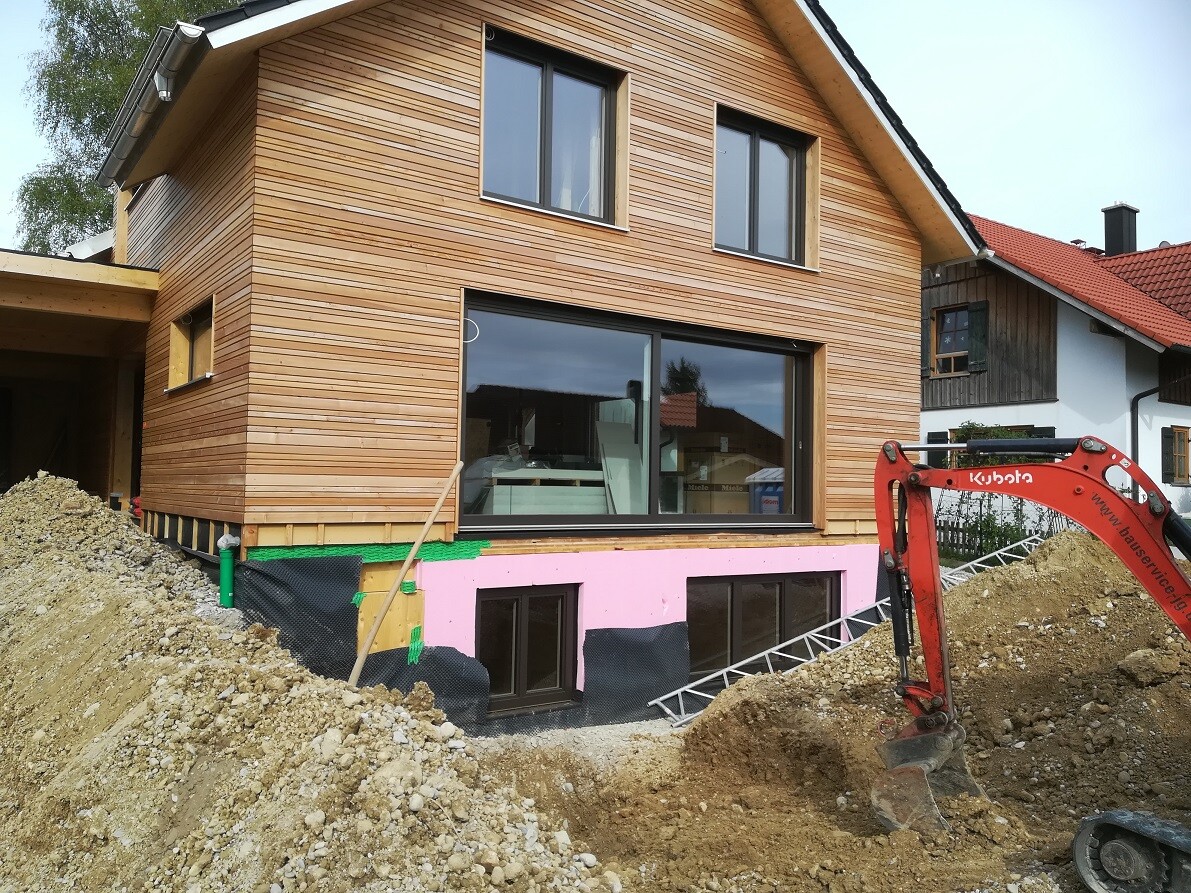
At the bottom left, where the wood is visible, the basement door will be installed – for now it is secured with that very board.
Now something more noticeable is happening again: our multi-utility connection is being installed, and as part of this, our basement entrance as well – so we have earthworks again. Our temporary balcony in front of the large living room window also had to be removed for this:
At the bottom left, where the wood is visible, the basement door will be installed – for now it is secured with that very board.
This is not a canopy, but a carport between the two houses (left old: my mom's; right new: ours).
The waterproofing is done with an EPDM membrane and will be greened later.
I’m planning to visit the construction site again today and can take a picture; however, there isn’t much to see—it’s just a black membrane on top.
The waterproofing is done with an EPDM membrane and will be greened later.
I’m planning to visit the construction site again today and can take a picture; however, there isn’t much to see—it’s just a black membrane on top.
Similar topics