
Hello,
It would be really great if everyone here could just post one or a few pictures showing the current state of their house.
I'll start right away.
For renovations, it’s best to provide a comparison of before and after the remodeling.
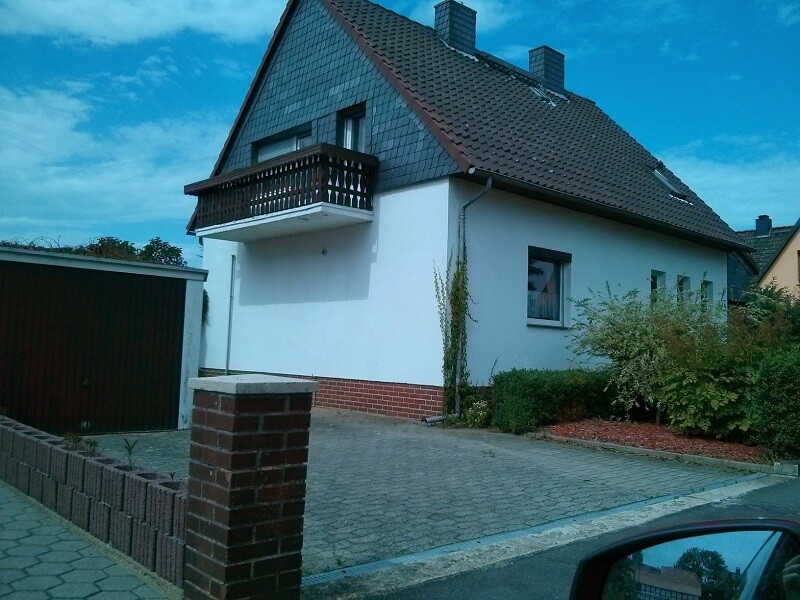
Before March 2014:
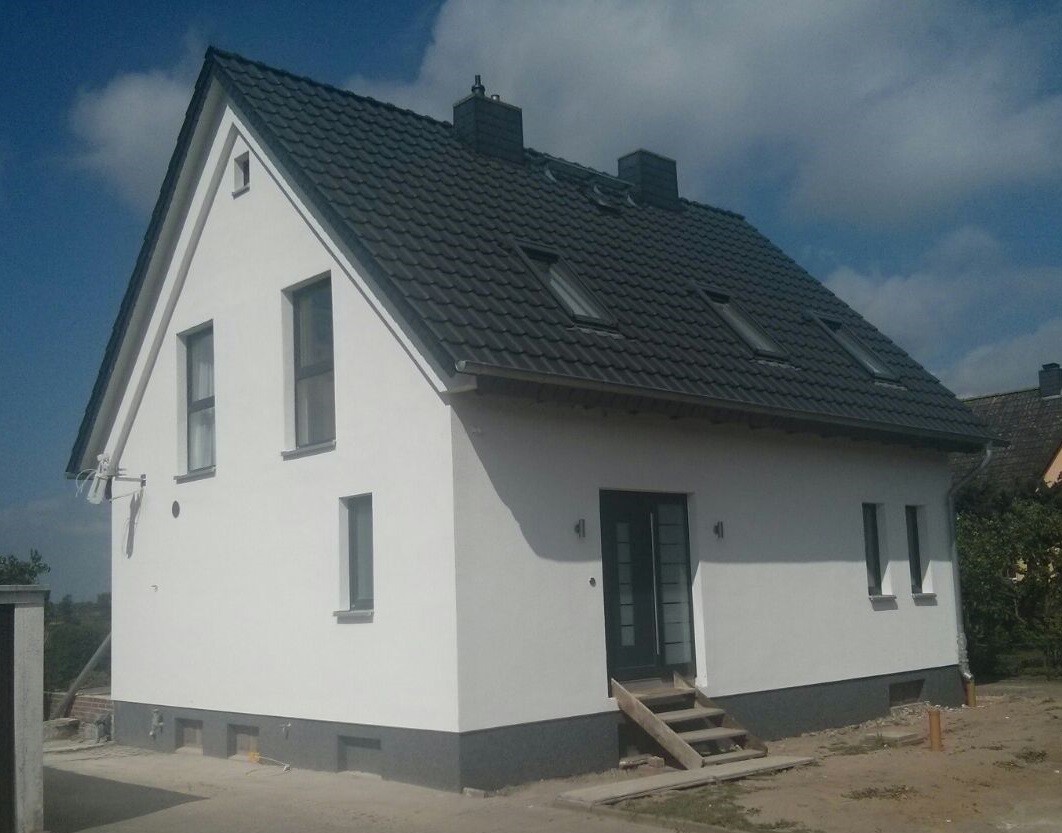
After May 2015:
It would be really great if everyone here could just post one or a few pictures showing the current state of their house.
I'll start right away.
For renovations, it’s best to provide a comparison of before and after the remodeling.
Before March 2014:
After May 2015:
T
toxicmolotof11 Dec 2016 20:25This could definitely have been done more cost-effectively, for example, with tiles.

Here are a few pictures from my side. Although I rotated them correctly on the PC, they revert to their original orientation when uploaded.
1 - a bit of Tetris while insulating. My edge insulation strip was removed because it didn’t have a tab facing inward and was installed too low. The installer replaced it with a new insulation strip.
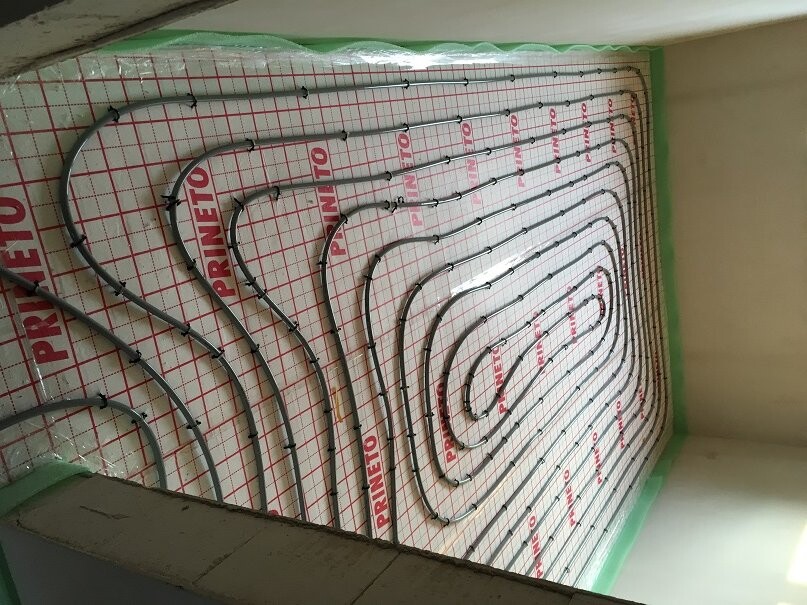
2 - underfloor heating in a child’s bedroom
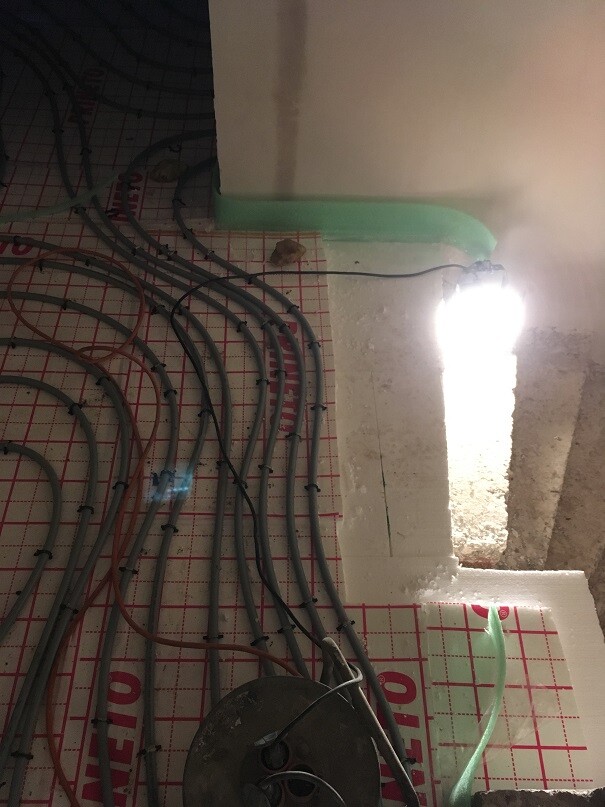
4 - underfloor heating in a bathroom
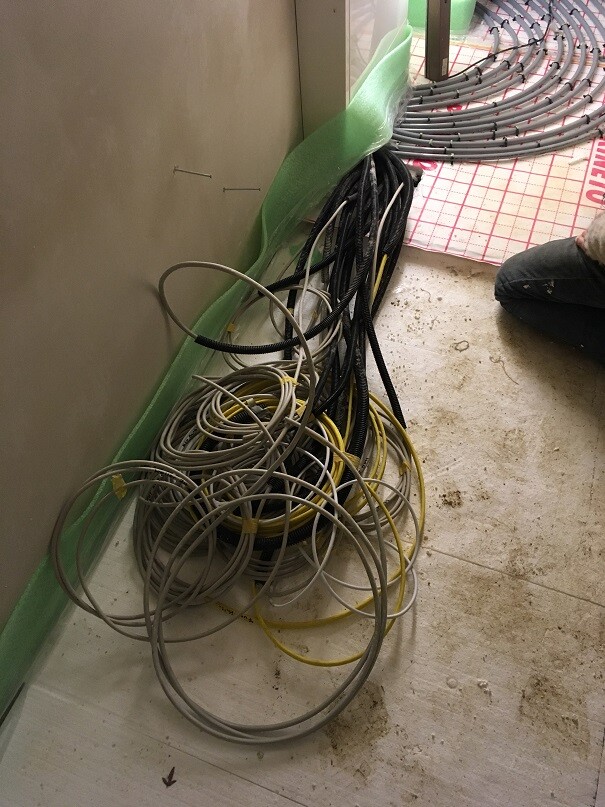
5 - the electrician’s cable mess had to be lifted off the floor, note: everyone leaves everything lying around and assumes they are finished
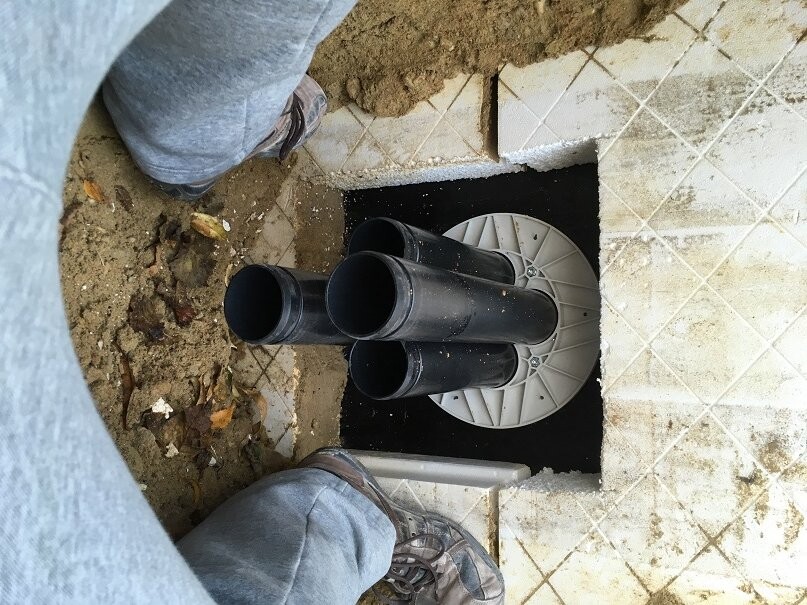
6 - multiple utility lines introduced through the exterior and interior cellar wall and connected together – this required strength and patience (or at least 500 EUR to the network operator, but I preferred spending 2 hours doing it myself)
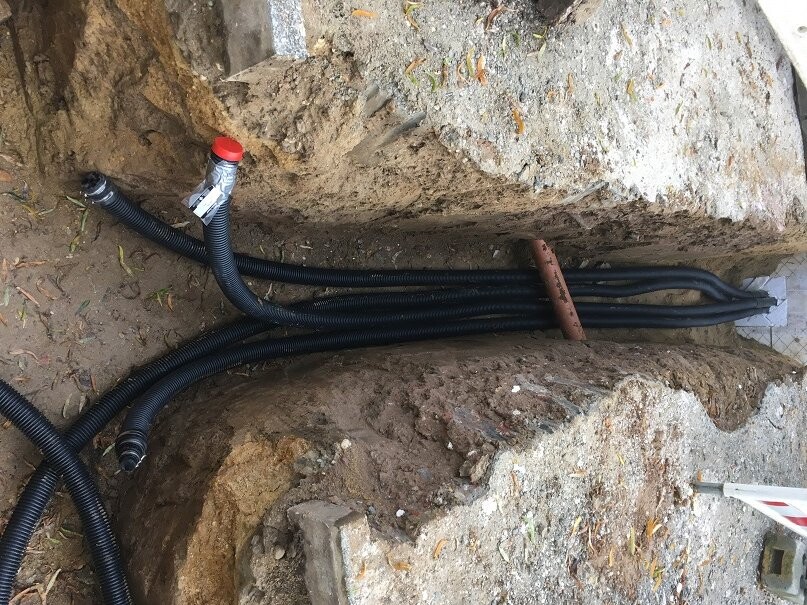
8 - multiple utility line entry insulated and extended into the street with empty conduits
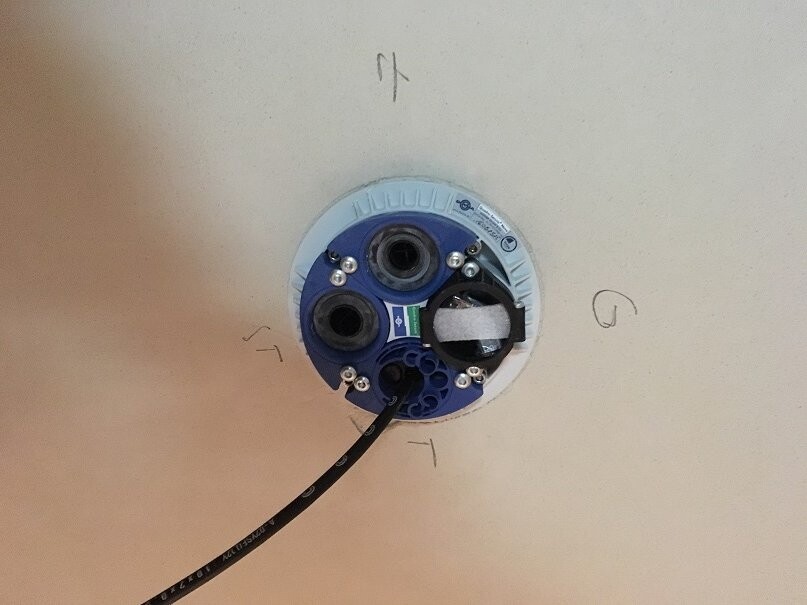
9 - multiple utility line entry in the cellar technical room: telecom cable already installed (self-done)
10 - utility connections in the street
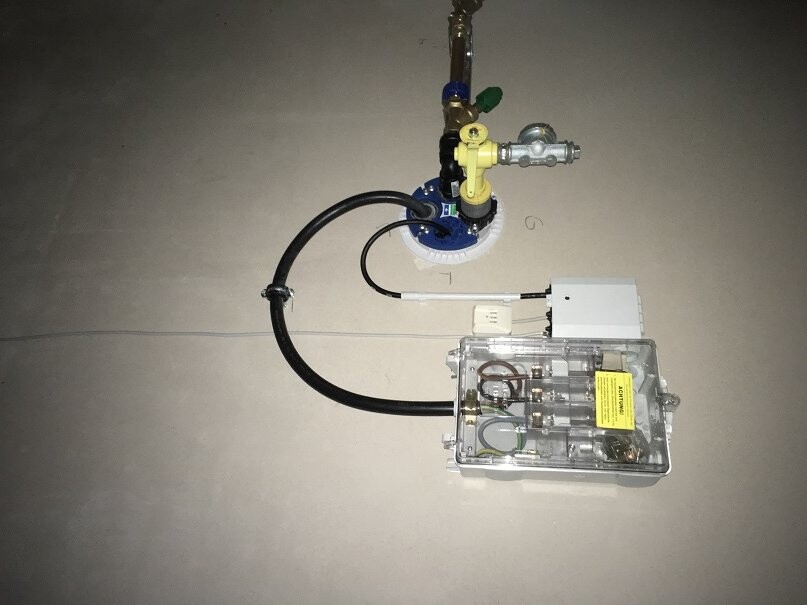
11 - multiple utility line entry in the cellar technical room: all utilities connected
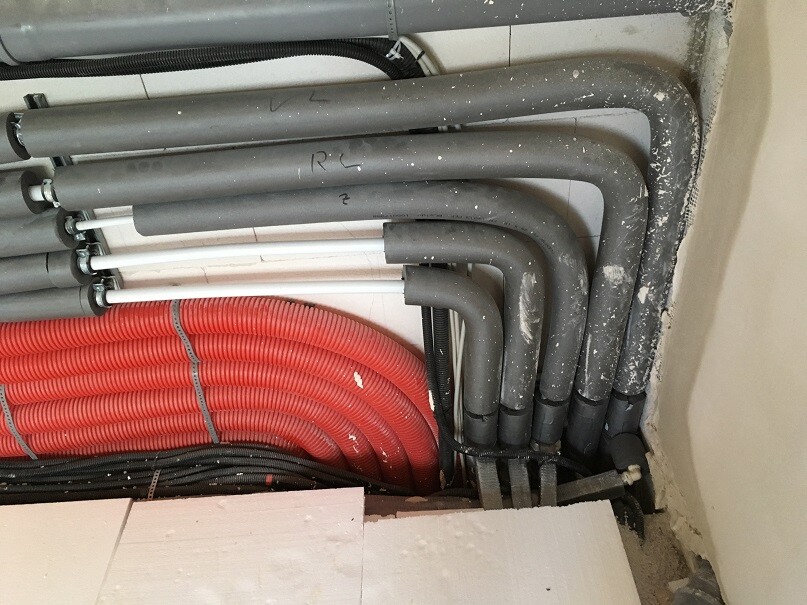
12 - here I insulated some now inaccessible spots on the water pipes where the plumber had been sloppy (top horizontal insulation removed and patch inserted lower right)
By now, all heating circuit manifolds are installed, every floor has underfloor heating, and the utility connections are complete. The screed will be poured at the end of the week. During the holiday break, the attic will be insulated, the vapor barrier completed, and the sloped ceilings covered with OSB boards (again DIY) so the heating system can be installed in the attic.



1 - a bit of Tetris while insulating. My edge insulation strip was removed because it didn’t have a tab facing inward and was installed too low. The installer replaced it with a new insulation strip.
2 - underfloor heating in a child’s bedroom
4 - underfloor heating in a bathroom
5 - the electrician’s cable mess had to be lifted off the floor, note: everyone leaves everything lying around and assumes they are finished
6 - multiple utility lines introduced through the exterior and interior cellar wall and connected together – this required strength and patience (or at least 500 EUR to the network operator, but I preferred spending 2 hours doing it myself)
8 - multiple utility line entry insulated and extended into the street with empty conduits
9 - multiple utility line entry in the cellar technical room: telecom cable already installed (self-done)
10 - utility connections in the street
11 - multiple utility line entry in the cellar technical room: all utilities connected
12 - here I insulated some now inaccessible spots on the water pipes where the plumber had been sloppy (top horizontal insulation removed and patch inserted lower right)
By now, all heating circuit manifolds are installed, every floor has underfloor heating, and the utility connections are complete. The screed will be poured at the end of the week. During the holiday break, the attic will be insulated, the vapor barrier completed, and the sloped ceilings covered with OSB boards (again DIY) so the heating system can be installed in the attic.
I’ll just drop these pictures in here. But you could also start a new thread with a title like "Best of Construction Site" or "When the Contractor Says He’s Done..."
Picture 1:
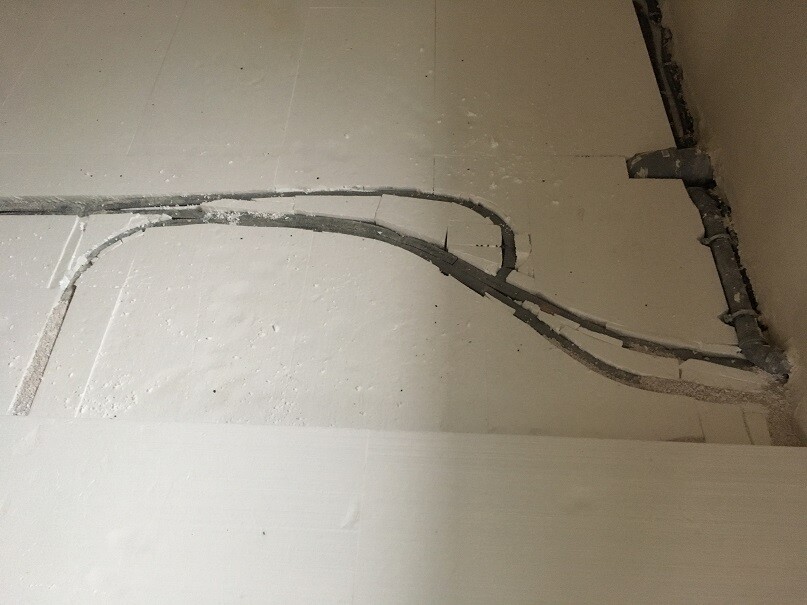
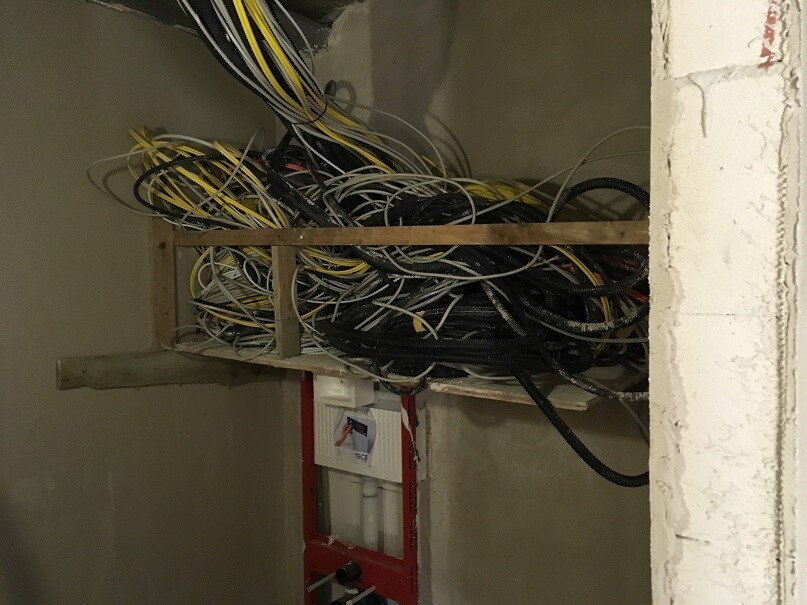
In the basement bathroom, all the cables come together and are routed under a suspended ceiling to the distribution box in the adjacent house connection room. This photo already shows the “after” stage. Before, the whole mess was lying on the floor. Not very practical when insulation, underfloor heating, and screed still need to go in. So, we built this wooden structure. By the way, the toilet is installed 4 cm (1.5 inches) too low and still needs to be corrected.
Picture 2:
House connection room. The electrician says: everything’s clear, the screed can be installed.
Picture 3:
What a homeowner does in the evening before the screed arrives.
Picture 4:
The plumber probably installed an underfloor heating system for the first time in his life, or thinking might not be his strong suit.
Picture 5:
What a homeowner does in the evening before the screed arrives.
Picture 6:
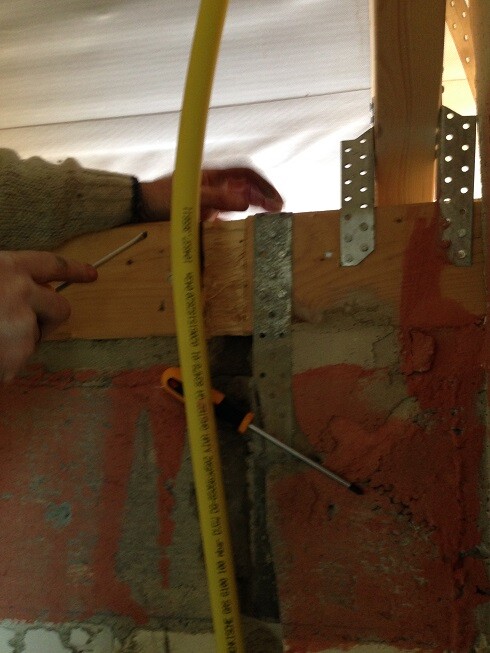
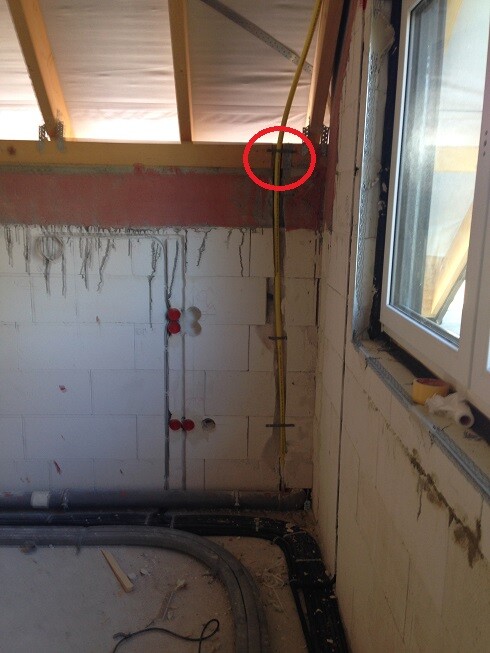
We were already working here. The wall was broken open for a 100 mm (4 inch) pipe, the ring beam was cut, but the gas line was installed in front of the floor beam. The plasterer can just add 5 cm (2 inches) to the wall thickness, right?
Picture 7:
What a homeowner does...
Picture 8:
The plumber is done.
Picture 9:
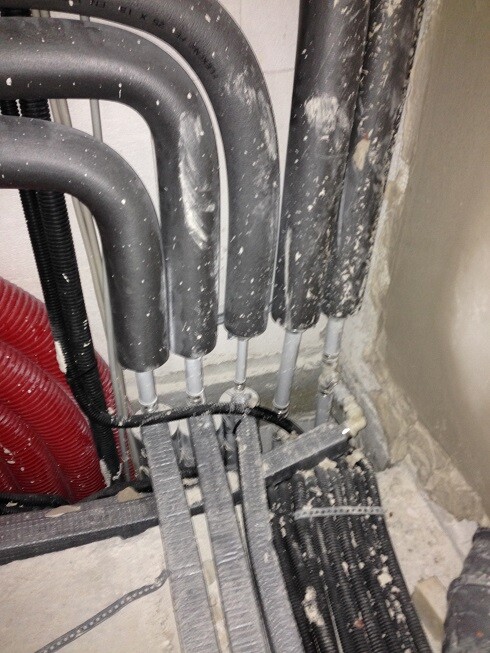
What you don’t see in picture 8: the outer pipe is almost 50 cm (20 inches), the one next to it 30 cm (12 inches) – both uninsulated at the level of the concrete ceiling.
Picture 10:
What a homeowner does until he would call it finished himself... The screed is currently being installed, after that you wouldn’t be able to get back in there.
There are probably reasons these people are craftsmen, not astronauts. By the way, this list isn’t claiming to be complete, it’s just a selection from recent times. We have already fixed several other things at the last minute ourselves. Otherwise, for example, we would now have two ventilation ducts from the mechanical ventilation system running through the middle of the hall to the upper floor instead of, as planned, in the storage room.
It really annoys me that you can’t leave the construction site running for 2 or 3 days without the next nonsense happening... like small children...
So, here’s something to make you smile and I’ve gotten this off my chest.




Picture 1:
In the basement bathroom, all the cables come together and are routed under a suspended ceiling to the distribution box in the adjacent house connection room. This photo already shows the “after” stage. Before, the whole mess was lying on the floor. Not very practical when insulation, underfloor heating, and screed still need to go in. So, we built this wooden structure. By the way, the toilet is installed 4 cm (1.5 inches) too low and still needs to be corrected.
Picture 2:
House connection room. The electrician says: everything’s clear, the screed can be installed.
Picture 3:
What a homeowner does in the evening before the screed arrives.
Picture 4:
The plumber probably installed an underfloor heating system for the first time in his life, or thinking might not be his strong suit.
Picture 5:
What a homeowner does in the evening before the screed arrives.
Picture 6:
We were already working here. The wall was broken open for a 100 mm (4 inch) pipe, the ring beam was cut, but the gas line was installed in front of the floor beam. The plasterer can just add 5 cm (2 inches) to the wall thickness, right?
Picture 7:
What a homeowner does...
Picture 8:
The plumber is done.
Picture 9:
What you don’t see in picture 8: the outer pipe is almost 50 cm (20 inches), the one next to it 30 cm (12 inches) – both uninsulated at the level of the concrete ceiling.
Picture 10:
What a homeowner does until he would call it finished himself... The screed is currently being installed, after that you wouldn’t be able to get back in there.
There are probably reasons these people are craftsmen, not astronauts. By the way, this list isn’t claiming to be complete, it’s just a selection from recent times. We have already fixed several other things at the last minute ourselves. Otherwise, for example, we would now have two ventilation ducts from the mechanical ventilation system running through the middle of the hall to the upper floor instead of, as planned, in the storage room.
It really annoys me that you can’t leave the construction site running for 2 or 3 days without the next nonsense happening... like small children...
So, here’s something to make you smile and I’ve gotten this off my chest.

Hello,
I’ve wondered about that myself several times. Or better put: “How did he manage to find his way to work this morning? Or does his mom drive him every day and retrain him??”
By the way: I noticed that the locking clips on the underfloor heating pipes are missing at the door transitions. Wherever the pipes cross an expansion joint in the screed, they should actually be secured so that the screed can slide over the pipes as it expands.
Have they been installed yet?
Best regards,
Andreas
sirhc schrieb:
There must be reasons why these people are craftsmen, not astronauts.
I’ve wondered about that myself several times. Or better put: “How did he manage to find his way to work this morning? Or does his mom drive him every day and retrain him??”
By the way: I noticed that the locking clips on the underfloor heating pipes are missing at the door transitions. Wherever the pipes cross an expansion joint in the screed, they should actually be secured so that the screed can slide over the pipes as it expands.
Have they been installed yet?
Best regards,
Andreas
Phew, you really gave me a scare. Just a quick note to avoid going too off-topic again.
I quickly checked with the building authority:
- yes, they are missing, but they should actually be installed
- in practice, they are often omitted
- nothing usually happens because of this
- the screed installer mentioned that in the past there used to be separate circuits arranged so that expansion joints were not crossed by any conduits (in large open-plan living-dining-kitchen areas), but nowadays nobody cares about that
- the screed installer did not raise any objections about their absence
- photos for documentation are available
- if necessary, responsibility would likely be shared between the plumber and the screed installer
Well...
I quickly checked with the building authority:
- yes, they are missing, but they should actually be installed
- in practice, they are often omitted
- nothing usually happens because of this
- the screed installer mentioned that in the past there used to be separate circuits arranged so that expansion joints were not crossed by any conduits (in large open-plan living-dining-kitchen areas), but nowadays nobody cares about that
- the screed installer did not raise any objections about their absence
- photos for documentation are available
- if necessary, responsibility would likely be shared between the plumber and the screed installer
Well...
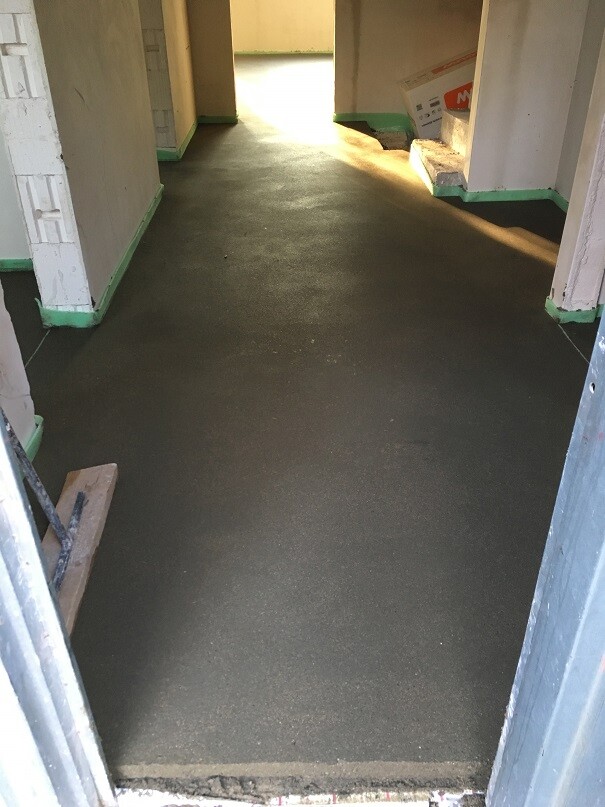
The screed is in, so now there’s a bit of a break.
At the beginning of January, the electrical sub-distribution and the gas boiler will be installed, so we can start heating soon.
During the days between Christmas and New Year, I will insulate and cover the sloped surfaces in the attic.
At the beginning of January, the electrical sub-distribution and the gas boiler will be installed, so we can start heating soon.
During the days between Christmas and New Year, I will insulate and cover the sloped surfaces in the attic.
Similar topics