
Hello,
It would be really great if everyone here could just post one or a few pictures showing the current state of their house.
I'll start right away.
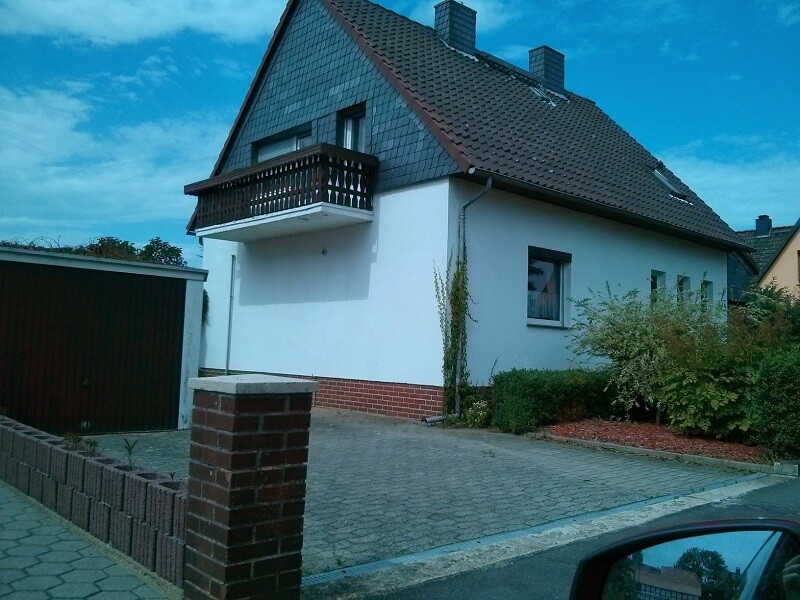
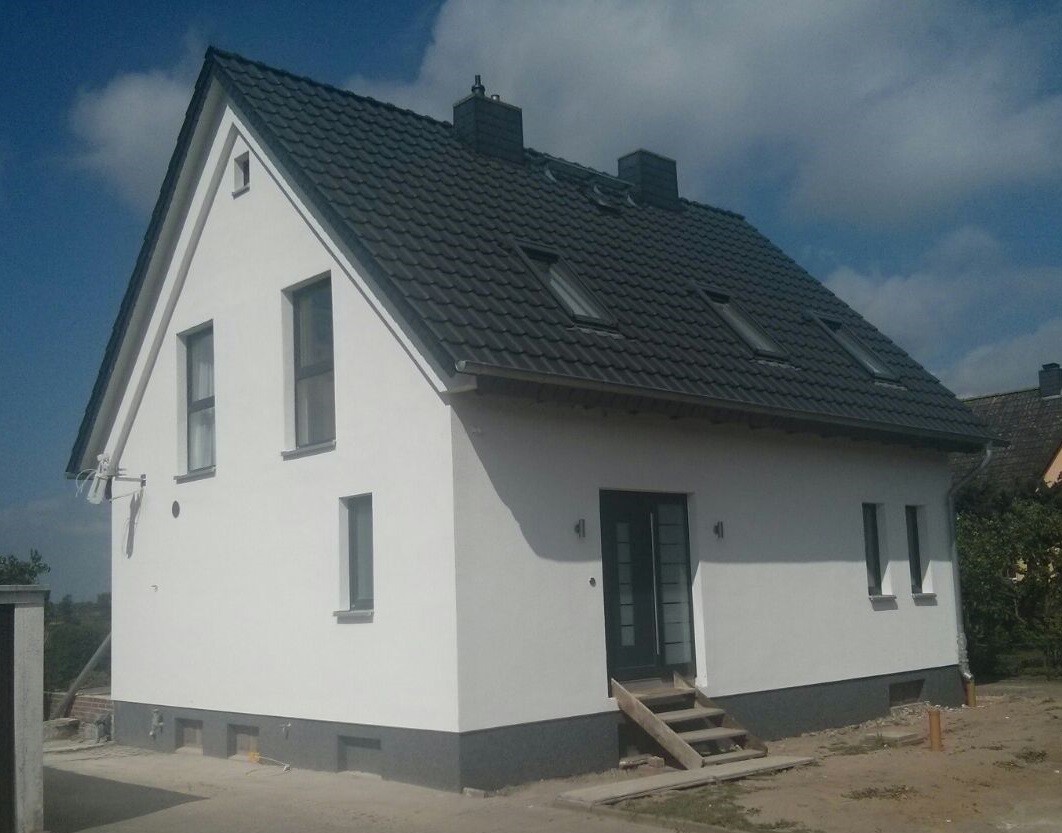
For renovations, it’s best to provide a comparison of before and after the remodeling.
Before March 2014:
After May 2015:
It would be really great if everyone here could just post one or a few pictures showing the current state of their house.
I'll start right away.
For renovations, it’s best to provide a comparison of before and after the remodeling.
Before March 2014:
After May 2015:
Snowy36 schrieb:
Does anyone actually sit there? Even with cushions, the posture would be too uncomfortable for me to read for a longer time.I always wonder that too, but you could say the same about a fireplace.
I do think someone will sit there (at least I will). We only have a mountain view from the upper floor, after all.
With cushions, I don’t think it will be uncomfortable. I really wanted this window because I’ve always enjoyed sitting by windows, and even now I sometimes sit on the (too narrow and cold, since they’re made of stone) window sills whenever possible. Otherwise, I think it’s a good use of space with the shelf, and you can still sit between the sections.
A carpentry company from Langerringen, Bernd Steinhausz, made it. Just look him up online, he even has a website.
Yesterday, the first lights were installed – though not our large fixtures.
We also decided to install the eye-catching living room light (Mercury from Artemide) and the Mitos from Occhio over the (yet to be built) kitchen island later, since they would probably be more of a hindrance right now. I’m already worried the Mercury might be too big for the living room after seeing the box it comes in – oops… we’ll see. We’ll need another appointment later anyway because the lights in the guest bathroom are best installed together with the mirror they will be mounted on. Right now, I’m coordinating the glazier, the kitchen installer, and the lighting specialist to have a coordinated work session in mid-July, where the glazier delivers and fits the mirrors, the lighting expert installs the remaining lights, and at least the kitchen island is in place (the countertop for the island won’t arrive until the end of July, but if the island is already set up, the lights can be aligned accordingly). Sigh…
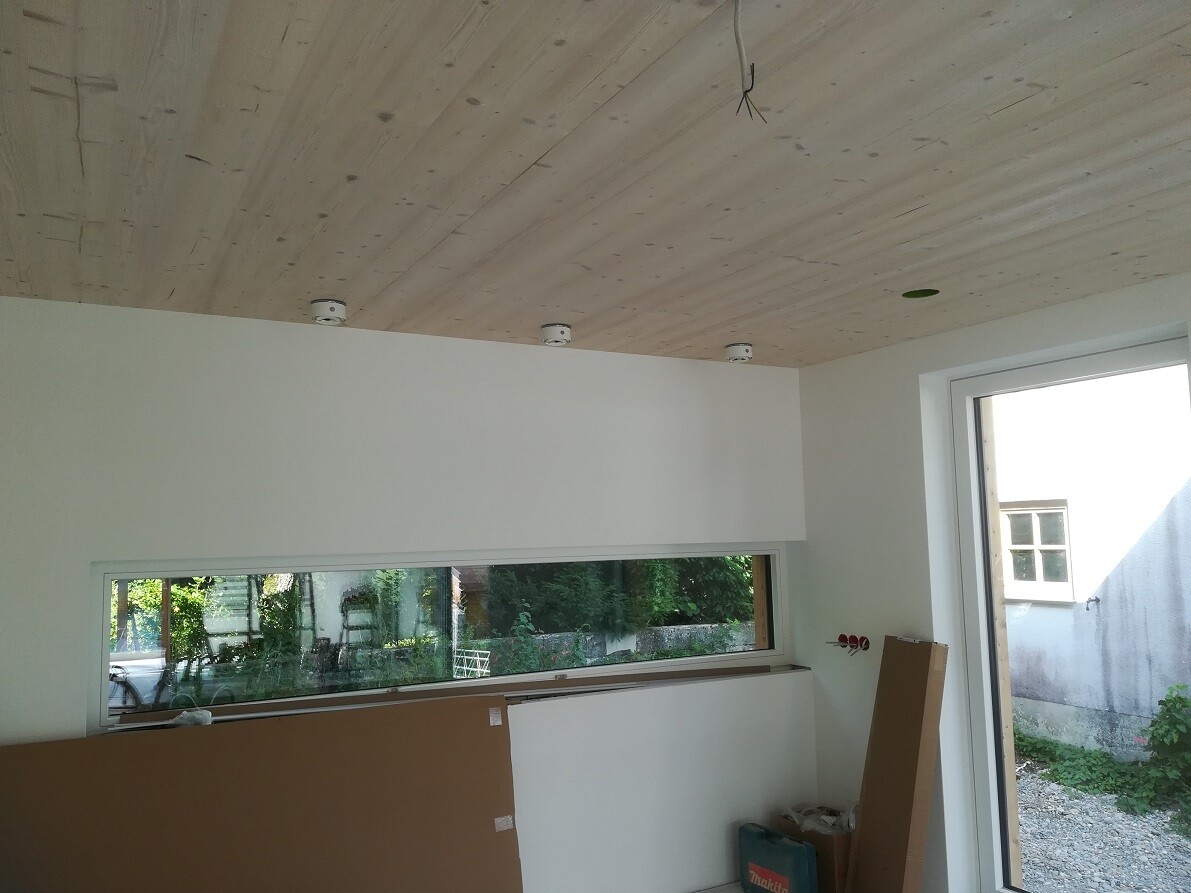
So, yesterday’s install was rather modest in terms of visible lighting. The (high-voltage) spots in the living room, dining area, and hallway were installed, as well as the ones above the (yet to be installed) kitchen countertop:
Pay attention to the detail the lighting specialist specifically pointed out to me—the dots on the front:
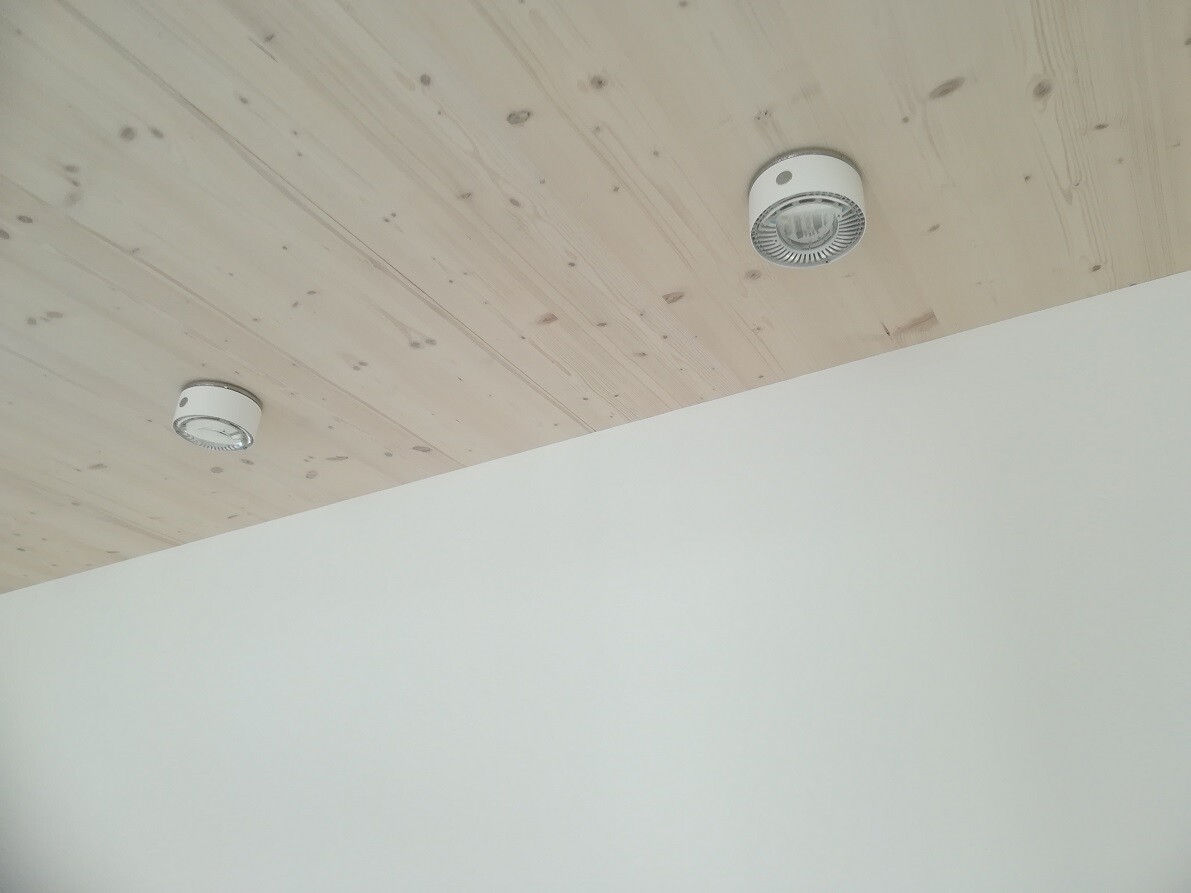
Those are the brand’s logo on the lamp! Important! … I really had to think about whether I would have preferred it without the dot in front *ahem*, which shows that I’m obviously not on top of brand design… So now we have the dots at the front to clearly show that these are branded spotlights. If I ever have a visitor who knows their lamps, I can literally “score points” with this! (In the truest sense of the word *lol*)
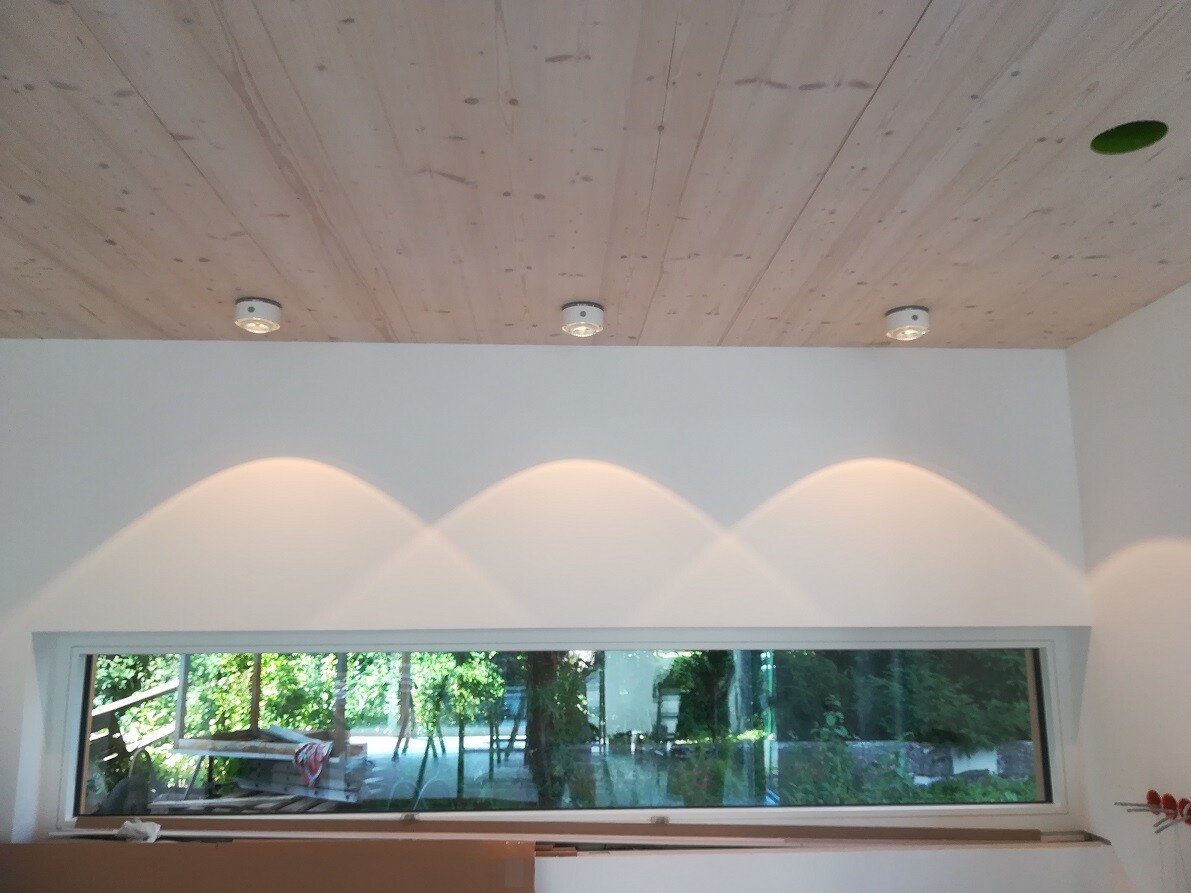
What’s nice (and the real reason we wanted these spots—not the dots) is the light cone the spots already cast, even without a countertop underneath:
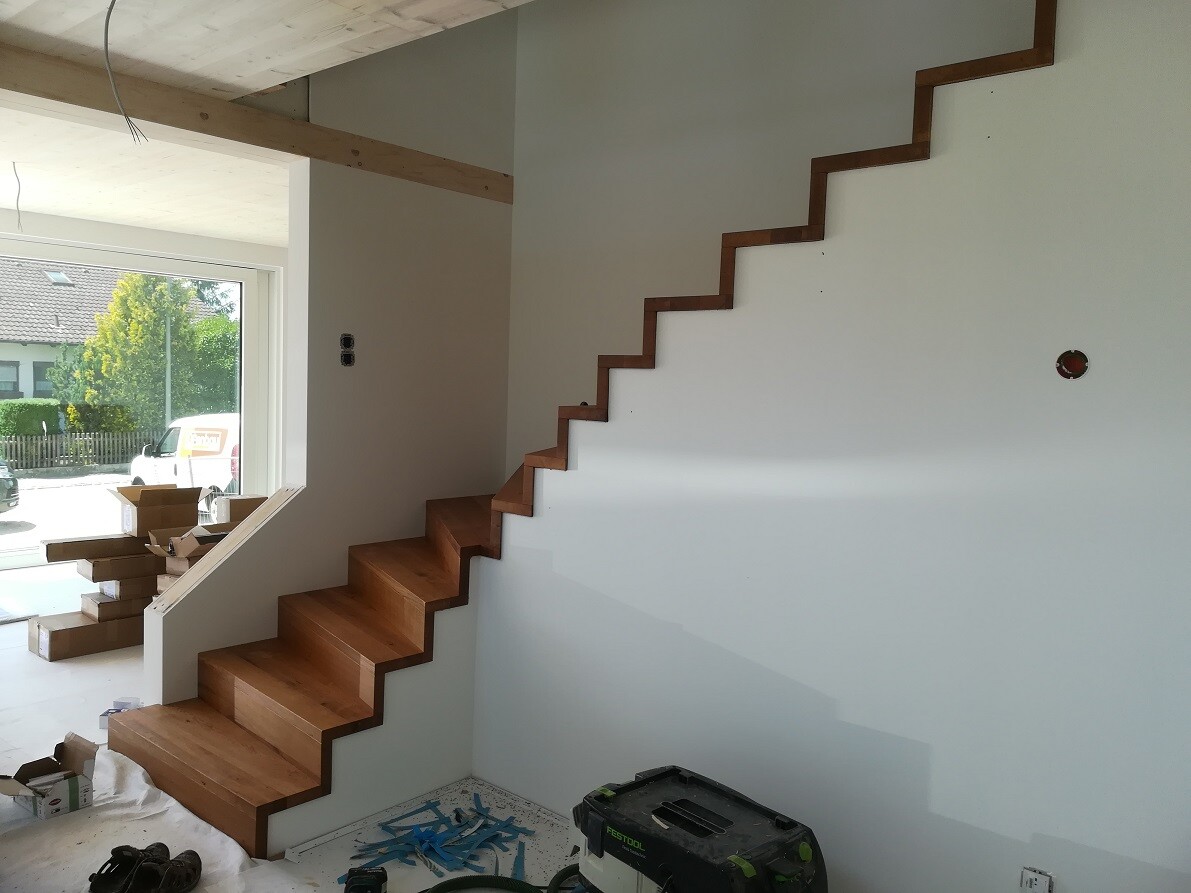
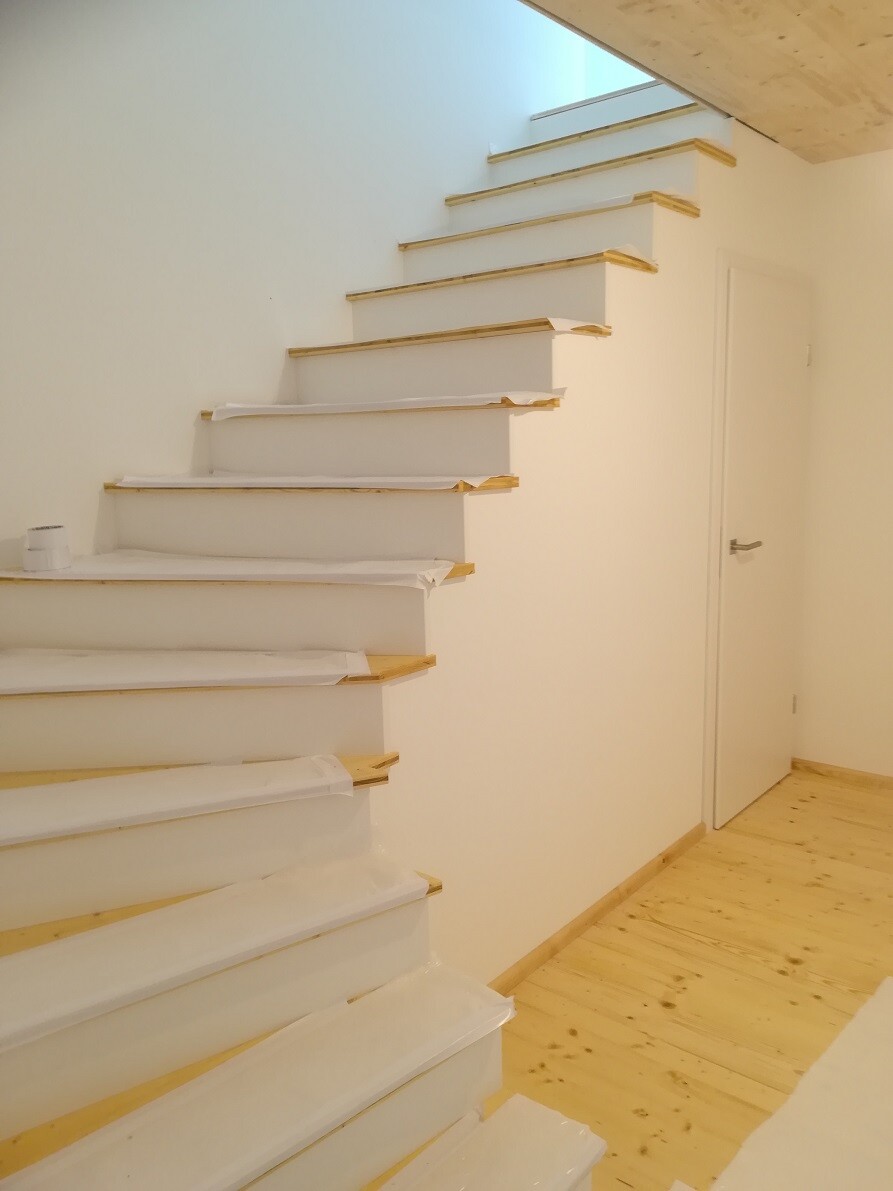
Our carpenter (the one who made the window seat) has also been busy finishing our stairs.
First, the one to the upper floor, now oiled and therefore darker:
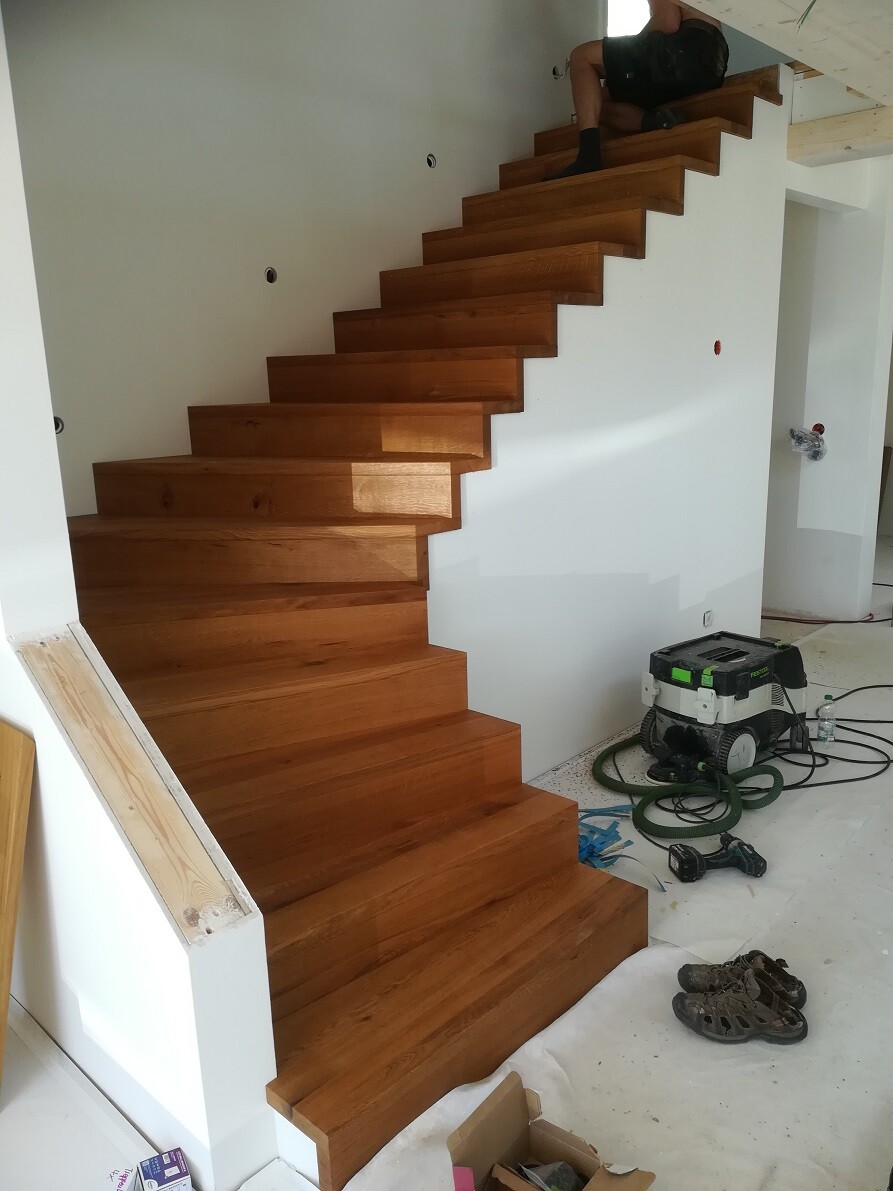
Then also on the side (and once again with protective film on the stairs):
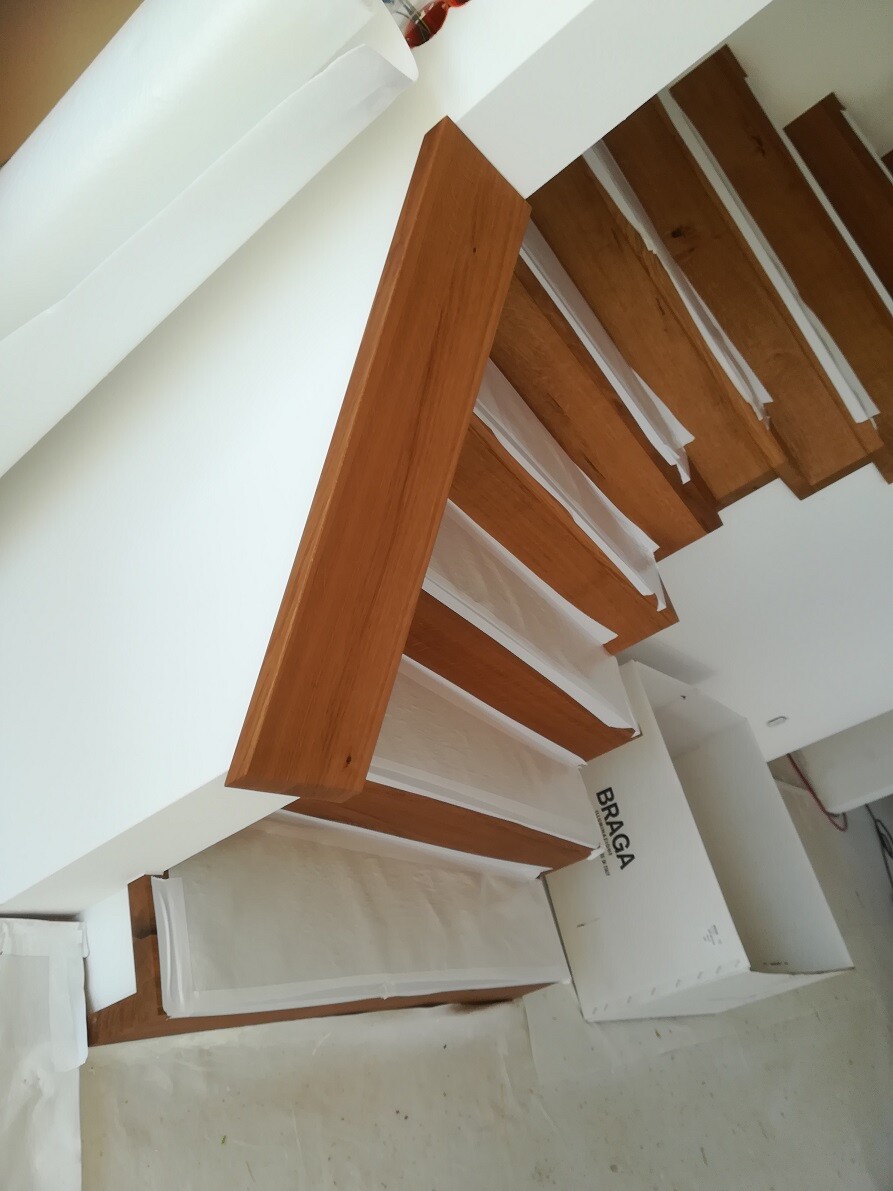
And the stairs to the basement, too:

And immediately protected again with film (I was too slow to catch them without the film once finished):
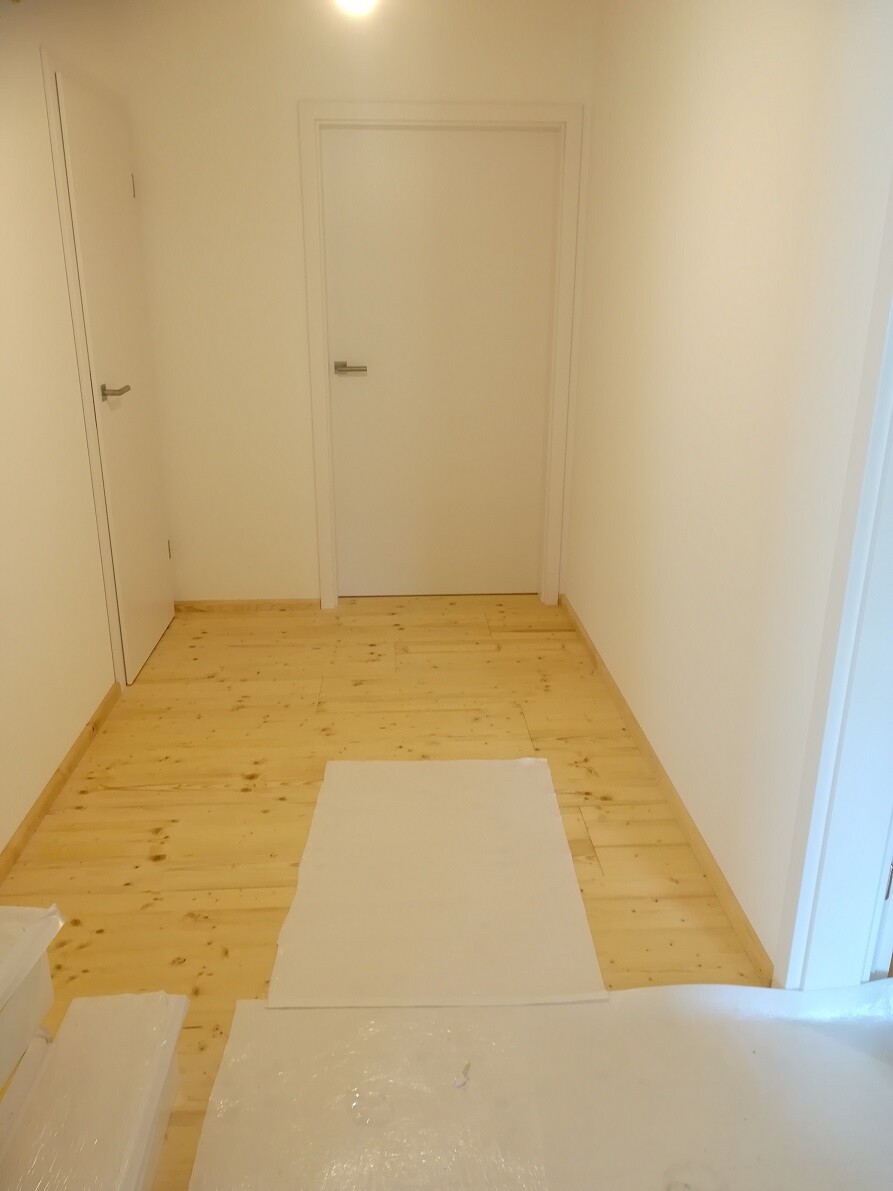
The baseboards are now installed in the hallway downstairs – that area is finished!
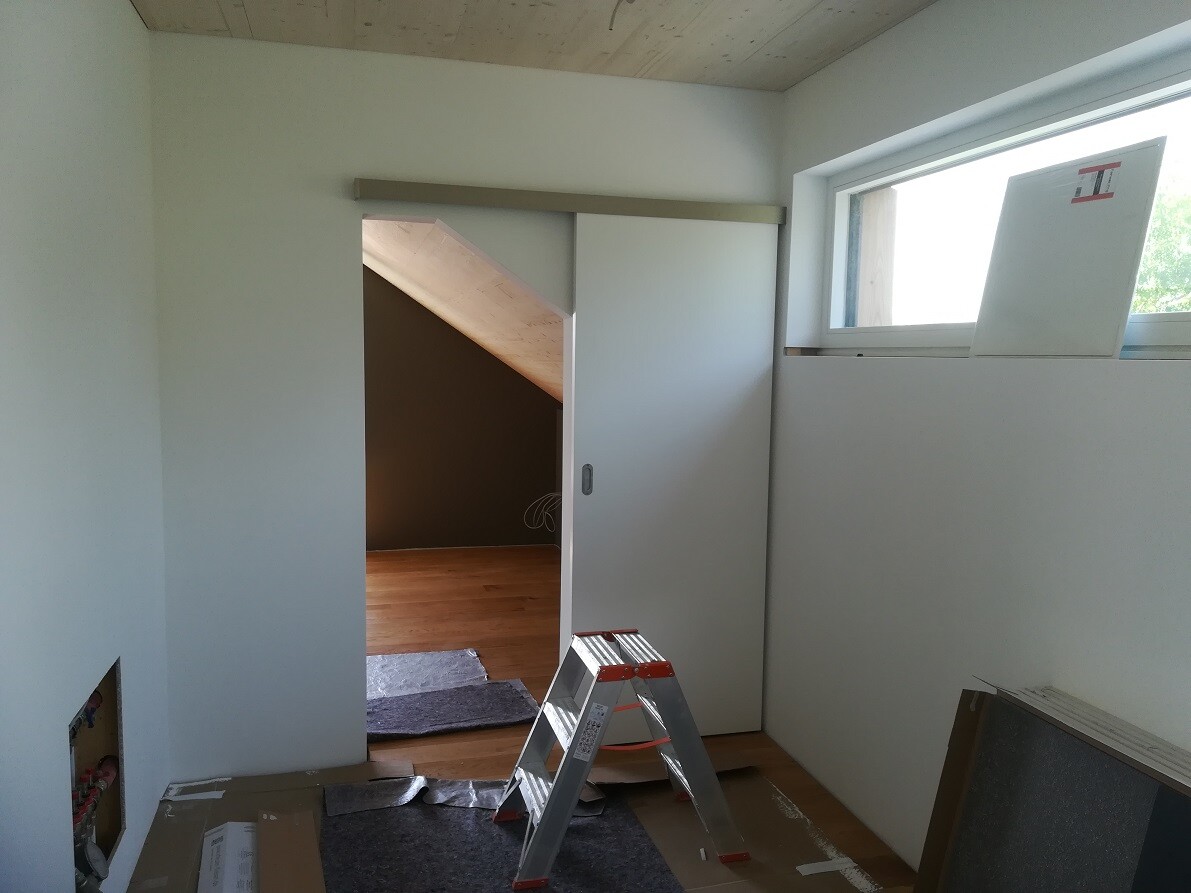
And the sliding door between the bedroom and dressing room is also installed:
It’s coming together!
With cushions, I don’t think it will be uncomfortable. I really wanted this window because I’ve always enjoyed sitting by windows, and even now I sometimes sit on the (too narrow and cold, since they’re made of stone) window sills whenever possible. Otherwise, I think it’s a good use of space with the shelf, and you can still sit between the sections.
A carpentry company from Langerringen, Bernd Steinhausz, made it. Just look him up online, he even has a website.
Yesterday, the first lights were installed – though not our large fixtures.
We also decided to install the eye-catching living room light (Mercury from Artemide) and the Mitos from Occhio over the (yet to be built) kitchen island later, since they would probably be more of a hindrance right now. I’m already worried the Mercury might be too big for the living room after seeing the box it comes in – oops… we’ll see. We’ll need another appointment later anyway because the lights in the guest bathroom are best installed together with the mirror they will be mounted on. Right now, I’m coordinating the glazier, the kitchen installer, and the lighting specialist to have a coordinated work session in mid-July, where the glazier delivers and fits the mirrors, the lighting expert installs the remaining lights, and at least the kitchen island is in place (the countertop for the island won’t arrive until the end of July, but if the island is already set up, the lights can be aligned accordingly). Sigh…
So, yesterday’s install was rather modest in terms of visible lighting. The (high-voltage) spots in the living room, dining area, and hallway were installed, as well as the ones above the (yet to be installed) kitchen countertop:
Pay attention to the detail the lighting specialist specifically pointed out to me—the dots on the front:
Those are the brand’s logo on the lamp! Important! … I really had to think about whether I would have preferred it without the dot in front *ahem*, which shows that I’m obviously not on top of brand design… So now we have the dots at the front to clearly show that these are branded spotlights. If I ever have a visitor who knows their lamps, I can literally “score points” with this! (In the truest sense of the word *lol*)
What’s nice (and the real reason we wanted these spots—not the dots) is the light cone the spots already cast, even without a countertop underneath:
Our carpenter (the one who made the window seat) has also been busy finishing our stairs.
First, the one to the upper floor, now oiled and therefore darker:
Then also on the side (and once again with protective film on the stairs):
And the stairs to the basement, too:
And immediately protected again with film (I was too slow to catch them without the film once finished):
The baseboards are now installed in the hallway downstairs – that area is finished!
And the sliding door between the bedroom and dressing room is also installed:
It’s coming together!

But shouldn’t a carpenter be able to solve this? Taking two panels and joining them together should be possible. If you glue them properly or additionally connect them from underneath, it should be feasible to create a single panel—at least from the perspective of an amateur who has some experience working with wood. In addition to glue, you could use dowels as connectors or metal plate connectors from below. That way, the panels could be joined so that the connection is not visible, resulting in one seamless panel.
Similar topics