
Hello,
It would be really great if everyone here could just post one or a few pictures showing the current state of their house.
I'll start right away.
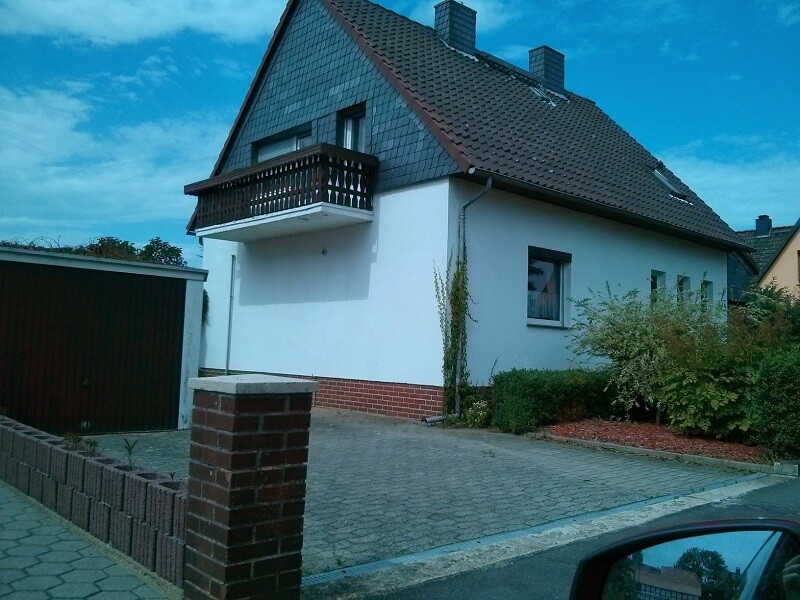
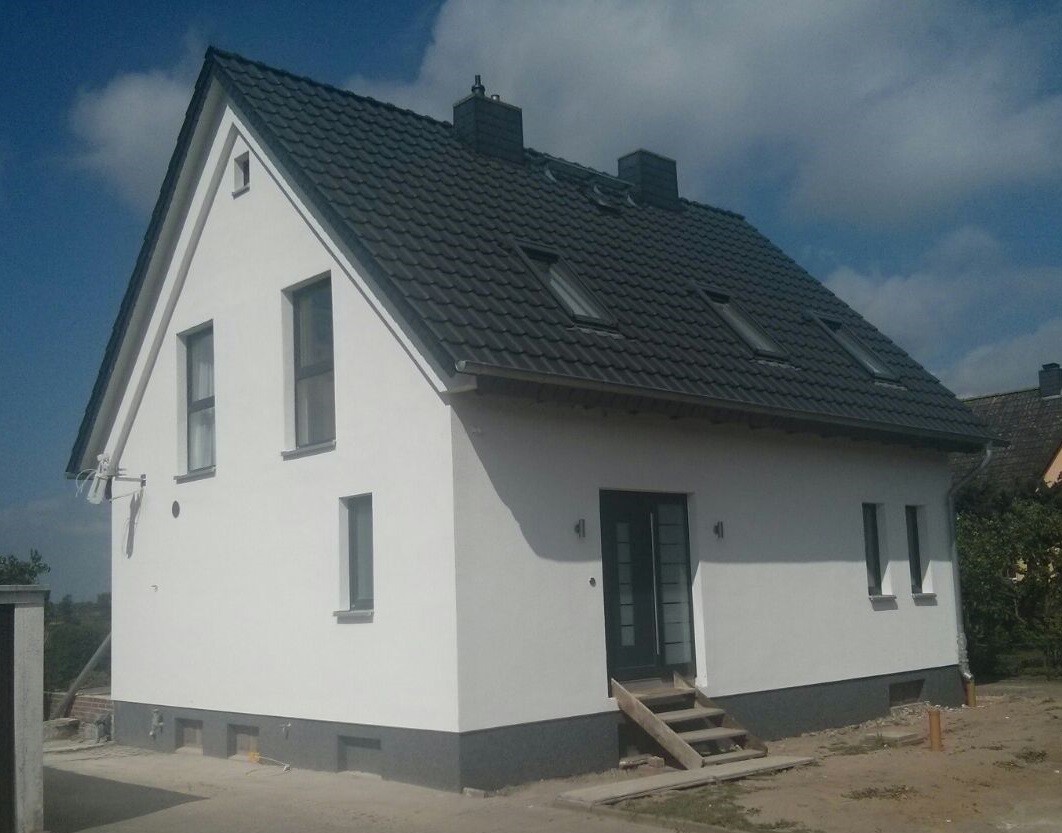
For renovations, it’s best to provide a comparison of before and after the remodeling.
Before March 2014:
After May 2015:
It would be really great if everyone here could just post one or a few pictures showing the current state of their house.
I'll start right away.
For renovations, it’s best to provide a comparison of before and after the remodeling.
Before March 2014:
After May 2015:
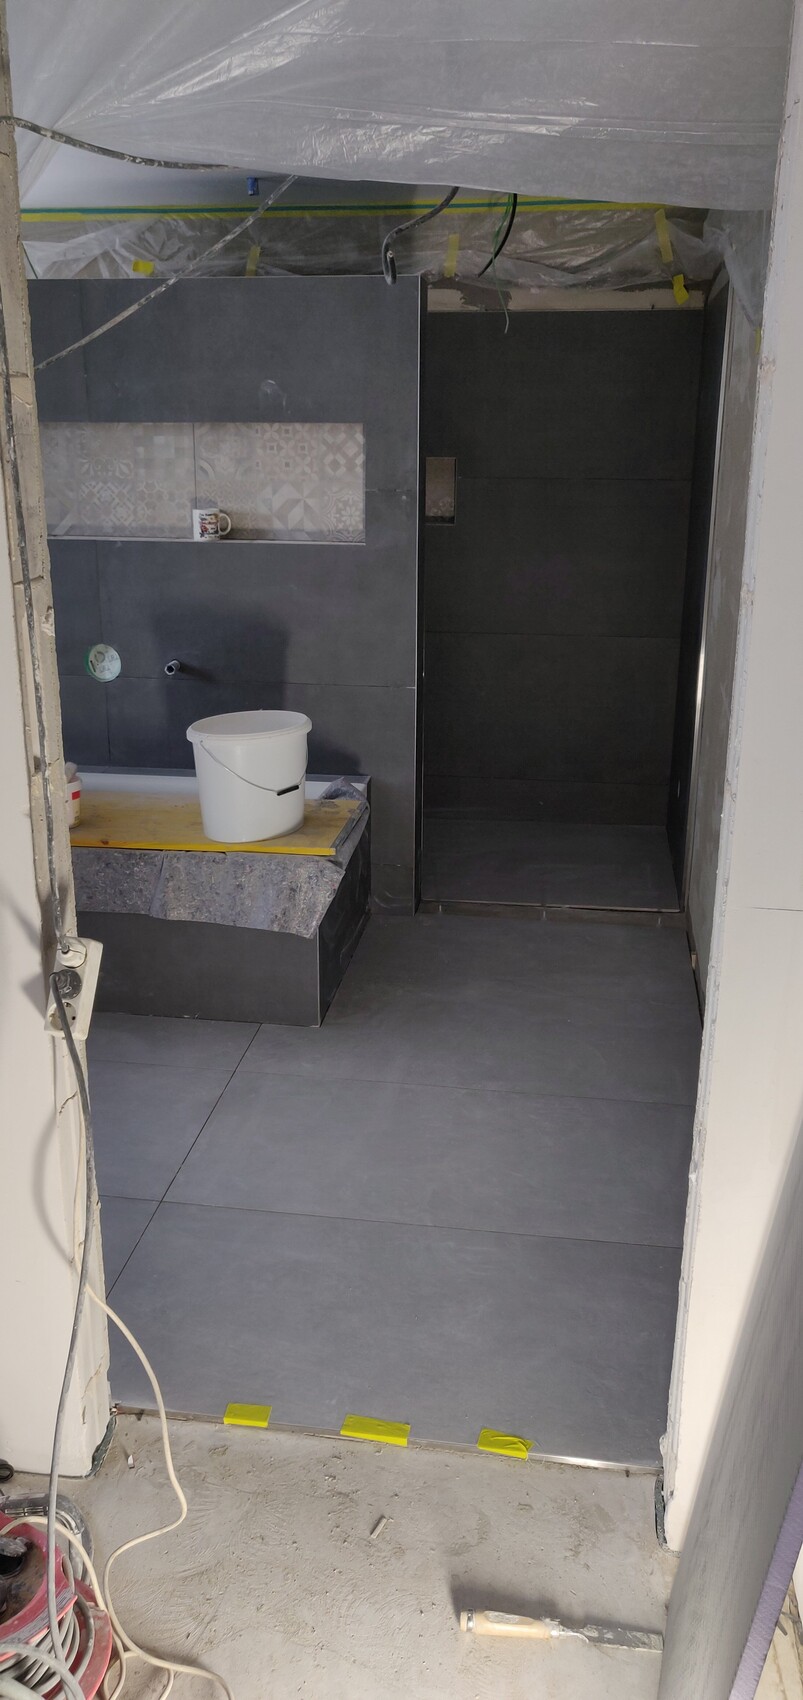
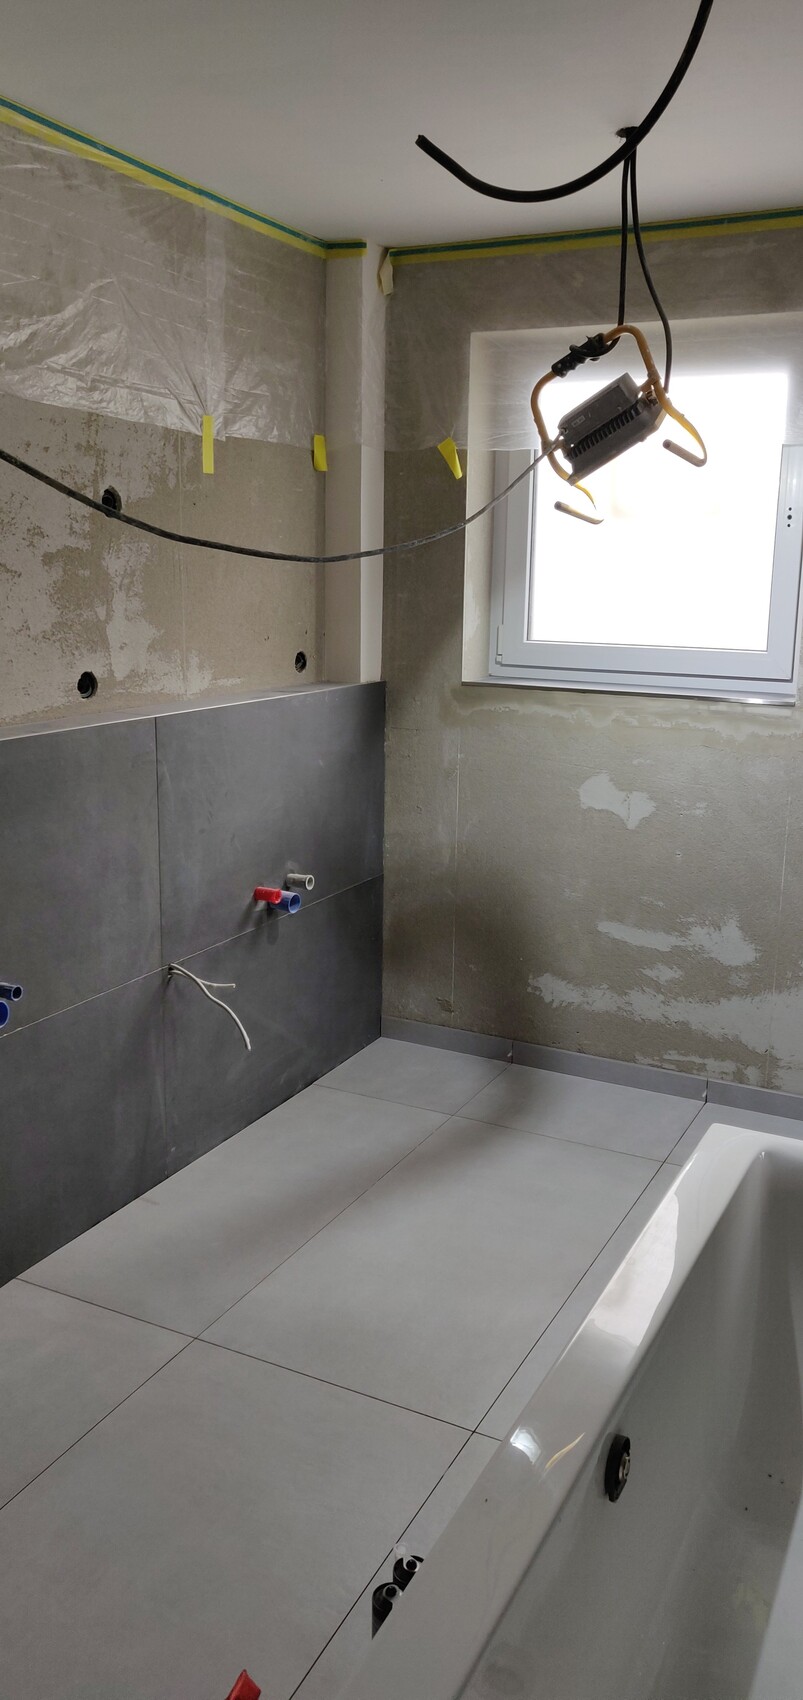
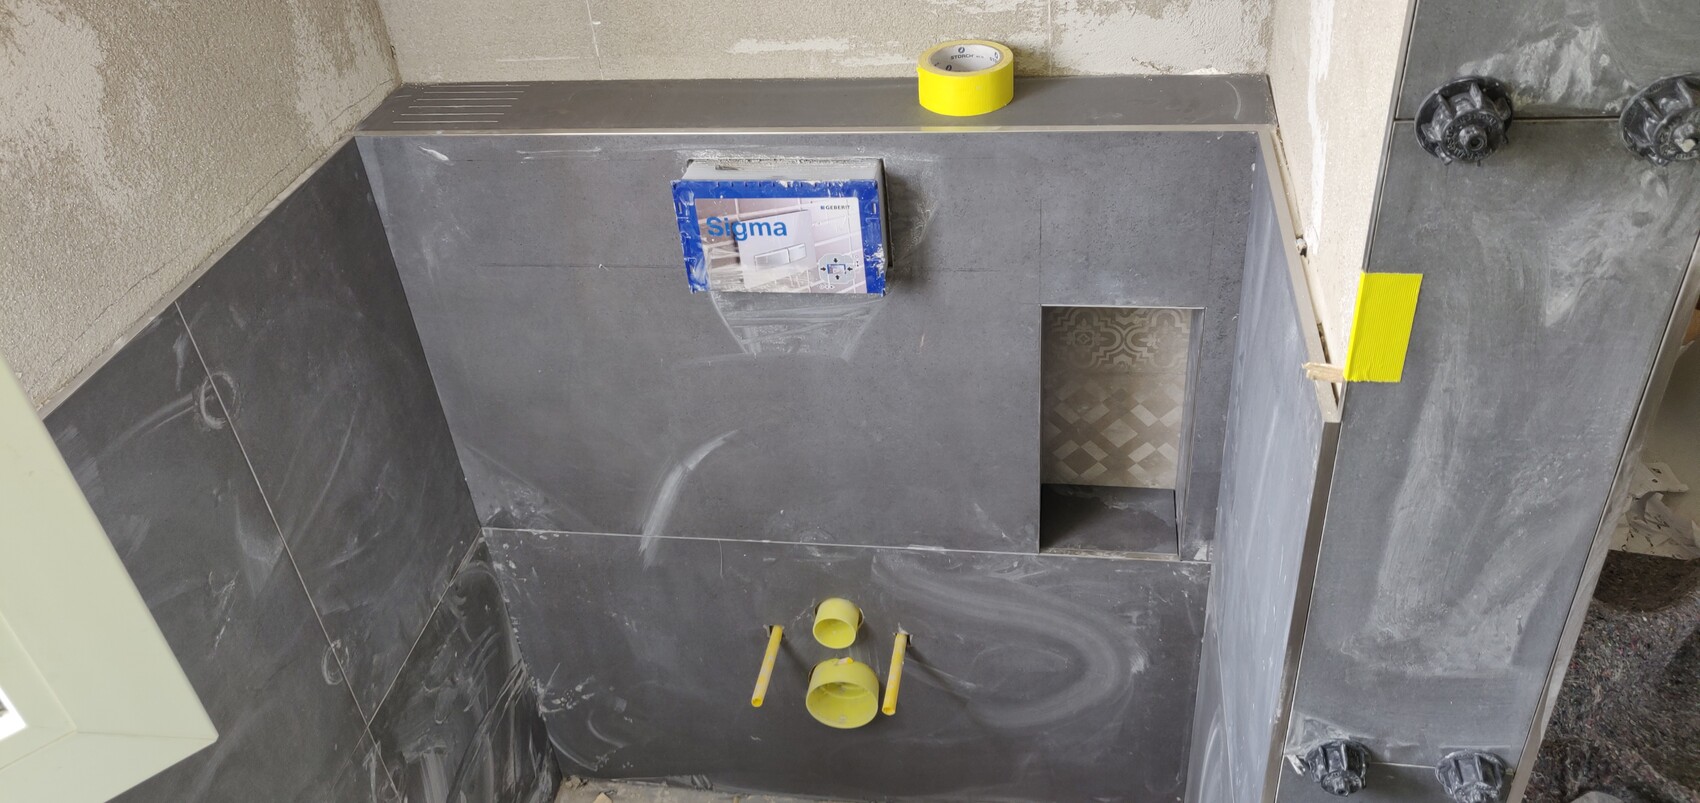
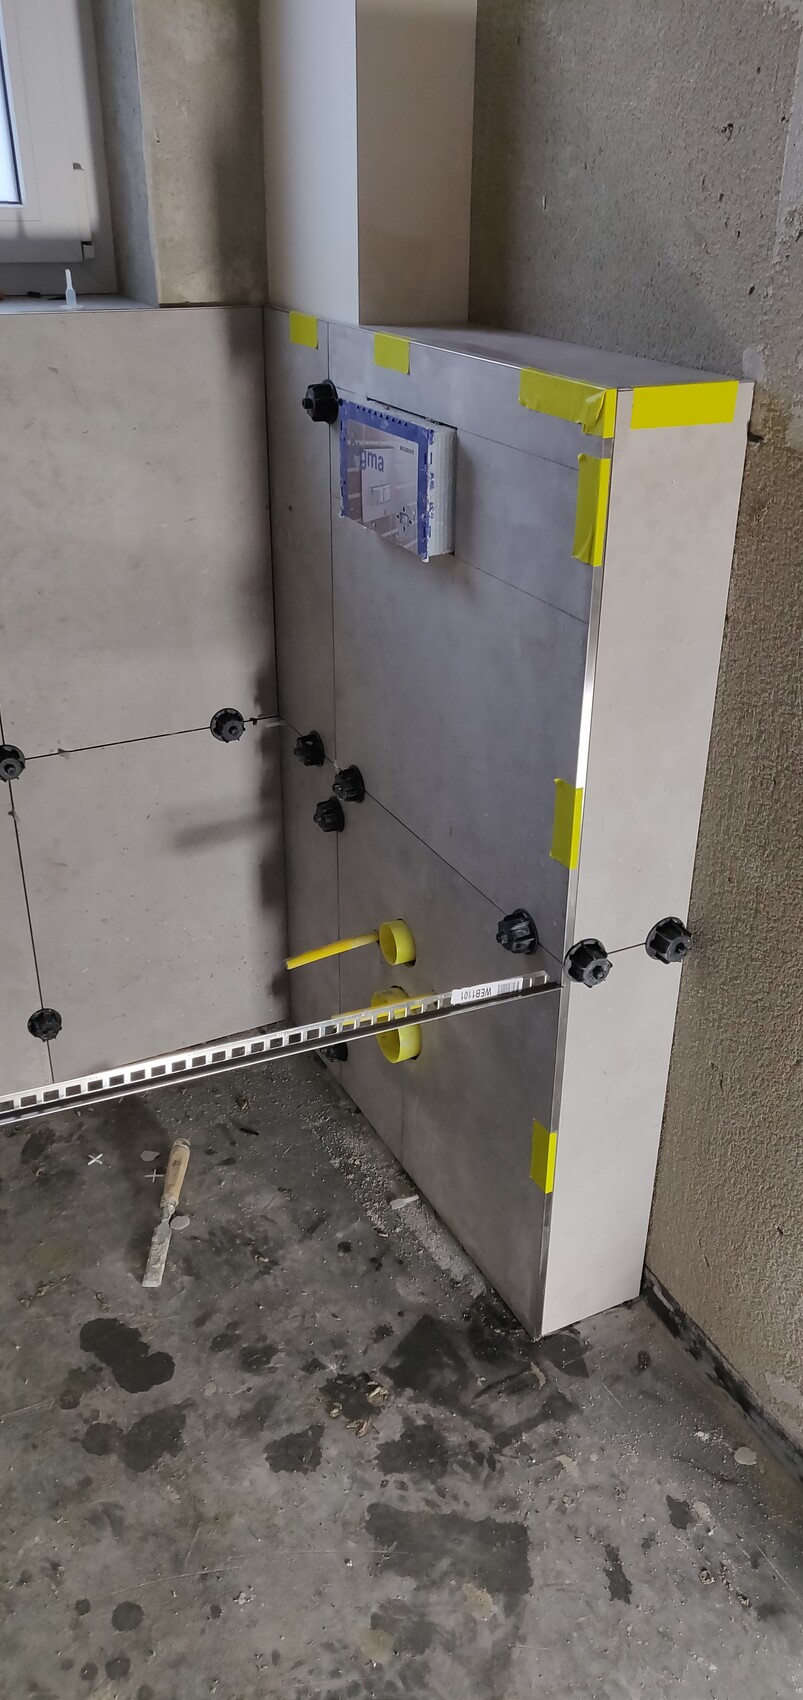
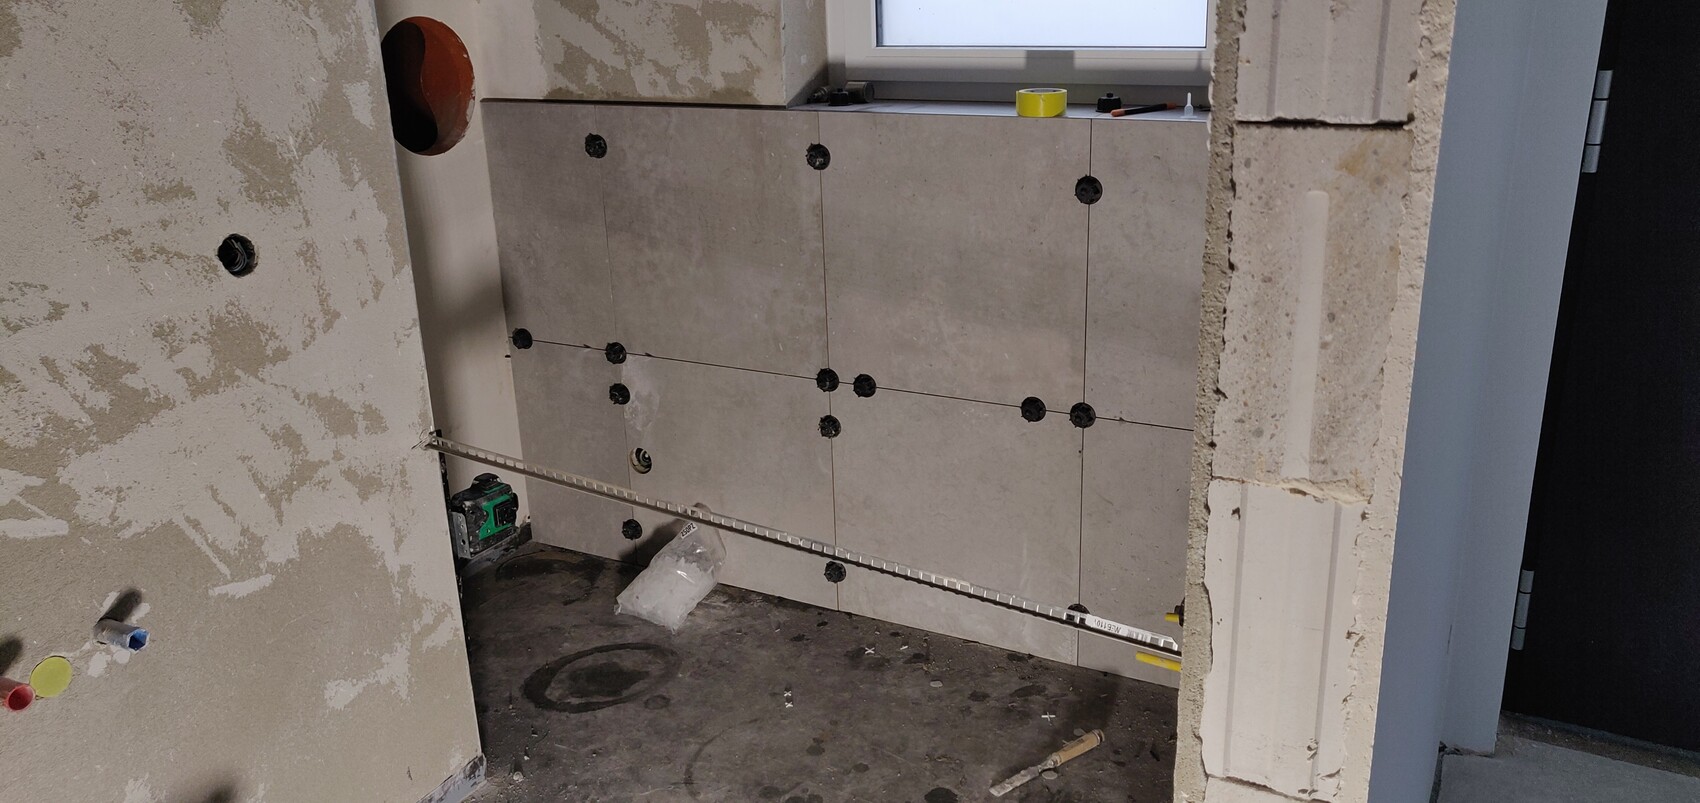
The main bathroom on the upper floor is fully tiled, and we have started the guest bathroom on the ground floor. We really like how it’s turning out.

This evening the electrical outlets and some KNX components arrived. So I went straight to the site and installed the first few sockets and sensors...
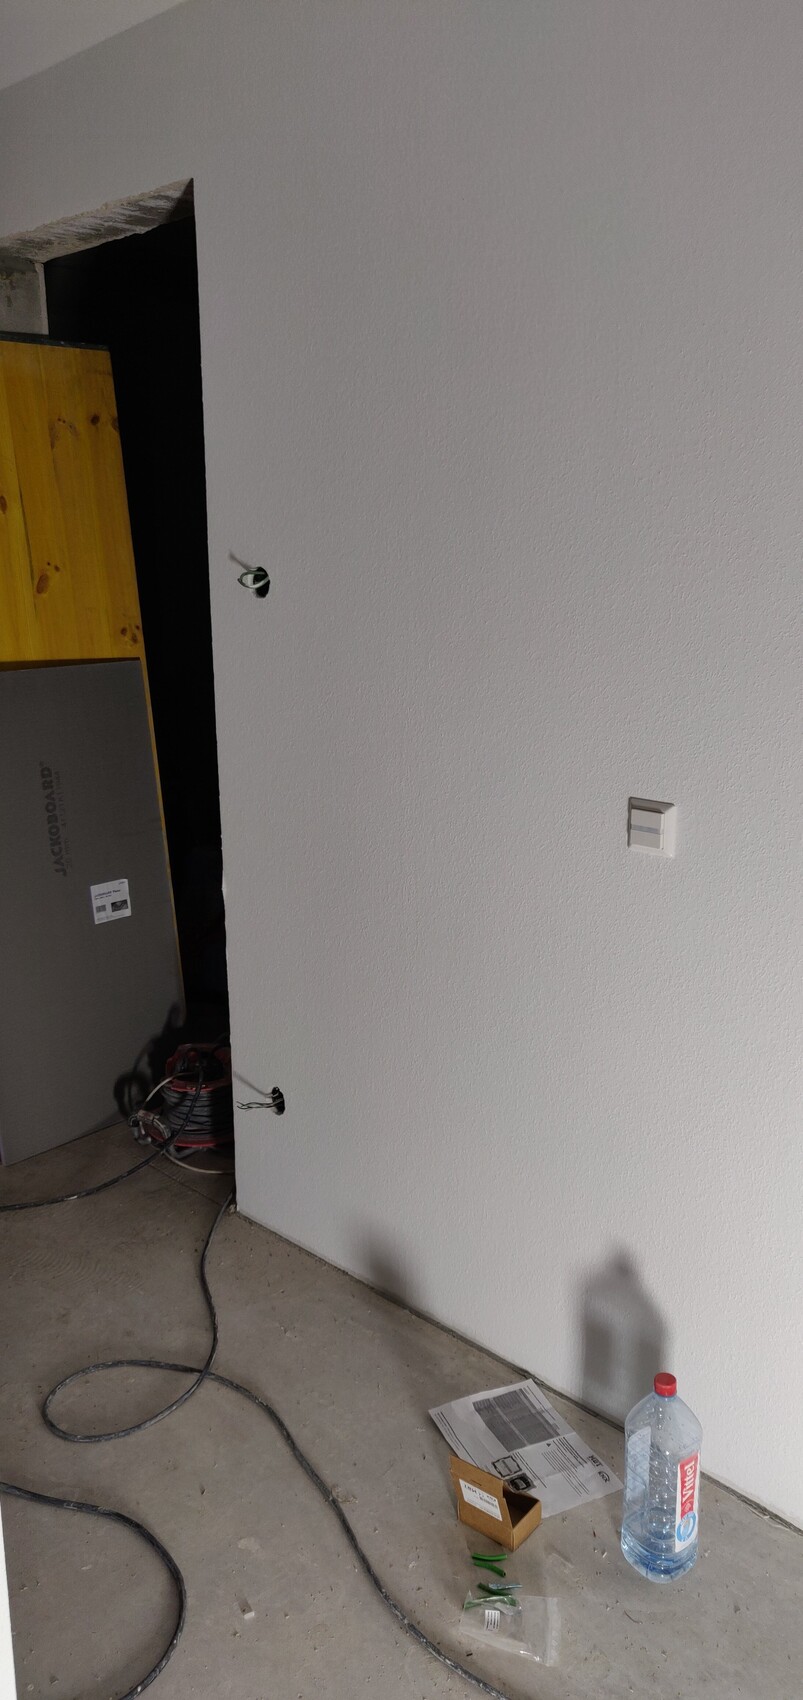
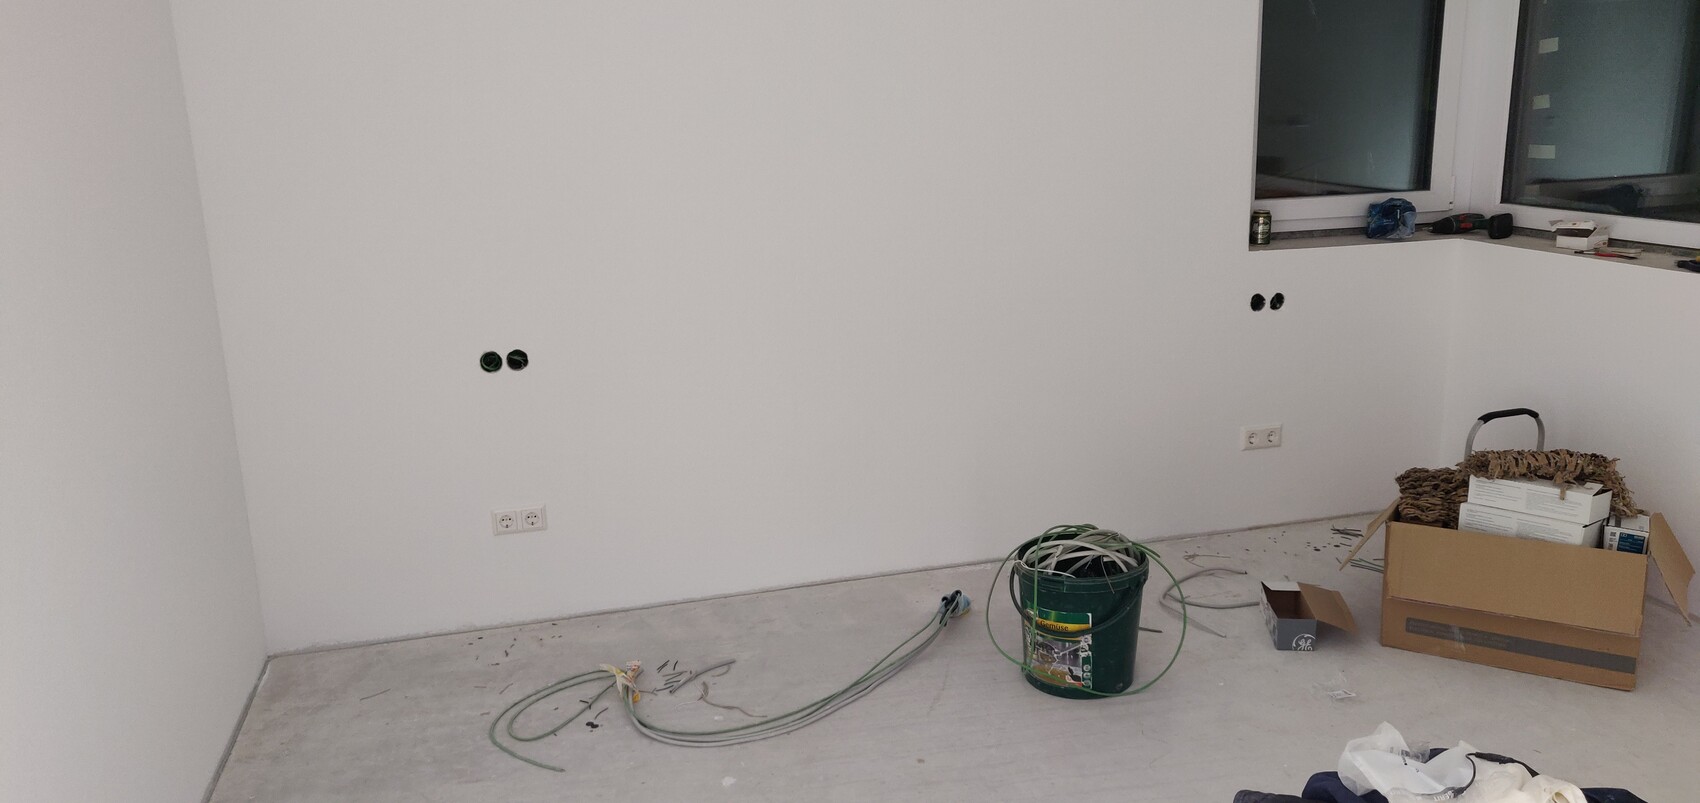
This evening the electrical outlets and some KNX components arrived. So I went straight to the site and installed the first few sockets and sensors...

M4rvin schrieb:
Tell me, whenever I Google waterproofing membranes, the walls are sometimes sealed all the way up by welding. Is it possible to do it that way? I installed the waterproofing membrane in the basement myself, and it looks much neater than yours. It’s mainly intended to protect against rising damp. From what I see, the membrane was consistently applied up to 10cm (4 inches) above the wall and then stopped.

Since Friday, we also have a front door and we are absolutely in love with it:
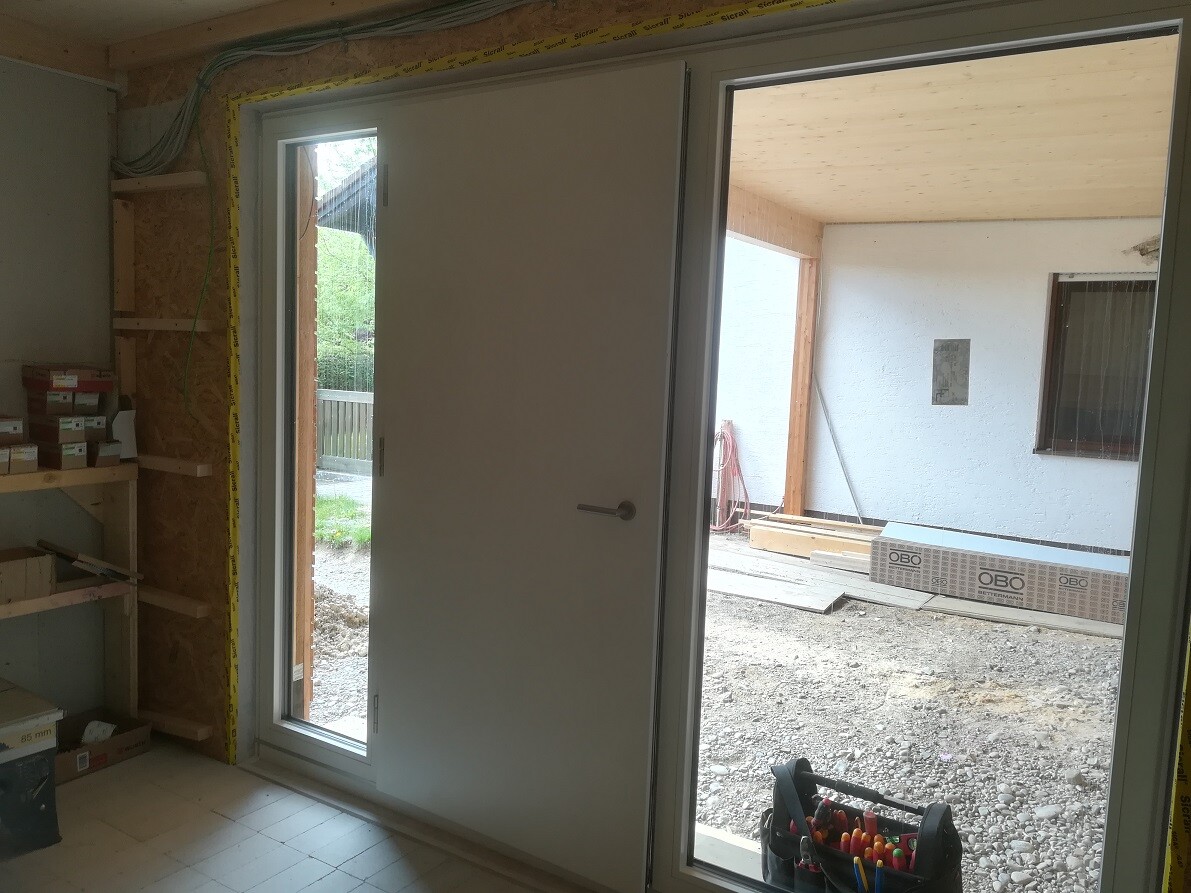
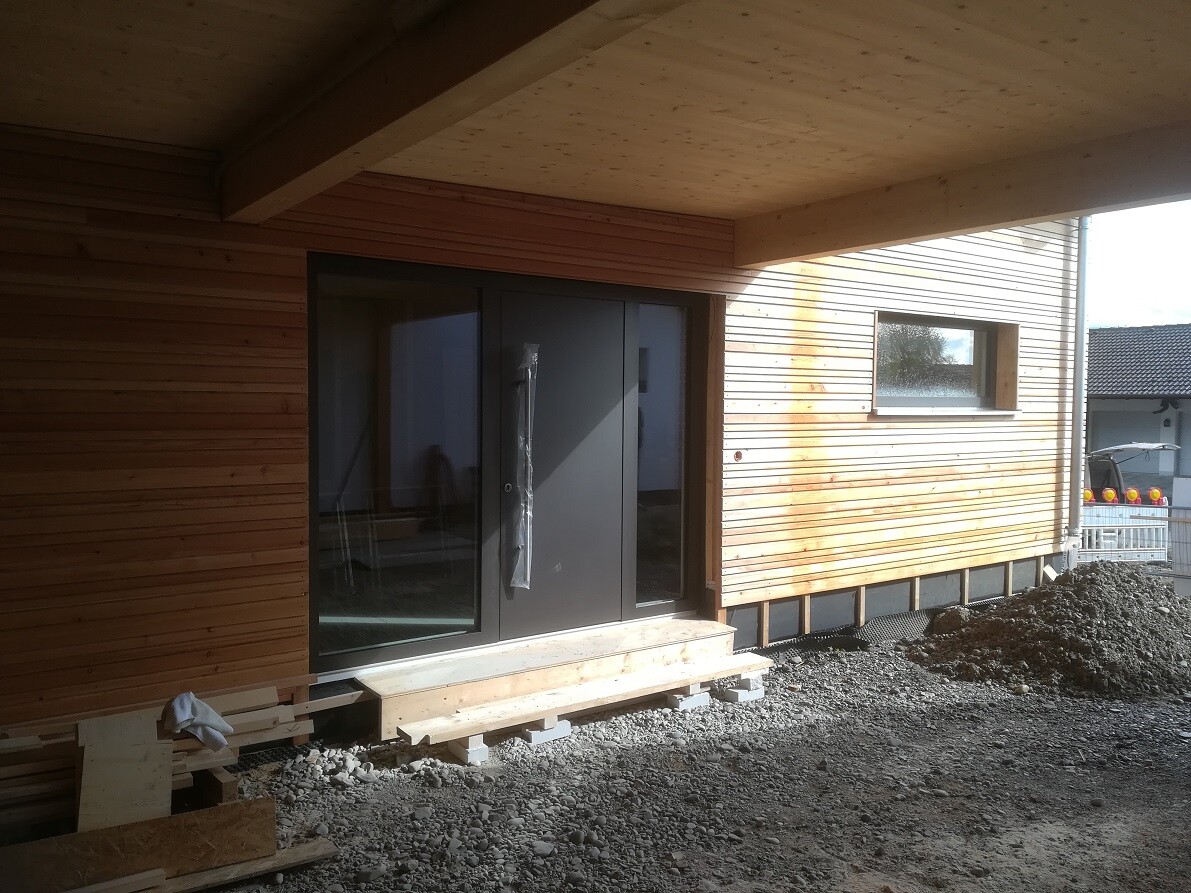

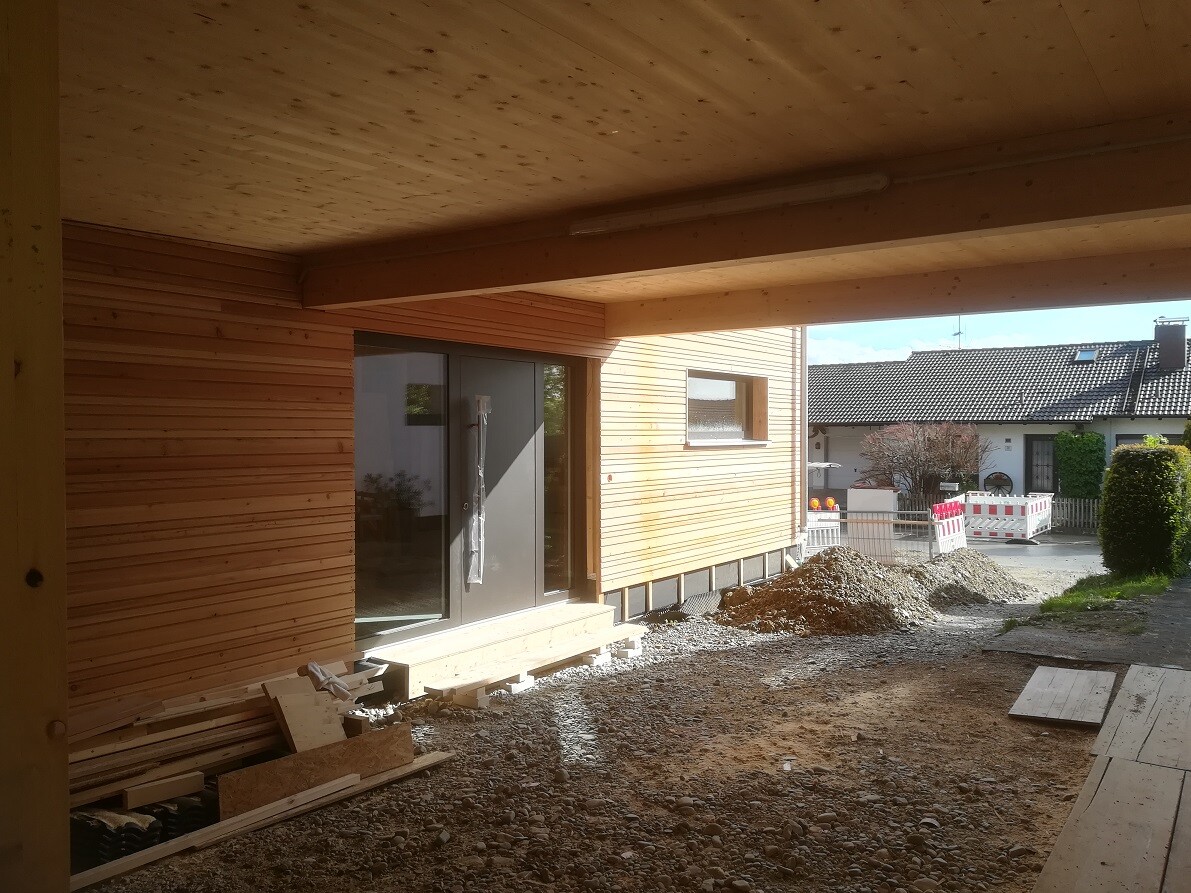
The friendly builders also quickly crafted a comfortable entrance step for us – very stylish, but temporary, because once the carport is paved, no step will be necessary anymore.
Additionally, we had the blower door test on Friday and achieved a result of 0.44. As far as I know, this is even below the requirement for a passive house.
Well done, little house!
The friendly builders also quickly crafted a comfortable entrance step for us – very stylish, but temporary, because once the carport is paved, no step will be necessary anymore.
Additionally, we had the blower door test on Friday and achieved a result of 0.44. As far as I know, this is even below the requirement for a passive house.
Well done, little house!
Zaba12 schrieb:
I applied the waterproof membrane in the basement myself, and it looks much neater than yours. It is intended as protection against rising damp. From what I can see, they consistently stopped laying it 10cm (4 inches) away from the wall.So there is something underneath up to the wall, but it seems quite loose and airy... I hope they finish the final waterproof membrane along the edge!
Similar topics