
Hello,
It would be really great if everyone here could just post one or a few pictures showing the current state of their house.
I'll start right away.
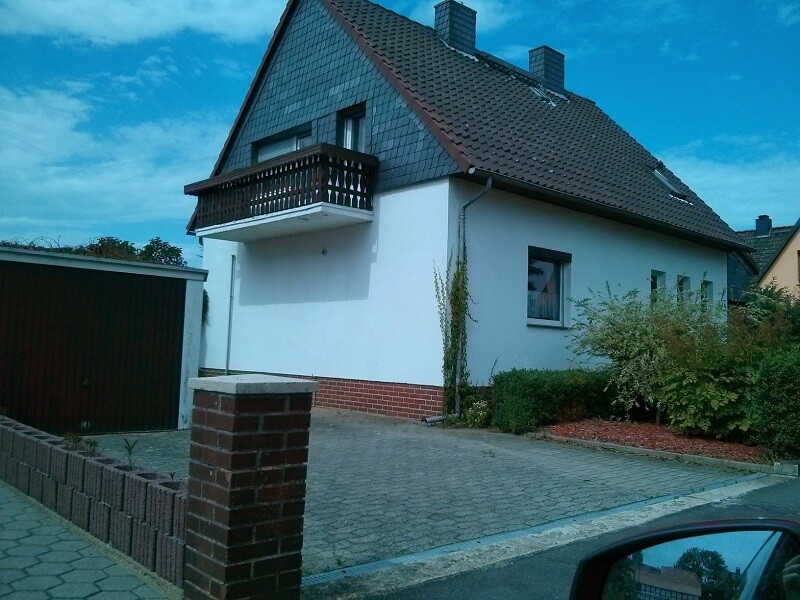
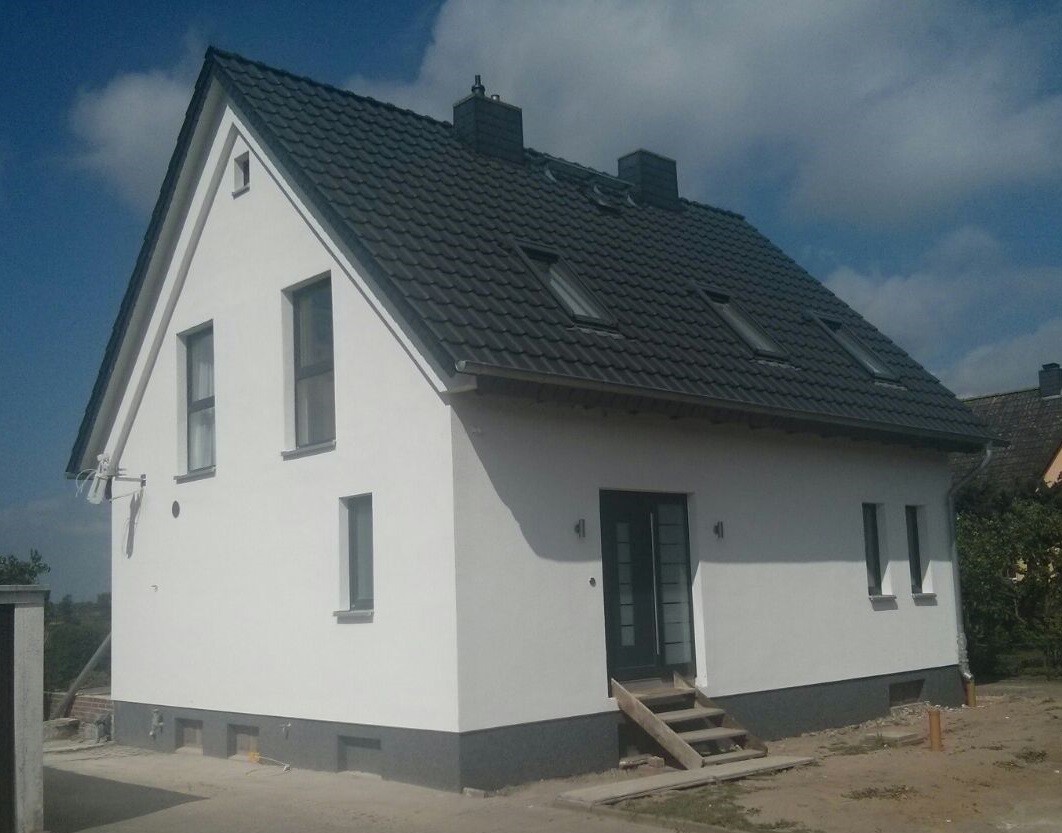
For renovations, it’s best to provide a comparison of before and after the remodeling.
Before March 2014:
After May 2015:
It would be really great if everyone here could just post one or a few pictures showing the current state of their house.
I'll start right away.
For renovations, it’s best to provide a comparison of before and after the remodeling.
Before March 2014:
After May 2015:
 Holzhäuschen11 Jul 2022 15:23
i_b_n_a_n schrieb:
I find it remarkable what you are all doing, and doing so carefully and confidently. Hats off and a deep bow 😉 That’s making me blush! You have to imagine a lot of swearing and complaining and me constantly pushing everyone ;D.
We’re doing our best. It’s already a lot, but somehow it always works out 🙂
Edit: Our main motto is actually “oh, it’ll be fine as it is.” So it’s not always that careful and loving 😀
Holzhäuschen schrieb:
I’m getting all embarrassed! Lots of swearing and complaining and me constantly pushing, you have to imagine it like that ;D.
We’re doing our best. It’s really a lot, but somehow it always works out 🙂
Edit: Our main motto is actually "oh, it’ll be fine like that." So it’s not always that loving either 😀A phrase I’ve been telling myself more often lately: "that’s just how it is now…"
I really understand you, but your result looks more than good :-) Keep your spirits up!
Holzhäuschen25 Jul 2022 13:21We’ve been busy again— all the lintels, window sills on the upper floor, and sacrificial boards are now installed on the house.
For a moment, tensions ran high (just kidding).
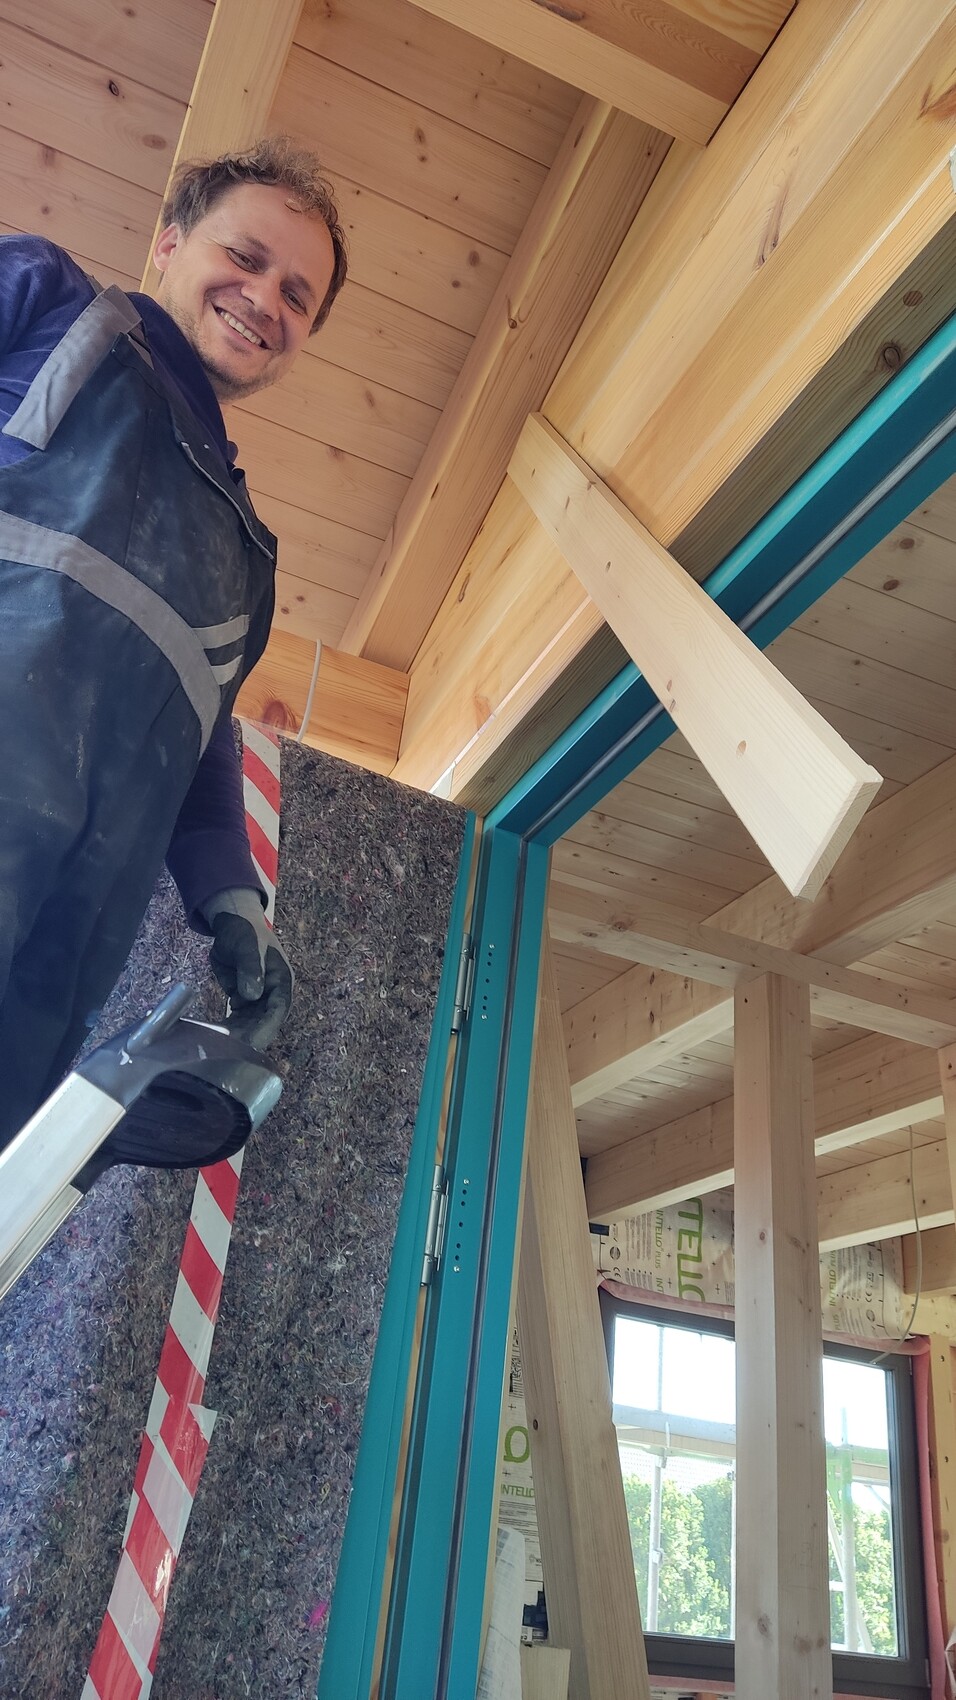
But in the end, everything is perfectly level.

Fullwood kindly gave us a bit of extra work by delivering the sacrificial boards too long (as if we didn’t have enough to do 😉).
Without sacrificial board

With sacrificial board, way too long. We have no idea how we’re supposed to use the pre-drilled holes at the bottom 😀

Thankfully, our trusty Kapex saw came to the rescue, and we cut all boards down, then installed, impregnated, glazed, and waxed them.
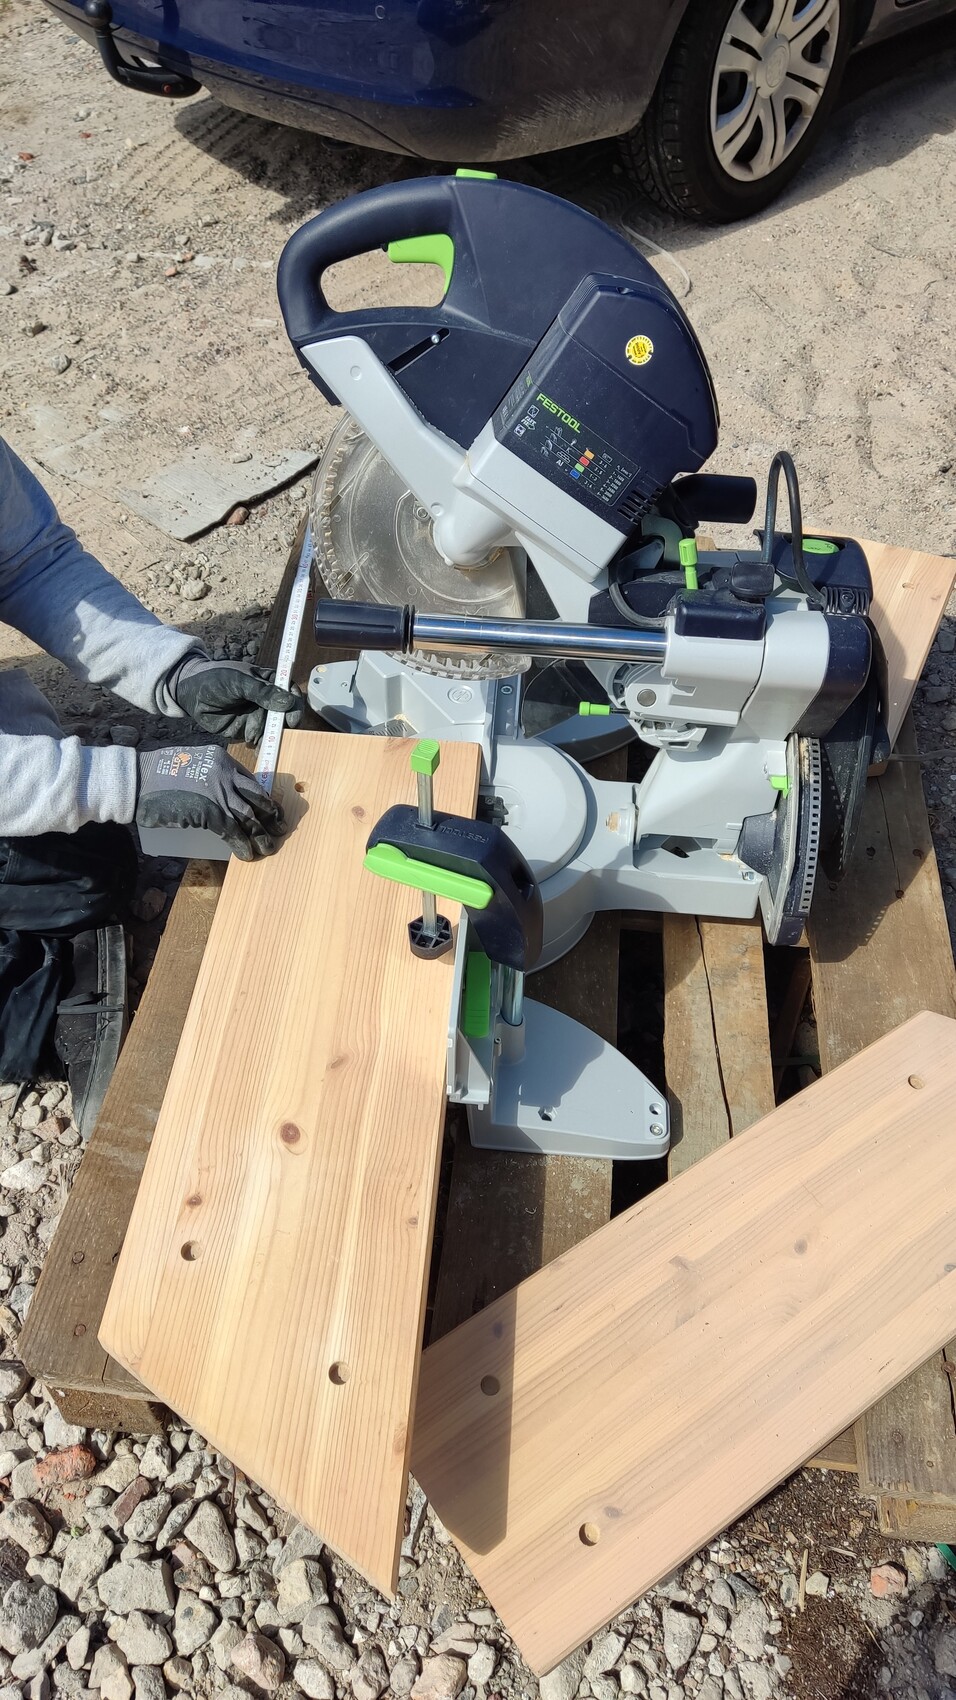
Now everything fits perfectly.

Outside, everything is finally painted and installed except for the porch roof. We were able to cancel the scaffolding rental this week (though the scaffolders are still on vacation until next week).
Since our electricians were on vacation without informing us, the screed heating phase couldn’t be started yet. It’s not a problem; we’ll just continue working indoors in the meantime. We’ve started insulating and installing vapor barriers in the first room’s roof.
Not much fun with this heat 😉.
Before

Progress update
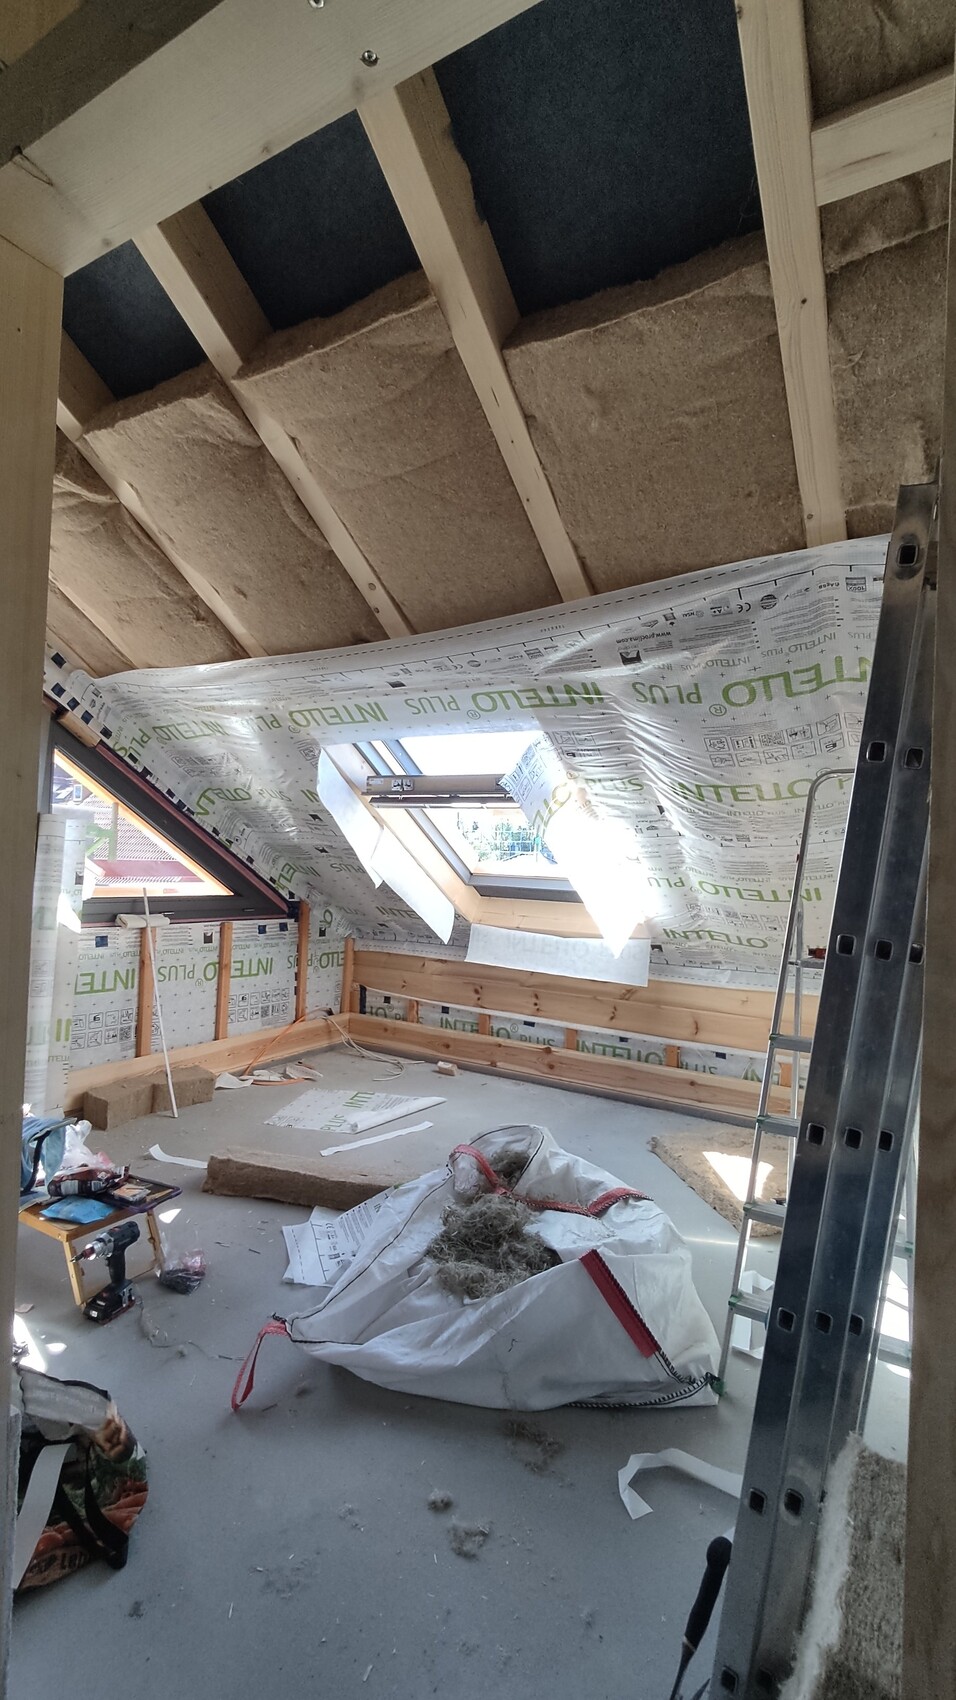
First, insert the insulation from above, then measure the gap.
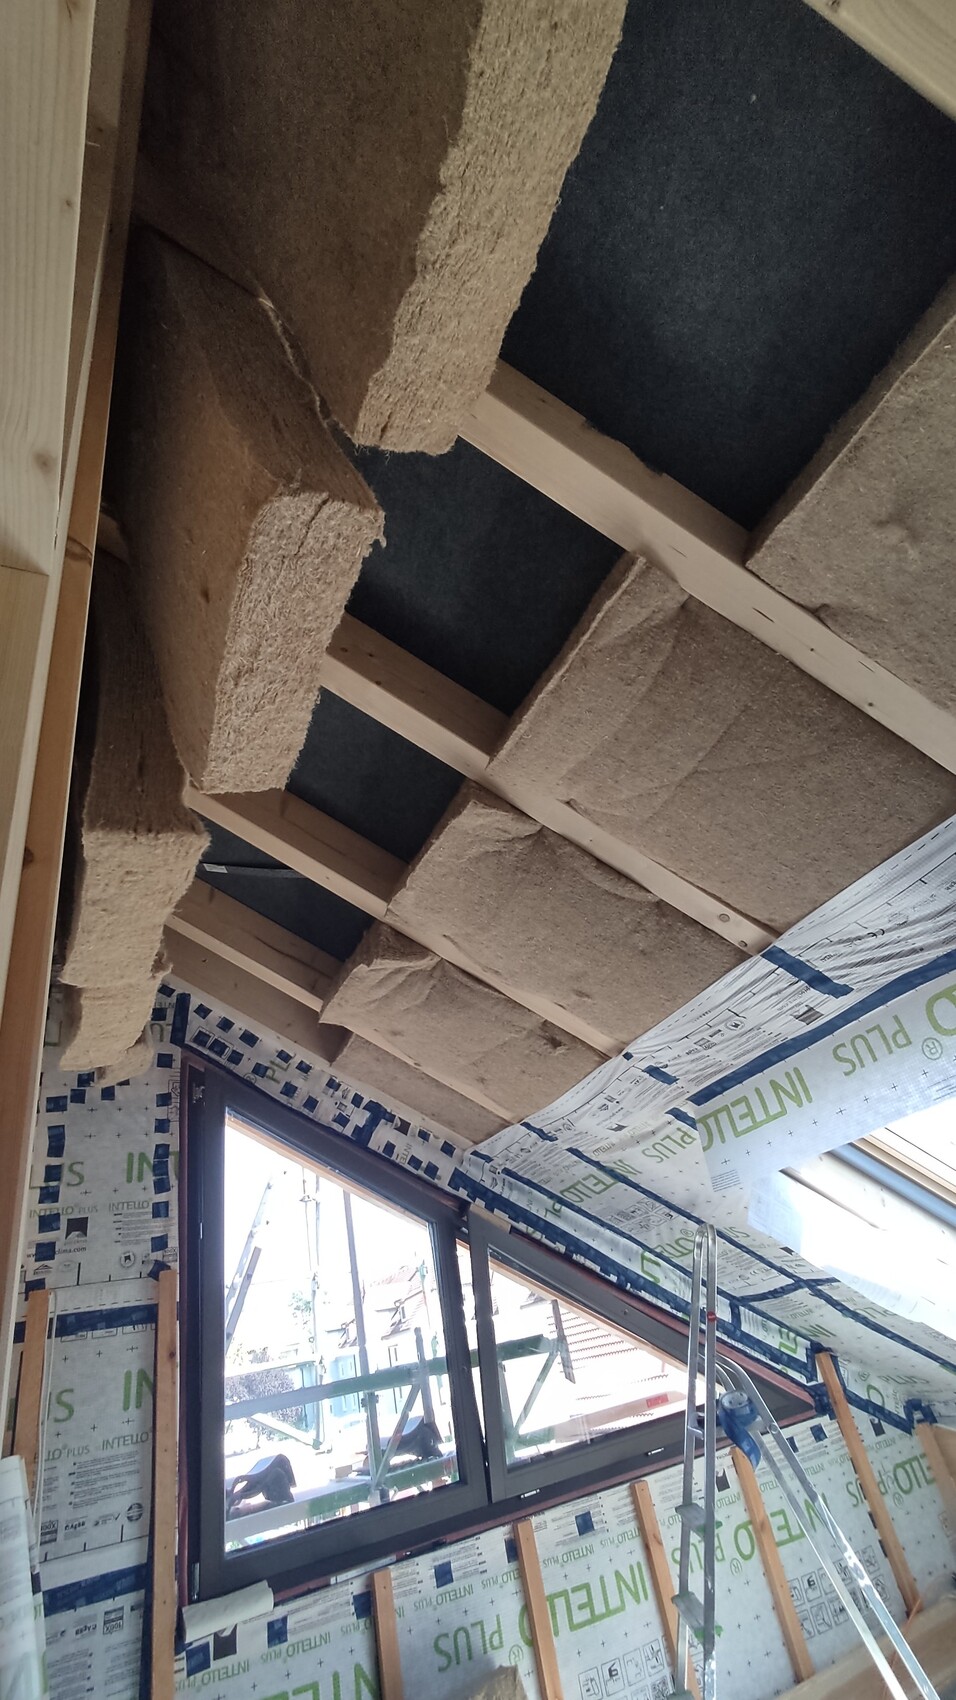
And then stuff in the rest.

We chose ThermoHemp insulation (even though we don’t like the recycled PET in it, we couldn’t find anything without it that’s available for private customers). The mats can be cut to size from a certain quantity. We had them cut to fit our standard rafter spacing. Unfortunately, the mats are quite soft and tend to bulge a lot. That’s quite annoying because they no longer hold well and tend to fall out. We had to secure all of them with extra nails, adding time and effort... When you look at photos of wood fiber insulation, those always fit perfectly inside the rafters or walls. Ours look like they’re pregnant ^^. And before anyone thinks the extra centimeters for compression were forgotten: the rafter is 63cm (25 inches), and the mats are 65cm (26 inches).
At the knee wall at the bottom, we used loose hemp insulation for the small corner again.
We wanted to finish it all, but had to take down the entire scaffolding first. I wanted to clean the fixed window elements from the outside before the scaffolding was removed, and the site supervisor (our dog) also wanted attention. The lake was calling quite loudly on Sunday evening, too.
Since we decided not to overwork ourselves anymore, we’re taking it a bit slower now 🙂
For a moment, tensions ran high (just kidding).
But in the end, everything is perfectly level.
Fullwood kindly gave us a bit of extra work by delivering the sacrificial boards too long (as if we didn’t have enough to do 😉).
Without sacrificial board
With sacrificial board, way too long. We have no idea how we’re supposed to use the pre-drilled holes at the bottom 😀
Thankfully, our trusty Kapex saw came to the rescue, and we cut all boards down, then installed, impregnated, glazed, and waxed them.
Now everything fits perfectly.
Outside, everything is finally painted and installed except for the porch roof. We were able to cancel the scaffolding rental this week (though the scaffolders are still on vacation until next week).
Since our electricians were on vacation without informing us, the screed heating phase couldn’t be started yet. It’s not a problem; we’ll just continue working indoors in the meantime. We’ve started insulating and installing vapor barriers in the first room’s roof.
Not much fun with this heat 😉.
Before
Progress update
First, insert the insulation from above, then measure the gap.
And then stuff in the rest.
We chose ThermoHemp insulation (even though we don’t like the recycled PET in it, we couldn’t find anything without it that’s available for private customers). The mats can be cut to size from a certain quantity. We had them cut to fit our standard rafter spacing. Unfortunately, the mats are quite soft and tend to bulge a lot. That’s quite annoying because they no longer hold well and tend to fall out. We had to secure all of them with extra nails, adding time and effort... When you look at photos of wood fiber insulation, those always fit perfectly inside the rafters or walls. Ours look like they’re pregnant ^^. And before anyone thinks the extra centimeters for compression were forgotten: the rafter is 63cm (25 inches), and the mats are 65cm (26 inches).
At the knee wall at the bottom, we used loose hemp insulation for the small corner again.
We wanted to finish it all, but had to take down the entire scaffolding first. I wanted to clean the fixed window elements from the outside before the scaffolding was removed, and the site supervisor (our dog) also wanted attention. The lake was calling quite loudly on Sunday evening, too.
Since we decided not to overwork ourselves anymore, we’re taking it a bit slower now 🙂

Fantastic. I have to admit, I’m a bit jealous of your choice of materials... I’ll make sure to improve that even more with my next house.
But I’m wondering, why did you cover the purlin ends with sacrificial boards? That’s quite unusual, isn’t it?
I think the exposed ends would look nicer visually as well 😉
But I’m wondering, why did you cover the purlin ends with sacrificial boards? That’s quite unusual, isn’t it?
I think the exposed ends would look nicer visually as well 😉
Holzhäuschen25 Jul 2022 20:39i_b_n_a_n schrieb:
Beautiful. I do envy your choice of materials a bit... next time I build a house, I want to do it even better...
But I wonder, why did you cover the purlin ends with sacrificial boards? That’s rather unusual, isn’t it?
I think the exposed ends look nicer, too 😉 Yes, overall we are very satisfied with the materials we used.
The cut ends of the beams are a weak point where water can theoretically penetrate the wood and cause major damage.
That’s why we used sacrificial boards, which can be replaced or “sacrificed” to protect the beam ends.
Even though the wood was impregnated, glazed, waxed twice, and treated with an additional wood seal.
At first, we also preferred the look without them, but now we actually like it. We figured there must be good reasons why the supplier includes sacrificial boards. However, other Fullwood building families have chosen not to install them because they didn’t like the look.
T
Traumfaenger26 Jul 2022 00:42i_b_n_a_n schrieb:
Finally, the gray-brown desert is gone. One morning and 160m² (1,722 sq ft) of turf was installed in both gardens (had it installed 😉 )
What’s still missing is a small gate, my wooden deck, the yew hedge starting in August, and a few more colorful plants.
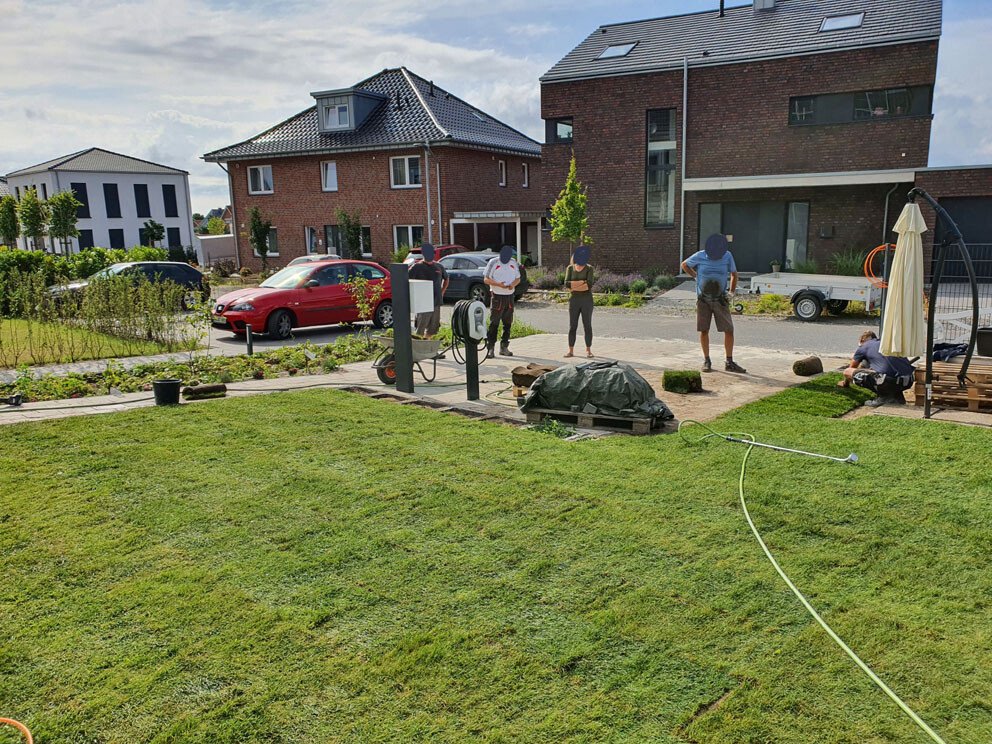
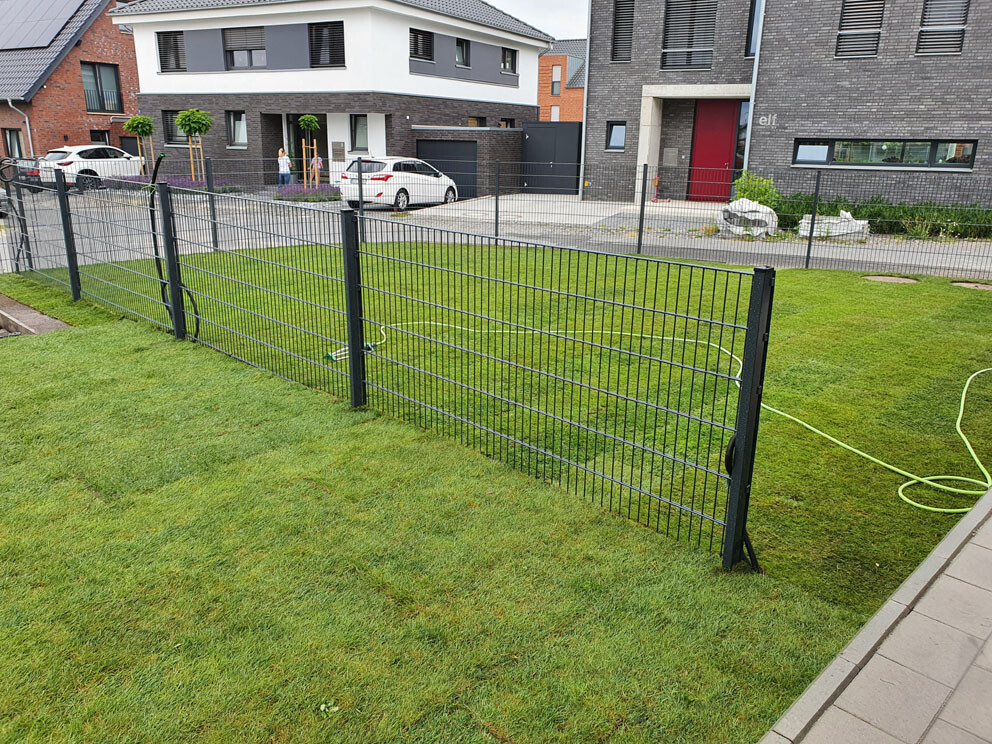
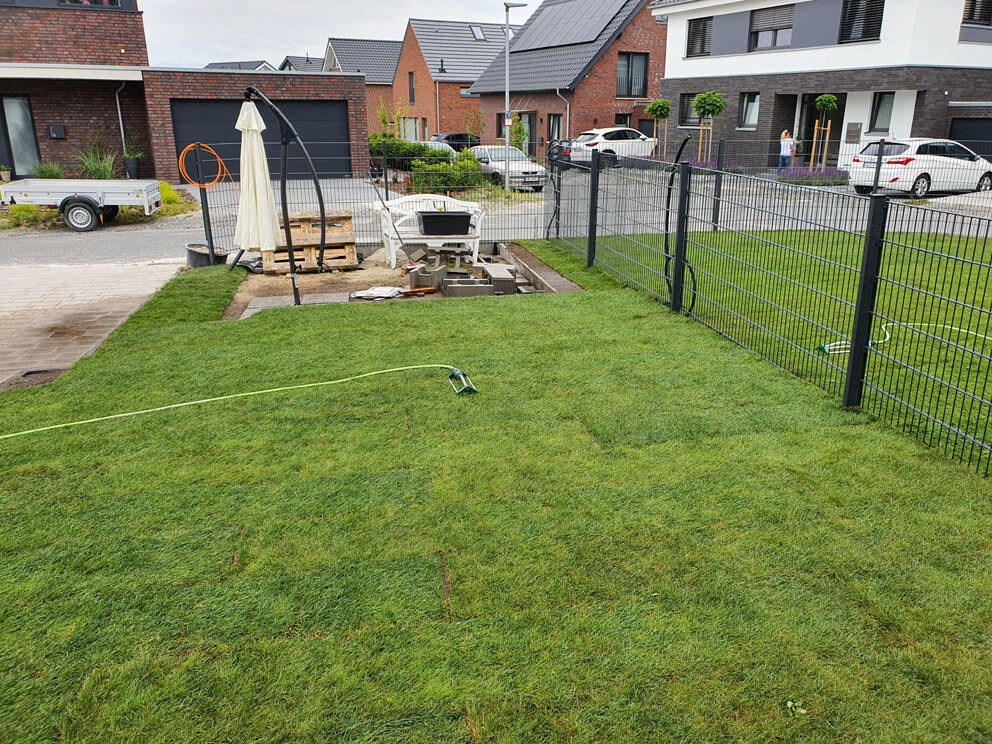
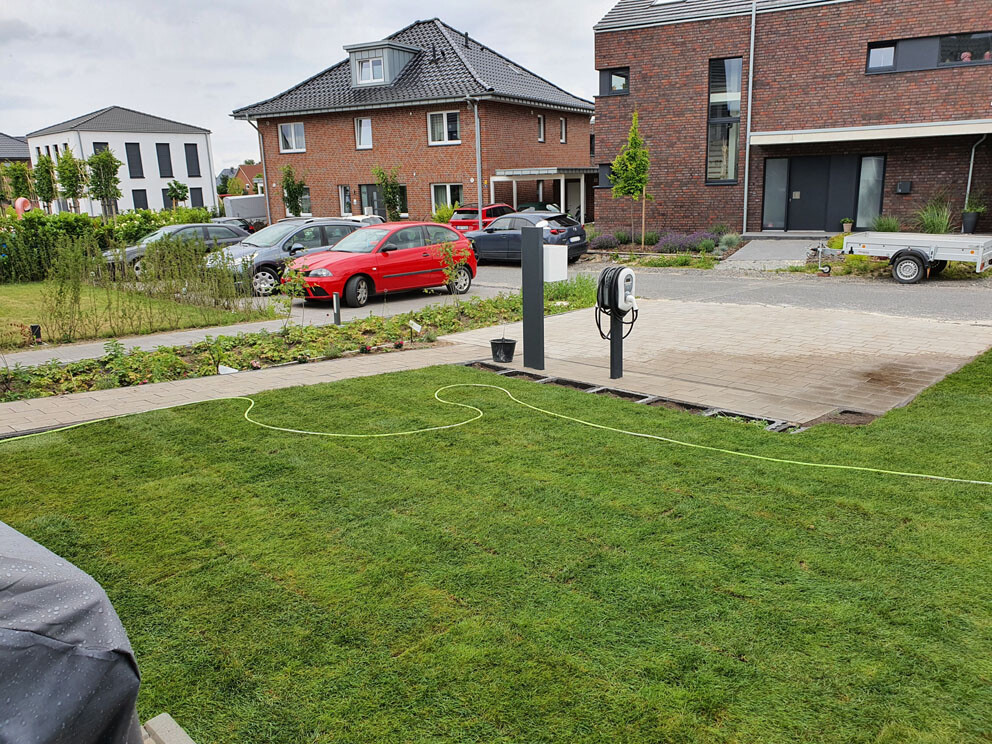
Three minutes after finishing the work, I listed the remaining 5m² (54 sq ft) of turf on an online classifieds site.
And 10 minutes later, it was already gone, including the 4 disposable pallets. That looks really neat. Are there more pictures of the house here? I like the brickwork a lot. Why does the front door appear red in one picture and anthracite in another?