
B
Benutzer 100116 Jul 2022 09:32Since there is always something to do, here is my latest project.
The requirement was for a modern look while keeping costs low.
Total cost approximately 1700 euros.
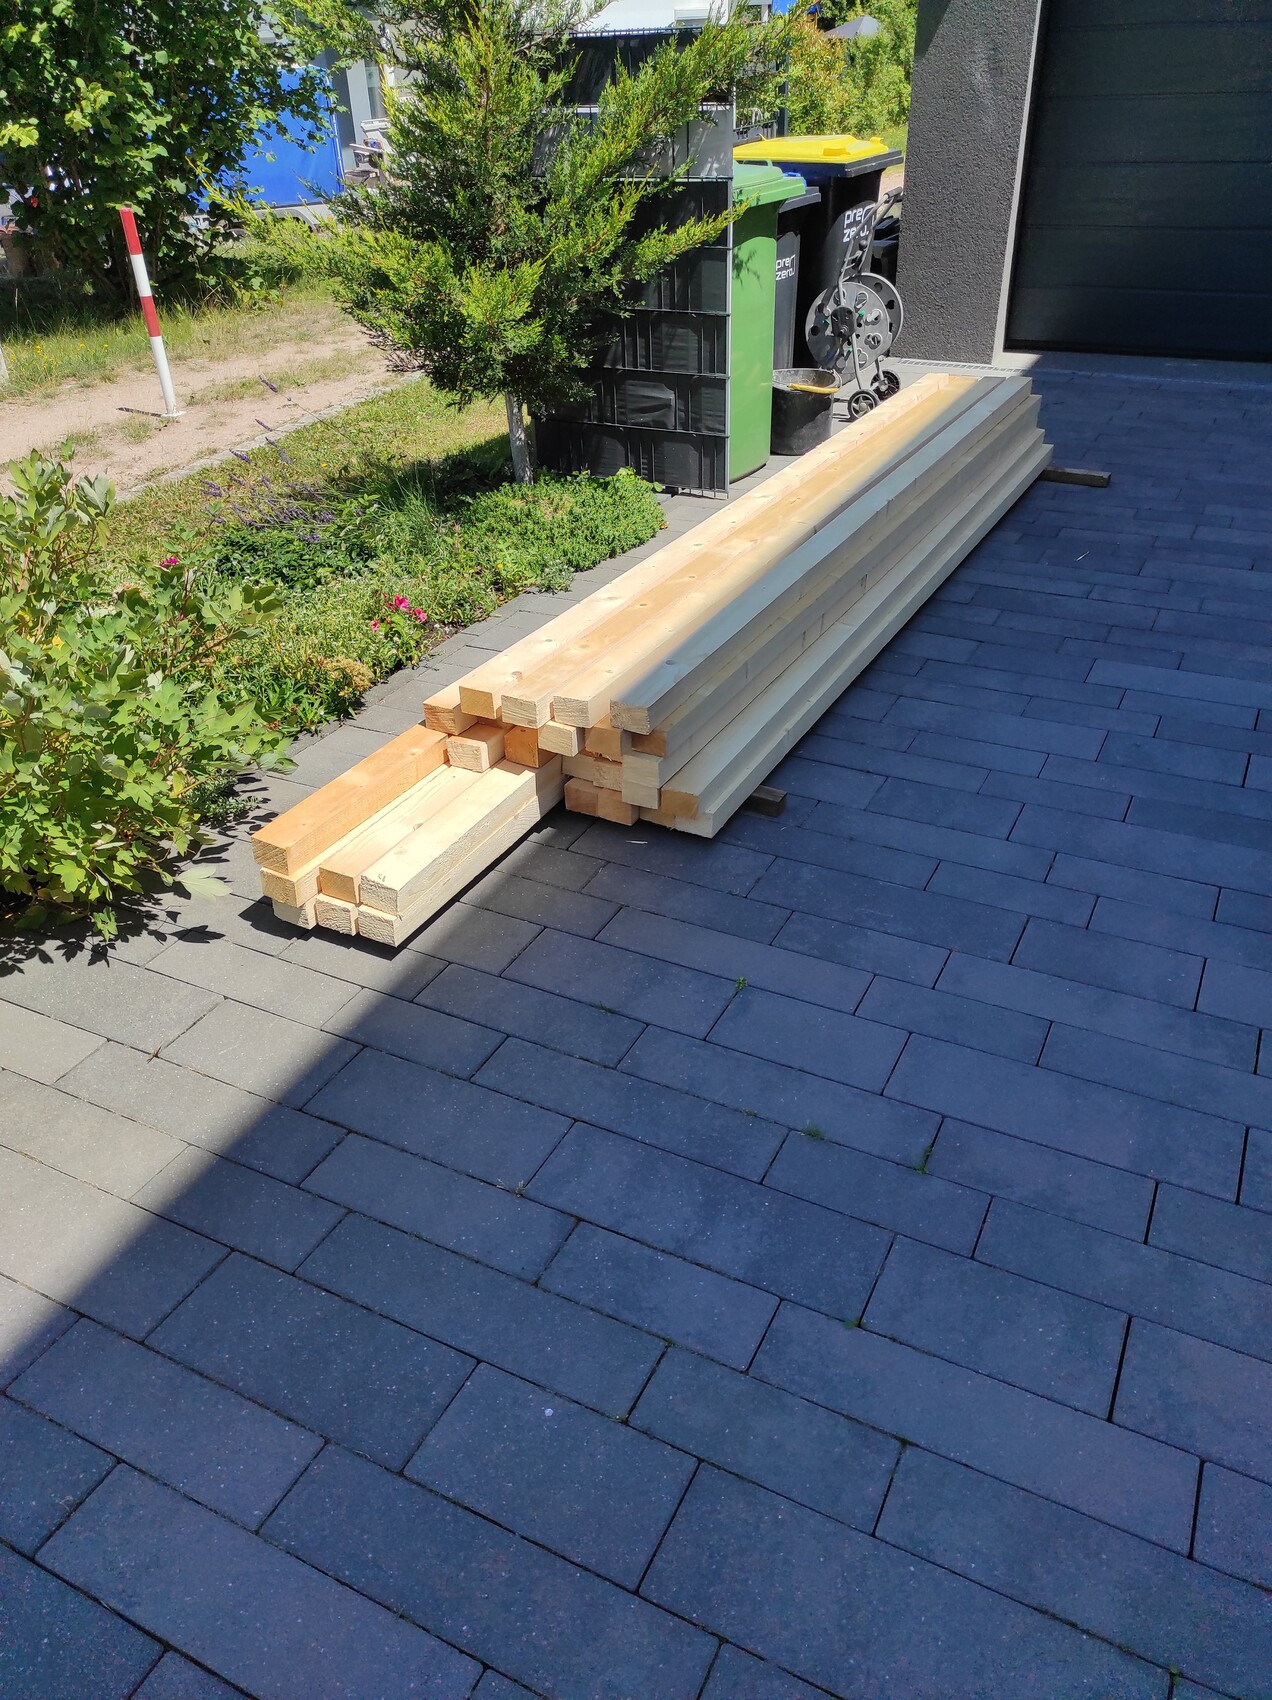
Wood 350 euros, currently one third of the price at the timber mill compared to the hardware store.
HPL 700 euros, price per square meter 49.90 including cutting to my specified dimensions.
Acrylic glass, 10 pieces, 100x30x6mm (3.9x1.2x0.24 inches) in gray, 200 euros.
Screws about 80 euros, bought cheap on eBay, easily 50% less expensive than at the local hardware store.
20 Tox screws for Poroton bricks, 14 euros.
100 wood screws 6x120mm (6x4.7 inches).
100 wood screws 6x90mm (6x3.5 inches).
500 wood screws 5x50mm (5x2 inches), all used up...
100 lacquered stainless steel screws, 17 euros. Need to reorder those.
50 sheet metal screws with sealing for the coping.
EPDM foil with adhesive, 230 euros.
10 OSB boards for 60 euros.
3 sleeves for embedding in concrete, 10 euros.
2 bags of ready-mix concrete, 10 euros.
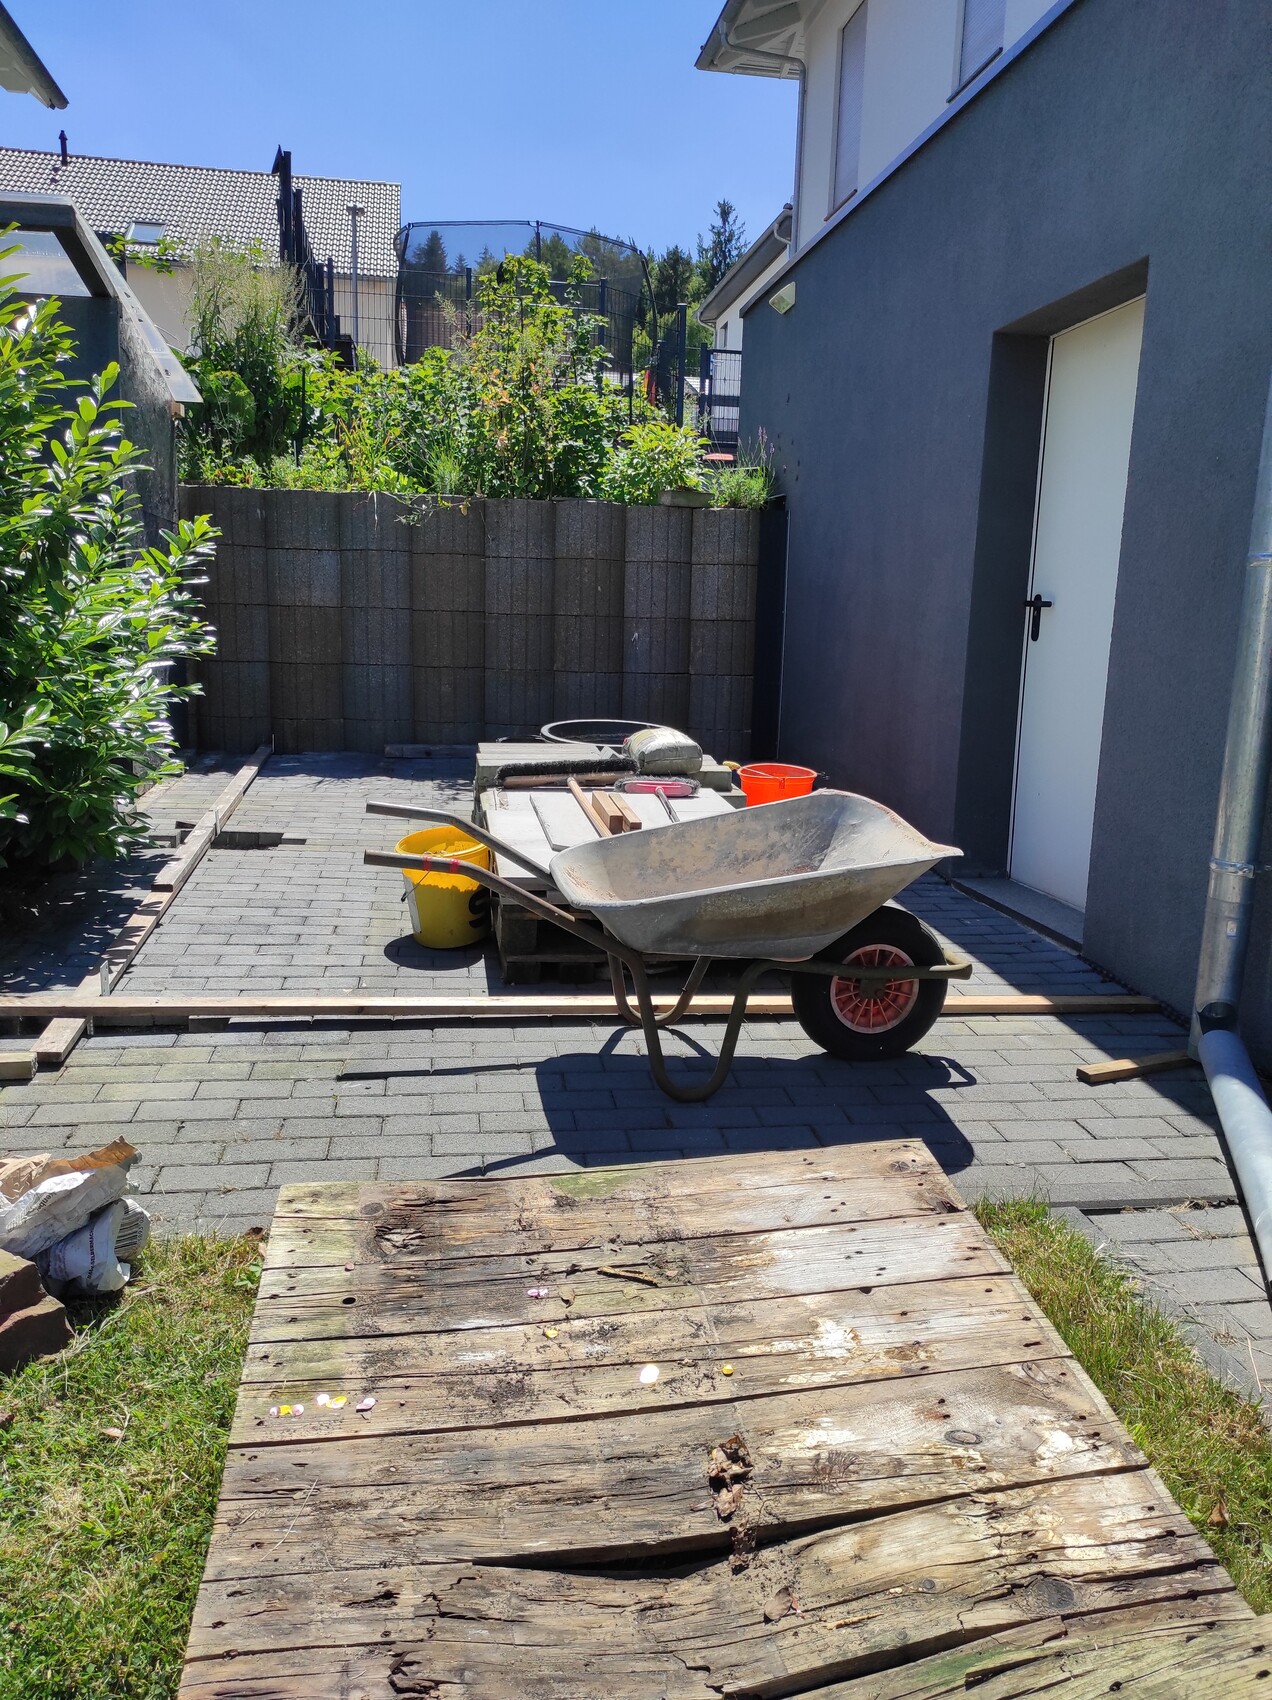
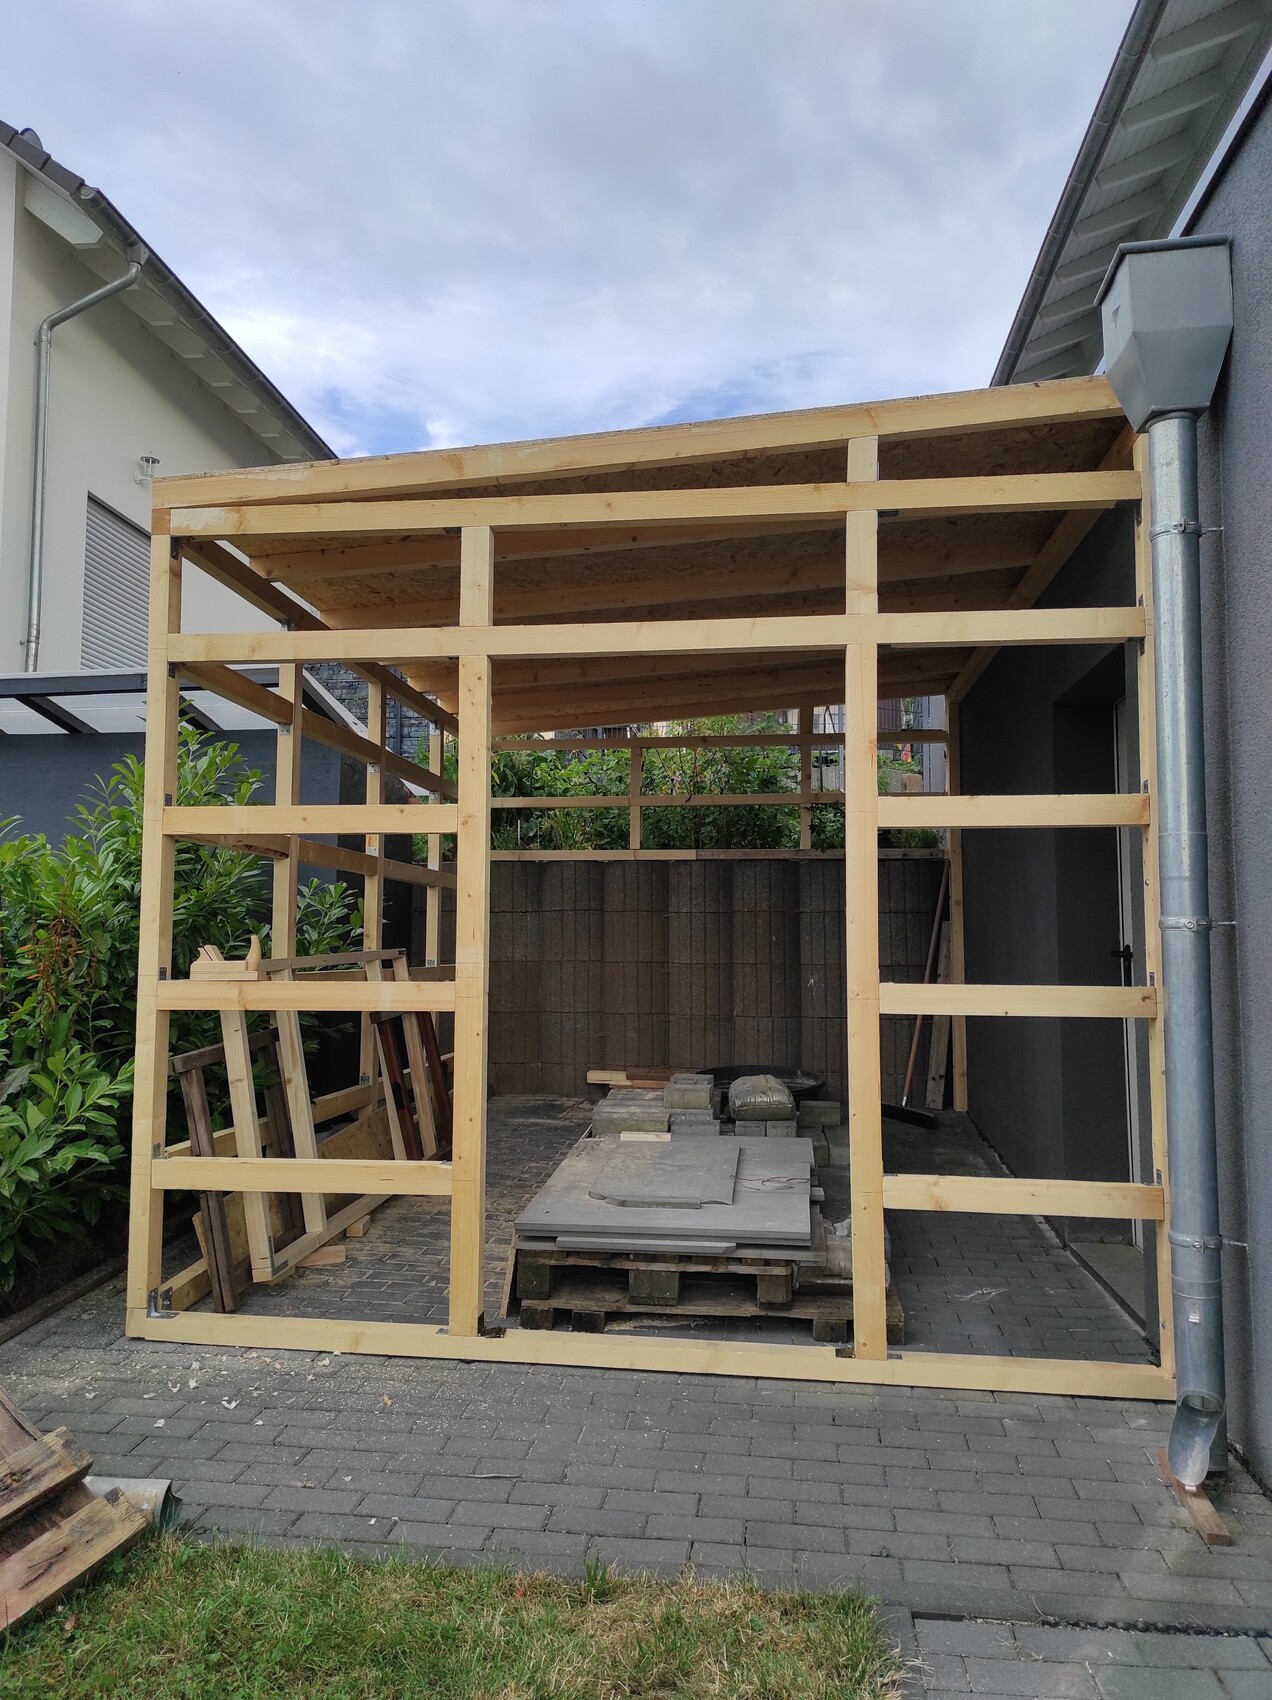
I have planned this for a while but kept hesitating because I wasn’t quite sure how to carry it out. I have always seen the finished garden sheds from the outside but never the actual build process.
So here is my contribution to help others overcome their hesitation.
A positive side effect is that it hides the plant containers :p
Work will continue next week; for now, the kids come first on the weekend.
The requirement was for a modern look while keeping costs low.
Total cost approximately 1700 euros.
Wood 350 euros, currently one third of the price at the timber mill compared to the hardware store.
HPL 700 euros, price per square meter 49.90 including cutting to my specified dimensions.
Acrylic glass, 10 pieces, 100x30x6mm (3.9x1.2x0.24 inches) in gray, 200 euros.
Screws about 80 euros, bought cheap on eBay, easily 50% less expensive than at the local hardware store.
20 Tox screws for Poroton bricks, 14 euros.
100 wood screws 6x120mm (6x4.7 inches).
100 wood screws 6x90mm (6x3.5 inches).
500 wood screws 5x50mm (5x2 inches), all used up...
100 lacquered stainless steel screws, 17 euros. Need to reorder those.
50 sheet metal screws with sealing for the coping.
EPDM foil with adhesive, 230 euros.
10 OSB boards for 60 euros.
3 sleeves for embedding in concrete, 10 euros.
2 bags of ready-mix concrete, 10 euros.
I have planned this for a while but kept hesitating because I wasn’t quite sure how to carry it out. I have always seen the finished garden sheds from the outside but never the actual build process.
So here is my contribution to help others overcome their hesitation.
A positive side effect is that it hides the plant containers :p
Work will continue next week; for now, the kids come first on the weekend.

Great project! Looks fantastic. Looking forward to the next updates. (I’m also planning to build a bike shelter / shed myself before winter, using similar materials, so I’m really curious.)
A note: As far as I know, screws for HPL panels should only be tightened by hand. The screw hole in the panel where the screw is intended should match the screw diameter, while all other holes in the panel should be slightly larger to allow for expansion without creating stress in the panel. Usually, the screw in the center of the panel holds it firmly with the smallest hole size, which is difficult in your case with four screws at the corners 😉
A note: As far as I know, screws for HPL panels should only be tightened by hand. The screw hole in the panel where the screw is intended should match the screw diameter, while all other holes in the panel should be slightly larger to allow for expansion without creating stress in the panel. Usually, the screw in the center of the panel holds it firmly with the smallest hole size, which is difficult in your case with four screws at the corners 😉
B
Benutzer 100116 Jul 2022 11:28The 4 screws are not enough; I miscounted when ordering. 🙂
As a tip, I made a drilling template to always have the same spacing. It’s a 1-meter (3.3 feet) long metal angle with a stop.
The tip about the hole is good—I only drilled 5mm (0.2 inches) and I think the screws are 4.8mm (0.19 inches).
As a tip, I made a drilling template to always have the same spacing. It’s a 1-meter (3.3 feet) long metal angle with a stop.
The tip about the hole is good—I only drilled 5mm (0.2 inches) and I think the screws are 4.8mm (0.19 inches).
B
Benutzer 100118 Jul 2022 15:22Today we continued working, but encountered two major problems.
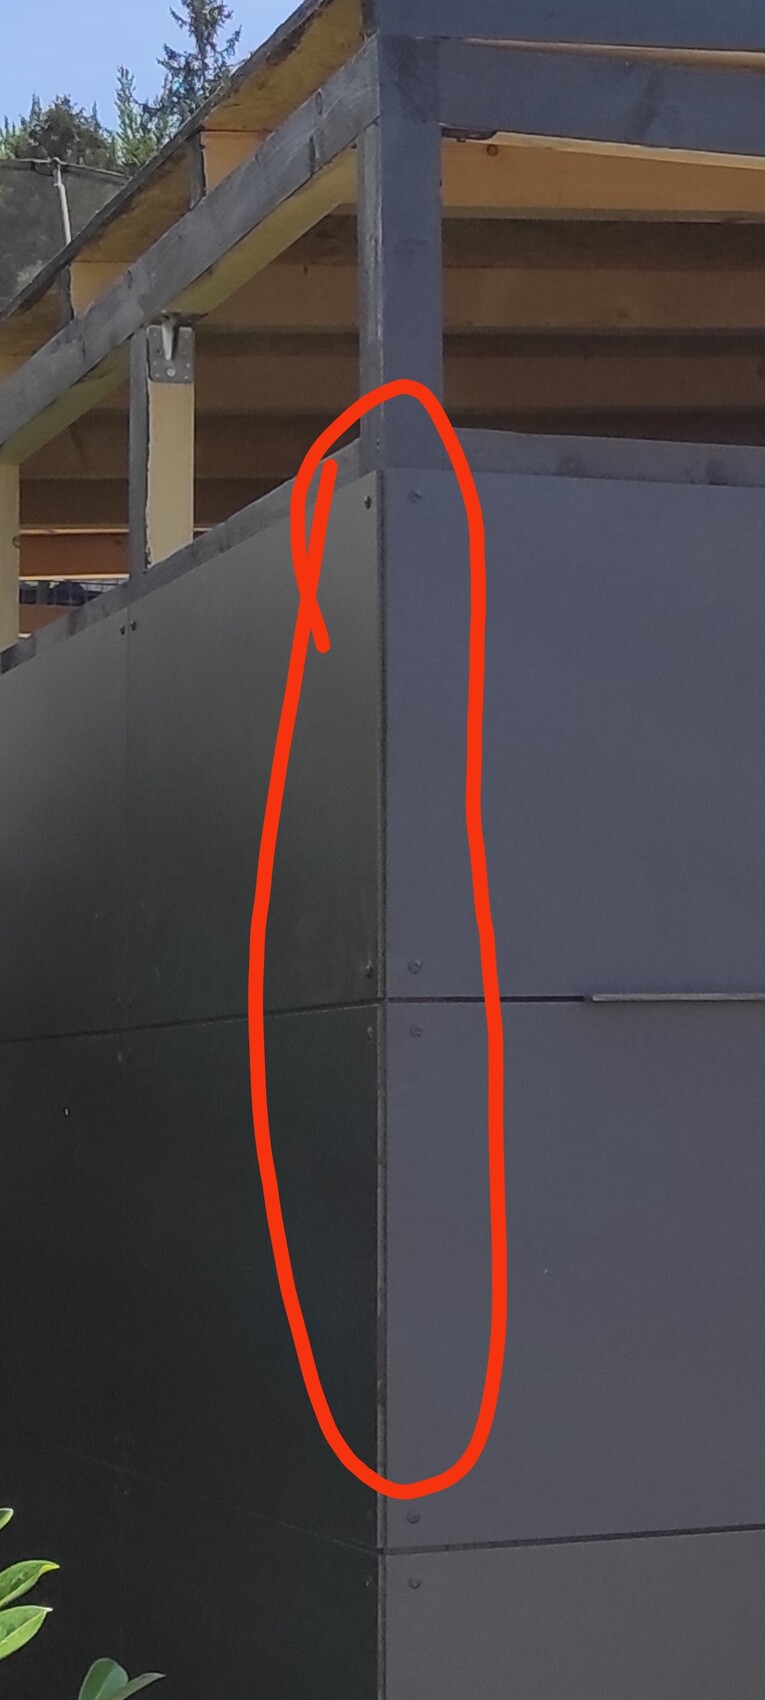
First, one corner, which was supposed to be vertical according to the spirit level, was not. This became clear when aligning the panels edge to edge, with deviations of 3-4mm (about 0.1-0.2 inches) in some places.
Since I didn’t want to use corner profiles here, we cut the panels at an angle on the edges. Luckily, I had ordered the panels 1cm (0.4 inches) longer.
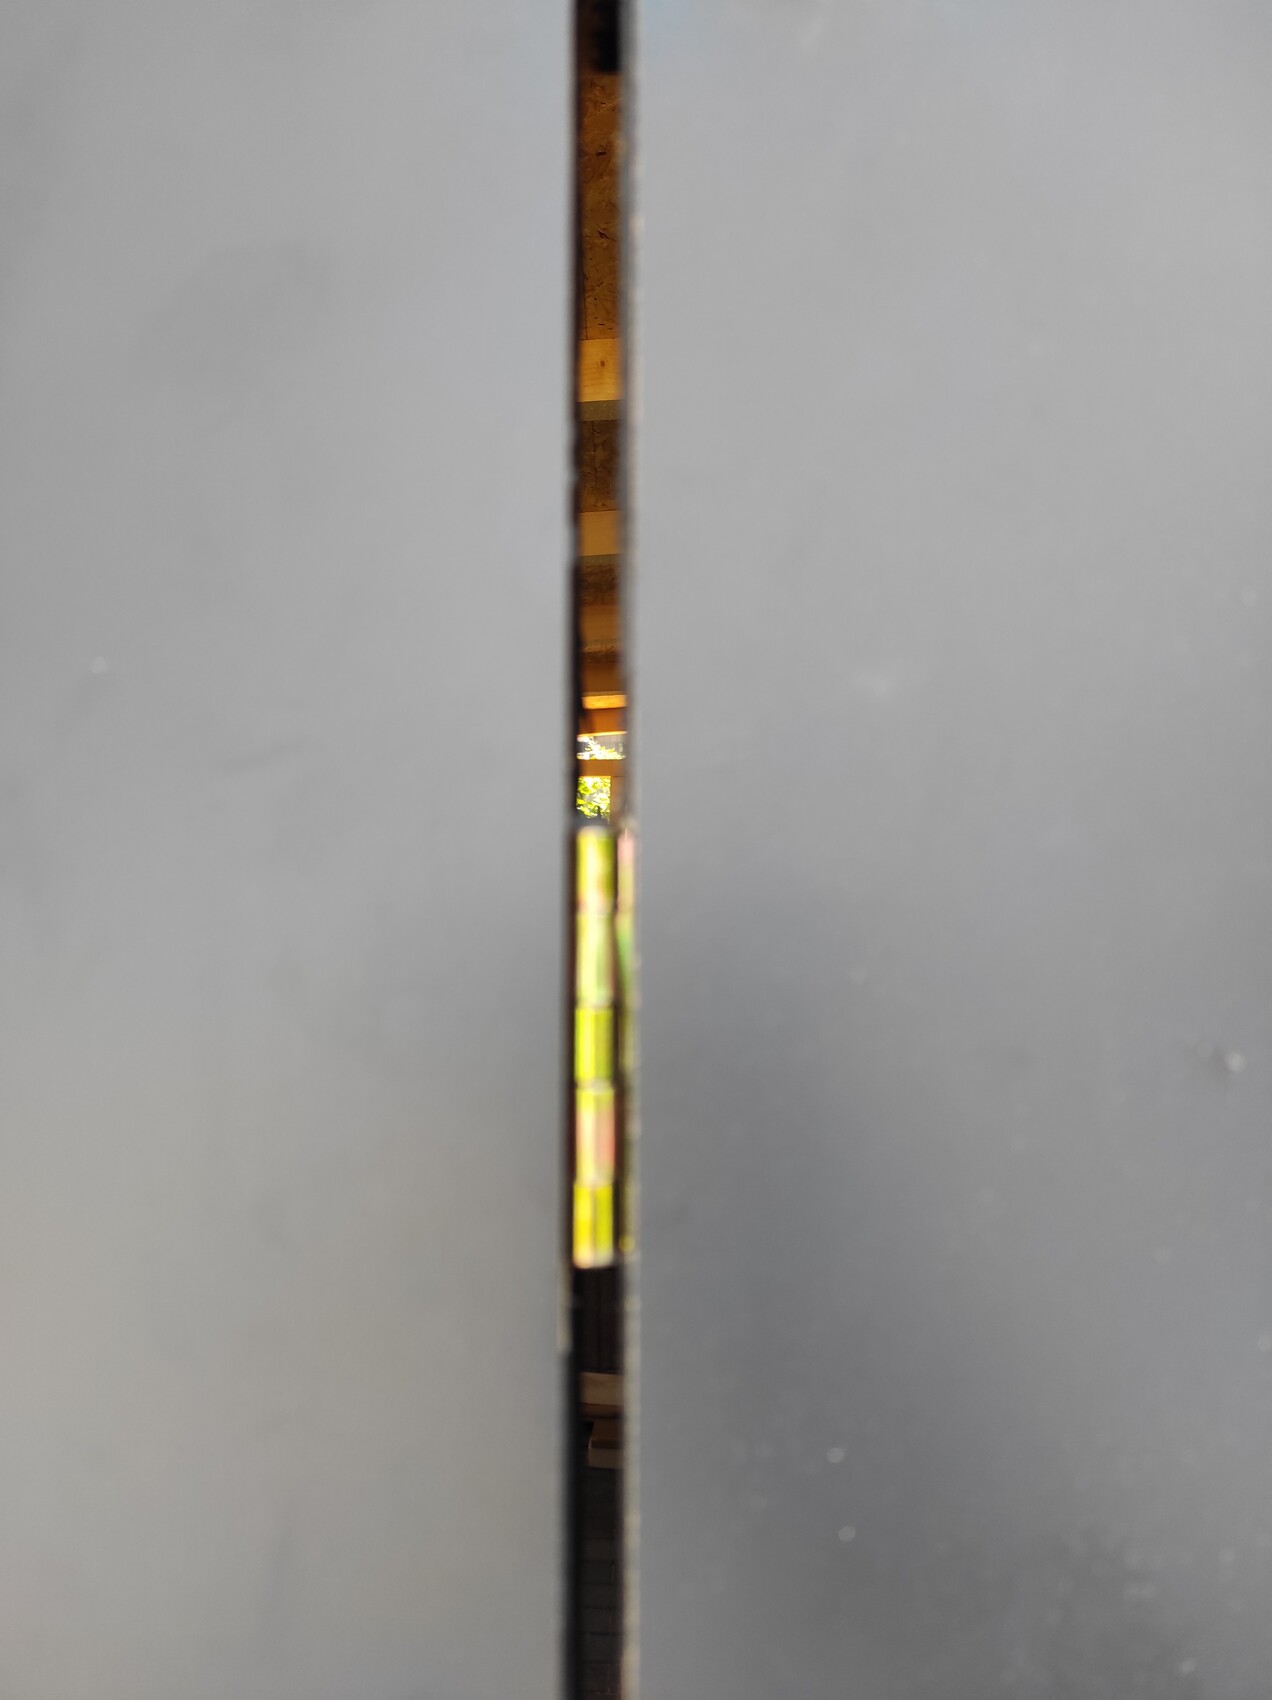
The second problem concerns the door and the hinges.
I bought three hinge straps; ideally, to have equal spacing on the outside, hinges that swing outward like kitchen cabinets should be used. With standard hinges, the door only opens to a 90-degree angle. Currently, there is about an 8mm (0.3 inch) gap on one side, and we had to chisel out a bit of the frame. I think I will also install a weatherproof membrane there to prevent rain from coming in.
A carpenter probably had a better detail solution for this, but it would have been more expensive.
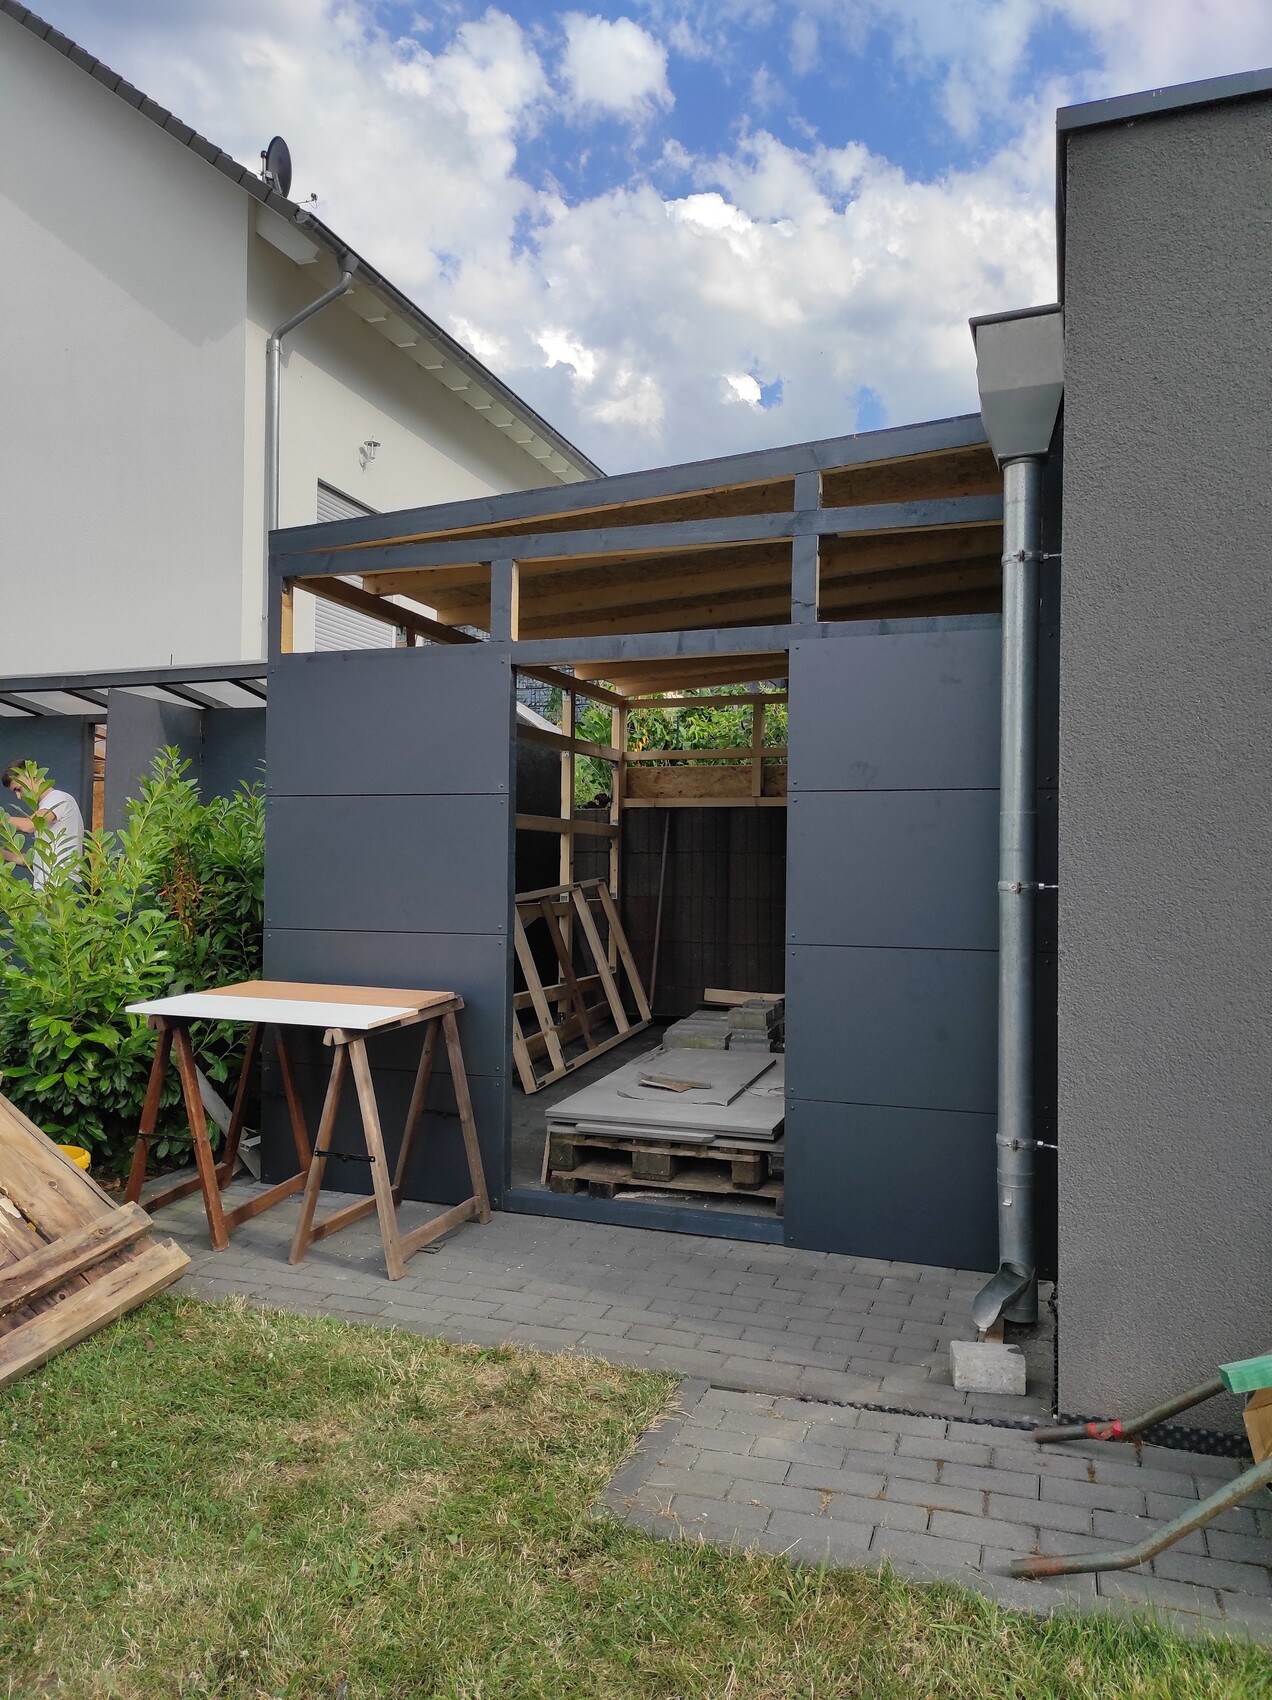
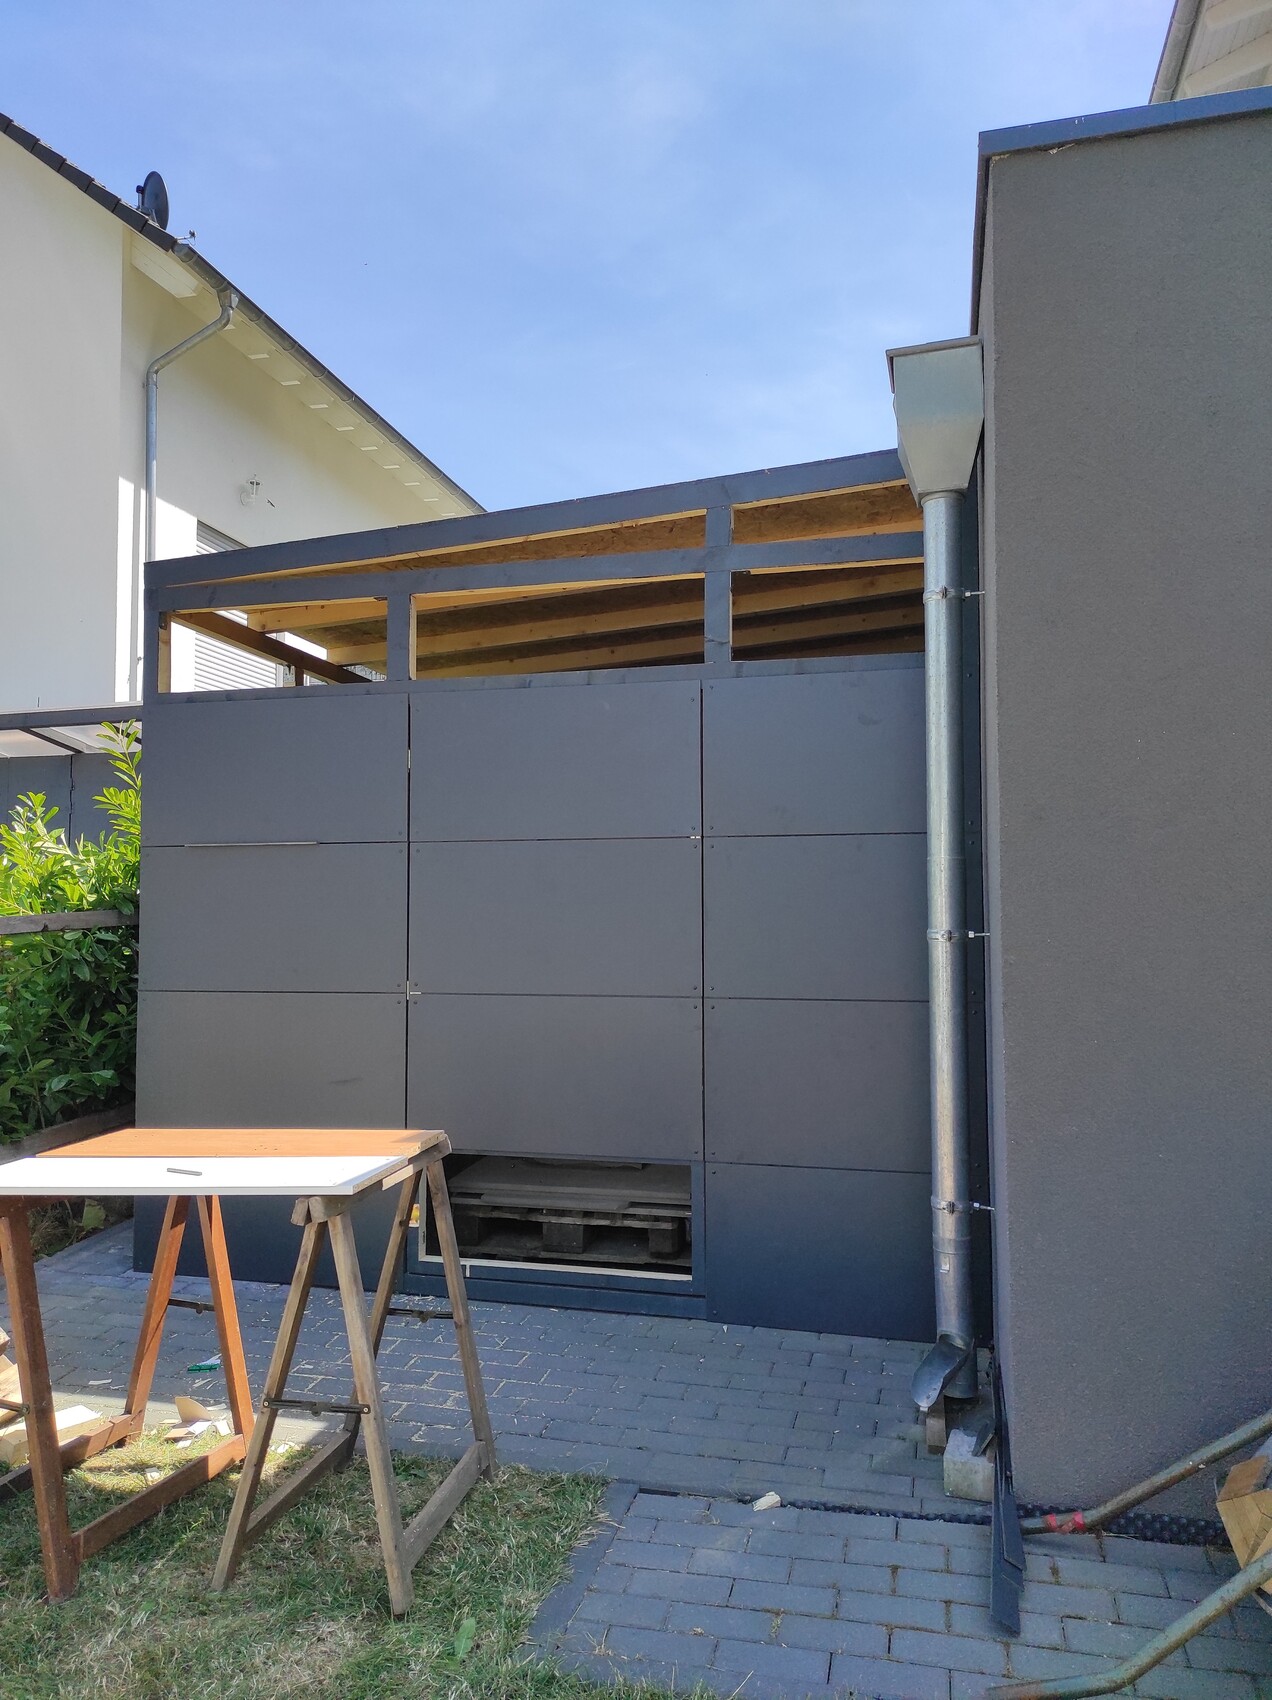
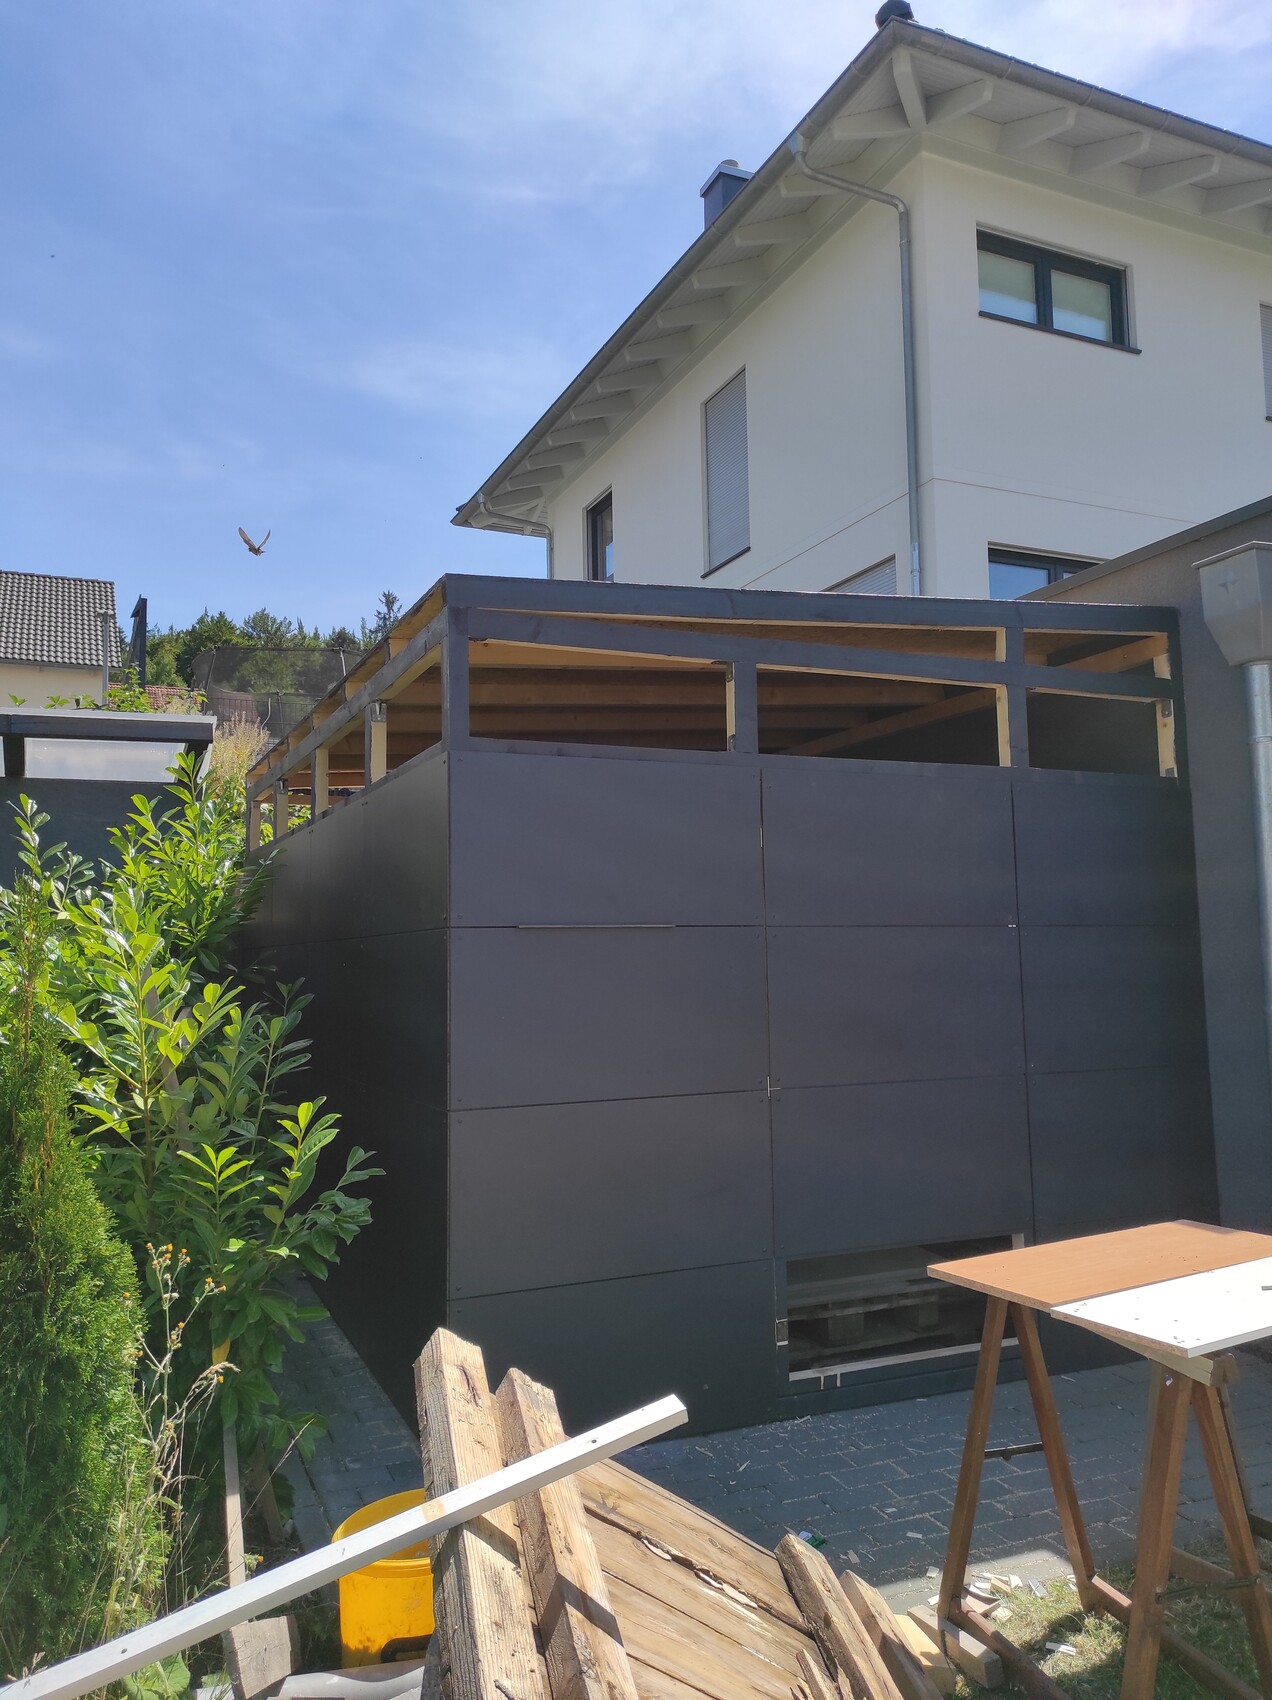 Here is the provisional result.
Taking a break now, my girls have to go to handball practice.
First, one corner, which was supposed to be vertical according to the spirit level, was not. This became clear when aligning the panels edge to edge, with deviations of 3-4mm (about 0.1-0.2 inches) in some places.
Since I didn’t want to use corner profiles here, we cut the panels at an angle on the edges. Luckily, I had ordered the panels 1cm (0.4 inches) longer.
The second problem concerns the door and the hinges.
I bought three hinge straps; ideally, to have equal spacing on the outside, hinges that swing outward like kitchen cabinets should be used. With standard hinges, the door only opens to a 90-degree angle. Currently, there is about an 8mm (0.3 inch) gap on one side, and we had to chisel out a bit of the frame. I think I will also install a weatherproof membrane there to prevent rain from coming in.
A carpenter probably had a better detail solution for this, but it would have been more expensive.
Taking a break now, my girls have to go to handball practice.
Actually, I am planning the structure with a foil membrane: main wooden framework, black breathable underlay membrane, a thin additional battens layer on the substructure, and then my HPL panels on top.
Additionally, I want to install some "windows" made of round plexiglass sheets (I still have dozens left from a previous project).
Tomorrow I will finally be out of the hospital and hopefully by the weekend I can start working on the wooden terrace.
Additionally, I want to install some "windows" made of round plexiglass sheets (I still have dozens left from a previous project).
Tomorrow I will finally be out of the hospital and hopefully by the weekend I can start working on the wooden terrace.
B
Benutzer 100120 Jul 2022 17:43Today I glued the EPDM membrane and first screwed on the upstand for the verge flashing.
Then I drilled the internal drain and glued it right away. My wife complained about having an internal drain... You can’t place a rainwater barrel there. I’m not doing an HPL facade and installing a gutter there.
Gluing the EPDM was easier than expected. A tip: don’t use too much adhesive, otherwise it won’t stick immediately when pressed down.
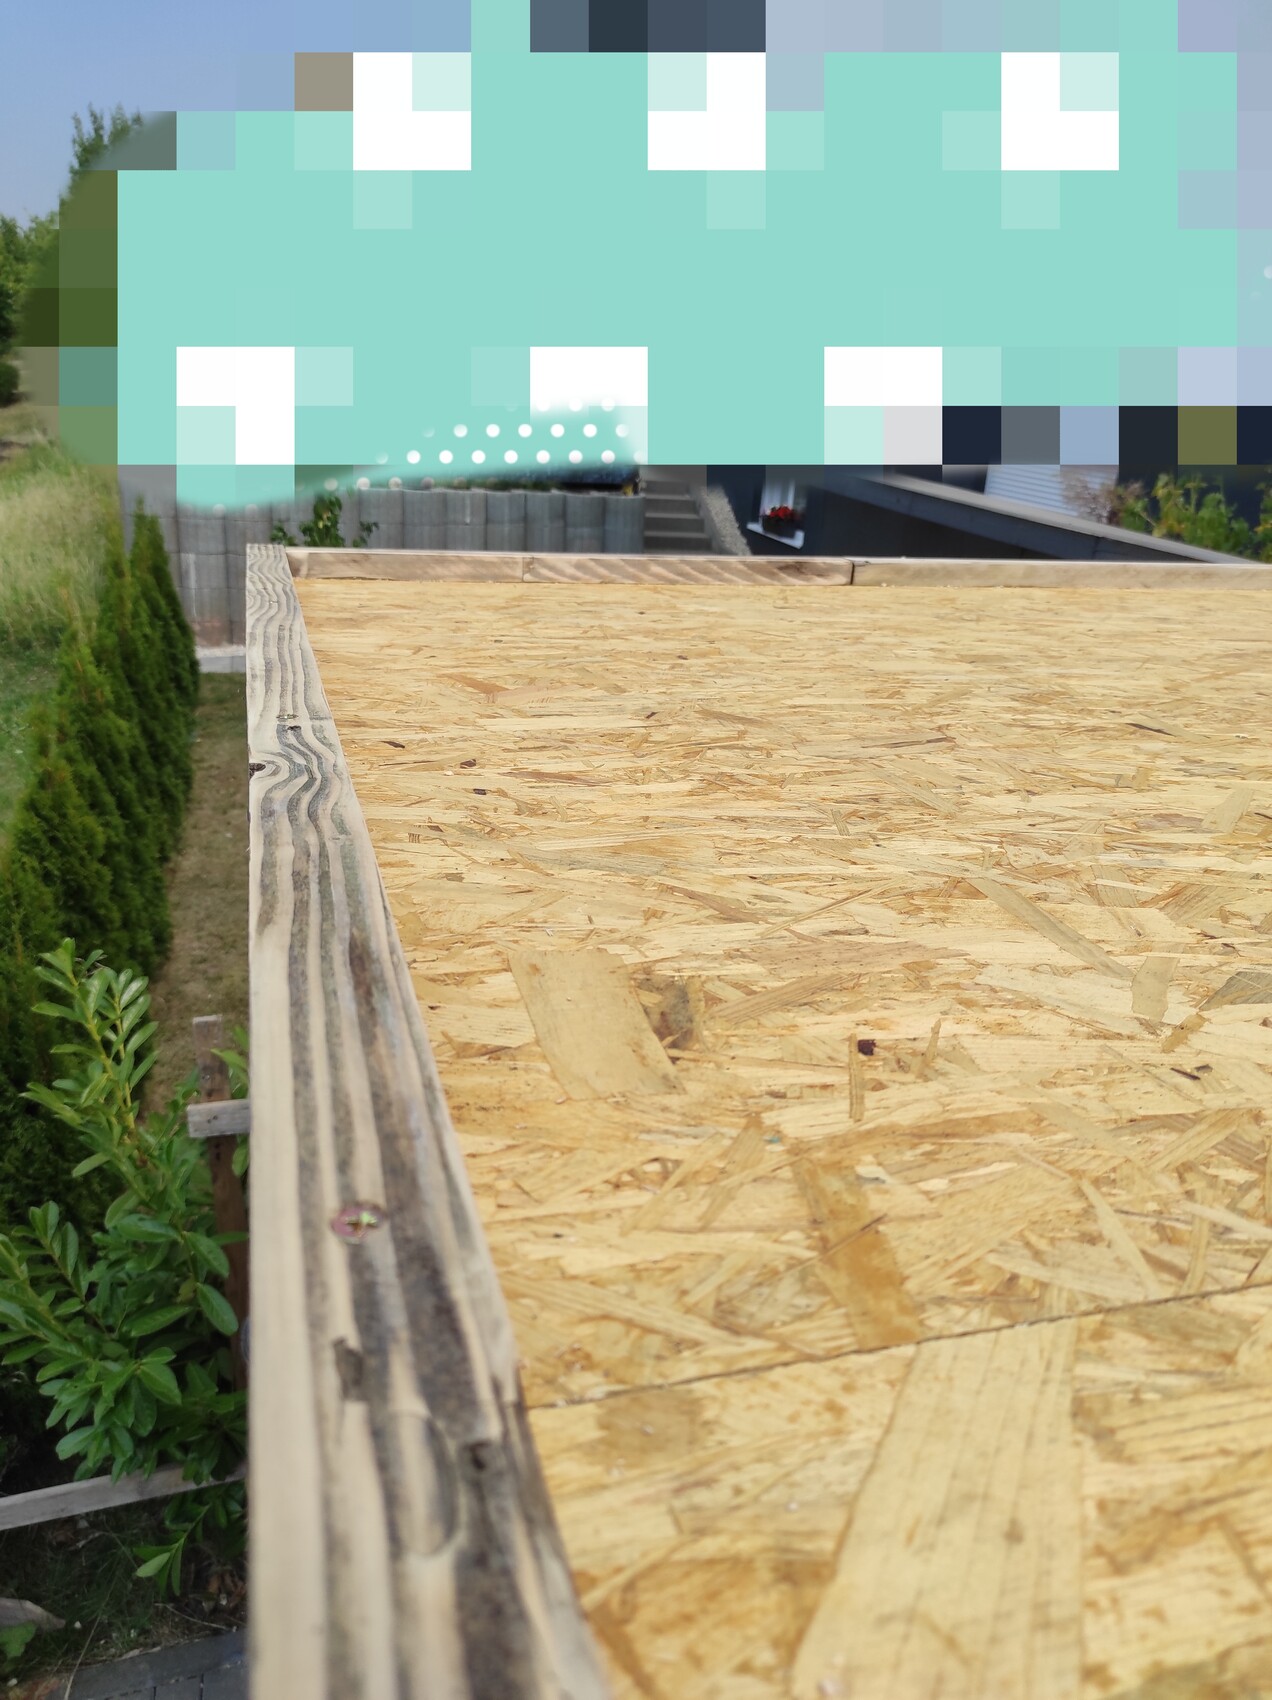
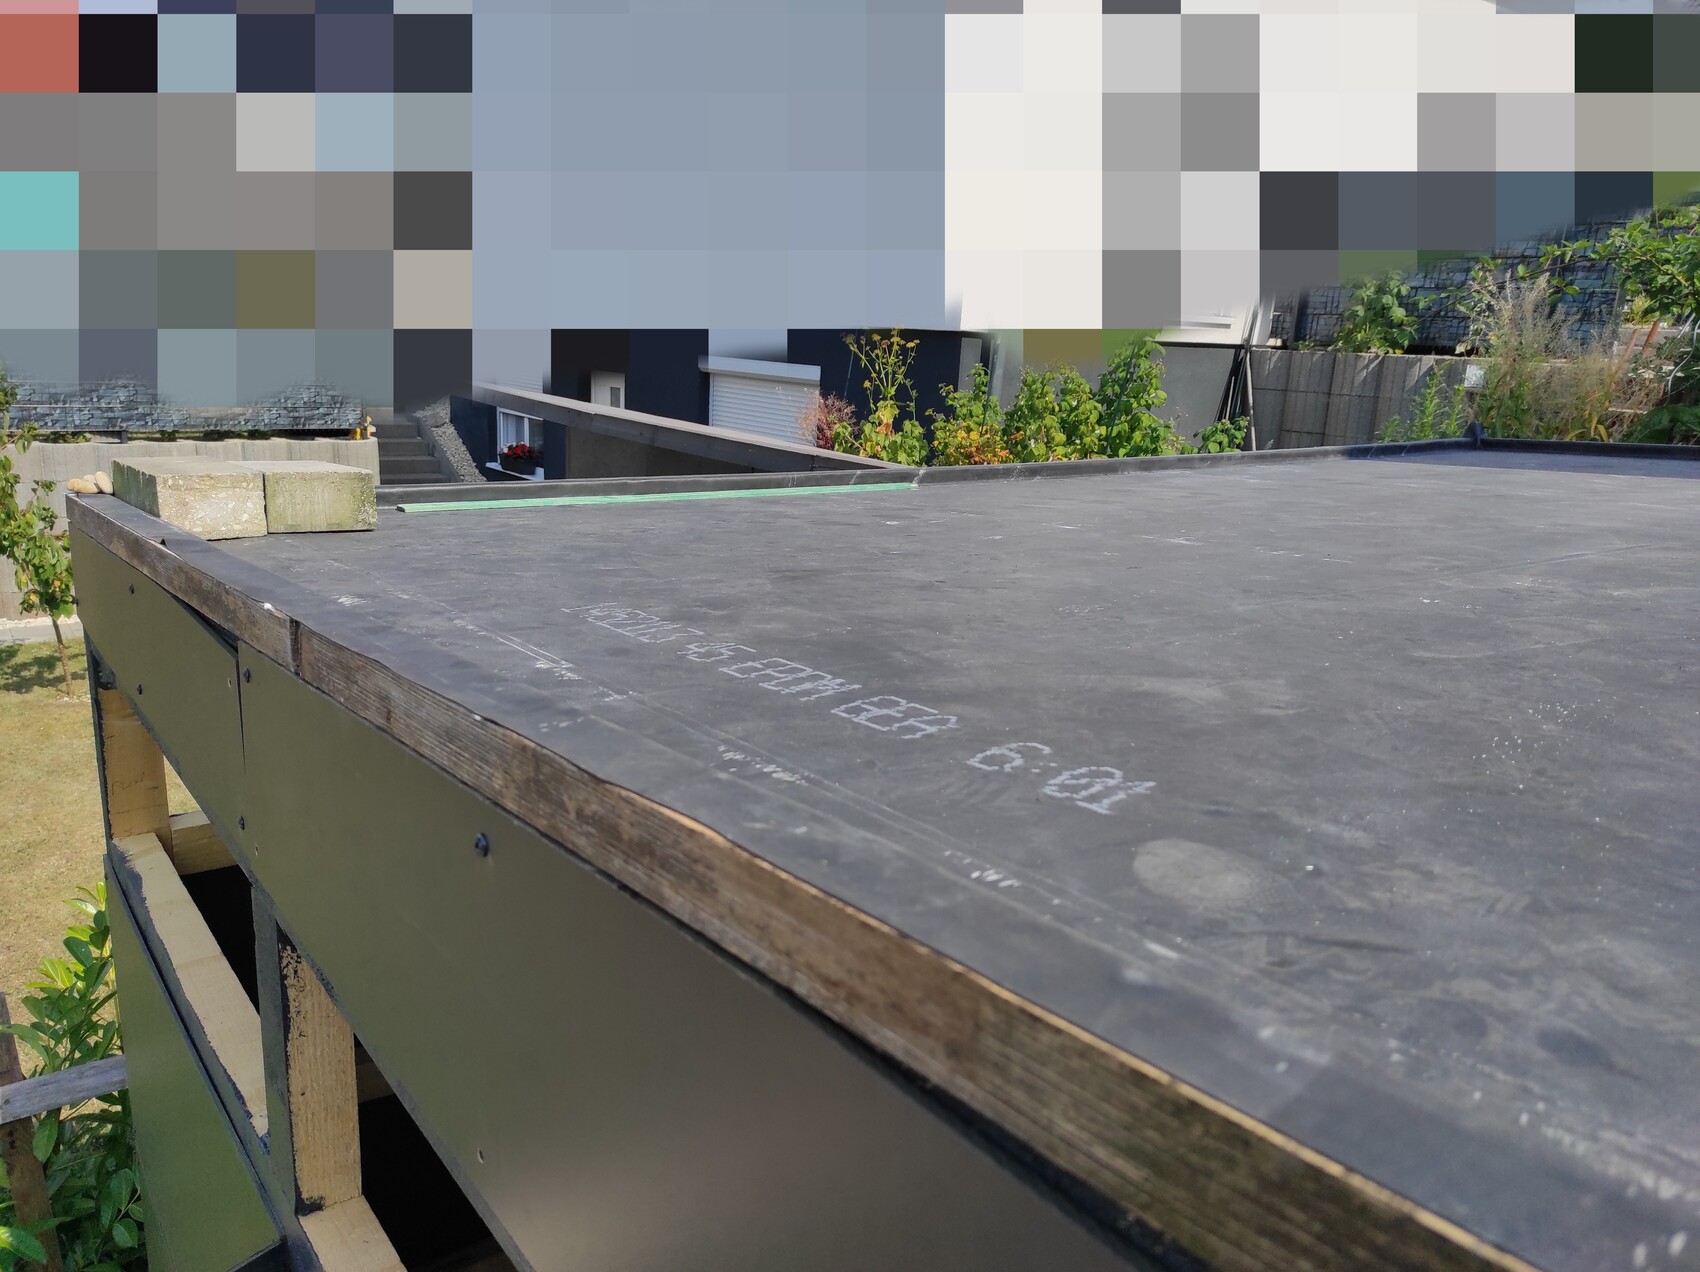

The plexiglass is expected to be delivered on Saturday. Then work will continue.
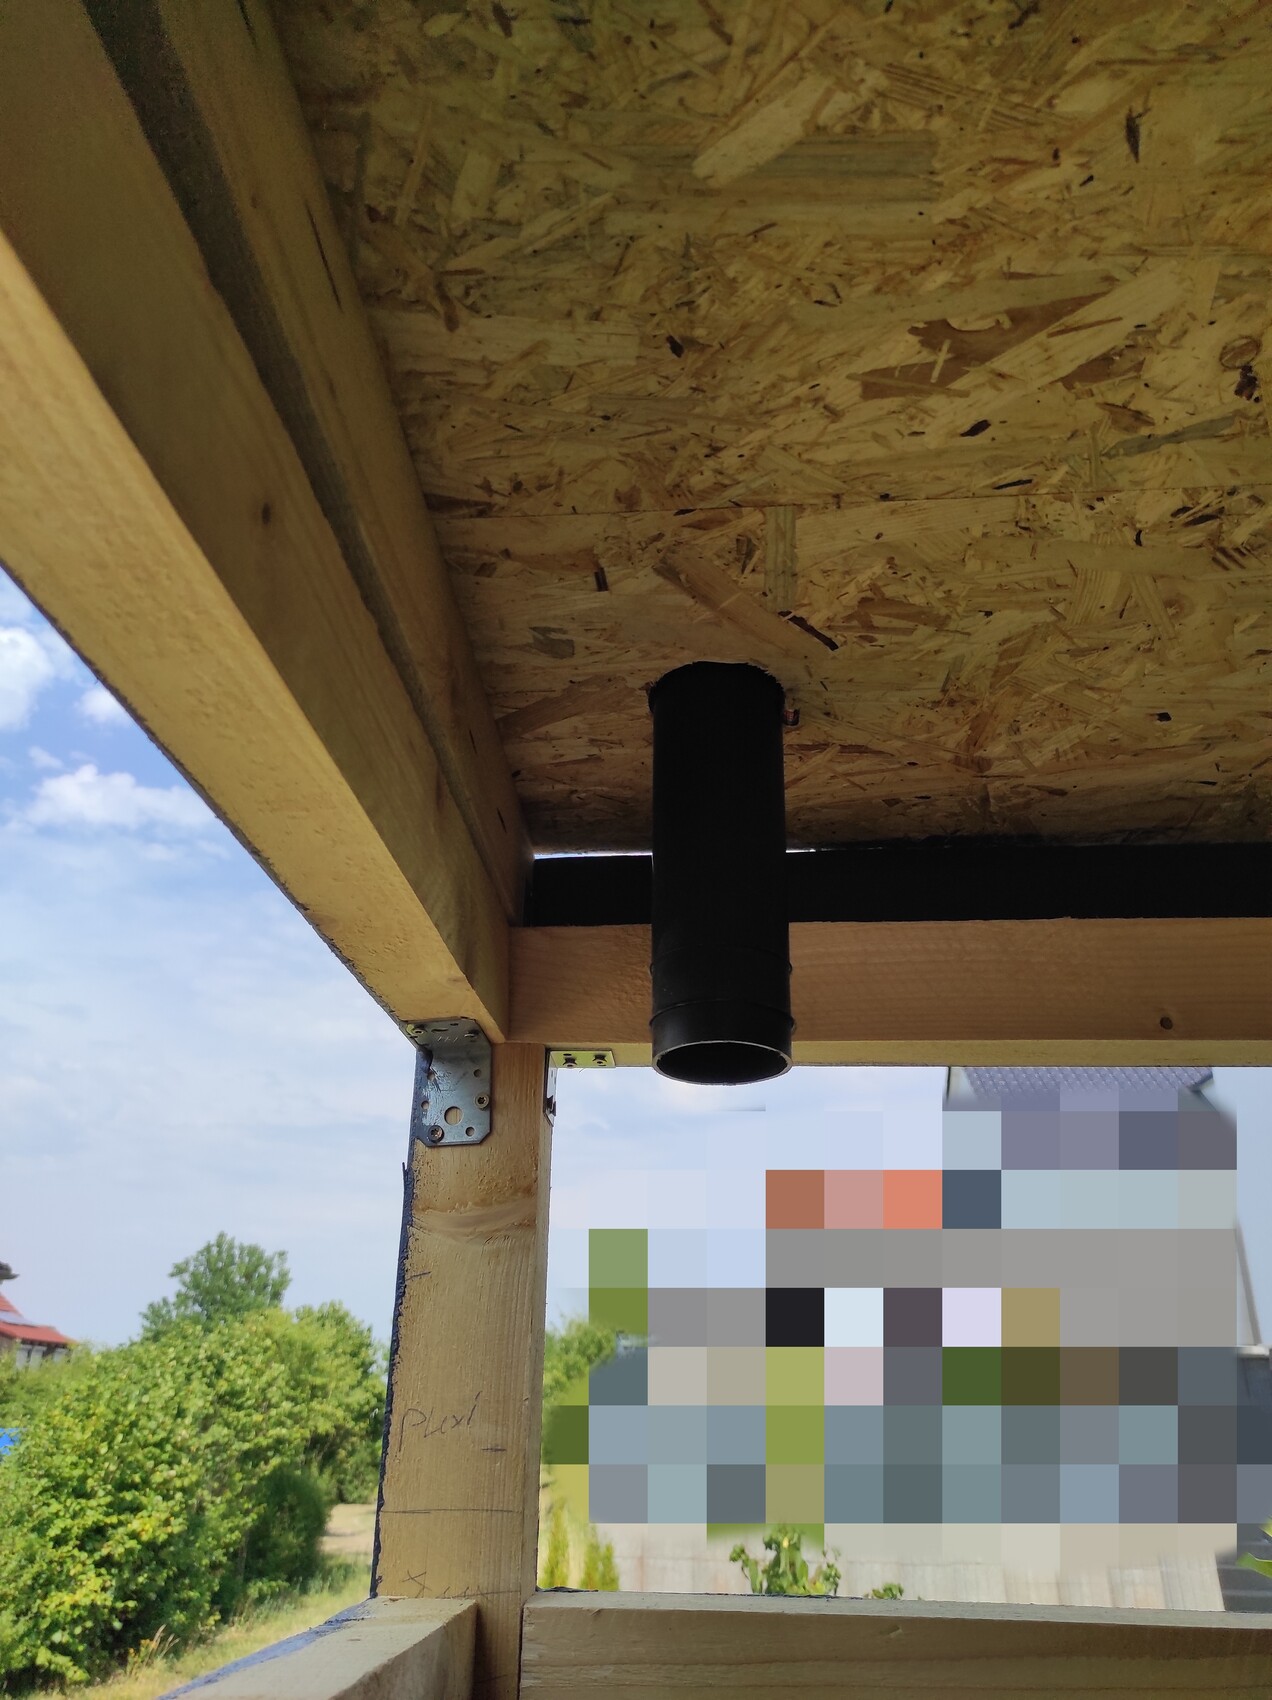
Then I drilled the internal drain and glued it right away. My wife complained about having an internal drain... You can’t place a rainwater barrel there. I’m not doing an HPL facade and installing a gutter there.
Gluing the EPDM was easier than expected. A tip: don’t use too much adhesive, otherwise it won’t stick immediately when pressed down.
The plexiglass is expected to be delivered on Saturday. Then work will continue.
Similar topics