
ᐅ Bathroom: Selecting the appropriate drainage channel and cutting it into the tiled floor
Created on: 10 May 2026 19:12
H
Hausbau42H
Hausbau4210 May 2026 19:12Hello everyone,
I want to install a water drainage channel in an older bathroom.
The old tiled floor is no longer perfectly level, and small puddles tend to form.
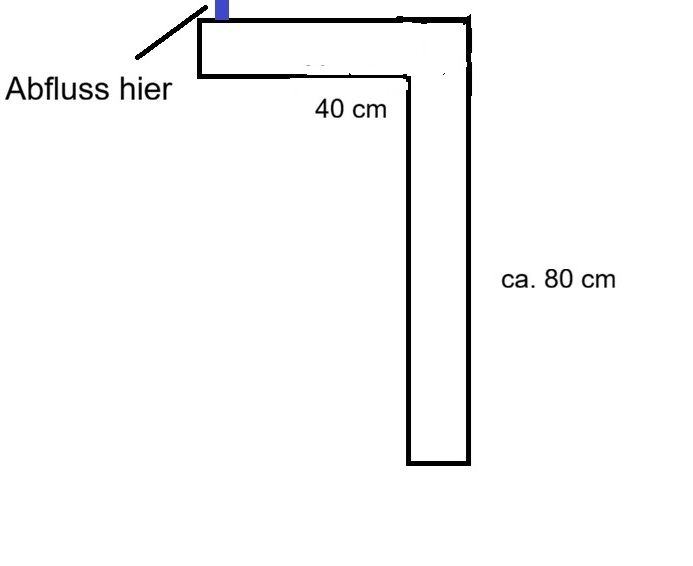
The drainage channel should be placed exactly where the puddle forms. I need something L-shaped, about 40 cm x 80 cm (16 inches x 31 inches).
I would prefer something prefabricated to avoid a lot of custom work.
I’ve already looked around, but it’s not easy to find something suitable.
Where would be the best place to search? Does anyone have any ideas?
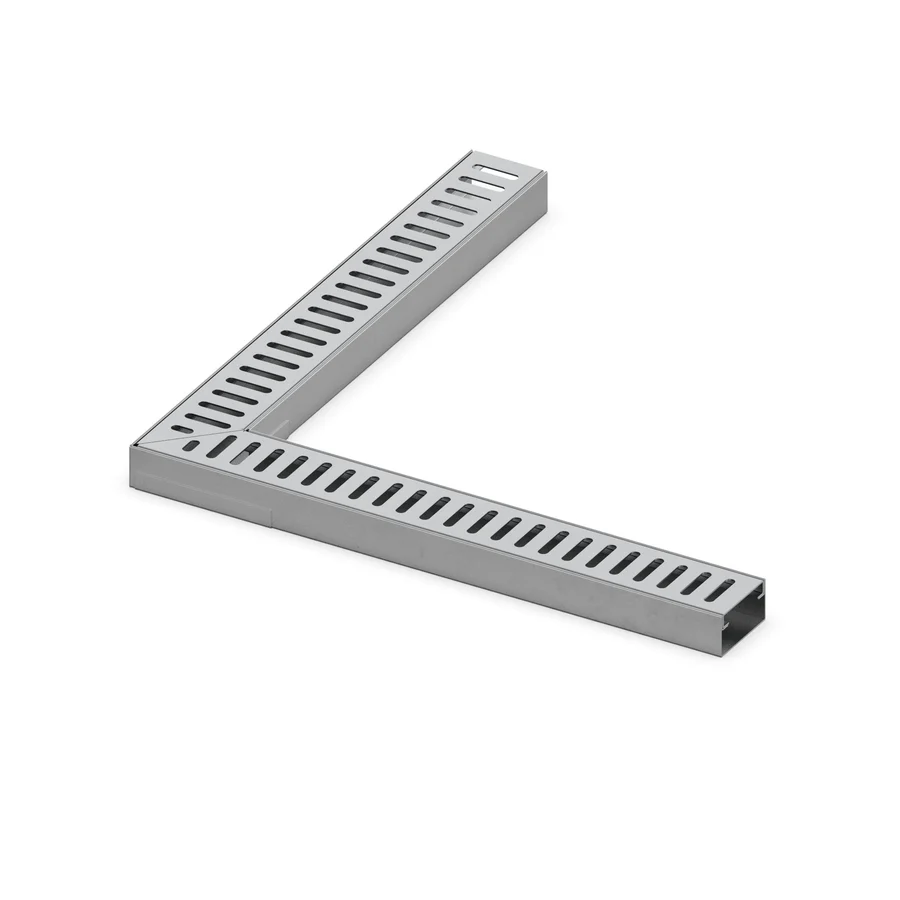
The closest option would be something like this:
I want to install a water drainage channel in an older bathroom.
The old tiled floor is no longer perfectly level, and small puddles tend to form.
The drainage channel should be placed exactly where the puddle forms. I need something L-shaped, about 40 cm x 80 cm (16 inches x 31 inches).
I would prefer something prefabricated to avoid a lot of custom work.
I’ve already looked around, but it’s not easy to find something suitable.
Where would be the best place to search? Does anyone have any ideas?
The closest option would be something like this:
With dimensions of 40 x 80 cm (16 x 32 inches) in an L-shape, you probably won’t find a suitable off-the-shelf solution. It’s better to use a standard drain channel with a locally adjusted slope; otherwise, the water outlet will shift slightly over time.
The most important factor is the available build-up height for the drain and slope! Do you have enough space below? This often becomes tight, especially in older bathrooms.
Have a look at manufacturers of walk-in shower systems or drainage solutions, where you can find prefabricated shower elements that can be cut to size. This approach is much cleaner than a makeshift solution. The waterproofing must not be underestimated in this process... 😉
The most important factor is the available build-up height for the drain and slope! Do you have enough space below? This often becomes tight, especially in older bathrooms.
Have a look at manufacturers of walk-in shower systems or drainage solutions, where you can find prefabricated shower elements that can be cut to size. This approach is much cleaner than a makeshift solution. The waterproofing must not be underestimated in this process... 😉
H
Hausbau4210 May 2026 22:29This is the next step; I probably don’t have much space below, as the reinforcement should start at 5cm (2 inches). Reinforced concrete ceiling.
Ideally, something about 4cm (1.5 inches) wide and 2cm (0.8 inches) deep, which I would then install with a slope. Something like this...
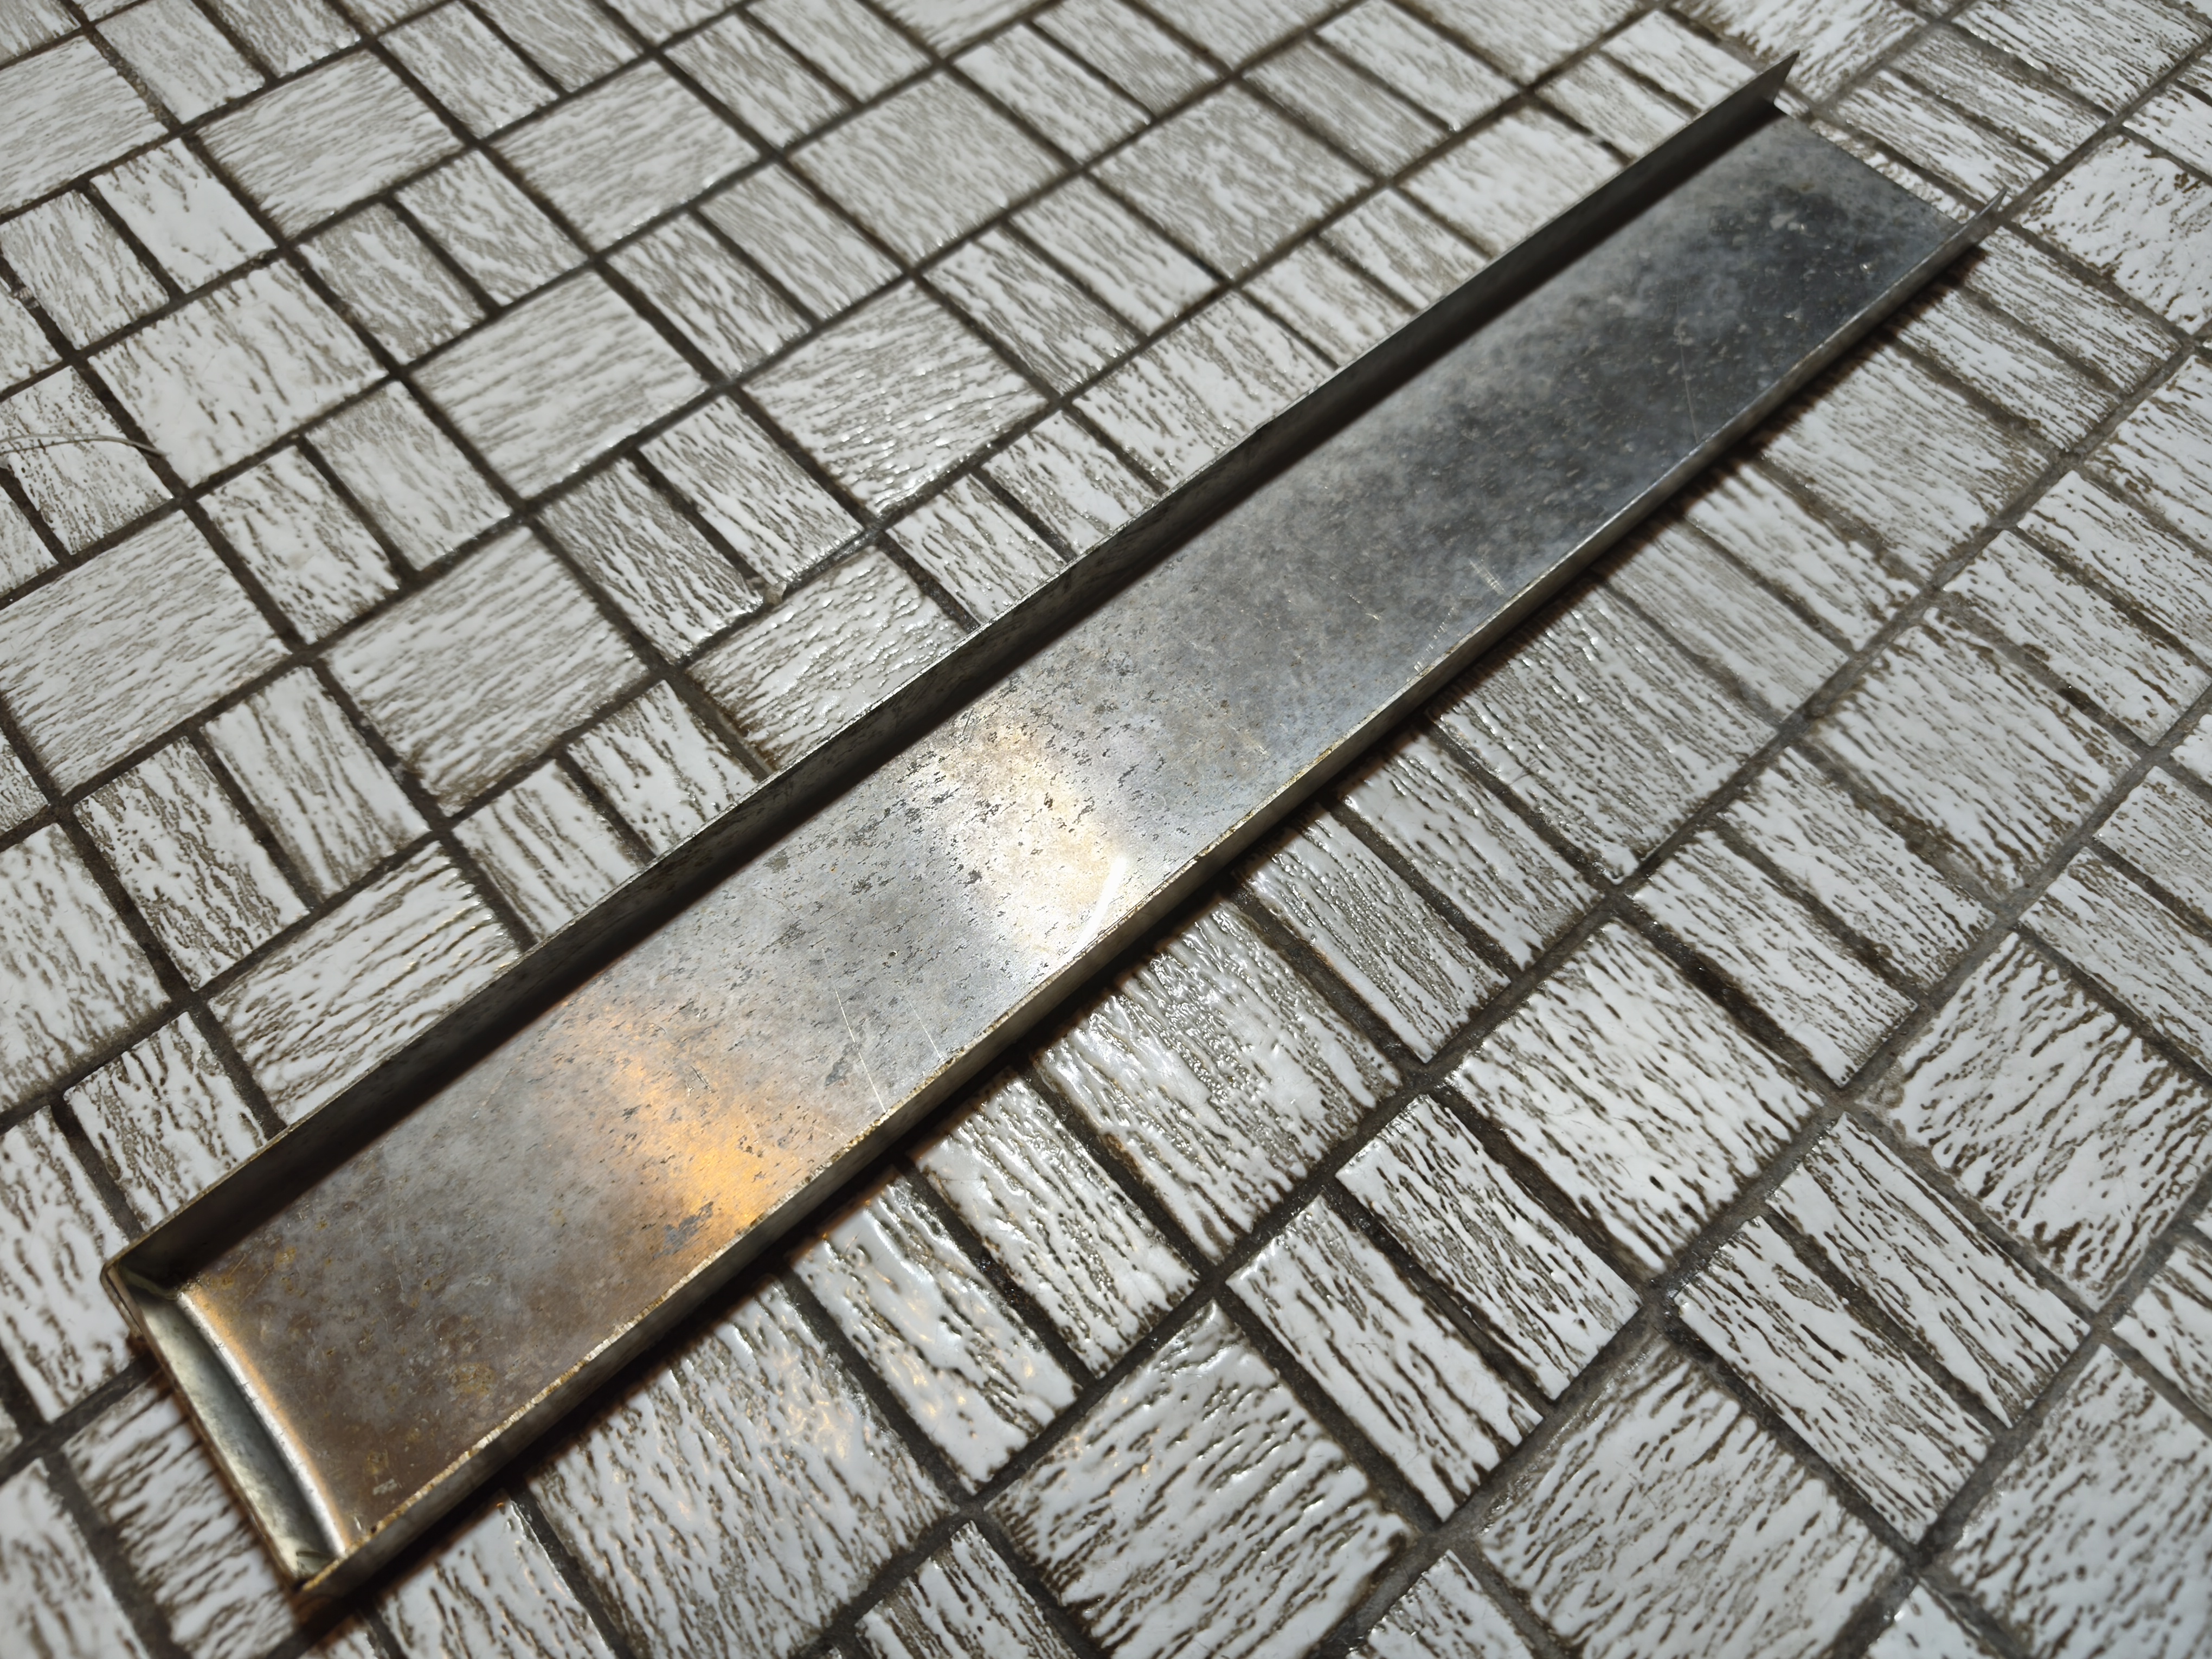
Ideally, something about 4cm (1.5 inches) wide and 2cm (0.8 inches) deep, which I would then install with a slope. Something like this...
A depth of 2 cm (0.8 inches) is already very tight when combined with a trap and a proper drain, especially in a reinforced concrete ceiling. If the reinforcement actually sits at around 5 cm (2 inches), I wouldn’t chisel any deeper without carefully checking first. Otherwise, a small channel can quickly turn into a bigger issue.
The profile shown could be installed with a slope, but technically it is more of a collection channel than a proper floor drain. Where is the water supposed to be directed? This is often where the real problem lies.
A very shallow stainless steel shower channel might be more practical; some of these have installation depths just over 2 cm (0.8 inches), but they still need some space for connection and sealing.
The profile shown could be installed with a slope, but technically it is more of a collection channel than a proper floor drain. Where is the water supposed to be directed? This is often where the real problem lies.
A very shallow stainless steel shower channel might be more practical; some of these have installation depths just over 2 cm (0.8 inches), but they still need some space for connection and sealing.
H
Hausbau4210 May 2026 23:28The example part was used under an air conditioning unit as a condensate drain/guidance. It was even sufficient for that, as several liters of water can easily drip down during winter when it defrosts.
However, that would be too tight for my taste. Here, the water is released freely and drained via a pipe over another building’s roof. That works.
However, that would be too tight for my taste. Here, the water is released freely and drained via a pipe over another building’s roof. That works.
H
Hausbau4211 May 2026 17:47I took another look at it today. Puddles form exactly where they’re not wanted—at the entrance and in front of the toilet.
Something larger would definitely be needed here. (Example image attached)
At the hardware store, there are very small aluminum channels, maybe two channels—2 cm (1 inch) wide, 2 cm (1 inch) high, and 180 cm (71 inches) long—that could fit into the appropriately (is that possible?) routed floor. These channels would then connect to a larger shower drain under the heater near the outlet.
Visually, it’s not very appealing, but it could work if installed properly. Milling under the heater—is there equipment available that can do this?
It’s starting to raise the question whether it might be better to remove the old floor tiles and install new ones (probably having it done professionally).
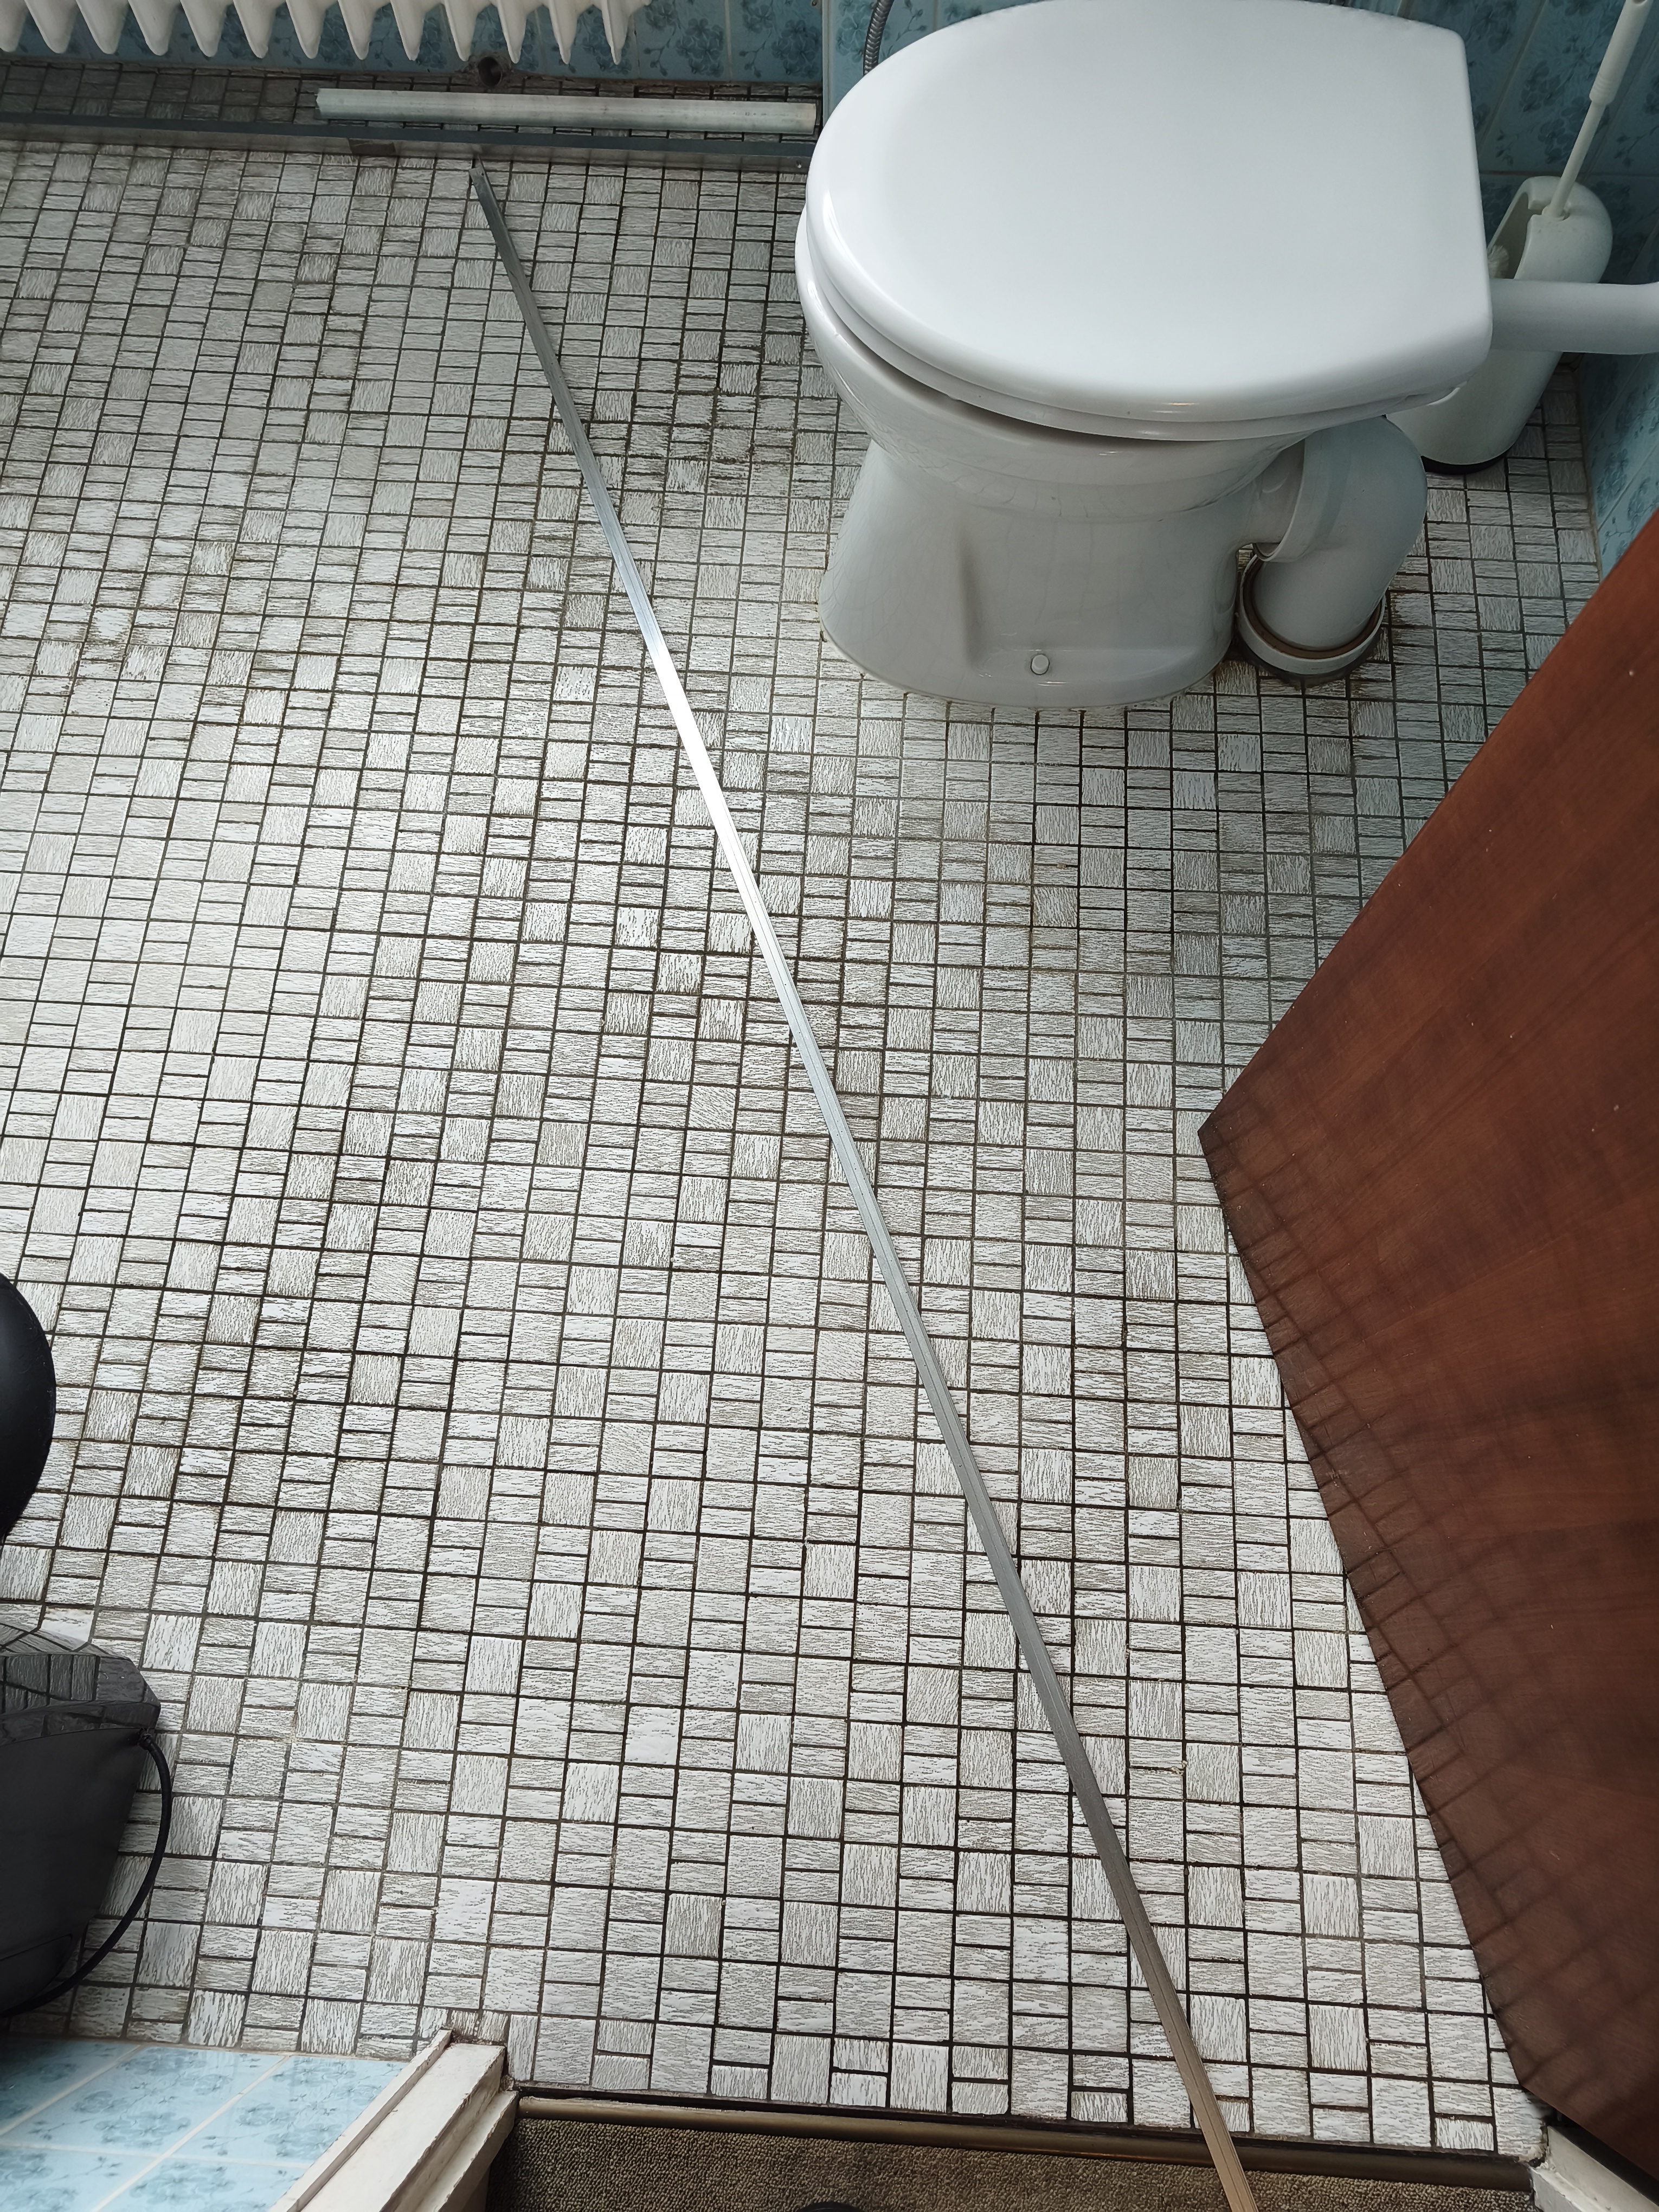
Something larger would definitely be needed here. (Example image attached)
At the hardware store, there are very small aluminum channels, maybe two channels—2 cm (1 inch) wide, 2 cm (1 inch) high, and 180 cm (71 inches) long—that could fit into the appropriately (is that possible?) routed floor. These channels would then connect to a larger shower drain under the heater near the outlet.
Visually, it’s not very appealing, but it could work if installed properly. Milling under the heater—is there equipment available that can do this?
It’s starting to raise the question whether it might be better to remove the old floor tiles and install new ones (probably having it done professionally).
Similar topics