
ᐅ Balcony Renovation: Questions About the Substrate for Tiles
Created on: 11 Apr 2021 13:42
N
NK971025Hello, I am new to this forum and hope to get some support on a topic that interests me a lot, but I unfortunately don’t have much experience with yet.
I plan to renovate my balcony this month.
Current state of the balcony:
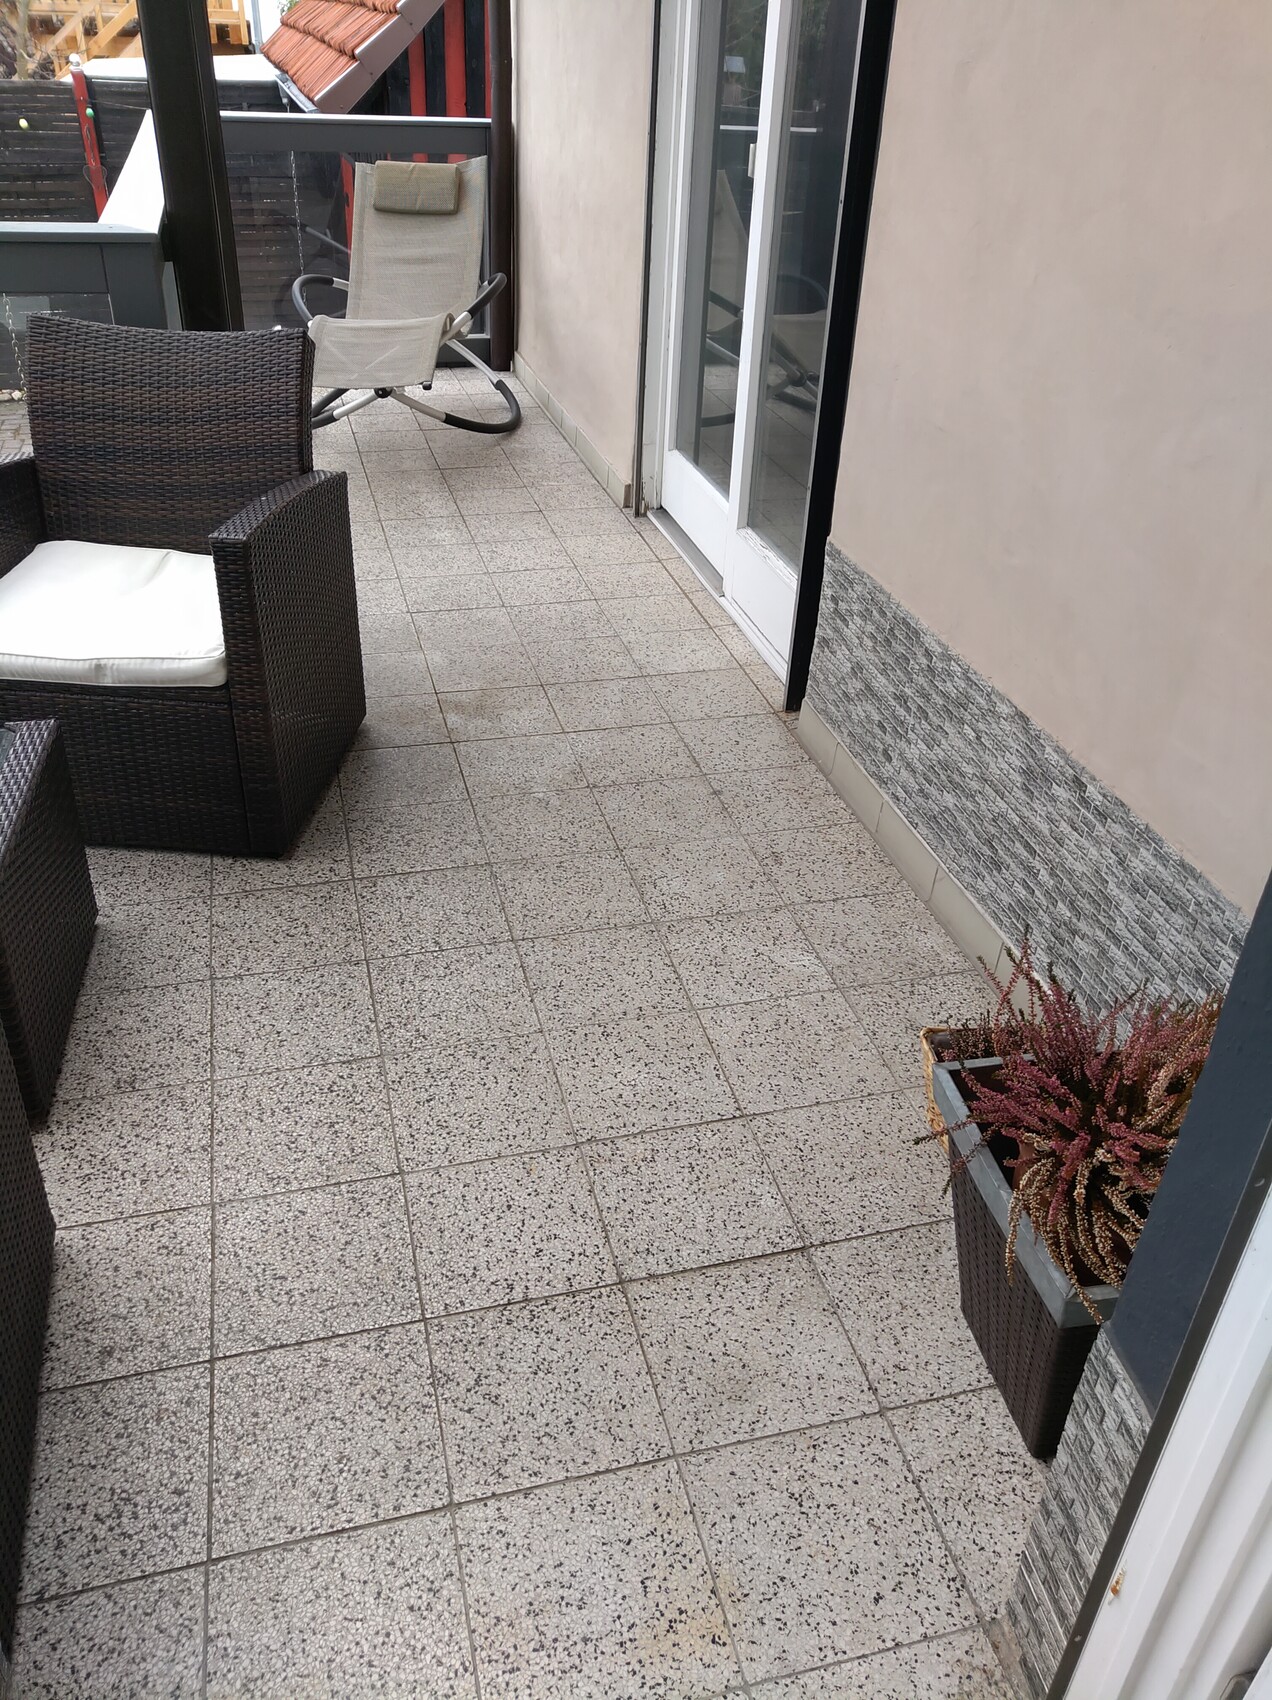
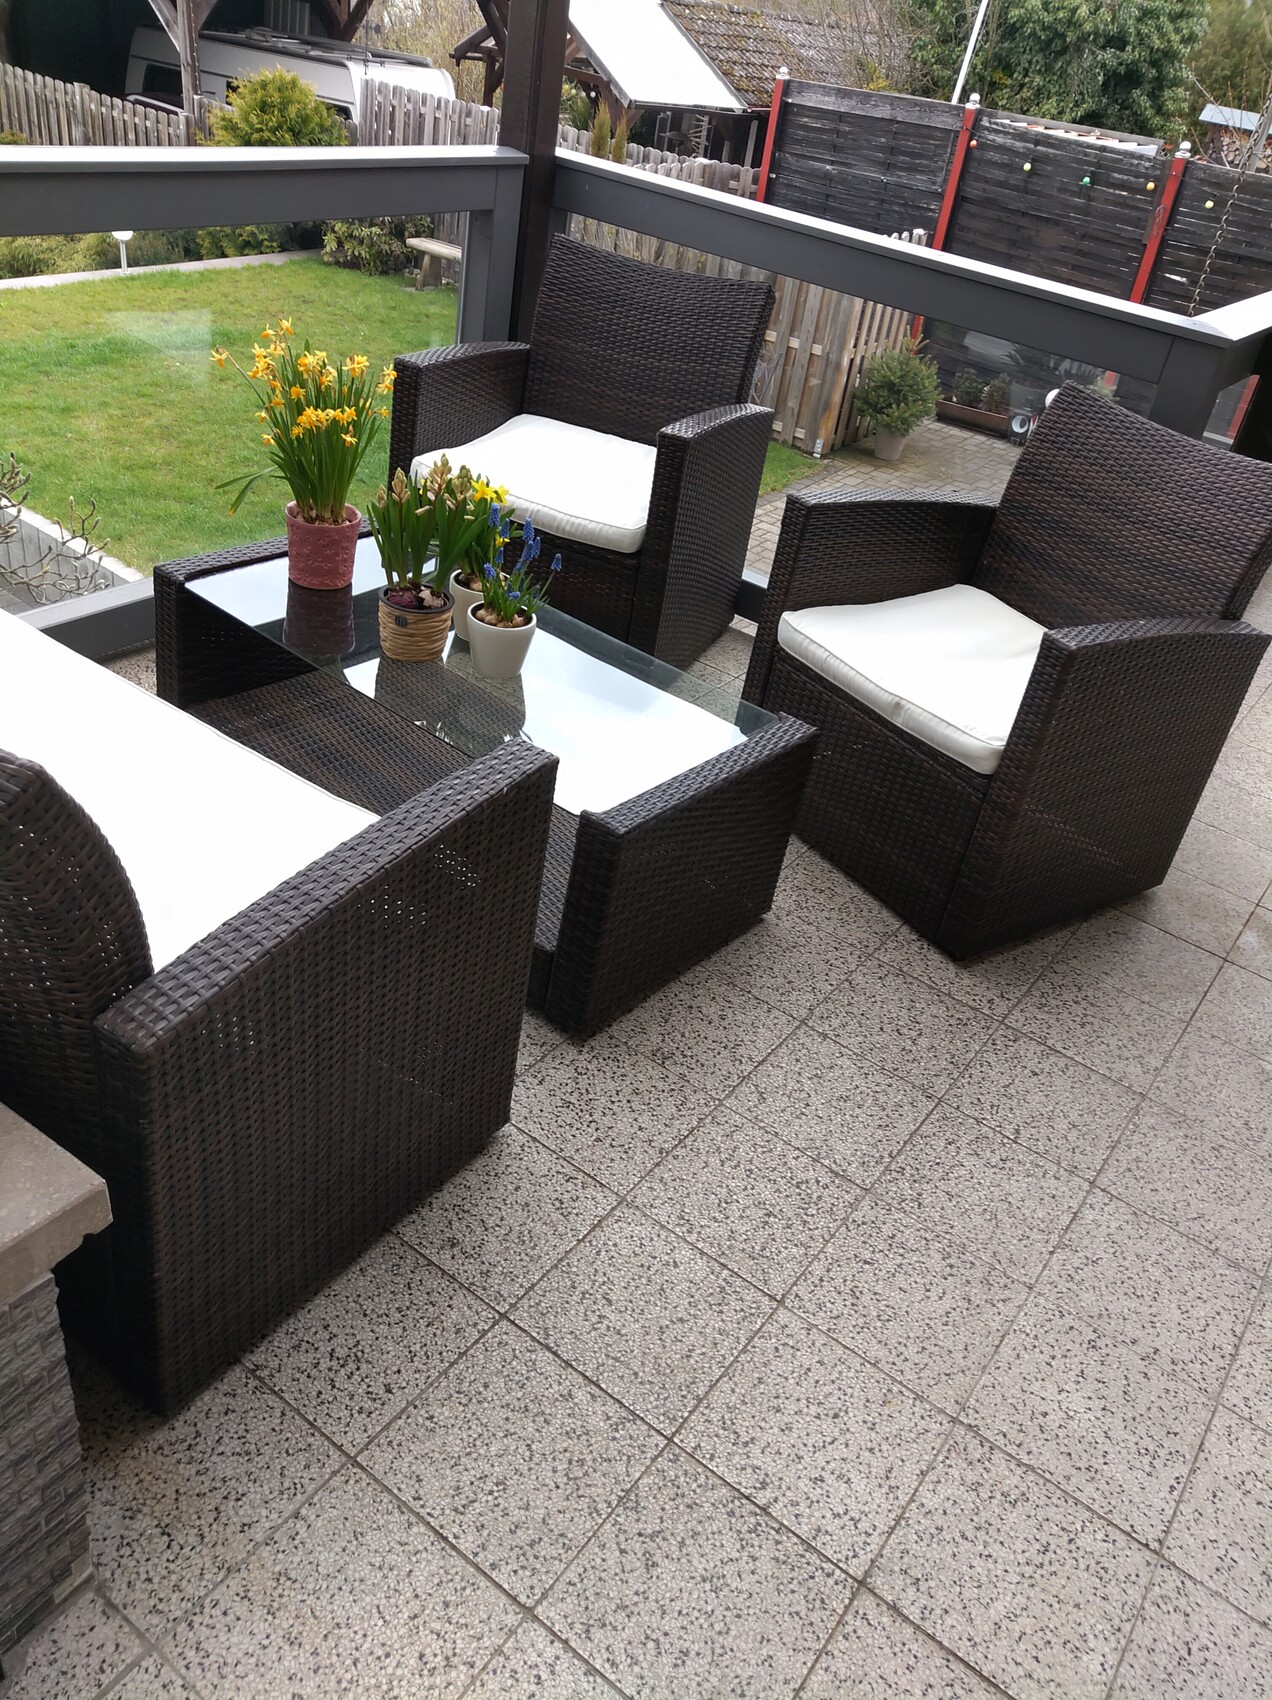
12 square meters (129 square feet)
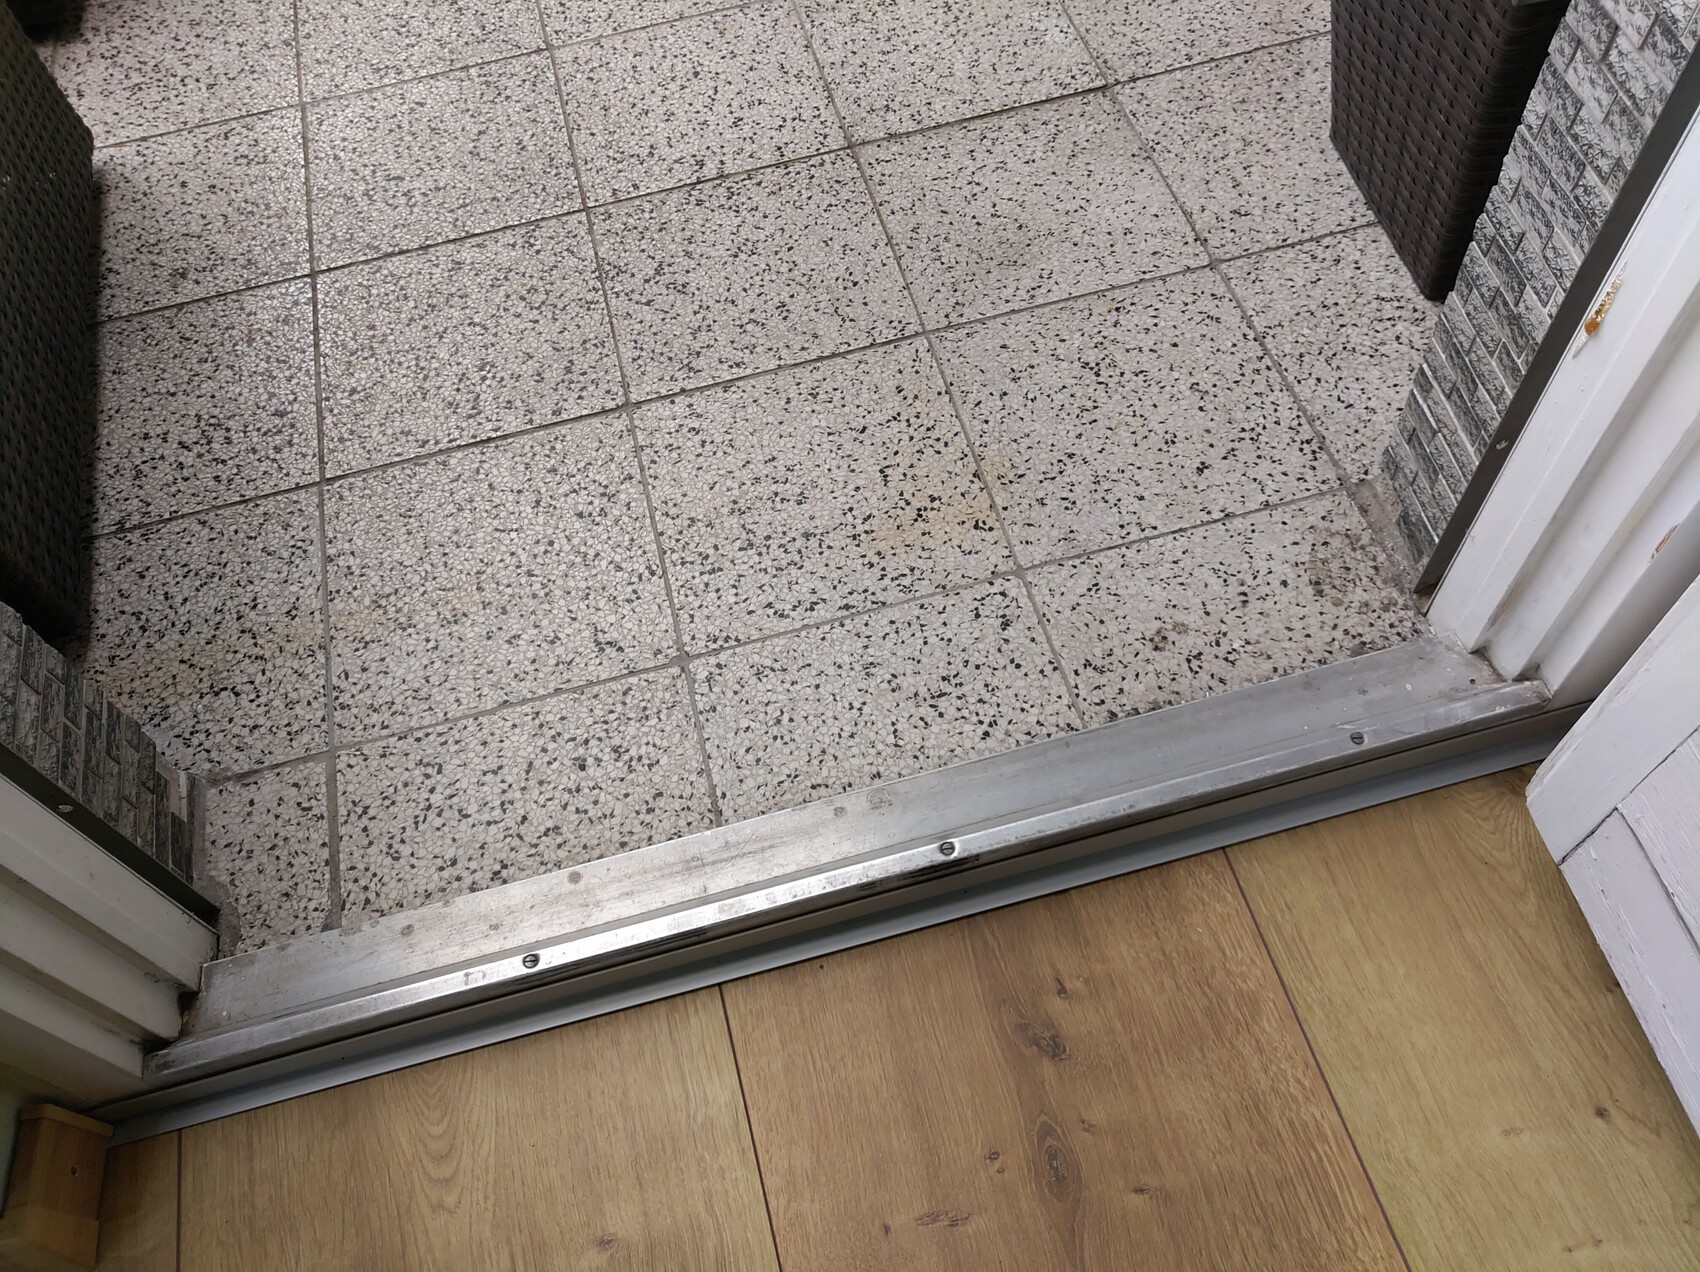
20x20 cm (8x8 inches) floor tiles, 3 cm (1¼ inches) thick, all firmly in place, no major damage.
Walls are covered with clinker bricks up to about 30 cm (12 inches).
Plan for the renovation:
120x40 cm (47x16 inches) wood-look tiles (Nordic style)
Remove clinker bricks from the walls, plaster, sand, and paint white.
Now I have a few questions:
Should I chip out the old tiles, then level the floor, prime it, and lay new tiles, or can I install tile on tile using a suitable primer beforehand?
Does anyone have a tip or should I approach this completely differently?
How useful is a decoupling mat for an outdoor area?
Which primer, tile adhesive, plaster, etc., do I need or can you recommend?
I would be very grateful for all tips and suggestions.
I plan to renovate my balcony this month.
Current state of the balcony:
12 square meters (129 square feet)
20x20 cm (8x8 inches) floor tiles, 3 cm (1¼ inches) thick, all firmly in place, no major damage.
Walls are covered with clinker bricks up to about 30 cm (12 inches).
Plan for the renovation:
120x40 cm (47x16 inches) wood-look tiles (Nordic style)
Remove clinker bricks from the walls, plaster, sand, and paint white.
Now I have a few questions:
Should I chip out the old tiles, then level the floor, prime it, and lay new tiles, or can I install tile on tile using a suitable primer beforehand?
Does anyone have a tip or should I approach this completely differently?
How useful is a decoupling mat for an outdoor area?
Which primer, tile adhesive, plaster, etc., do I need or can you recommend?
I would be very grateful for all tips and suggestions.

Hello questioner.
There are several important factors to consider, especially for floor constructions on balconies and terraces; even more so when the surface is fully exposed to the weather and (which adds another level of complexity) there is a living space below the terrace or balcony.
However, based on your information, we do not know all of this.
Judging by the detail of the transition (probably between the living space and terrace), I assume the balcony is mostly covered.
The so-called “floor tiles” used outdoors appear, at least visually, to be concrete stone slabs.
Let’s assume the ideal case that a waterproofing layer was planned and installed during the laying of these floor slabs.
If those slabs are removed, everything would be destroyed—and according to the current professional standards, the entire system must be rebuilt completely with a waterproofing layer plus slope! This also means the current situation regarding surface water drainage (rainwater) needs to be carefully examined, particularly with regard to functionality.
Assuming a proper bond between all the floor slabs at this point, the entire surface would need to be ground with a diamond blade, thoroughly cleaned of dust by vacuuming, and primed with a primer suitable for non-absorbent substrates.
Since this is an outdoor area, dispersion-based primers are out of the question!
We are therefore talking about reactive resin primers, which in the wet phase (meaning before curing) are broadcast with kiln-dried sand (and must be).
On this, tiles of at least 10mm (0.4 inches) thickness can be bonded with the appropriate tile adhesive applied in a medium bed and then grouted.
A decoupling mat is not very useful in this assembly. What would it achieve? Decoupling mats are intended solely and exclusively for problematic substrates, such as cement screeds with unstable areas.
Here, however, a water-carrying primer or waterproofing layer was required beneath the existing floor slabs anyway, because it can never be ruled out that rainwater penetrates the floor structure through the grout lines.
What do these lines tell us?
They tell us that for complex trades, both the appropriate specialized knowledge for execution and familiarity with the current professional standards are necessary.
If tiles are installed directly on the existing slabs, one might “turn a blind eye.” At least that is how fate will probably treat it...
However, if the slabs are removed, it becomes complicated—at least if you don’t want to face a total failure in 1 to 2 years (and have to live with it).
-------------------------------------
Not every trade is suitable for DIY!
Good luck: KlaRa
There are several important factors to consider, especially for floor constructions on balconies and terraces; even more so when the surface is fully exposed to the weather and (which adds another level of complexity) there is a living space below the terrace or balcony.
However, based on your information, we do not know all of this.
Judging by the detail of the transition (probably between the living space and terrace), I assume the balcony is mostly covered.
The so-called “floor tiles” used outdoors appear, at least visually, to be concrete stone slabs.
Let’s assume the ideal case that a waterproofing layer was planned and installed during the laying of these floor slabs.
If those slabs are removed, everything would be destroyed—and according to the current professional standards, the entire system must be rebuilt completely with a waterproofing layer plus slope! This also means the current situation regarding surface water drainage (rainwater) needs to be carefully examined, particularly with regard to functionality.
Assuming a proper bond between all the floor slabs at this point, the entire surface would need to be ground with a diamond blade, thoroughly cleaned of dust by vacuuming, and primed with a primer suitable for non-absorbent substrates.
Since this is an outdoor area, dispersion-based primers are out of the question!
We are therefore talking about reactive resin primers, which in the wet phase (meaning before curing) are broadcast with kiln-dried sand (and must be).
On this, tiles of at least 10mm (0.4 inches) thickness can be bonded with the appropriate tile adhesive applied in a medium bed and then grouted.
A decoupling mat is not very useful in this assembly. What would it achieve? Decoupling mats are intended solely and exclusively for problematic substrates, such as cement screeds with unstable areas.
Here, however, a water-carrying primer or waterproofing layer was required beneath the existing floor slabs anyway, because it can never be ruled out that rainwater penetrates the floor structure through the grout lines.
What do these lines tell us?
They tell us that for complex trades, both the appropriate specialized knowledge for execution and familiarity with the current professional standards are necessary.
If tiles are installed directly on the existing slabs, one might “turn a blind eye.” At least that is how fate will probably treat it...
However, if the slabs are removed, it becomes complicated—at least if you don’t want to face a total failure in 1 to 2 years (and have to live with it).
-------------------------------------
Not every trade is suitable for DIY!
Good luck: KlaRa
KlaRa schrieb:
Hello questioner.
There are several important factors to consider when building up floor layers on balconies and terraces; especially when the surface is fully exposed to the weather and (which increases the complexity) there is living space below the terrace or balcony.
However, we don’t know any of this from your information.
Judging by the way the transition (probably between the living space and terrace) is constructed, I assume the balcony is mostly covered.
The so-called “floor tiles” used outdoors appear, at least visually, to be concrete stone slabs.
Let’s assume the ideal case where waterproofing was planned and installed when these floor slabs were laid.
If you dismantle everything, this will all be destroyed – and according to the current professional standards, the entire system must be rebuilt completely with a waterproofing layer plus slope! This also means carefully checking the current situation regarding surface water drainage (rainwater), especially with regard to its proper function.
Assuming a proper bond between all floor slabs here, the entire surface must be ground down with a diamond blade, all dust must be thoroughly vacuumed, and it must be primed with a primer suitable for non-absorbent substrates.
Since it’s an outdoor area, primers based on dispersions can be completely ruled out!!
We are therefore talking about reactive resin primers that, while still wet (i.e., before curing), must be broadcast with kiln-dried sand.
On this, tiles at least 10mm (0.4 inches) thick can be bonded with a suitable tile adhesive in a medium bed and then grouted.
A decoupling membrane is not very useful in this build-up. What purpose would it serve? Decoupling membranes are only and exclusively intended for problematic substrates, such as cement screeds with weak zones.
Here, in any case, a waterproofing or primer layer beneath the existing floor slabs would have been necessary, since it can never be ruled out that rainwater penetrates the floor structure through the joints.
What do these lines tell us?
They tell us that complex trades require the relevant expertise not only for execution but also to know the current professional standards.
If you lay directly on the existing slabs, you might be able to “turn a blind eye.” At least fate may act this way....
However, if the slabs are removed, it gets complicated – at least if you don’t want to face a total failure in one to two years and call it your own.
-------------------------------------
Not every trade is suitable for DIY!
Good luck: KlaRa Good day, I had already suspected that. Yes, I know what you haven’t learned shouldn’t necessarily be done by yourself. Since I am skilled in another trade myself, I thought I’d gather some information and get started – wrong thinking. So this means the only option if I want to do it myself despite everything, due to corona, saving money, etc., is: leave the tiles as they are and lay new tiles on top. Sand down the old tiles and prime? Then use weather-resistant tile adhesive to install new tiles on top? What do I have to consider at the edges of the new tiles, where there is no wall? Oh, and as info, yes, the balcony is as covered as the tiles go.
Thanks in advance and best regards
I am always glad when my warning notes are well received.
If we do not need to consider an additional gutter to be installed on the open edge of the terrain, the solution is quite simple.
For example, a suitable finish would be "Schlüter-BARA-RKK/-RKKE" (or comparable profiled components).
The first option is a T-shaped edge profile with a short drip edge for the exposed edge area of surface constructions on balconies and terraces.
The support leg is glued onto the old surface before laying the new tiles, and then the new tiles are installed or integrated.
--------------------
Best of luck: KlaRa
If we do not need to consider an additional gutter to be installed on the open edge of the terrain, the solution is quite simple.
For example, a suitable finish would be "Schlüter-BARA-RKK/-RKKE" (or comparable profiled components).
The first option is a T-shaped edge profile with a short drip edge for the exposed edge area of surface constructions on balconies and terraces.
The support leg is glued onto the old surface before laying the new tiles, and then the new tiles are installed or integrated.
--------------------
Best of luck: KlaRa
KlaRa schrieb:
I’m always happy when my cautionary advice is well received.
If we don’t need to worry about adding an extra gutter to the open edges of the railing, the solution is quite straightforward.
A suitable finish would be, for example, “Schlüter-BARA-RKK/-RKKE” (or comparable profile systems).
The first one is a T-shaped edge profile with a short drip edge designed for the free edge areas of surface constructions on balconies and terraces.
The support leg is glued onto the old tile surface before laying the new tiles, which are then installed or worked over it.
--------------------
Good luck: KlaRa The idea of the T-shaped edge profile sounds very good; this is the kind of solution I had in mind. Does it need to be sealed additionally with silicone or something similar?
What is the best way to handle the transition from the new tile to the aluminum door profiles and from the new tile to the wall? Just by using the chosen grout?
Is the procedure I described in the previous comment correct? I’d prefer not to forget anything. It seems simpler and easier if the old tiles and old waterproofing remain, but I want to make sure I don’t overlook anything. As a small note, the old door profiles visible in the pictures will be removed as new doors and windows are being installed.
Is there anything else to consider regarding tile spacers? I purchased 3mm and a 10mm notched trowel, as I understood from the information I gathered, since the tiles are 120cm (47 inches). So far, is that correct or are there any tips or mistakes on my part? Thanks for the very informative answers so far.
Regarding tile adhesive and non-absorbent primers, are there any products that are recommended and work well?
Tiles can be installed against edge profiles, but they should not be fitted "snugly."
Therefore, it makes sense to leave a joint of 3mm to 5mm between the tile edge and the profile edge and to fill the joint chamber in the upper third with an elastic sealant.
At the door, there is currently a multi-bent profile. A similar one will likely be used there again. The new door will probably require a custom solution anyway. The tiles will also not be installed "snugly" against the door, which will result in a joint within the new surface before the door threshold (covered by the cover plate). My recommendation here is to lay a swellable tape loosely along the door entrance before attaching the new cover plate and then press it lightly in place with the cover plate.
A suitable swellable tape would be, for example, "Hydrotite SS0330" from TPPH (or a comparable product).
Only 3mm wide joints for large-format tiles seem risky to me! I would go with 5mm, as tiles on a balcony expand considerably during warm seasons, which can be problematic.
For a tile size of 1.20m length, the substrate must be very level (according to DIN 18202 Table 3, line 4 = increased flatness). Check this carefully!
Regarding primer: I already mentioned synthetic resin (epoxy resin, 2-component).
Common tile adhesives are mostly cement-based and are thus suitable for outdoor use.
Prefer medium-bed adhesives because the remaining ribs (and the resulting hollow chambers) beneath the tiles, i.e., within the adhesive layer, prevent frost damage during winter.
--------------------------
Signing off: KlaRa
Therefore, it makes sense to leave a joint of 3mm to 5mm between the tile edge and the profile edge and to fill the joint chamber in the upper third with an elastic sealant.
At the door, there is currently a multi-bent profile. A similar one will likely be used there again. The new door will probably require a custom solution anyway. The tiles will also not be installed "snugly" against the door, which will result in a joint within the new surface before the door threshold (covered by the cover plate). My recommendation here is to lay a swellable tape loosely along the door entrance before attaching the new cover plate and then press it lightly in place with the cover plate.
A suitable swellable tape would be, for example, "Hydrotite SS0330" from TPPH (or a comparable product).
Only 3mm wide joints for large-format tiles seem risky to me! I would go with 5mm, as tiles on a balcony expand considerably during warm seasons, which can be problematic.
For a tile size of 1.20m length, the substrate must be very level (according to DIN 18202 Table 3, line 4 = increased flatness). Check this carefully!
Regarding primer: I already mentioned synthetic resin (epoxy resin, 2-component).
Common tile adhesives are mostly cement-based and are thus suitable for outdoor use.
Prefer medium-bed adhesives because the remaining ribs (and the resulting hollow chambers) beneath the tiles, i.e., within the adhesive layer, prevent frost damage during winter.
--------------------------
Signing off: KlaRa
Similar topics