
ᐅ Is it feasible for a layperson to install baseboards themselves?
Created on: 26 Aug 2020 21:36
K
kati1337
Hello,
we have hired a painter for the entire house, including wallpapering and painting. I have now asked what he would charge for the baseboards but haven’t received a price yet.
Is it something a layperson could realistically do themselves? A miter box and a Japanese saw can be bought for about €70 (around $75). On Amazon, there are complete kits with baseboards and corner blocks available for just under €200 (about $215), although I haven’t calculated if the length would be enough. However, a friend mentioned that installing baseboards is much more difficult than it seems at first glance. Especially cutting for the corners would be a really tough job.
Do you have any experience with this? I’m not extremely perfectionistic, but it should look neat. Would you recommend letting a professional handle it, or is it something one can try doing oneself?
we have hired a painter for the entire house, including wallpapering and painting. I have now asked what he would charge for the baseboards but haven’t received a price yet.
Is it something a layperson could realistically do themselves? A miter box and a Japanese saw can be bought for about €70 (around $75). On Amazon, there are complete kits with baseboards and corner blocks available for just under €200 (about $215), although I haven’t calculated if the length would be enough. However, a friend mentioned that installing baseboards is much more difficult than it seems at first glance. Especially cutting for the corners would be a really tough job.
Do you have any experience with this? I’m not extremely perfectionistic, but it should look neat. Would you recommend letting a professional handle it, or is it something one can try doing oneself?

Okay, I took the advice here and just started. As expected, the first two corners look pretty terrible.
I haven’t glued anything yet. At the moment, I’m still torn between “redoing it” and “just gluing it and filling the holes with acrylic!”
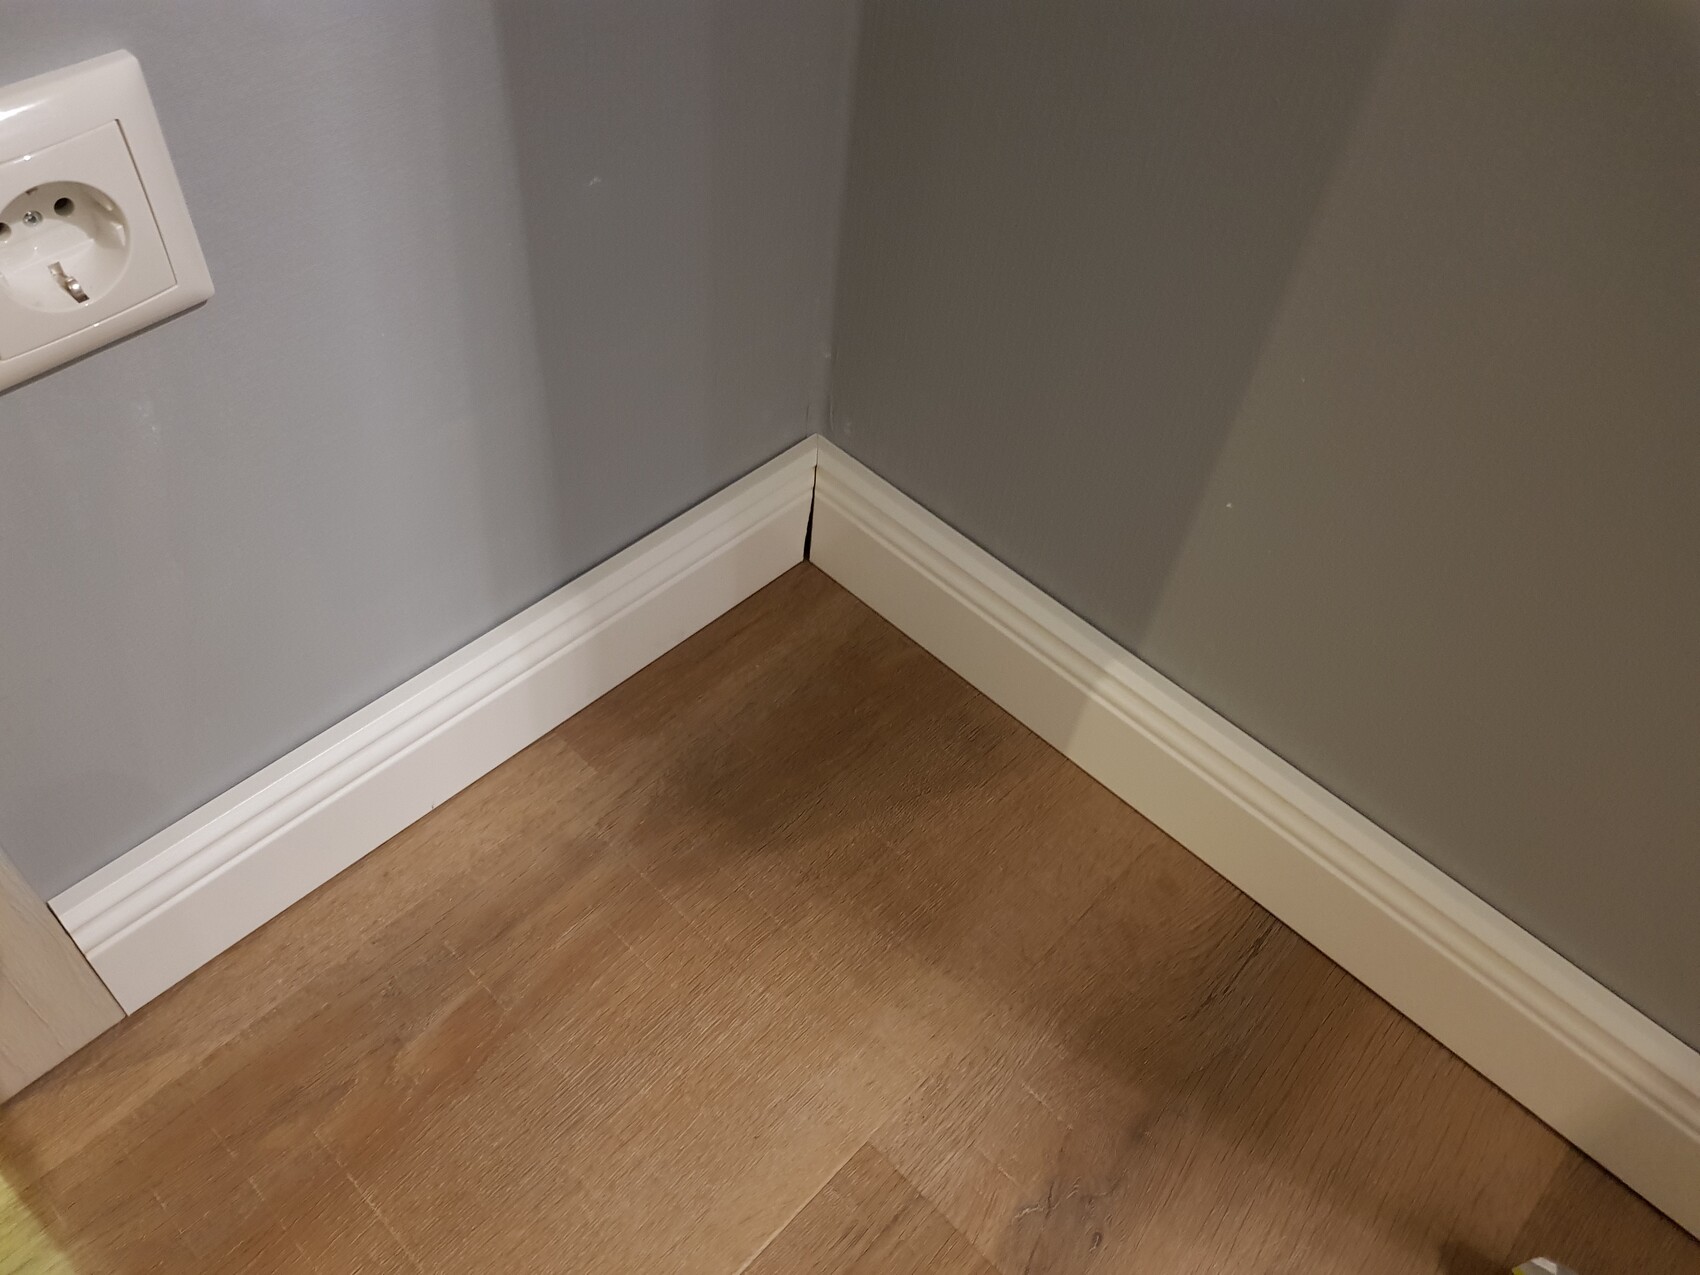

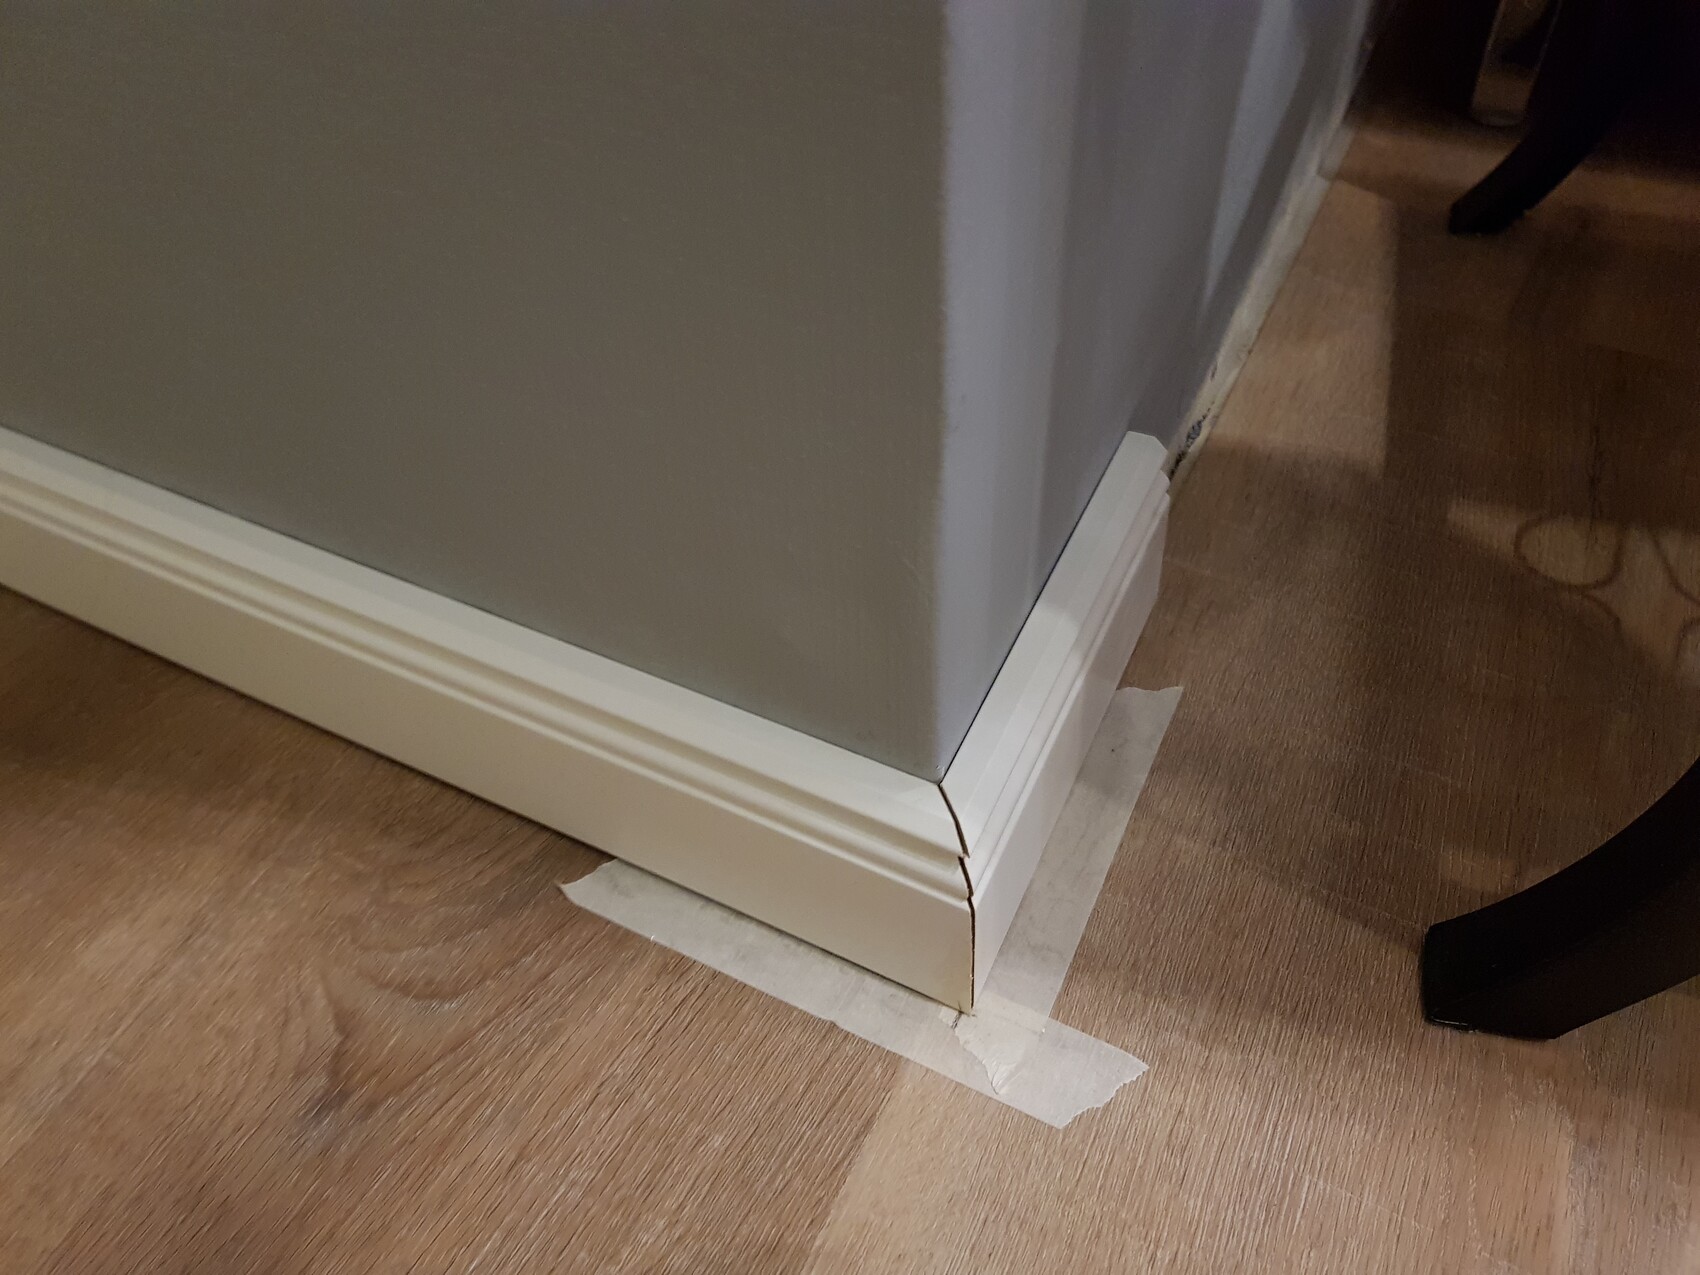
The inside corner (first attempt) looks really bad. I think my issue was that the angle changes depending on how the board lies in the cutting jig.
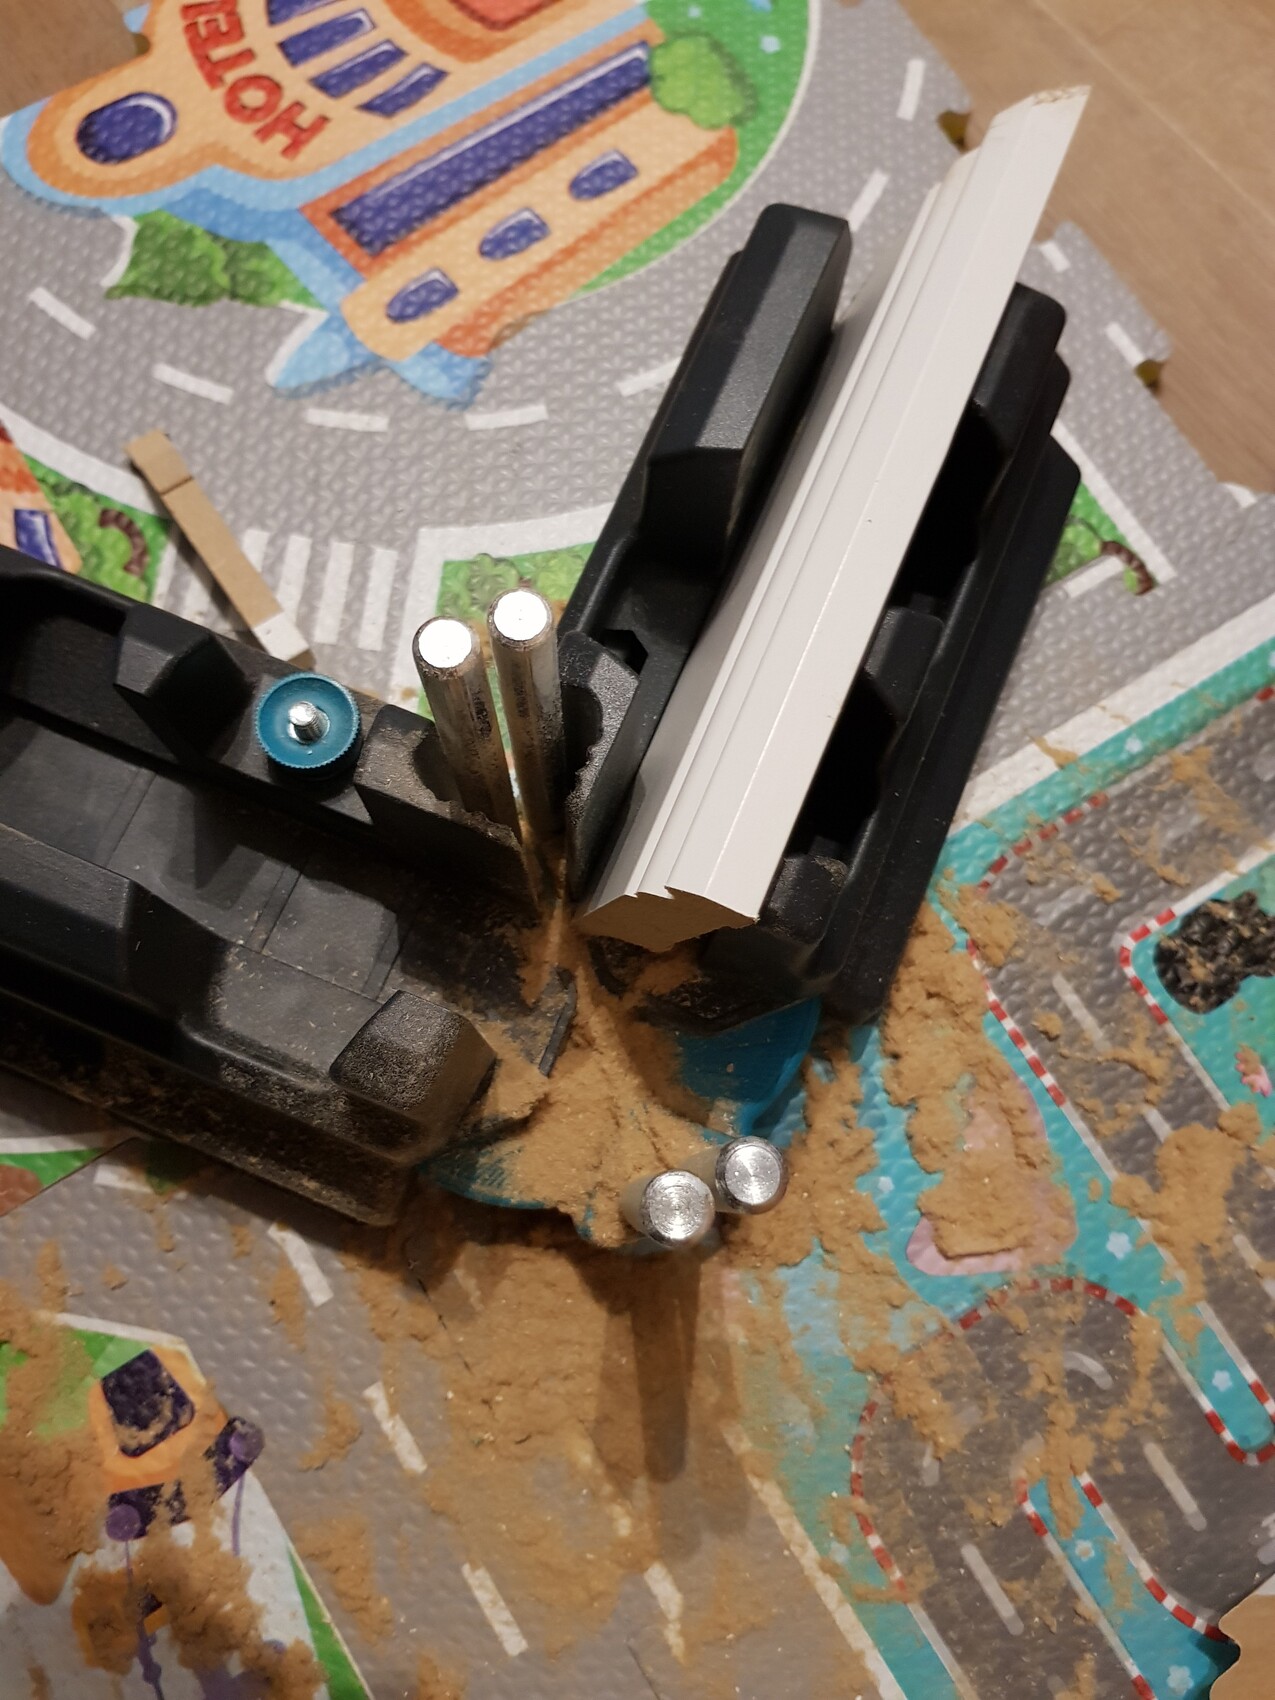
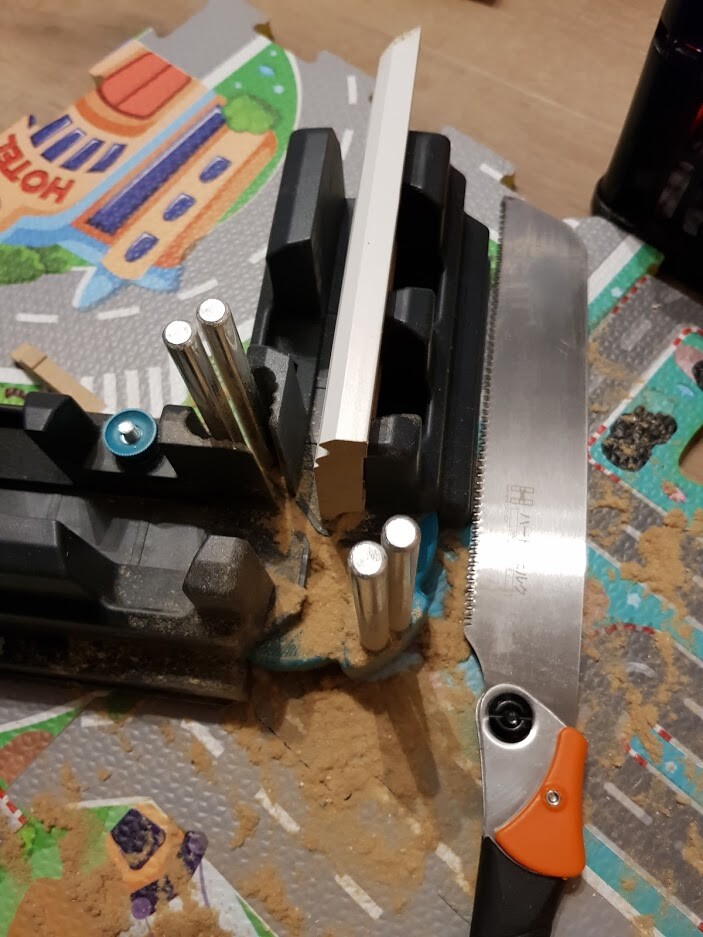
If the board is tilted inside the jig like in the photo, the miter angle comes out very odd.
When I manage to keep it reasonably straight—meaning pressing the board against the back wall of the jig—the angle improves a bit (see outside corner).
Now I don’t know, is there a trick to reliably fix it so it stands straight and the cut comes out clean?
Holding the board by hand causes quite a bit of muscle strain (and I’ve only made 4-5 cuts so far), plus the result isn’t perfect.
Another problem is that this cutting jig has a certain height, and when I put a long molding strip in it, the back of the strip naturally rests on the floor, making it stand higher inside the jig. I try to fix this by placing foam underneath at the back to roughly match the jig’s height, so the molding lies more level horizontally. But of course, this isn’t exact when I just slide in three foam pads, which probably leads to inaccurate results.
Can I do better with my angle tool and Japanese pull saw? Or is a compound miter saw inevitable?
It’s not so much about the price for me—I’m more afraid of accidentally hurting my clumsy little fingers. As someone working in IT, that would be quite a career hazard.

This one was just cut. It was the first one. It’s a bit tight (slightly oversized), but overall, it turned out pretty well. Still not glued—I’m not brave enough yet.
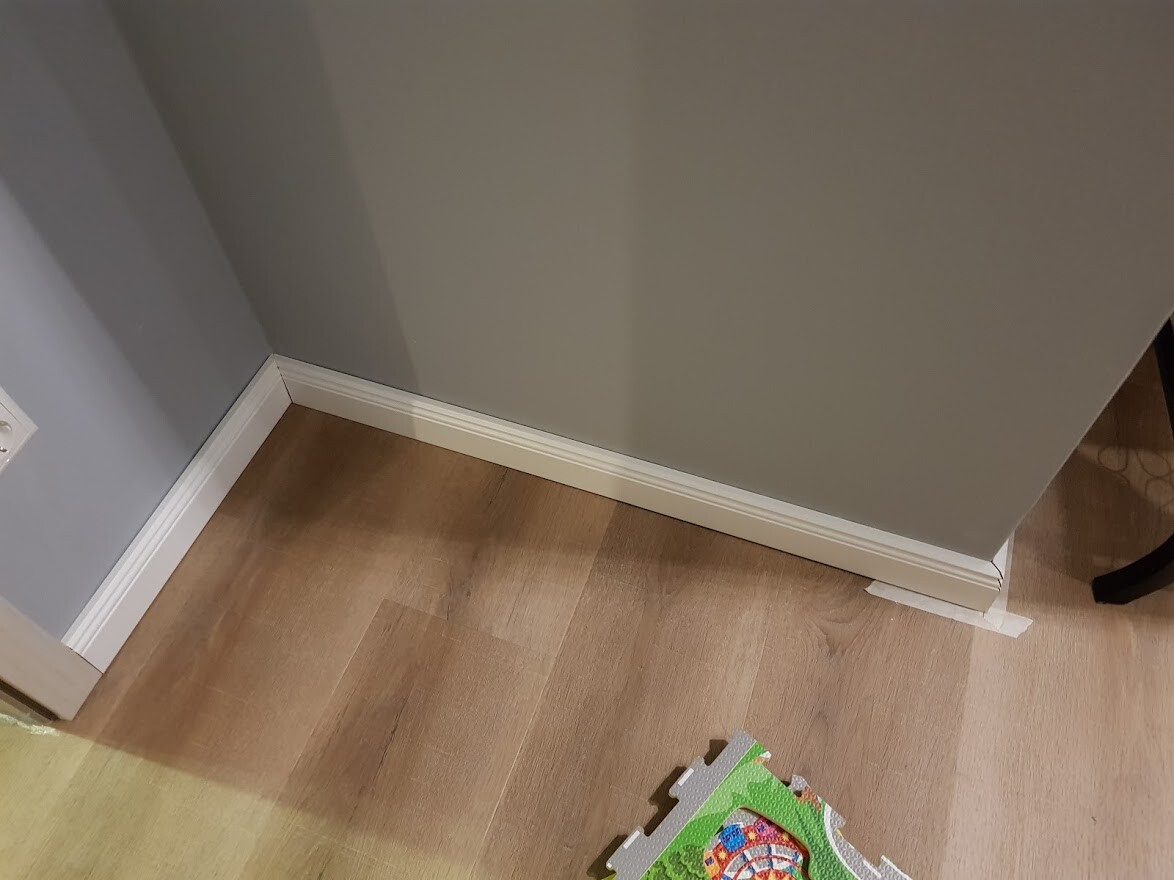
Looking at this photo, I think “hmm, despite my rough corners it doesn’t look too bad”… maybe because I had seen it for so long without any baseboards, and well, anything is better than none. 😉
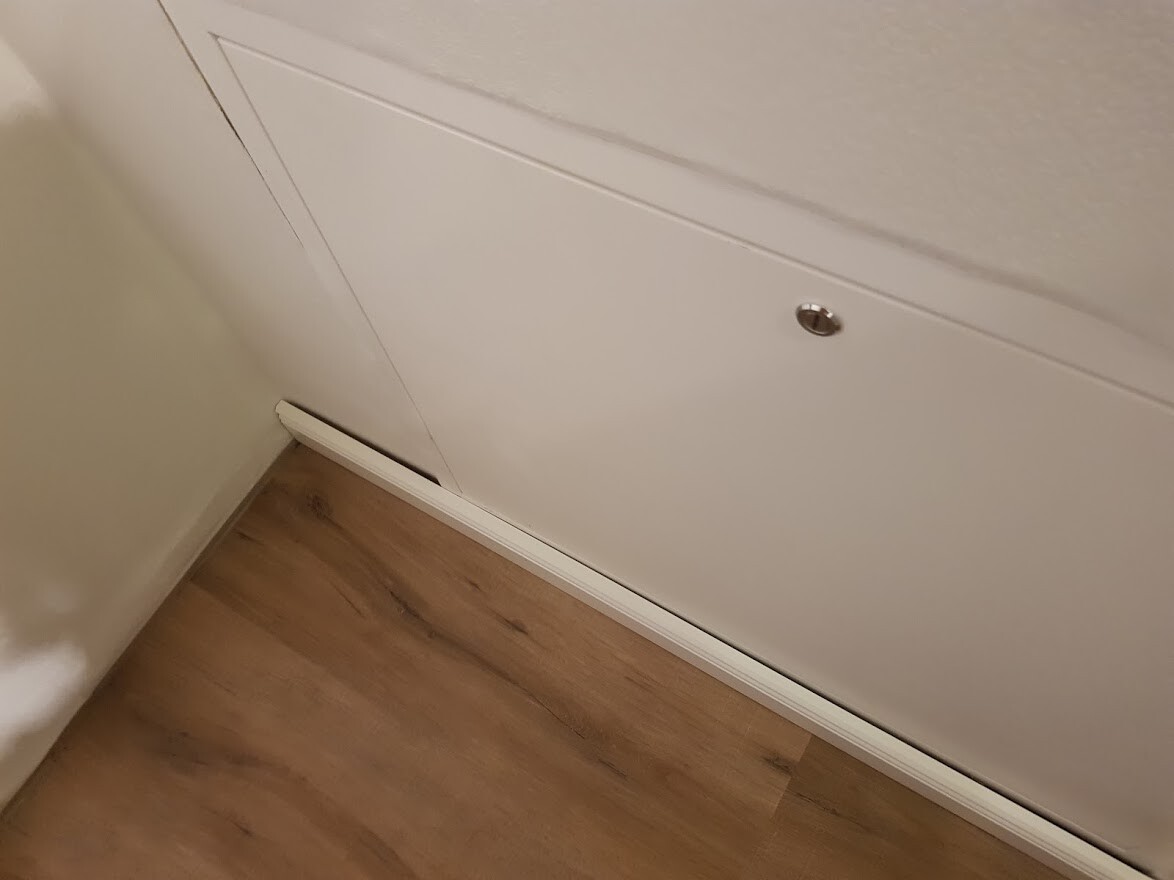
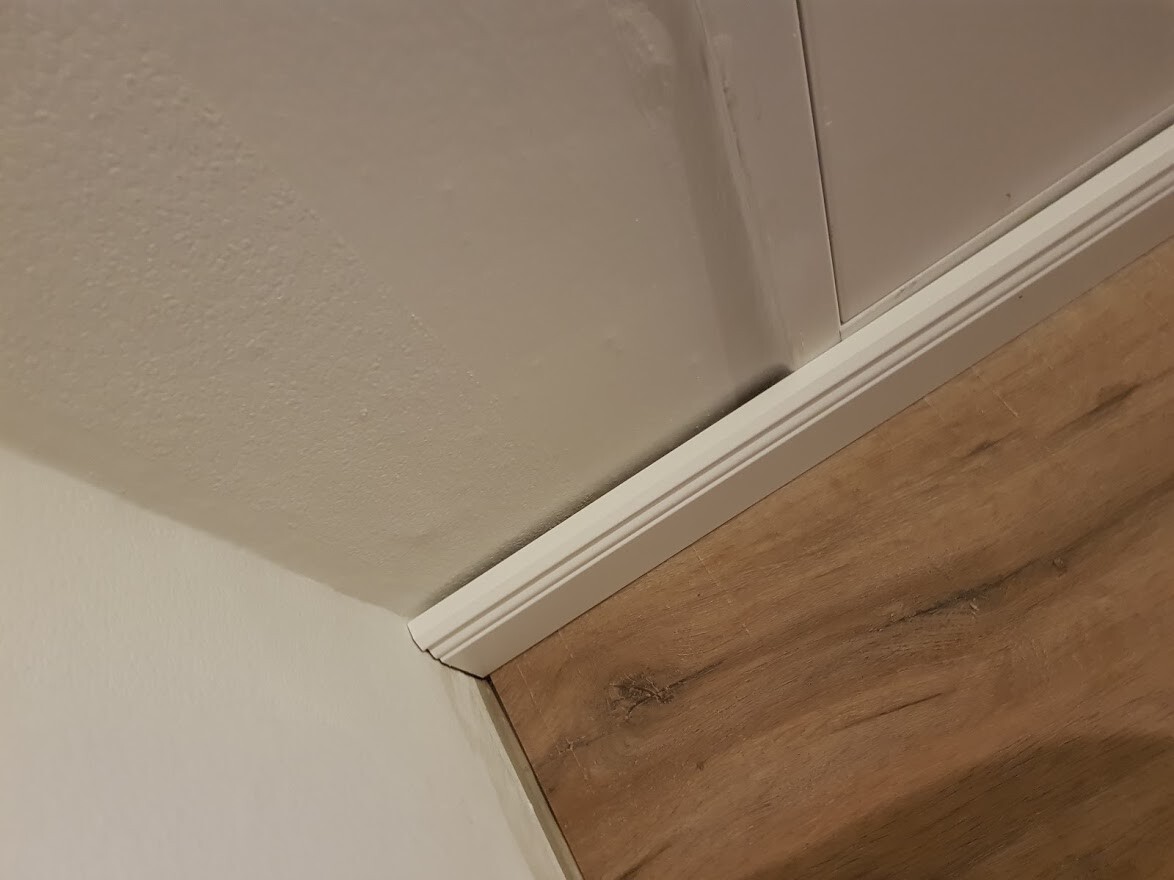
Then I ran into another issue in our hallway. This is the heating circuit distributor. How would you solve this? The metal box sticks out, but only on the left side. If I hold a molding strip in front of it, there’s a 5-10mm (0.2-0.4 inch) gap. How can I elegantly get around the corner there? :/
I haven’t glued anything yet. At the moment, I’m still torn between “redoing it” and “just gluing it and filling the holes with acrylic!”
The inside corner (first attempt) looks really bad. I think my issue was that the angle changes depending on how the board lies in the cutting jig.
If the board is tilted inside the jig like in the photo, the miter angle comes out very odd.
When I manage to keep it reasonably straight—meaning pressing the board against the back wall of the jig—the angle improves a bit (see outside corner).
Now I don’t know, is there a trick to reliably fix it so it stands straight and the cut comes out clean?
Holding the board by hand causes quite a bit of muscle strain (and I’ve only made 4-5 cuts so far), plus the result isn’t perfect.
Another problem is that this cutting jig has a certain height, and when I put a long molding strip in it, the back of the strip naturally rests on the floor, making it stand higher inside the jig. I try to fix this by placing foam underneath at the back to roughly match the jig’s height, so the molding lies more level horizontally. But of course, this isn’t exact when I just slide in three foam pads, which probably leads to inaccurate results.
Can I do better with my angle tool and Japanese pull saw? Or is a compound miter saw inevitable?
It’s not so much about the price for me—I’m more afraid of accidentally hurting my clumsy little fingers. As someone working in IT, that would be quite a career hazard.
This one was just cut. It was the first one. It’s a bit tight (slightly oversized), but overall, it turned out pretty well. Still not glued—I’m not brave enough yet.
Looking at this photo, I think “hmm, despite my rough corners it doesn’t look too bad”… maybe because I had seen it for so long without any baseboards, and well, anything is better than none. 😉
Then I ran into another issue in our hallway. This is the heating circuit distributor. How would you solve this? The metal box sticks out, but only on the left side. If I hold a molding strip in front of it, there’s a 5-10mm (0.2-0.4 inch) gap. How can I elegantly get around the corner there? :/

The “underlay” is absolutely fantastic! Haha.
Regarding the topic, we had it installed by the flooring specialist. I went through it once and thought for years that I was dissatisfied. Those very gaps always bothered me when I looked at them. It’s like a poorly cleaned patch of wall that’s only 10cm (5 inches) wide. Once you know it’s there, you will always notice it.
Regarding the topic, we had it installed by the flooring specialist. I went through it once and thought for years that I was dissatisfied. Those very gaps always bothered me when I looked at them. It’s like a poorly cleaned patch of wall that’s only 10cm (5 inches) wide. Once you know it’s there, you will always notice it.
Tarnari schrieb:
The “underlay” is the best part! Haha.
Regarding that topic, we had it done by the flooring installer. I went through it once and thought for years that I was unhappy. Those exact gaps always bothered me when looking at it. It’s like a poorly plastered piece of wall that’s only 10cm (5 inches) wide. Once you know it’s there, you’ll always notice it. Well, basically all our walls are “poorly plastered,” we only paid for Q2-level finish and then wallpapered over it. Spending a lot of money now on perfect baseboards won’t fix that. 😉
I “borrowed” the underlay from my son 😀
Bookstar schrieb:
You simply cut out the baseboard around the heating valve. Use a multitool or a router. If needed, you can also do it with a saw and a spatula. Cool, I even have something like that, a multitool 😀
Nordlys schrieb:
That works. A bit of white acrylic hides a lot. Just don’t be discouraged, keep going. Practice makes perfect. Put a floor lamp or a rubber plant in the corner with the acrylic, and it looks fine. I will keep trying. The fact that my one-year-old starts crying every time I saw by hand doesn’t help much. 😀
Does anyone have a tip on how to hold the baseboard straight in the vice?