ᐅ EIFS with Rhombus Cladding – How to Construct the Substructure?
Created on: 2 Nov 2023 11:11
L
LostWolfAs part of my complete renovation, an external thermal insulation composite system (ETICS) with 18cm (7 inches) of mineral wool is planned.
In the occupied and therefore heated areas, this will be finished with plaster.
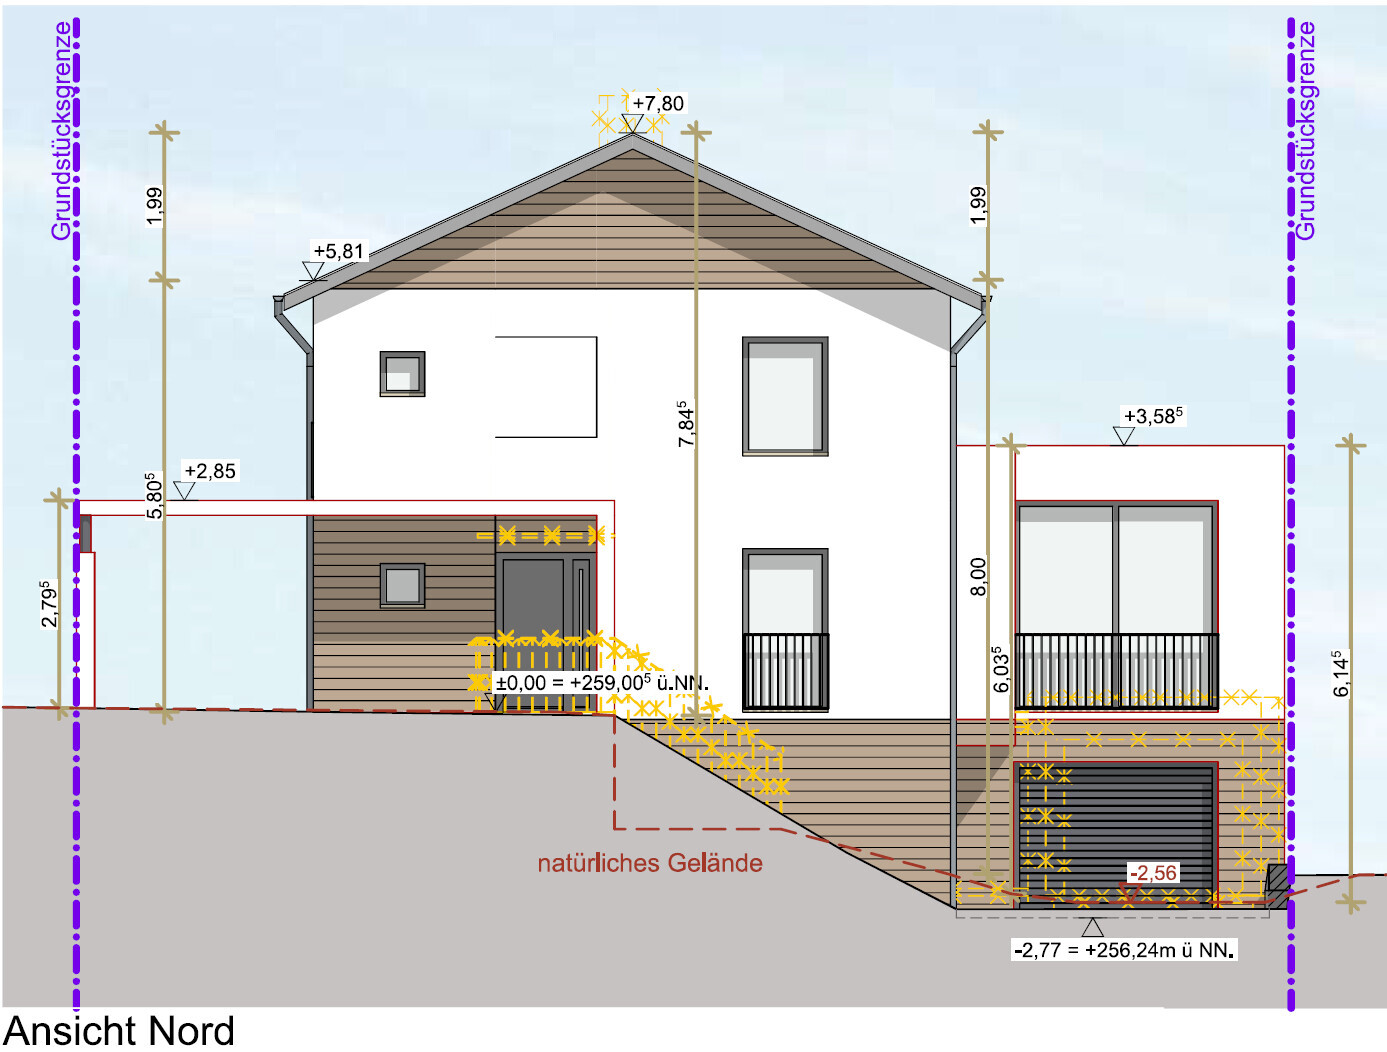
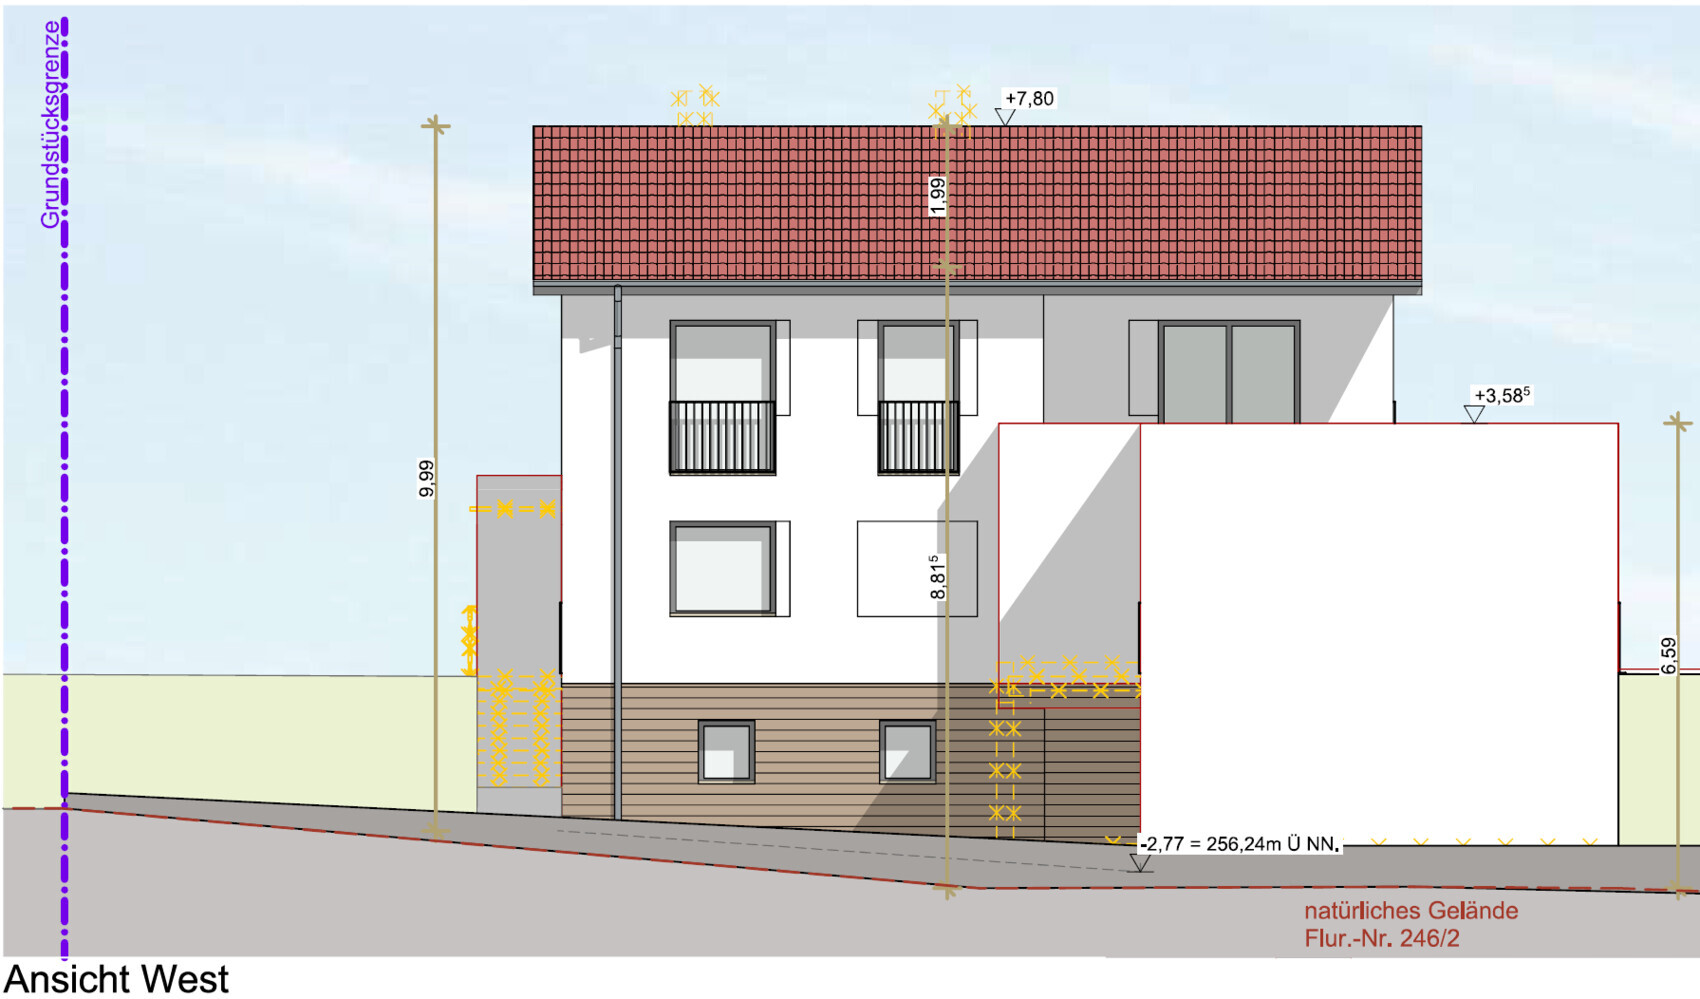
However, to create a more attractive facade, the basement level (the area visible due to the sloping site) and the attic will be clad with a rhombus-profiled siding (most likely untreated larch).
To avoid thermal bridges, the insulation should cover these areas as well.
How should the substructure be designed to allow for the installation of the rhombus siding?
The plan is for the plasterer to install the substructure, after which I will mount the rhombus boards.
Still, I would like to know about possible ways to construct the substructure.
In the occupied and therefore heated areas, this will be finished with plaster.
However, to create a more attractive facade, the basement level (the area visible due to the sloping site) and the attic will be clad with a rhombus-profiled siding (most likely untreated larch).
To avoid thermal bridges, the insulation should cover these areas as well.
How should the substructure be designed to allow for the installation of the rhombus siding?
The plan is for the plasterer to install the substructure, after which I will mount the rhombus boards.
Still, I would like to know about possible ways to construct the substructure.
First of all: Larch wood (and wood in general) as a cladding material in the splash zone, 30cm (12 inches) above ground level, is not the ideal choice. It can be done, but expect shorter repair intervals. Due to its proximity to the ground, the wood is frequently and longer exposed to moisture, which accelerates fungal growth and rot, especially on the weather-exposed side.
Open battens in the splash zone also require, in addition to the usual breathable membrane/wind barrier, a pressure-resistant protection against snow and ice (and hedgehogs, etc.). Additionally, the splash protection/gravel strip should be relatively wide (30cm (12 inches)).
The advantage of horizontal cladding is that individual, ground-near elements can be replaced more easily than with vertical cladding. I would avoid wood in the lower 30cm (12 inches) and instead install continuous Resopal panels in the area close to the ground.
Simply installing the facade is not enough. Connections, corners, and reveals require extra attention; otherwise, water will penetrate into the insulation behind the cladding.
The substructure (support frame) can be made in several ways. Traditionally, this is done with wooden beams, crossed in two layers for thickness, e.g., 2 x 60mm (2 x 2.4 inches). On top of that goes the breathable membrane (UV-stable for open battens!) and reinforcement mesh in the lower area, followed by a ventilation gap of 30-50mm (1.2-2 inches) — optionally blackened — and then the facade elements. This results in a total thickness of about 180mm (7 inches). At the gable area, an overhang beyond the external thermal insulation composite system (ETICS / external insulation) is beneficial. There, a drip edge can be installed at the lower connection above the render of the ETICS beneath. With some overhang, this stays cleaner and algae-free longer.
In the basement area, the wood should be flush with the render to prevent water running behind it. Therefore, the insulation thickness there must be reduced, and ideally, it should also finish at the top with a projecting drip edge.
As an alternative to wood, there are various fixing systems for ventilated curtain facades. If you are familiar with them, they can sometimes speed up installation, although not on the first attempt. The advantage of these systems is that the wide wooden beams are replaced by (usually thermally decoupled) spacers, and underneath there is a continuous insulation layer. The construction requirements regarding rain tightness and structural wood protection remain the same.
Similar topics