ᐅ Terrace Upgrade for a 1960s Exposed Aggregate Concrete Patio DIY – A Personal Experience Report
Created on: 19 Jun 2025 11:48
N
nordanneyN
nordanney19 Jun 2025 11:48I’d like to share some DIY tips again to help keep house building costs down. Or when renovating—working with the house rather than fighting it to create something new without overspending.
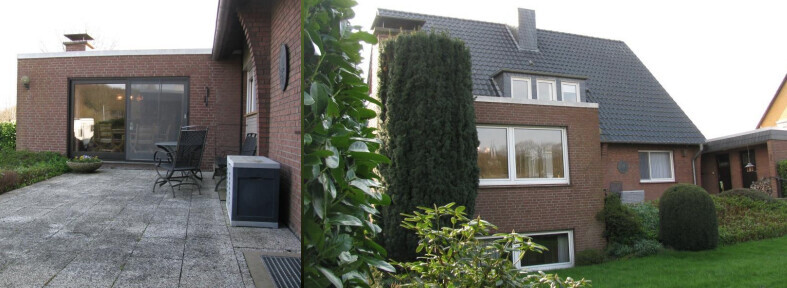
Starting point: a 1960s house with original outdoor areas from the same era.
Goal: a cozy terrace area (40 sqm (430 sq ft)) on a manageable budget, with level access from the fireplace room.
At the time of purchase, it didn’t look very appealing... (not just the terrace, but also the planting in front)
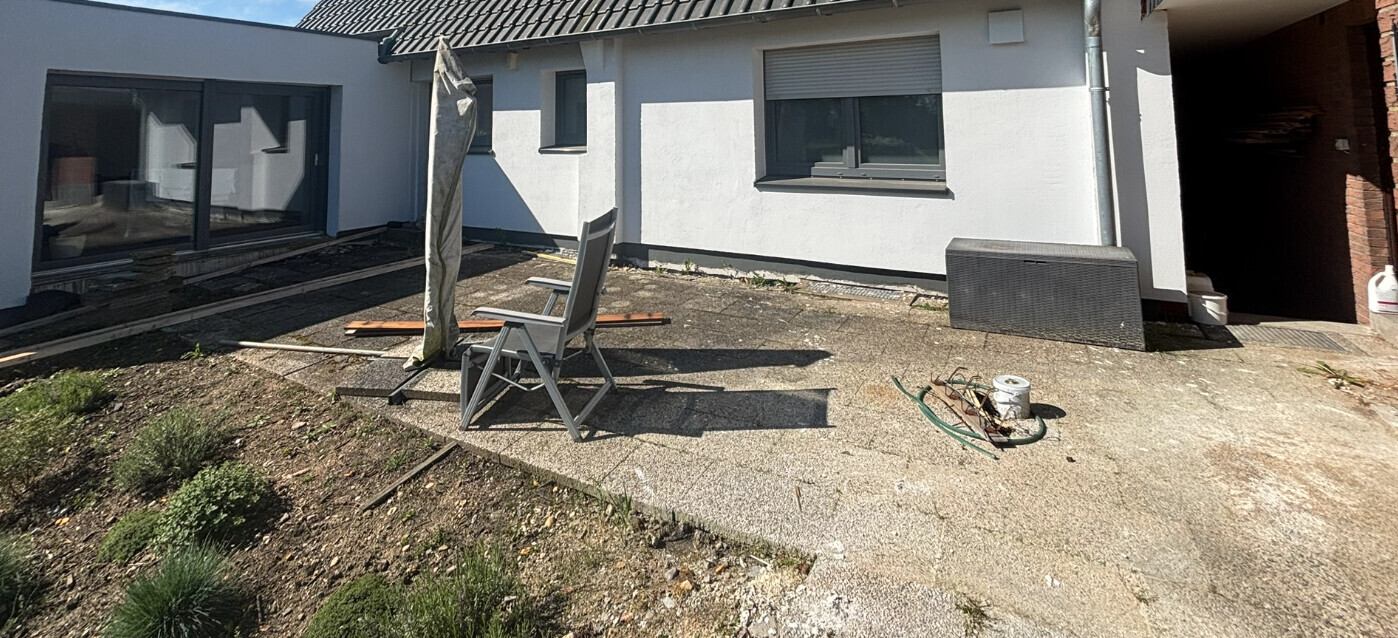
So first, the necessary renovations on the house were carried out to at least get that sorted...
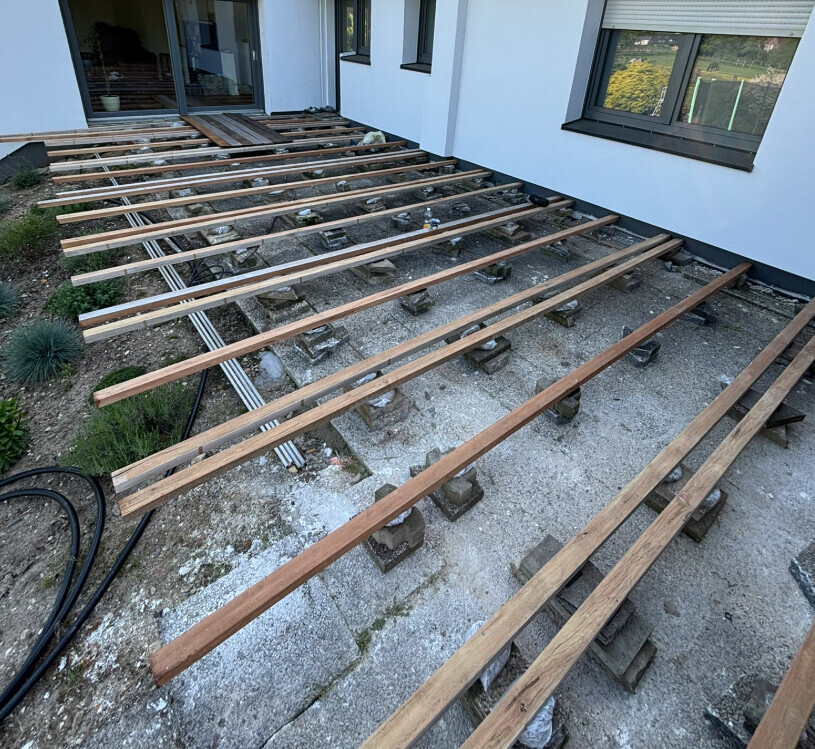
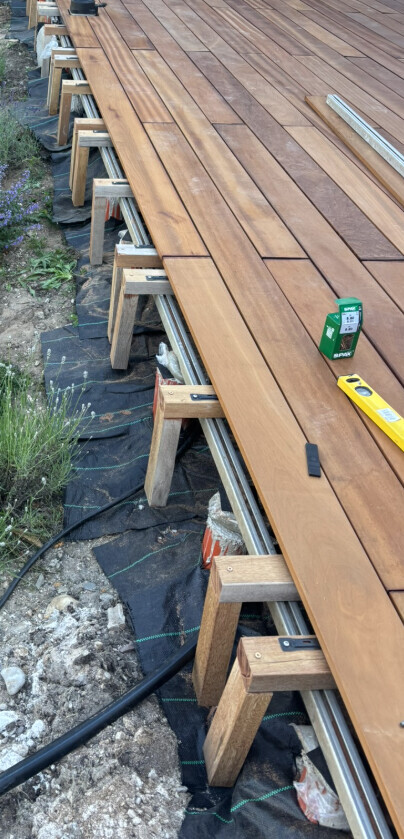
The substructure consists of old sidewalk slabs and concrete bags (screed concrete, earth-moist, in freezer bags), plus rubber pads to prevent the wood from sitting in water.
NO slope, since the old terrace already had one. This way, the terrace will be perfectly level...
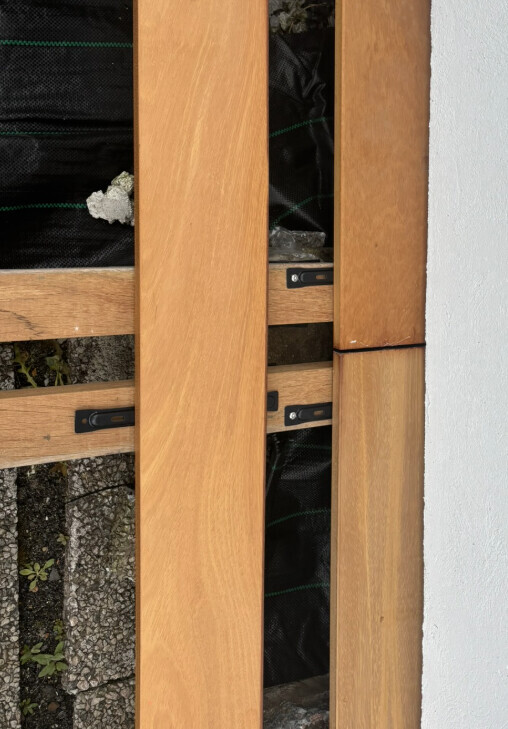
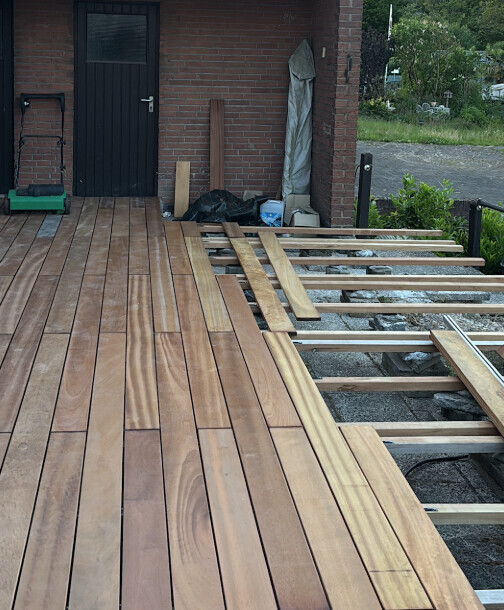
On top of this come Tatajuba decking boards, installed with hidden fasteners...
The terrace is taking shape. In the covered corner, a concrete slab will be poured. This will be the new home for the grill...
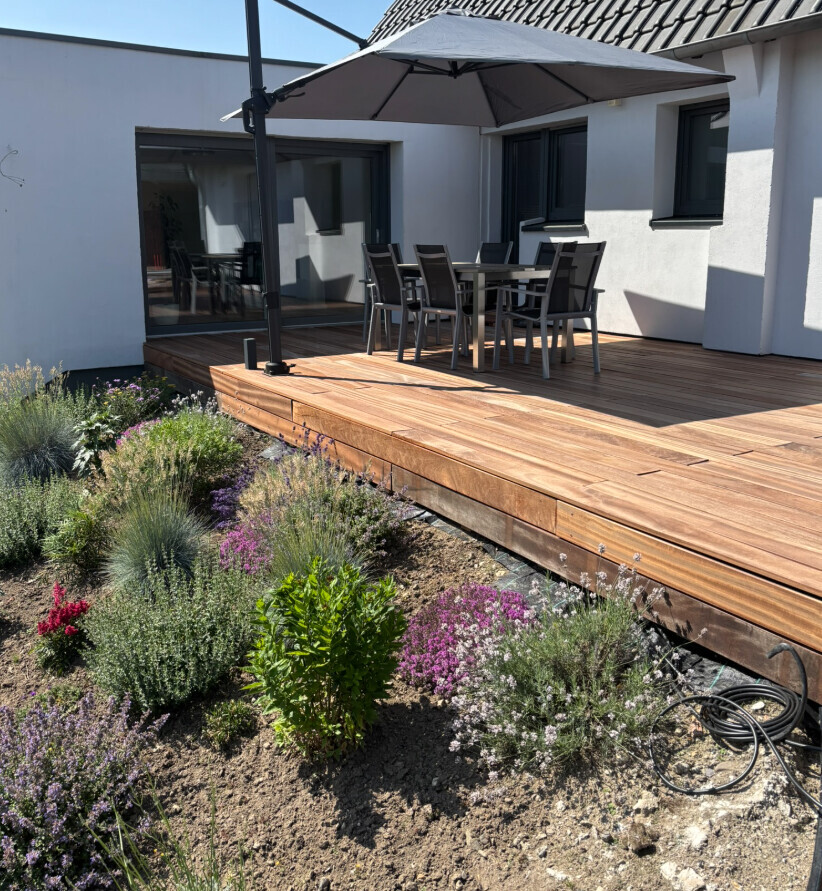
Since the terrace is slightly larger, I had to support the main beams. I dug small holes in the slope, inserted sewer pipes, and filled them with concrete. On top lies an aluminum strip leftover from the photovoltaic system. Fits perfectly and doesn’t need to be disposed of. I also attached a few vertical woods to finish the vertical edge...
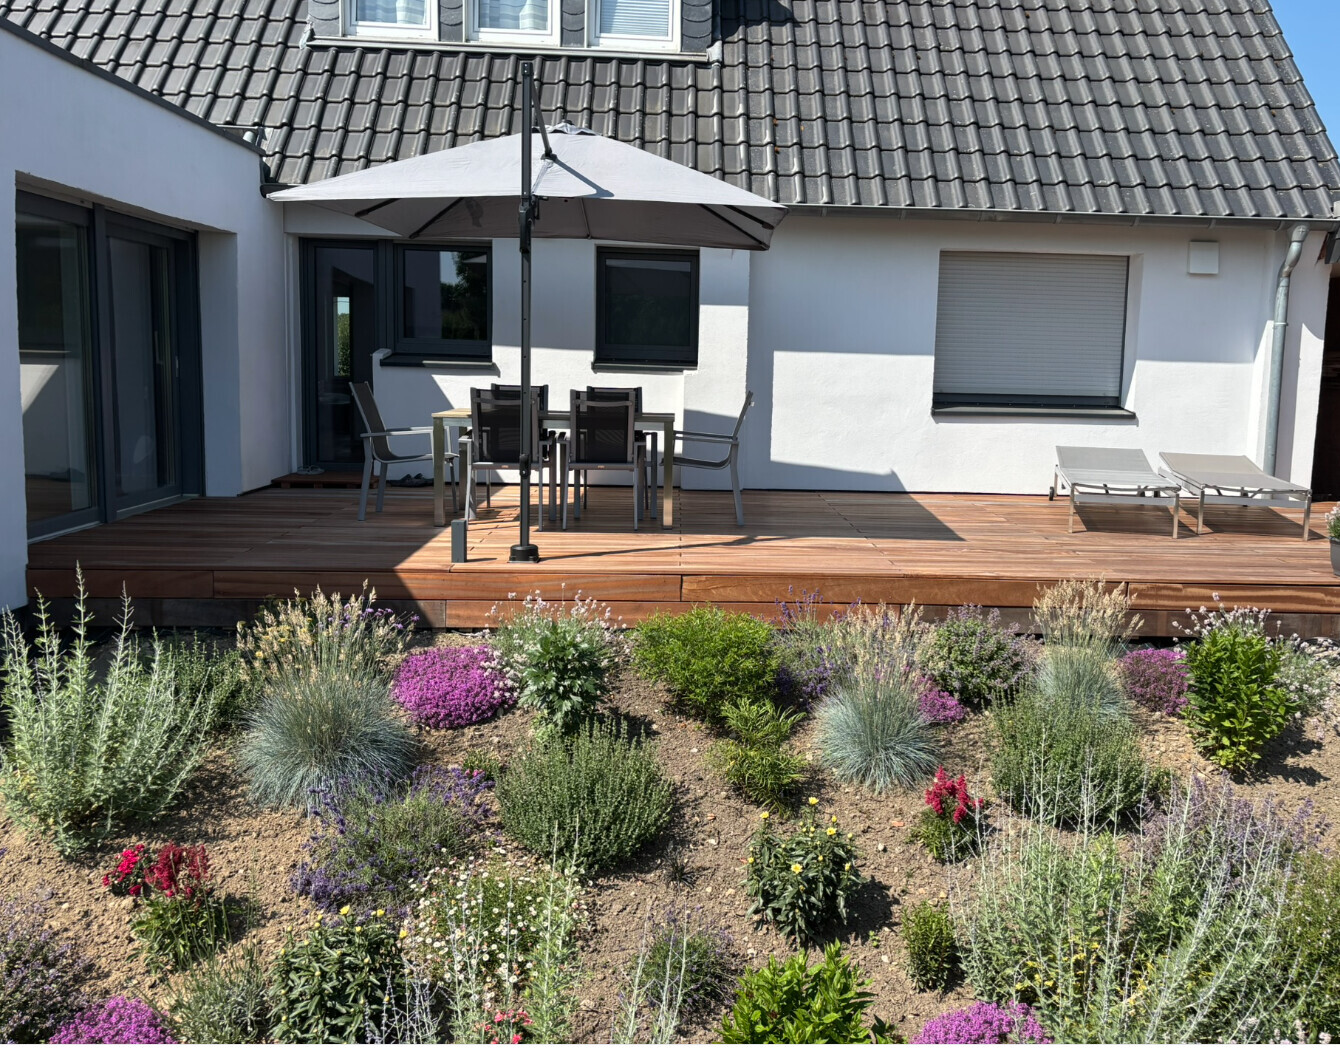
Finished. Along the way, I installed a concrete base for the umbrella (a fixed terrace roof isn’t feasible with the building situation). Under the terrace, electrical wiring (5x2.5 / 5x6) and 32mm (1 1/4 inch) water pipes were installed for the eventual replacement of the old garden irrigation system. The planting on the slope was also completely renewed back to its original state.

The grill feels at home too...

Total cost for substructure, decking, fasteners, concrete, tiles, etc.: around €2,500
Starting point: a 1960s house with original outdoor areas from the same era.
Goal: a cozy terrace area (40 sqm (430 sq ft)) on a manageable budget, with level access from the fireplace room.
At the time of purchase, it didn’t look very appealing... (not just the terrace, but also the planting in front)
So first, the necessary renovations on the house were carried out to at least get that sorted...
The substructure consists of old sidewalk slabs and concrete bags (screed concrete, earth-moist, in freezer bags), plus rubber pads to prevent the wood from sitting in water.
NO slope, since the old terrace already had one. This way, the terrace will be perfectly level...
On top of this come Tatajuba decking boards, installed with hidden fasteners...
The terrace is taking shape. In the covered corner, a concrete slab will be poured. This will be the new home for the grill...
Since the terrace is slightly larger, I had to support the main beams. I dug small holes in the slope, inserted sewer pipes, and filled them with concrete. On top lies an aluminum strip leftover from the photovoltaic system. Fits perfectly and doesn’t need to be disposed of. I also attached a few vertical woods to finish the vertical edge...
Finished. Along the way, I installed a concrete base for the umbrella (a fixed terrace roof isn’t feasible with the building situation). Under the terrace, electrical wiring (5x2.5 / 5x6) and 32mm (1 1/4 inch) water pipes were installed for the eventual replacement of the old garden irrigation system. The planting on the slope was also completely renewed back to its original state.
The grill feels at home too...
Total cost for substructure, decking, fasteners, concrete, tiles, etc.: around €2,500
N
nordanney19 Jun 2025 11:50The last pictures have been lost...


Similar topics