Hello,
there was a misunderstanding with our electrician regarding the lighting for our staircase.
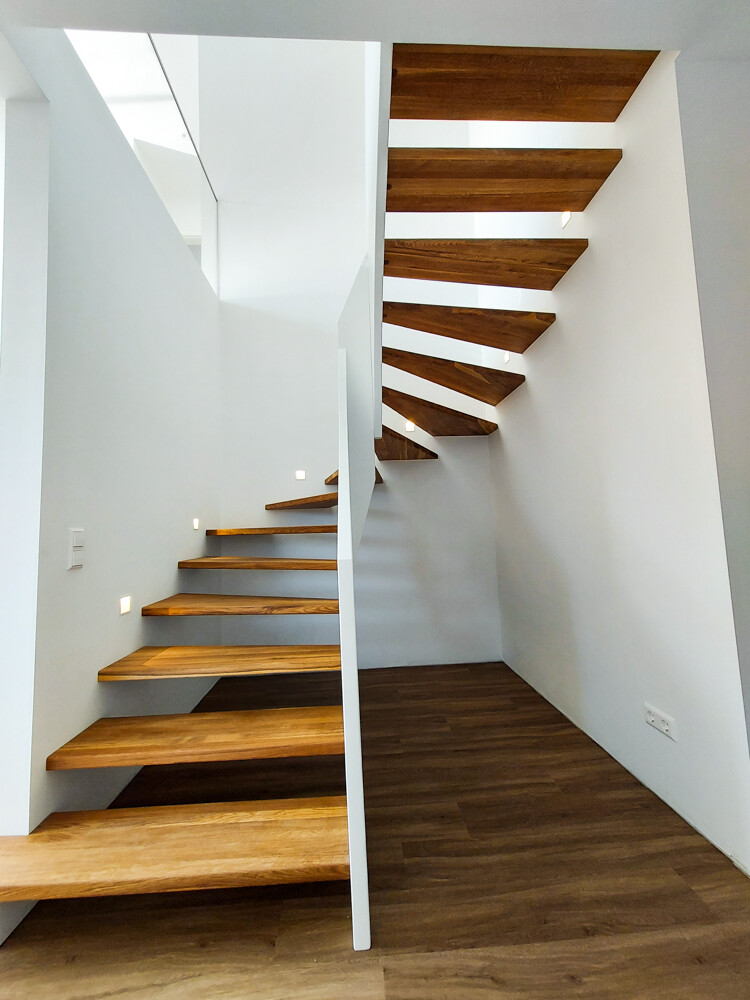
We had planned an LED strip running diagonally down along the stairs.
Our electrician originally said it would be installed after the plastering was done. Now he says it should have been laid after the base coat of plaster and then covered with the finishing plaster.
Currently, a cable is hanging out of the finished plaster.
What options are there now for a neat staircase lighting solution?
Should we open up the plaster again and re-install it?
Or do you have any other ideas?
there was a misunderstanding with our electrician regarding the lighting for our staircase.
We had planned an LED strip running diagonally down along the stairs.
Our electrician originally said it would be installed after the plastering was done. Now he says it should have been laid after the base coat of plaster and then covered with the finishing plaster.
Currently, a cable is hanging out of the finished plaster.
What options are there now for a neat staircase lighting solution?
Should we open up the plaster again and re-install it?
Or do you have any other ideas?

@Yaso2.0
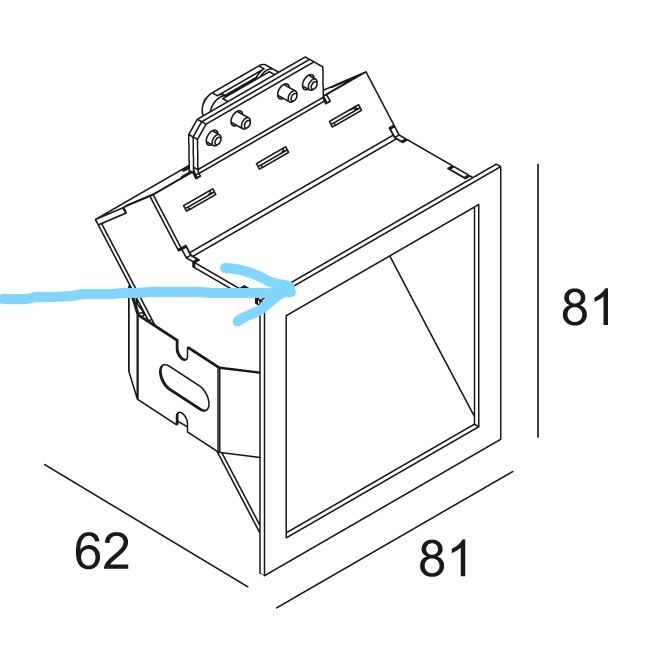
Although I didn’t install LED strips but recessed lights myself, the process is quite similar. Unfortunately, it’s not something you can just do quickly. Our recessed lights are Heli 1 Screen from Deltalight, which I’m very satisfied with.
Try searching for Deltalight Tagline or Schlüter Liprotec LL. They offer wall profiles with integrated LED lights. I have Schlüter Liprotec in the bathroom, and the quality is very good.
For a flush-mounted installation, I would probably proceed like this:
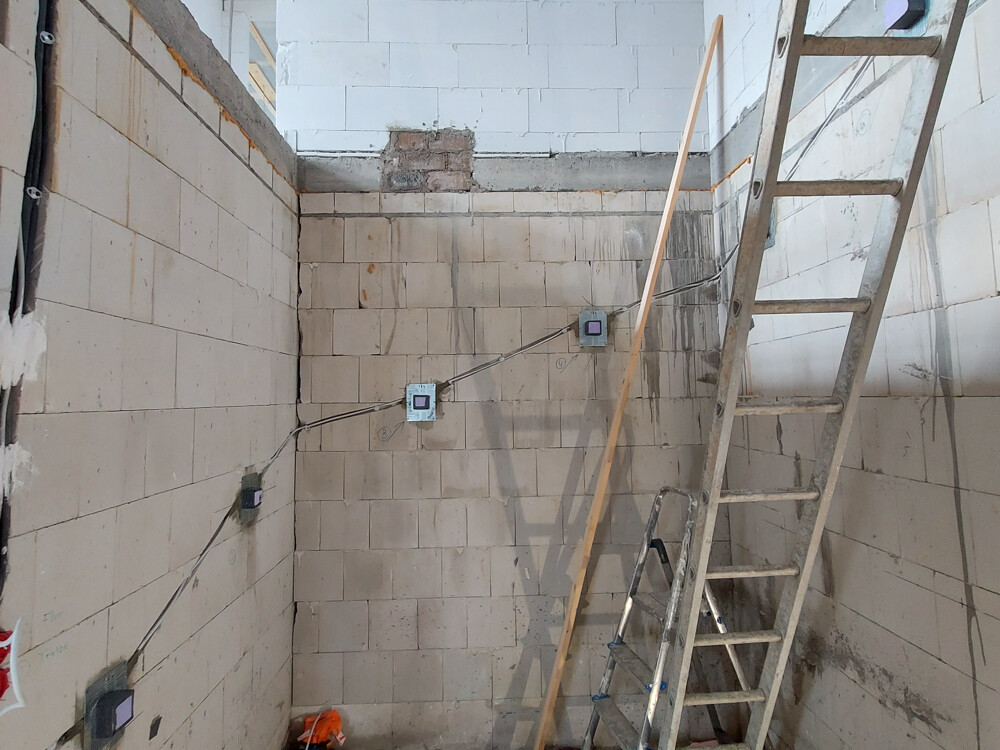
Get the exact stair measurements from the stair builder and mark the positions carefully before applying plaster.
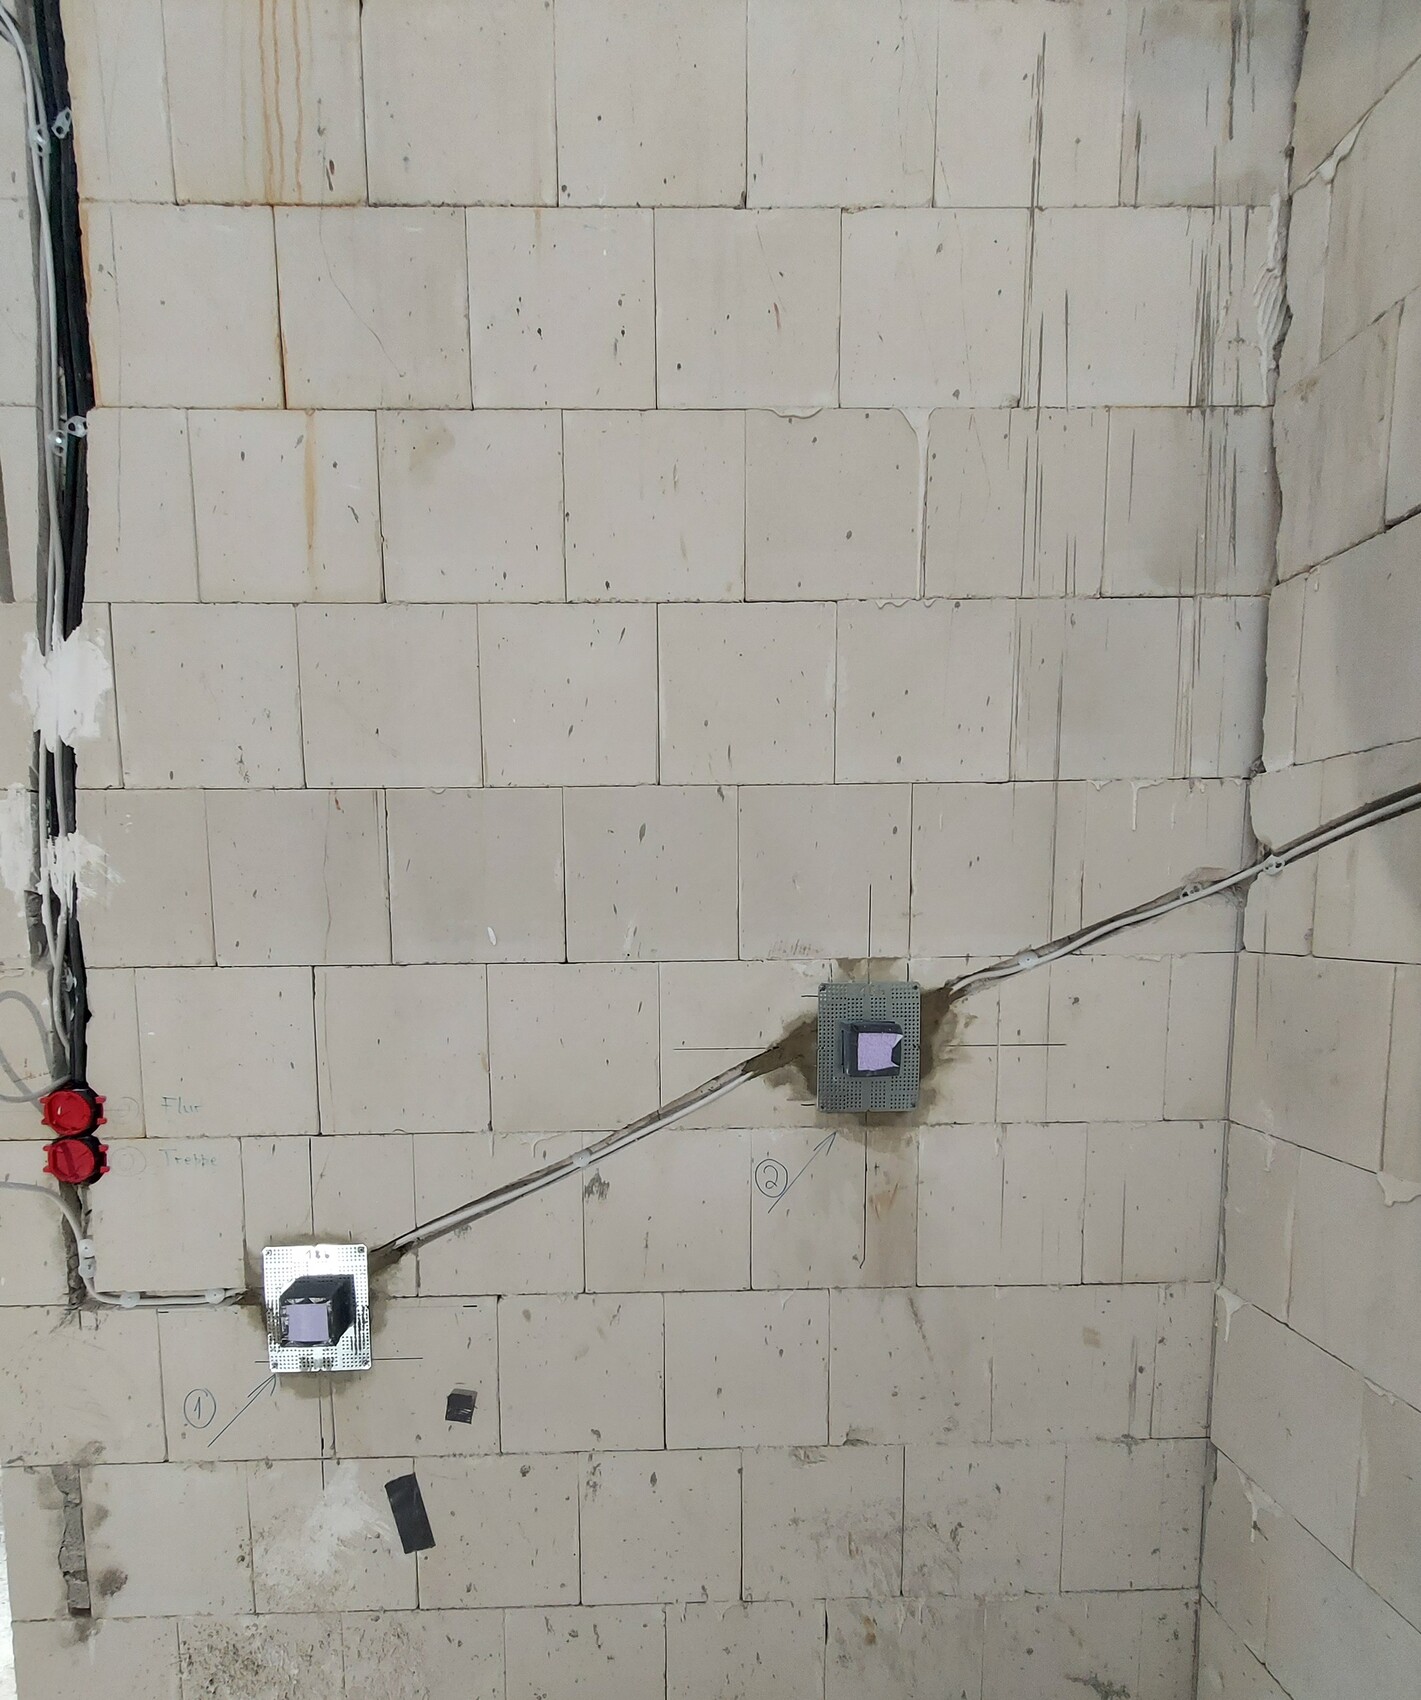
Place a recessed junction box or similar above or below each LED strip so you can always access the cables properly if something breaks. For the transformer, either use a larger junction box or a separate one where needed.
Chase the wall and run cables from the switches to the junction boxes.
Since it’s hard to know exactly how much plaster will be applied, I would chase the wall for the LED strips and first install a dummy.
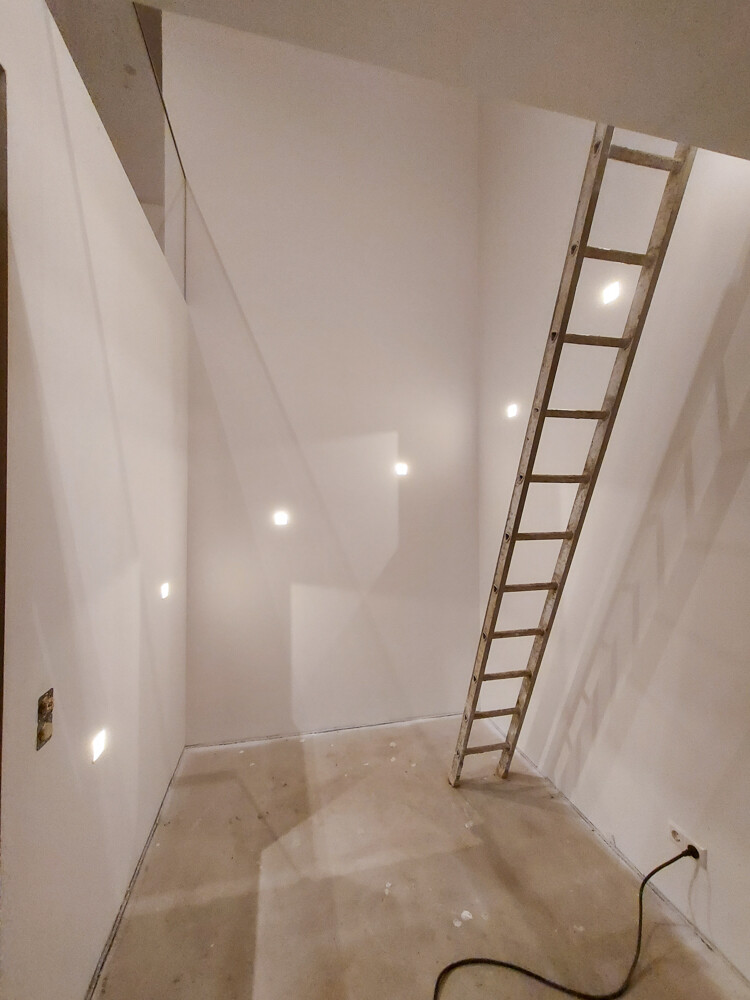
After plastering (or even better after the painters have smoothed out the surfaces cleanly and evenly), glue the profiles flush with the wall.
Once the painters are done, connect the LED strips.
The painters must at least deliver a clean and especially flat surface in those areas; otherwise, it will look terrible.
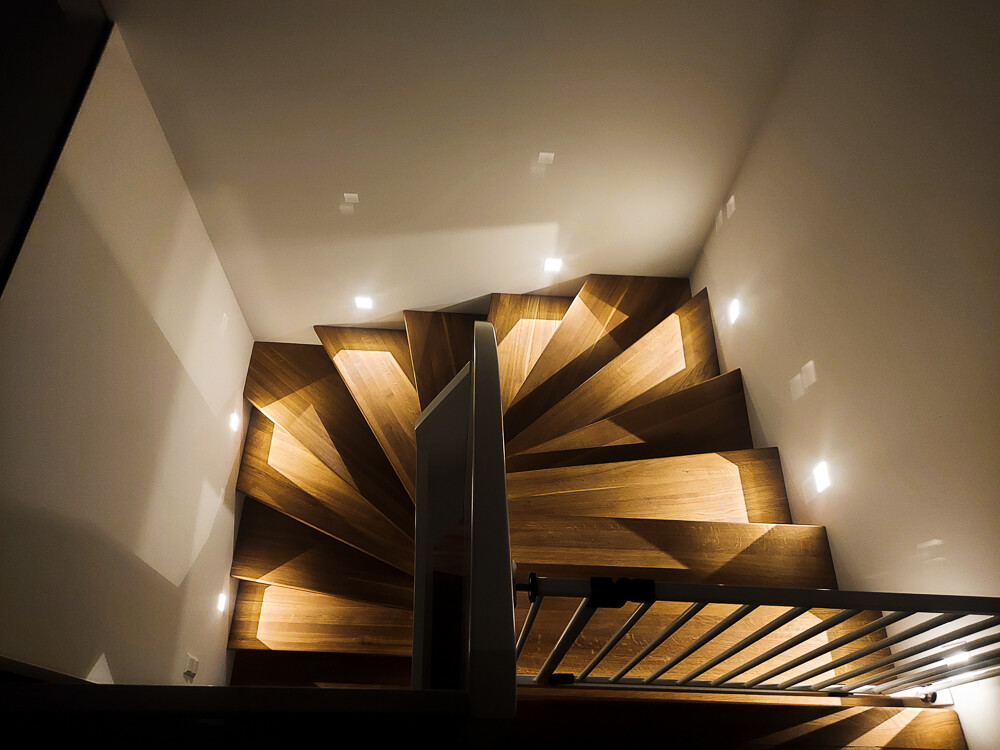
It was a bit easier for me because the recessed light has a frame (see picture), and due to the deeper installation depth, I could prepare everything before plastering and after the painters finished, just connect and push in the recessed fixture. That’s exactly why I chose this option.
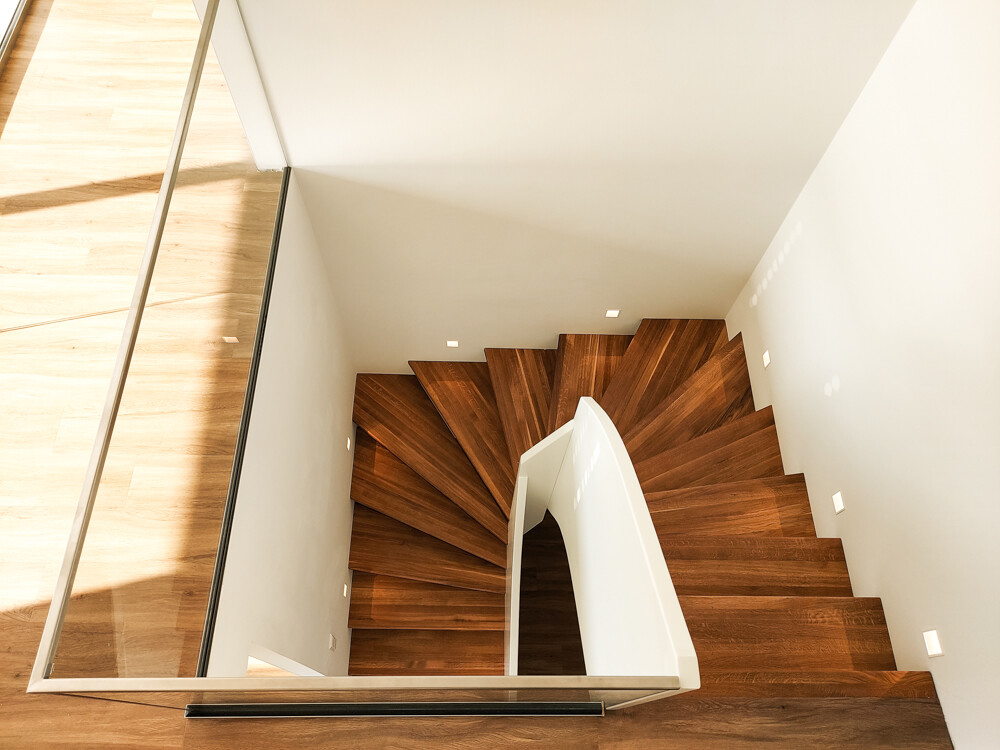
Here are a few pictures:
Although I didn’t install LED strips but recessed lights myself, the process is quite similar. Unfortunately, it’s not something you can just do quickly. Our recessed lights are Heli 1 Screen from Deltalight, which I’m very satisfied with.
Try searching for Deltalight Tagline or Schlüter Liprotec LL. They offer wall profiles with integrated LED lights. I have Schlüter Liprotec in the bathroom, and the quality is very good.
For a flush-mounted installation, I would probably proceed like this:
Get the exact stair measurements from the stair builder and mark the positions carefully before applying plaster.
Place a recessed junction box or similar above or below each LED strip so you can always access the cables properly if something breaks. For the transformer, either use a larger junction box or a separate one where needed.
Chase the wall and run cables from the switches to the junction boxes.
Since it’s hard to know exactly how much plaster will be applied, I would chase the wall for the LED strips and first install a dummy.
After plastering (or even better after the painters have smoothed out the surfaces cleanly and evenly), glue the profiles flush with the wall.
Once the painters are done, connect the LED strips.
The painters must at least deliver a clean and especially flat surface in those areas; otherwise, it will look terrible.
It was a bit easier for me because the recessed light has a frame (see picture), and due to the deeper installation depth, I could prepare everything before plastering and after the painters finished, just connect and push in the recessed fixture. That’s exactly why I chose this option.
Here are a few pictures:

Yaso2.0 schrieb:
Were you able to implement this, and if so, how?
Our stairbuilder doesn’t offer this 😕This is not difficult with a bit of planning.
You need the handrail. You can order it online custom-made in various lengths with a routed groove. Available in different wood stain colors or unfinished.
There are handrail brackets designed for LED lighting (these have a hollow tube for cable routing).
You can have the groove routed so that rails with covers fit inside. This reduces the risk of seeing the individual LEDs on the wall.
Then you need to consider where to place the LED power supply. I used a power supply for flush-mounted boxes and installed it inside a blank flush-mounted box.
If you want dimmable lighting, be aware that those power supplies are usually larger.
Your electrician will need to run the wiring accordingly. Watch carefully here. The outlet must be positioned exactly where the handrail bracket will be installed.
Similar topics