ᐅ Renovating Exterior/Retaining Wall (Cracking Plaster / Wall Capping)
Created on: 8 May 2020 17:41
A
Anghi
Hello everyone,
When we built our house six years ago, a low retaining wall was constructed along our driveway next to the adjoining sidewalk. The wall was plastered white at the time, and we cut granite slabs for the wall cap from leftovers of the entrance platform. According to building regulations, we had to leave a 10cm (4 inch) gap between the wall and the sidewalk, which created a "dirt gap." This gap was simply lined with some dimpled membrane, and I tried to plant a few cushion plants in it. Unfortunately, the plaster started to crumble after a short time. We reported this to the landscaper, who reapplied the plaster, but that didn’t hold either. Furthermore, the wall capping stones soon became loose. The landscaping company no longer exists...
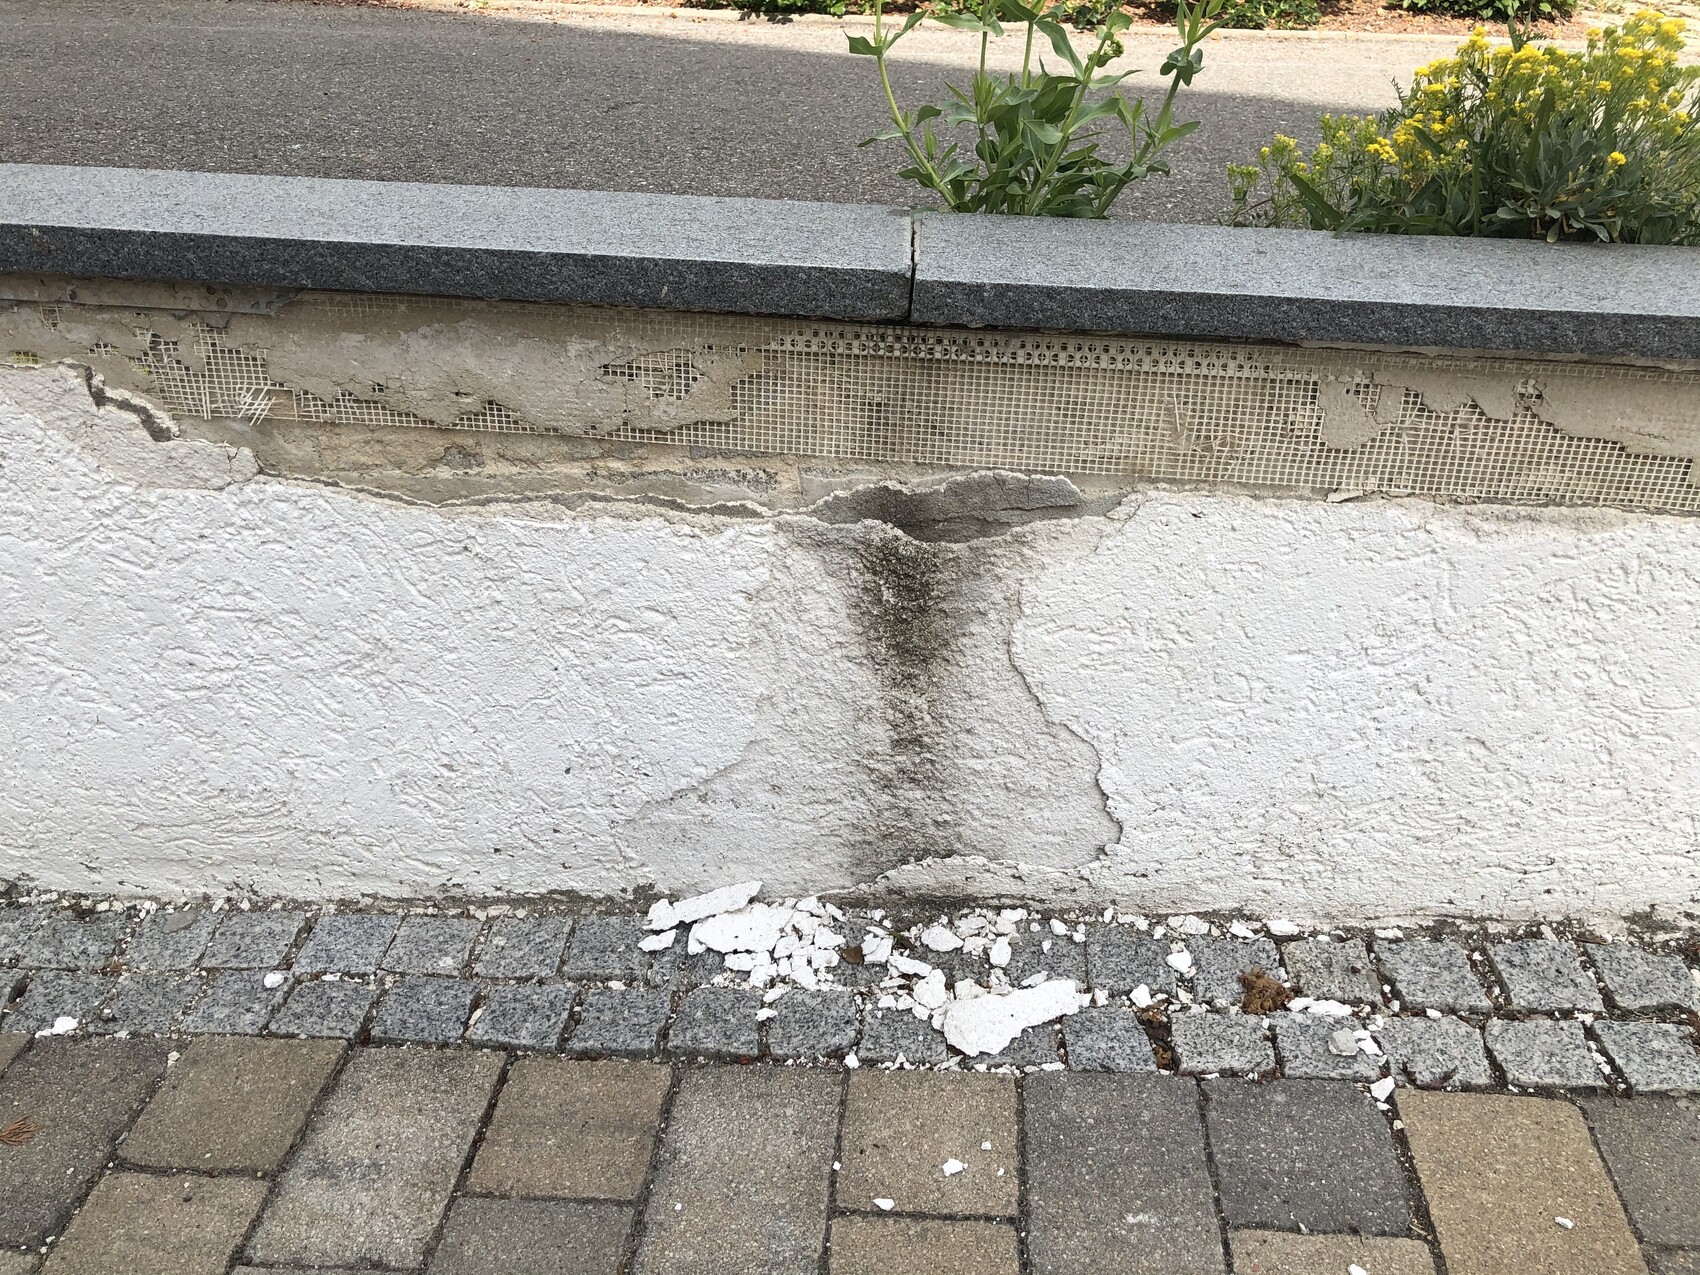
This is what our wall looks like now:
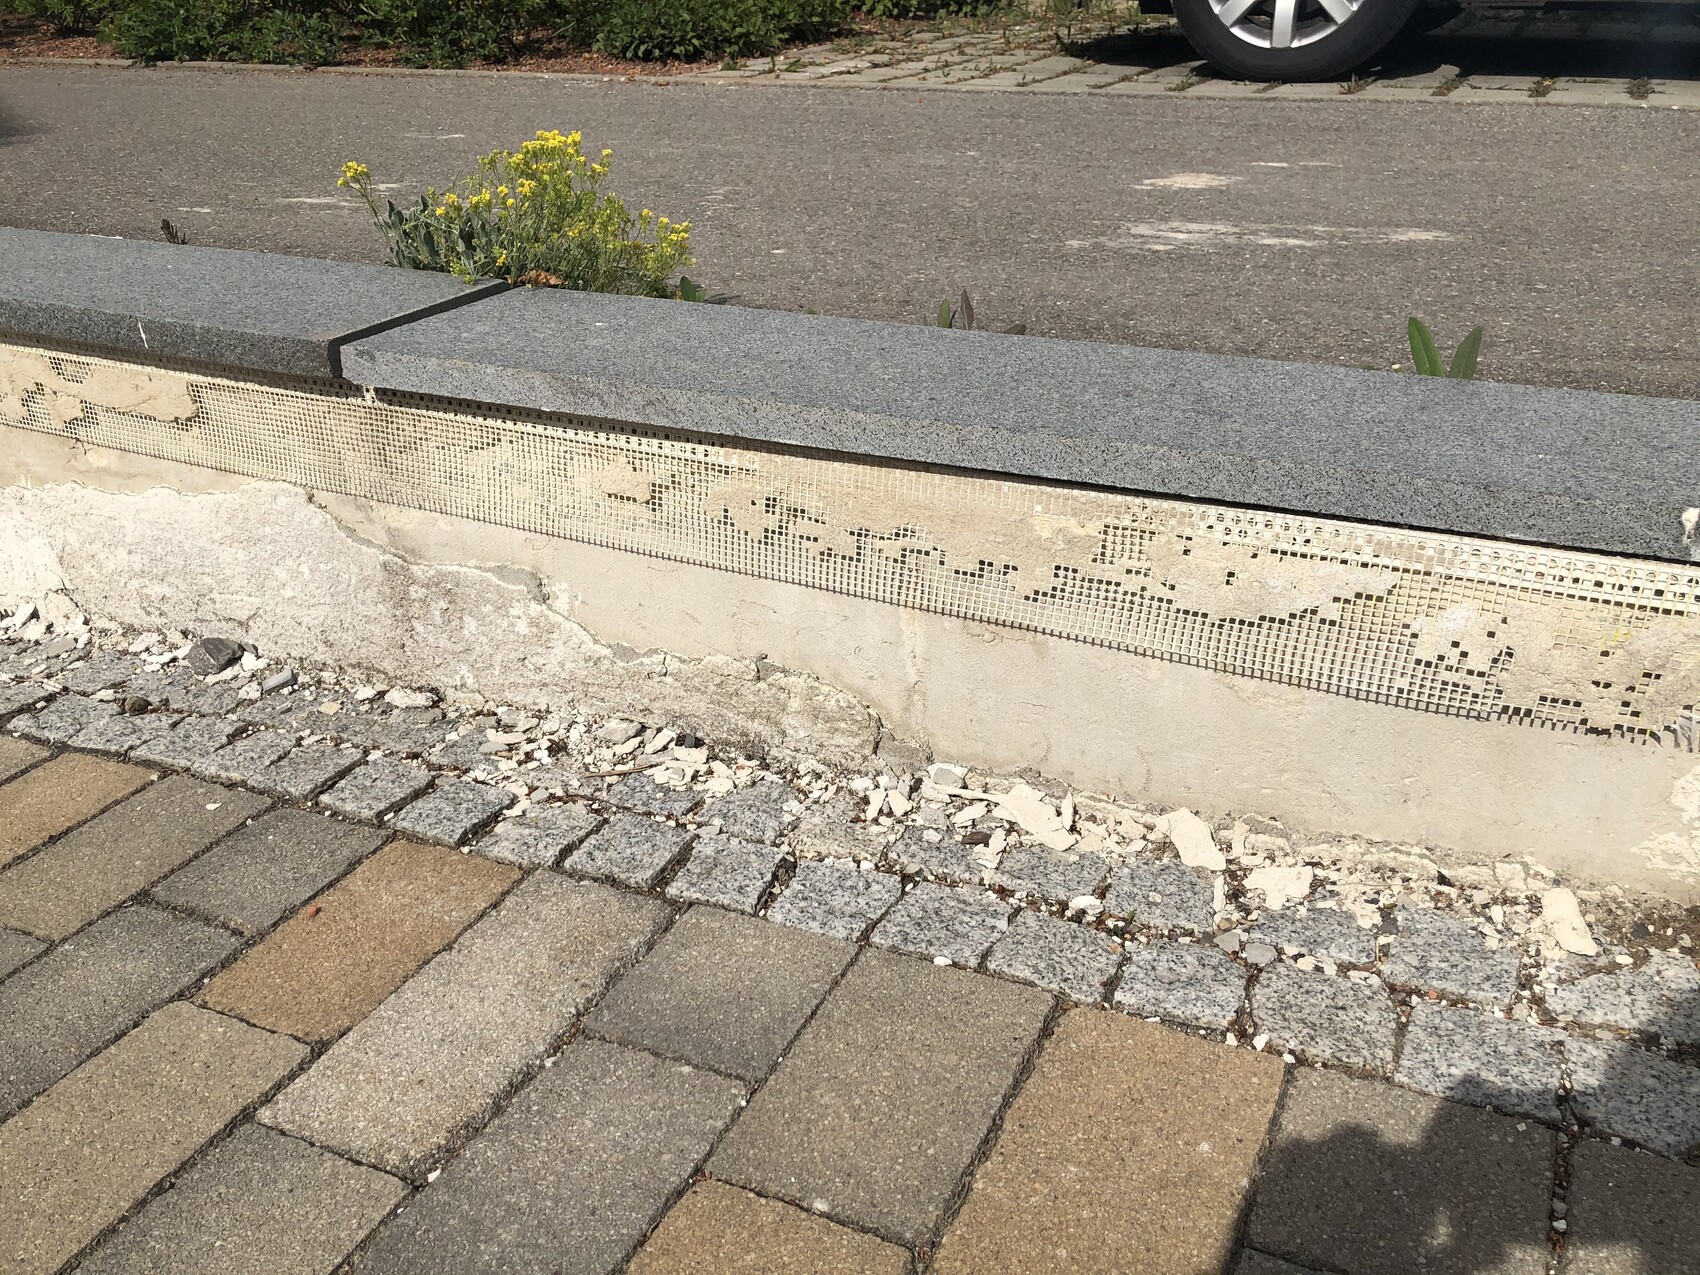
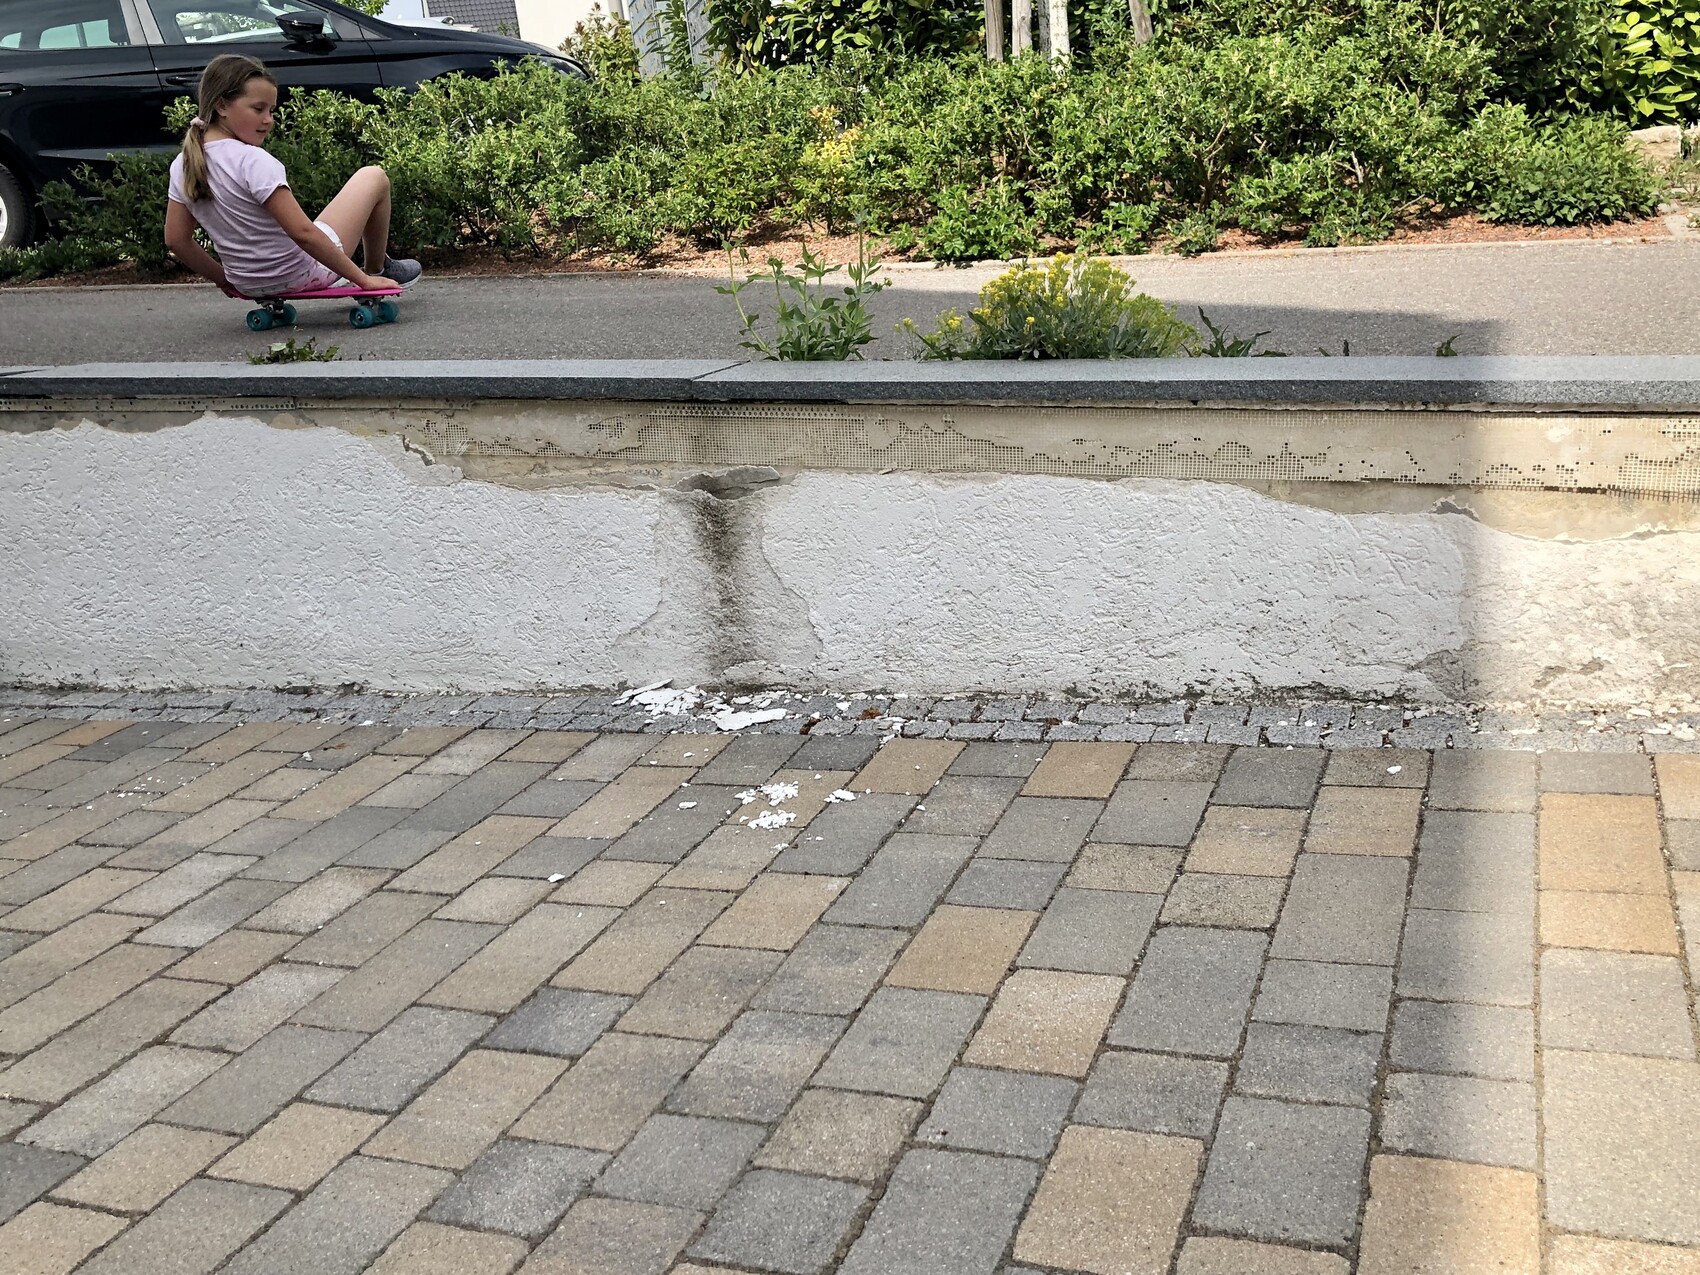
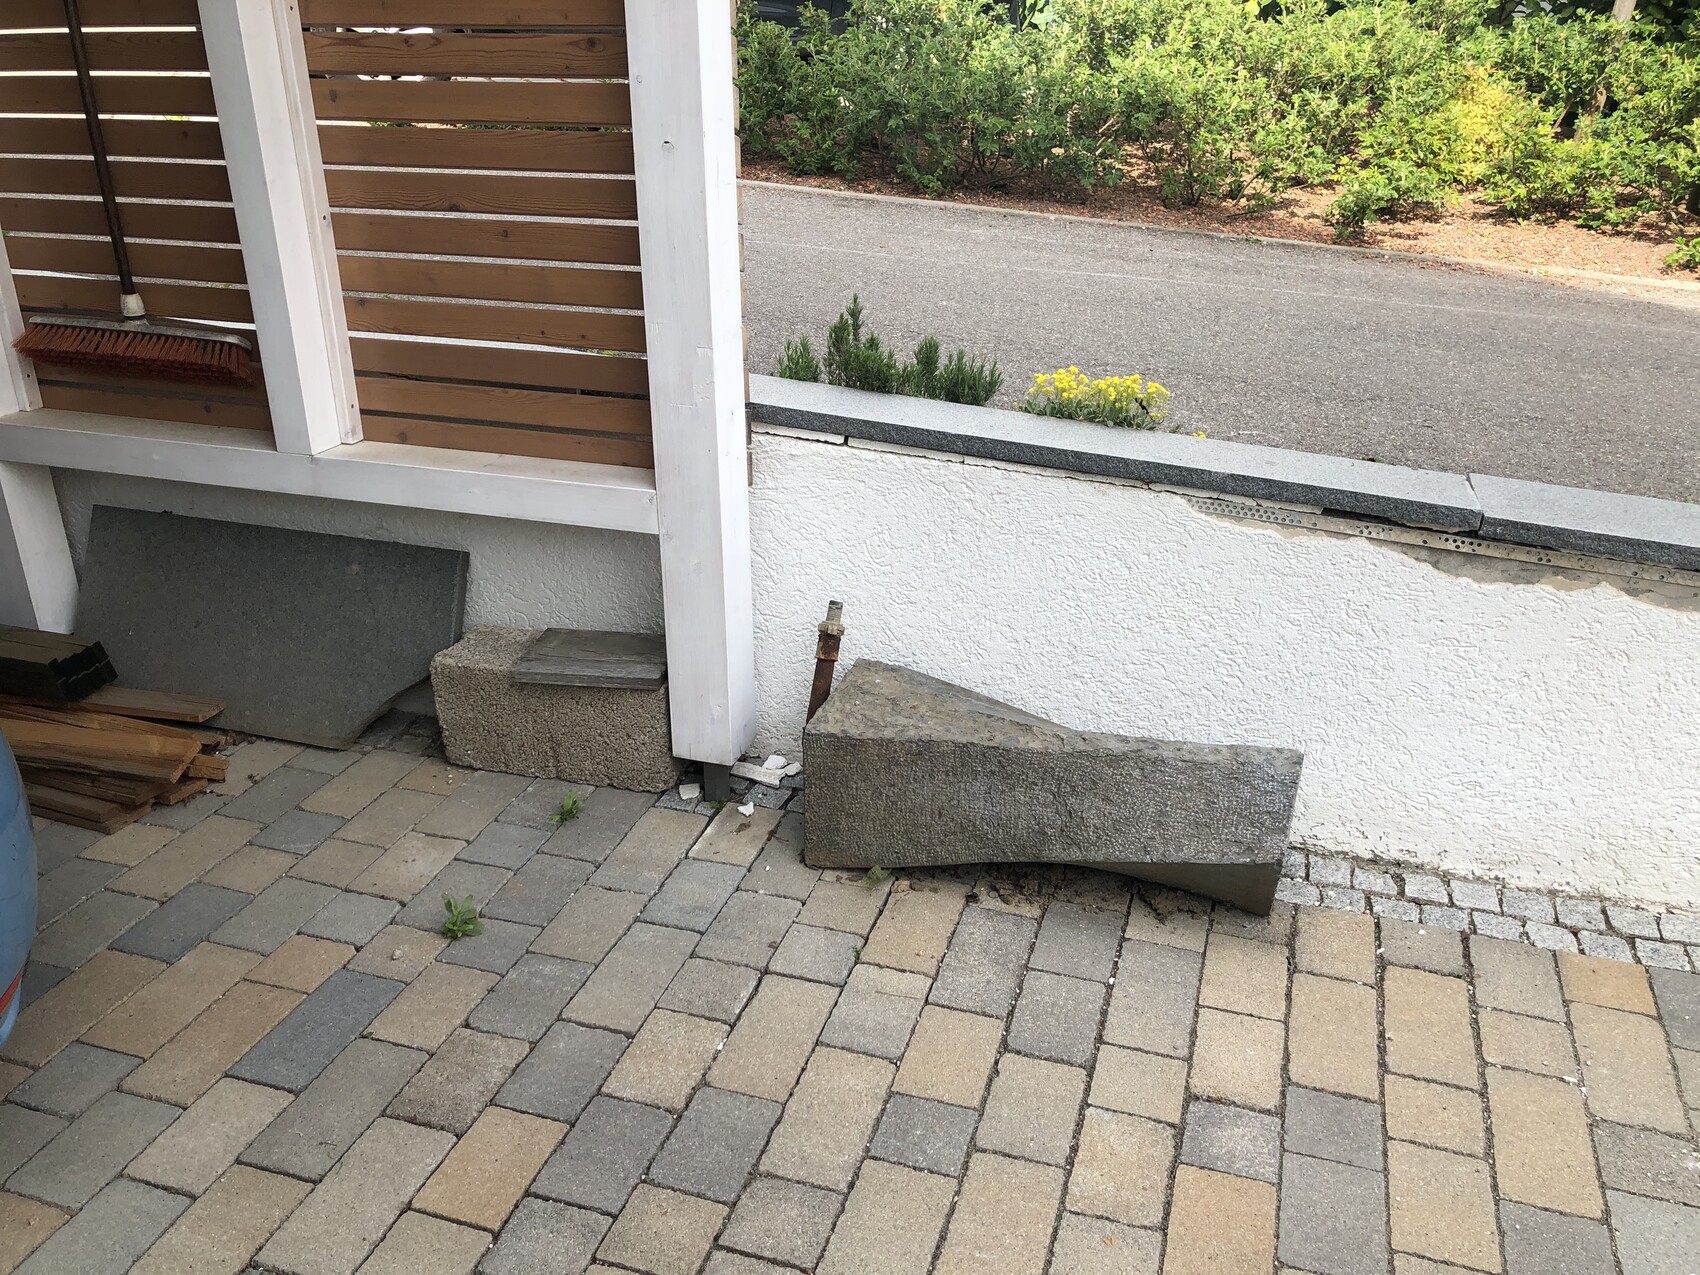
For better understanding: the front part of the wall (about 7 meters (23 feet)) is exposed, while the rear part has had a carport built around two years ago. Interestingly, the plaster only crumbles on the front part; where the carport is, the plaster is still intact. Luckily, because I can’t access the wall there anymore.
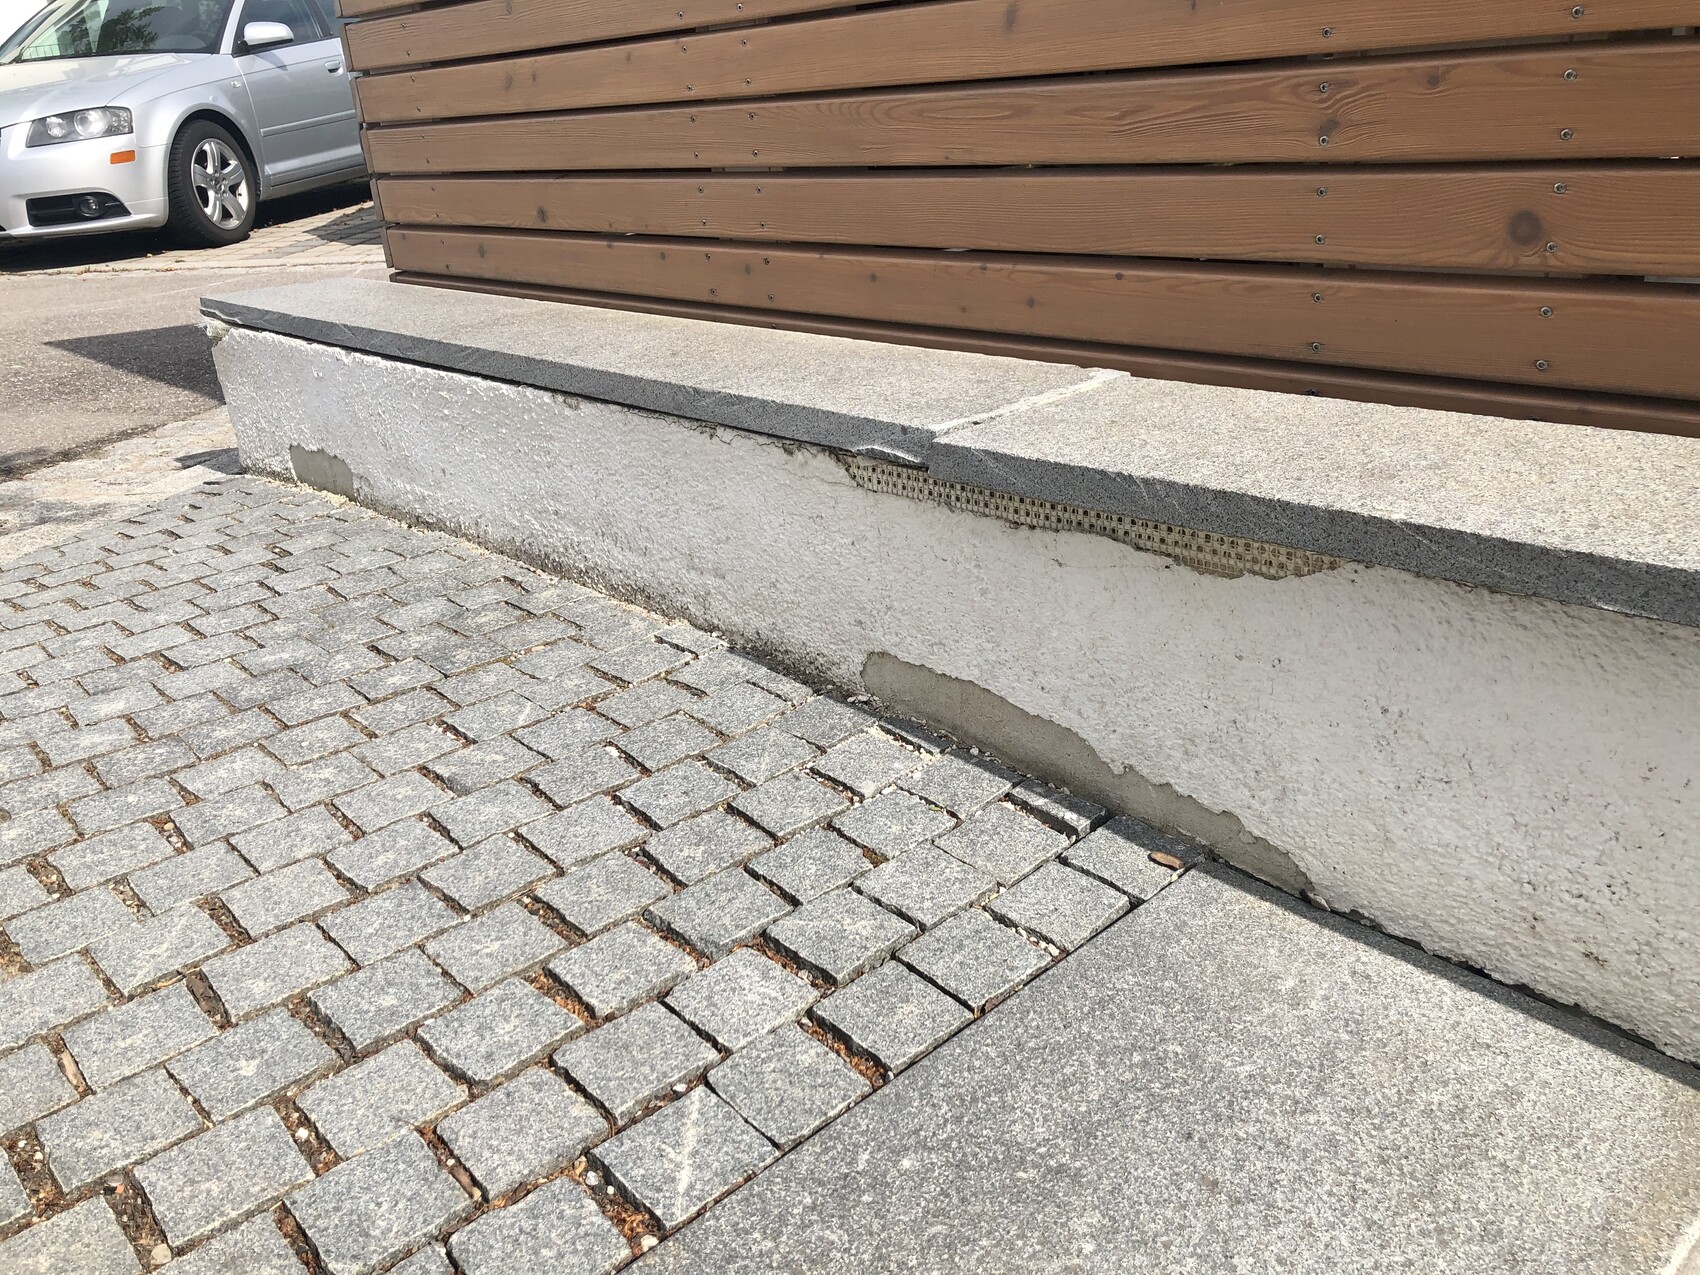
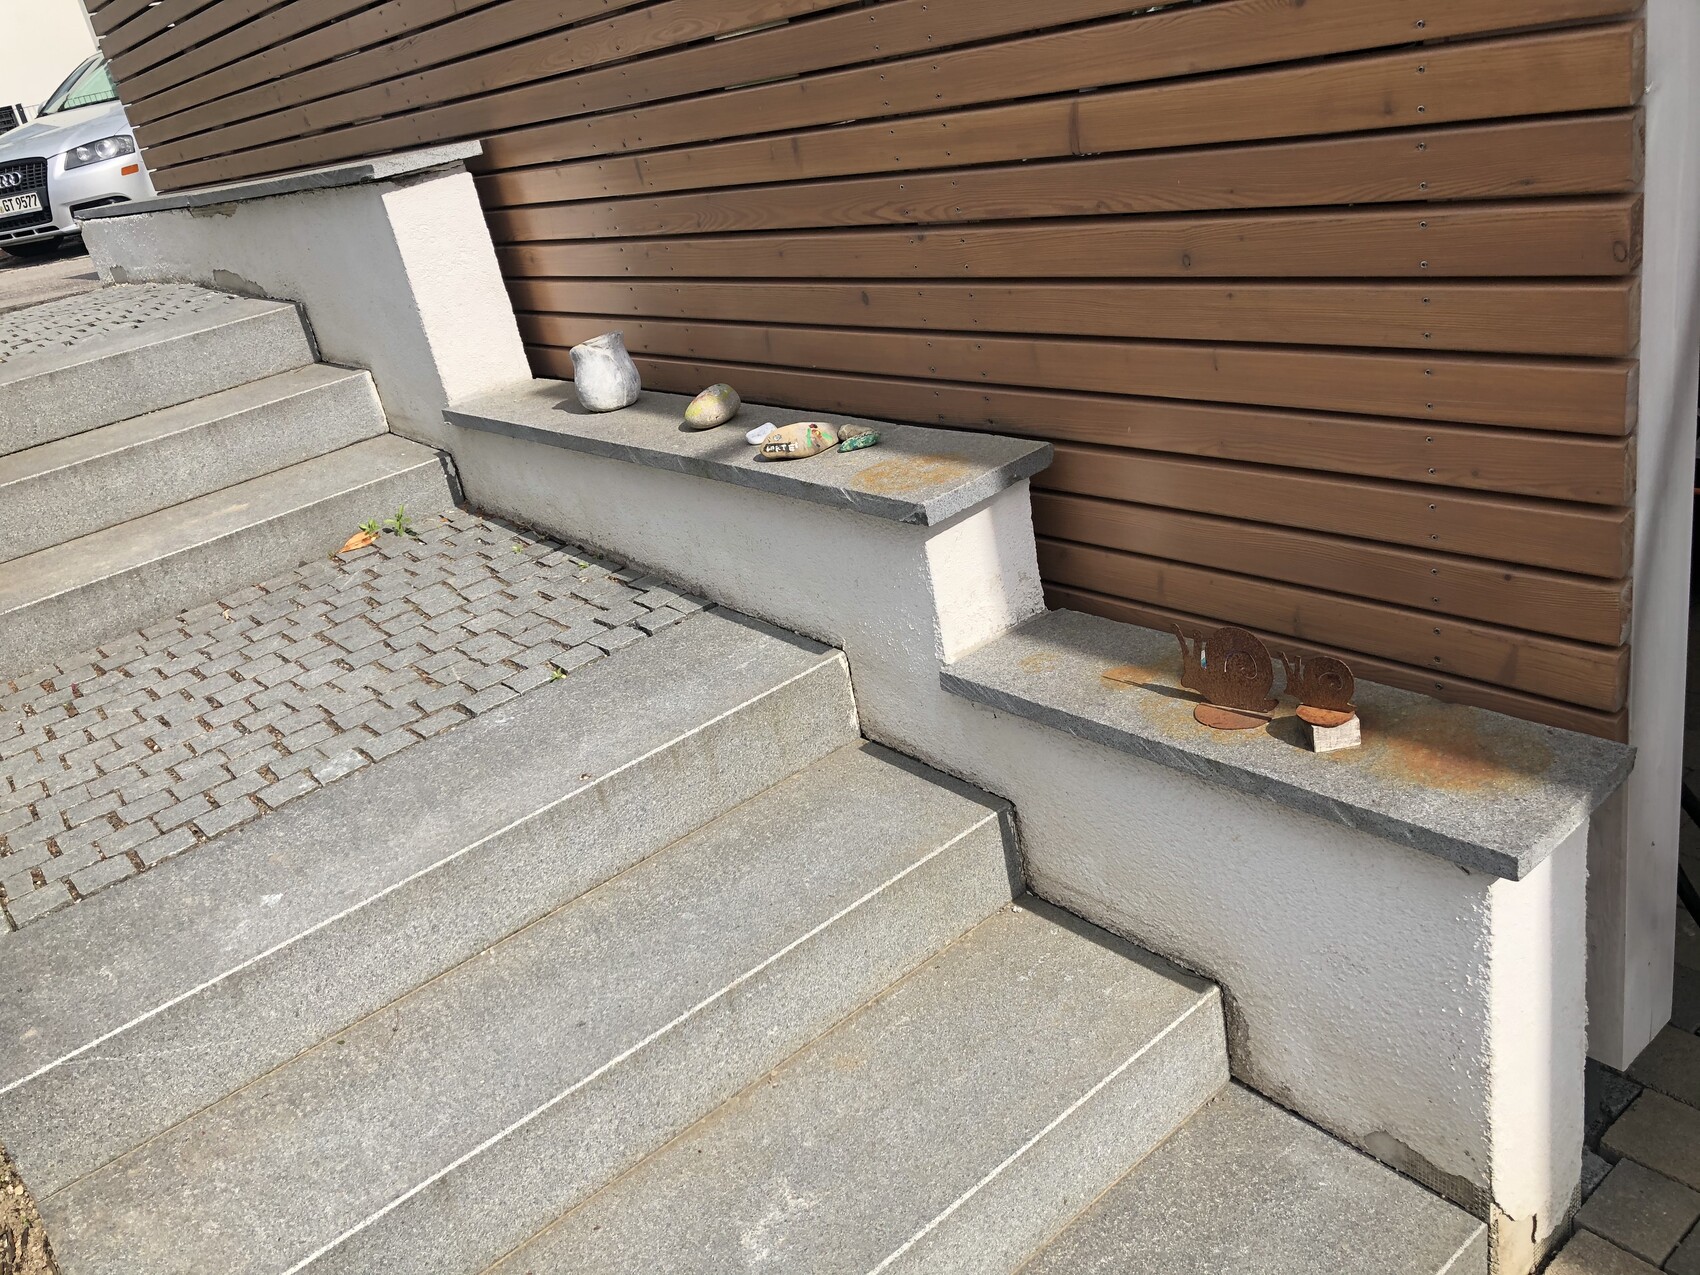
There is a staircase running on the backside of the carport, where a section of the wall is also visible, and some of the plaster is starting to crumble there as well.
I am now looking for advice on how to best repair the damage and prevent future problems.
Lots of questions, but I would really like to resolve this annoying issue since I see this "shame wall" every day, and it does not fit my idea of a new build...
Thank you very much in advance for all your helpful and detailed tips!
Anghi
When we built our house six years ago, a low retaining wall was constructed along our driveway next to the adjoining sidewalk. The wall was plastered white at the time, and we cut granite slabs for the wall cap from leftovers of the entrance platform. According to building regulations, we had to leave a 10cm (4 inch) gap between the wall and the sidewalk, which created a "dirt gap." This gap was simply lined with some dimpled membrane, and I tried to plant a few cushion plants in it. Unfortunately, the plaster started to crumble after a short time. We reported this to the landscaper, who reapplied the plaster, but that didn’t hold either. Furthermore, the wall capping stones soon became loose. The landscaping company no longer exists...
This is what our wall looks like now:
For better understanding: the front part of the wall (about 7 meters (23 feet)) is exposed, while the rear part has had a carport built around two years ago. Interestingly, the plaster only crumbles on the front part; where the carport is, the plaster is still intact. Luckily, because I can’t access the wall there anymore.
There is a staircase running on the backside of the carport, where a section of the wall is also visible, and some of the plaster is starting to crumble there as well.
I am now looking for advice on how to best repair the damage and prevent future problems.
- How can I better protect the wall from moisture?
- Do I need to replace or renew the wall capping?
- Should I waterproof or prepare the wall underneath the capping before installing new stones?
- What should I do with the sparsely planted "dirt gap"? Should I fill it with concrete? I find it more pleasant with plants, but weeds grow there and cigarette butts and candy wrappers often end up in the gap – so it’s not ideal.
- How can I best repair or renew the plaster?
- Does it make sense to apply new plaster again, or would it be better to cover the exposed wall area with facing bricks or cladding?
- Do I need a special base or adhesive with moisture protection for the facing bricks or cladding?
- (And a probably silly question: How can I cleanly separate the old plaster where the carport begins?)
Lots of questions, but I would really like to resolve this annoying issue since I see this "shame wall" every day, and it does not fit my idea of a new build...
Thank you very much in advance for all your helpful and detailed tips!
Anghi
Hmm, if I want to clad the wall with wood, I would need to leave some space for ventilation so that the wood can dry out all around. This would make the wall significantly wider. And since the wall tapers, it would also be a bit challenging to cut the boards to fit properly. I think if the plasterer gives the go-ahead and applies a new, proper coat of plaster, that is probably the best solution and will look neat.
As for the wall capping stones – yes, they are now simply made of concrete. Genuine natural stone is considerably more expensive, and I have several meters to cover here. That’s why I’m taking a pragmatic approach: neat and functional, even if the wall doesn’t win any design awards.
By the way, the landscaper also gave me the green light for planting in the “groove” – this will help visually enhance the boring wall significantly (groundcover perennials, stonecrop, houseleek, and similar plants).

No matter which cover plates you use, you need to seal the joint between the plates either with a sealant, such as acrylic, or with adhesive.
It’s best to leave about a 4-5mm (0.16-0.2 inch) gap between the plates, tape the edges slightly, and fill the joint with acrylic sealant and smooth it out.
Alternatively, if you use a metal sheet, you can clamp a drip edge underneath it.
At the stairs, a baseboard must be installed, which should, of course, be sealed against the wall. Ideally, the baseboard should have been installed before plastering, and the plaster should be applied onto the baseboard.

Look where I pinned a "Like." I would probably chase after the "Gräbele."
https://www.instagram.com/11antgmxde/
https://www.linkedin.com/company/bauen-jetzt/
https://www.instagram.com/11antgmxde/
https://www.linkedin.com/company/bauen-jetzt/
Similar topics