ᐅ How to Attach Corner and Side Panels to Ikea Metod Base Cabinets?
Created on: 10 May 2018 00:05
M
M.c East
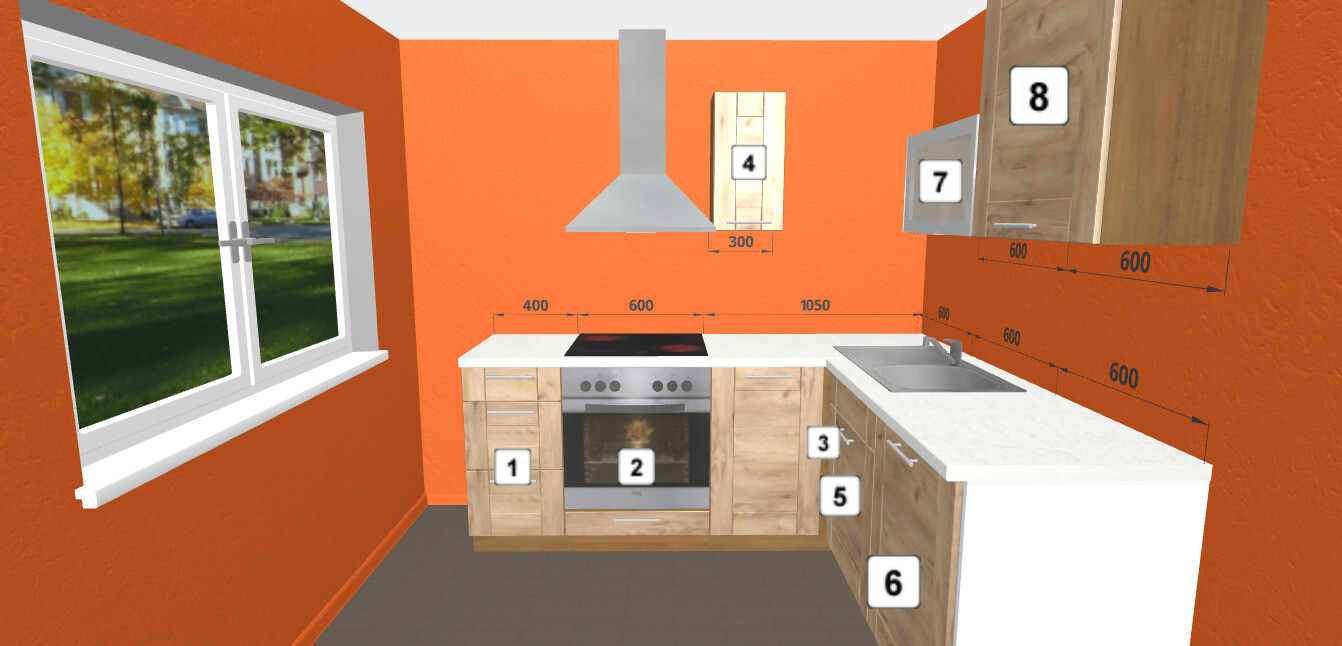
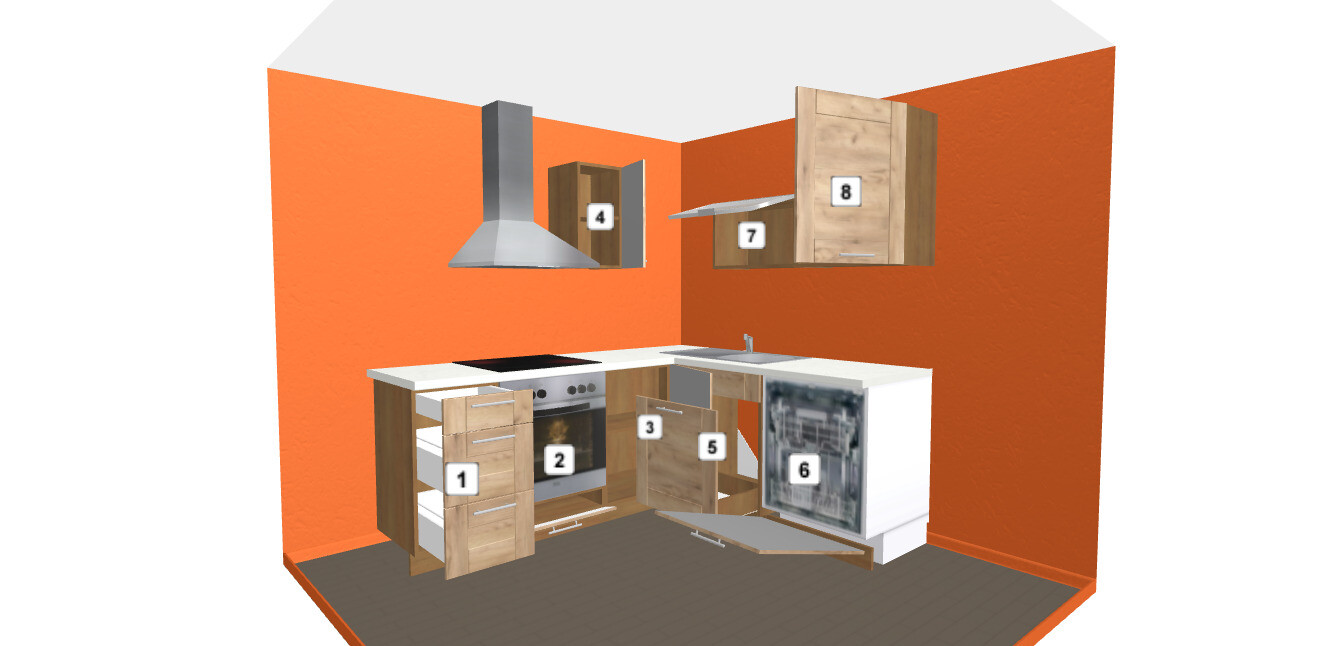
I recently bought the individual components of the Metod cabinets for my new kitchen. Since the furniture is arranged in an “L” shape and the kitchen space is quite limited at 243 x 255 cm (8 ft x 8 ft 4 in), the dishwasher (6) will be placed on the far right side.
To the right of that will be a freestanding refrigerator.
The layout has to be this way because if the water pipes were on the left side, the kitchen would be about 10 cm (4 inches) shorter. There is also a radiator in the way... The old kitchen had base cabinets with a depth of about 45 cm (18 inches), so the 60 cm (24 inches) depth of the IKEA cabinets is noticeably larger! This makes the kitchen feel smaller but offers more storage space.
I’m leaving out the long/wide corner base cabinet (3) because I don’t want to buy an additional 60 cm (24 inches) cabinet that would be hard to access. The two corner wall cabinets will be fitted at the front with a matching angled panel from Küchenfront24. I thought this panel would be screwed onto the left cabinet.
The pictures are stock images with unattractive fronts because the IKEA kitchen planner only runs on 32-bit systems, whereas my computer has 32 GB of RAM and is 64-bit. Cabinets 4 and 8 are wall cabinets measuring 30 x 60 x 37 cm (12 x 24 x 15 inches) with Jotis glass doors. Cabinet number 7 has a white door.
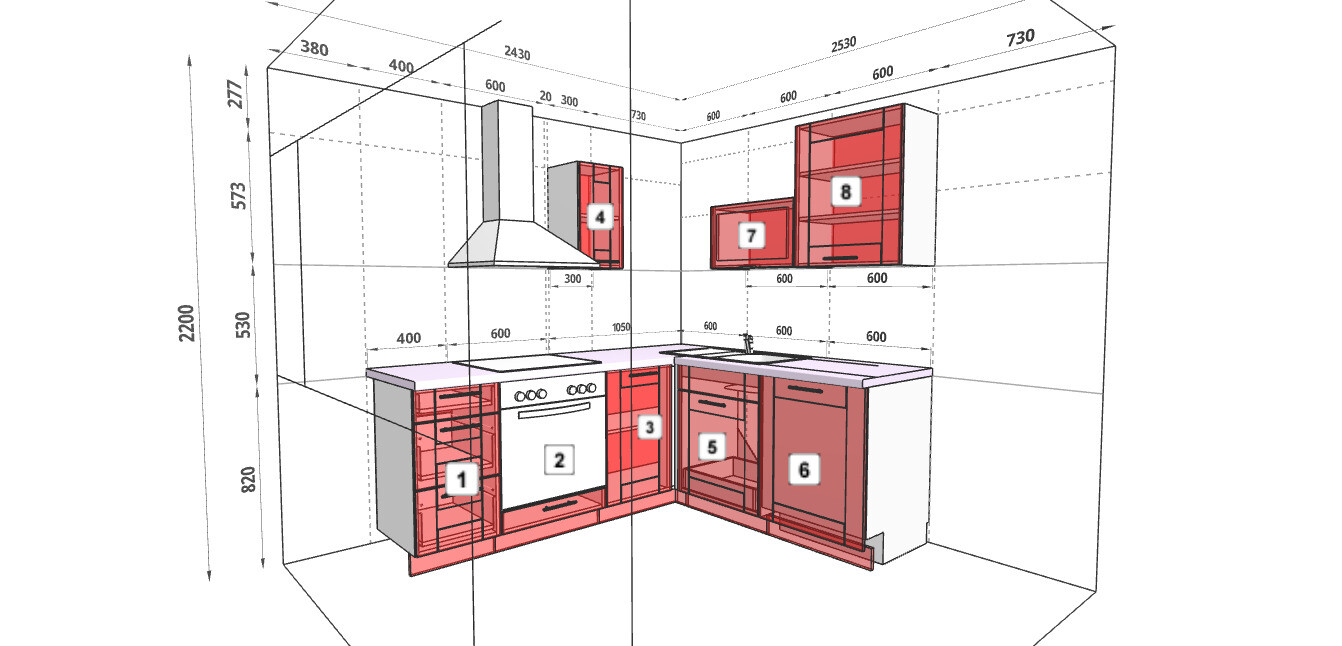
In the third image, you can see the dimensions, but the arrangement of the wall cabinets is from an earlier plan that no longer applies. The depth at the bottom is 635 mm (25 inches), which is the IKEA standard size.
To the right of that will be a freestanding refrigerator.
The layout has to be this way because if the water pipes were on the left side, the kitchen would be about 10 cm (4 inches) shorter. There is also a radiator in the way... The old kitchen had base cabinets with a depth of about 45 cm (18 inches), so the 60 cm (24 inches) depth of the IKEA cabinets is noticeably larger! This makes the kitchen feel smaller but offers more storage space.
I’m leaving out the long/wide corner base cabinet (3) because I don’t want to buy an additional 60 cm (24 inches) cabinet that would be hard to access. The two corner wall cabinets will be fitted at the front with a matching angled panel from Küchenfront24. I thought this panel would be screwed onto the left cabinet.
The pictures are stock images with unattractive fronts because the IKEA kitchen planner only runs on 32-bit systems, whereas my computer has 32 GB of RAM and is 64-bit. Cabinets 4 and 8 are wall cabinets measuring 30 x 60 x 37 cm (12 x 24 x 15 inches) with Jotis glass doors. Cabinet number 7 has a white door.
In the third image, you can see the dimensions, but the arrangement of the wall cabinets is from an earlier plan that no longer applies. The depth at the bottom is 635 mm (25 inches), which is the IKEA standard size.
B
Baustelle201610 May 2018 08:52What exactly do you want to know now?
What or where is supposed to be cladded?
What or where is supposed to be cladded?
No, how I mount the side panel and dishwasher front without a dishwasher, but so that a dishwasher can be installed later.
Fortunately, Ikea kitchens are modular, and the appliance front should be installed at the same time. Basically, I end up with a kind of gap in the kitchen run, but I don’t have the budget right now to buy a good dishwasher.
Fortunately, Ikea kitchens are modular, and the appliance front should be installed at the same time. Basically, I end up with a kind of gap in the kitchen run, but I don’t have the budget right now to buy a good dishwasher.
Whether the side panel is possible depends. However, the baseboard and dishwasher door front are attached to the dishwasher. No dishwasher means no chance. If money is tight, it’s better to skip the range hood first and include the dishwasher instead. We have the integrated panel; it’s not that bad. Karsten
According to Ikea, the side panel is attached from the inside of the cabinet. If necessary, it can also be secured from the inside using brackets at the back and top.
It’s more challenging with the dishwasher front since it is only hung on when the dishwasher is installed. But we already know that.
Fortunately, the toe kicks are continuous; having each cabinet with its own panel looks very cheap to me. It feels like sloppy work.
By the way, a decent range hood costs half as much as a good dishwasher (V-Zug, Miele, Siemens, AEG). And I definitely won’t bring low-quality brands like PKM or Candy into my home.
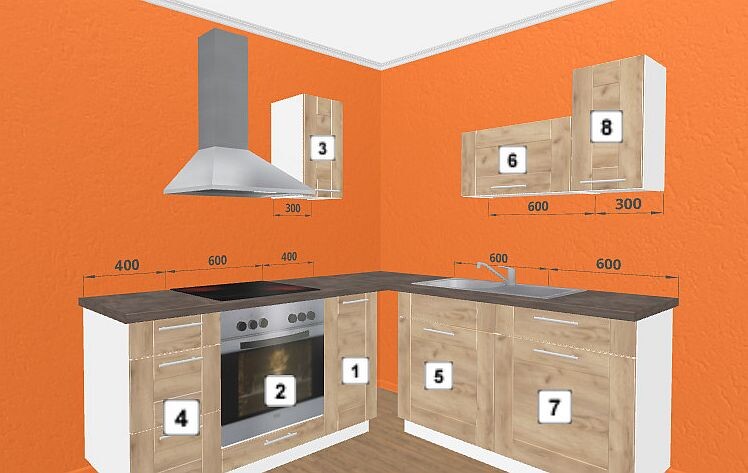
I’ve now adjusted the layout again, without the dishwasher, but with a 60cm (24 inches) cabinet with shelves on the far right. That works.
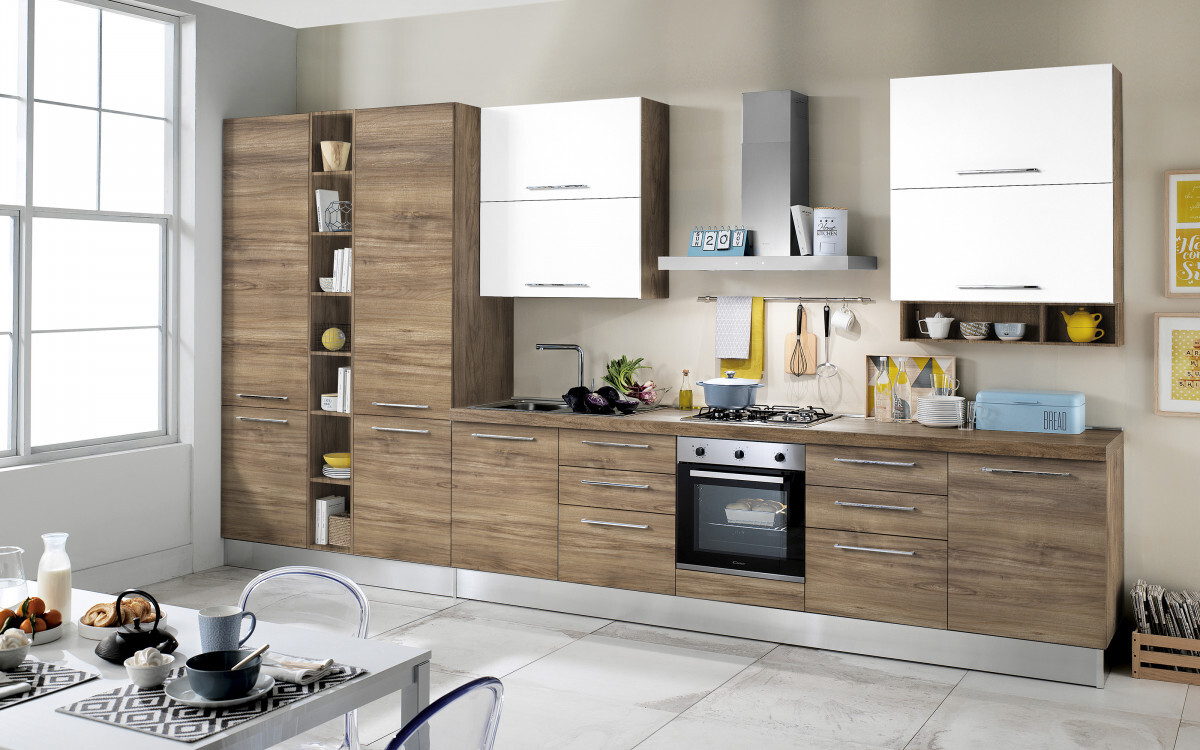
I initially wanted to buy a kitchen from Italy, but after three weeks of back and forth just for planning, I gave up. And custom kitchens (cucine su misura) are non-returnable. Still, they are all beautiful! Ci vediamo
Walnut/Walnut/matte cream (and 99 more colors!);
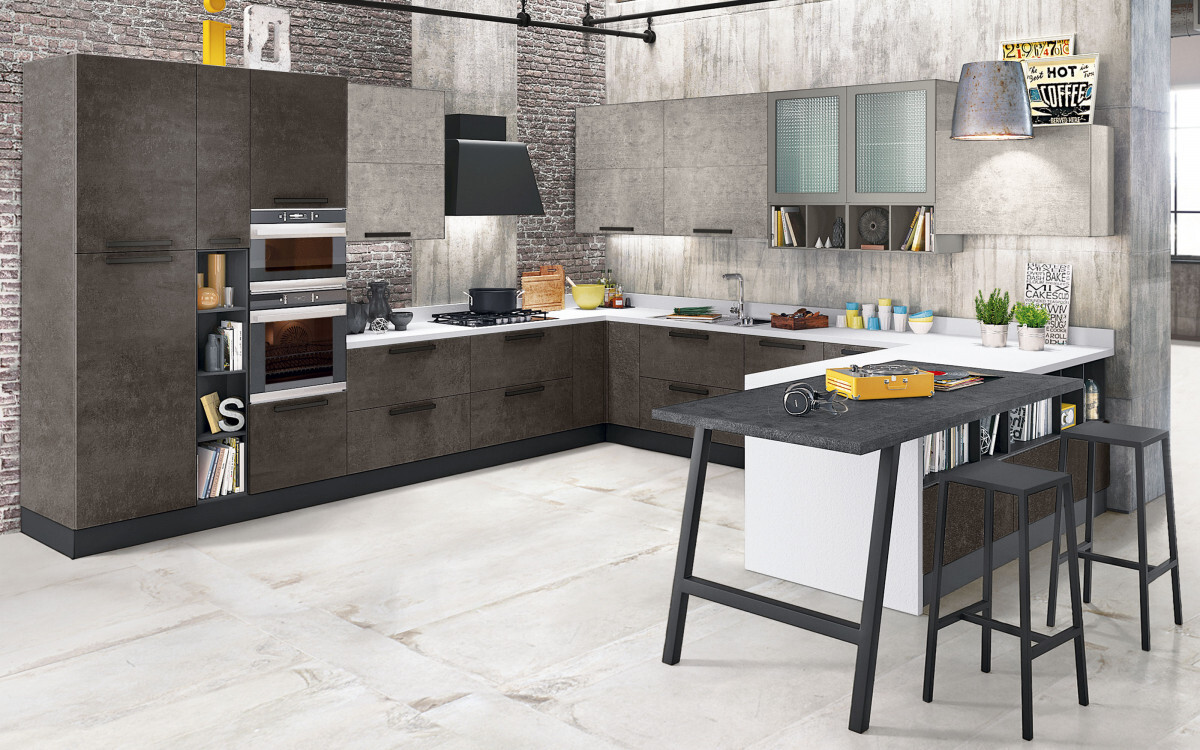
 Oxidized metal/concrete (light)/oxidized metal;
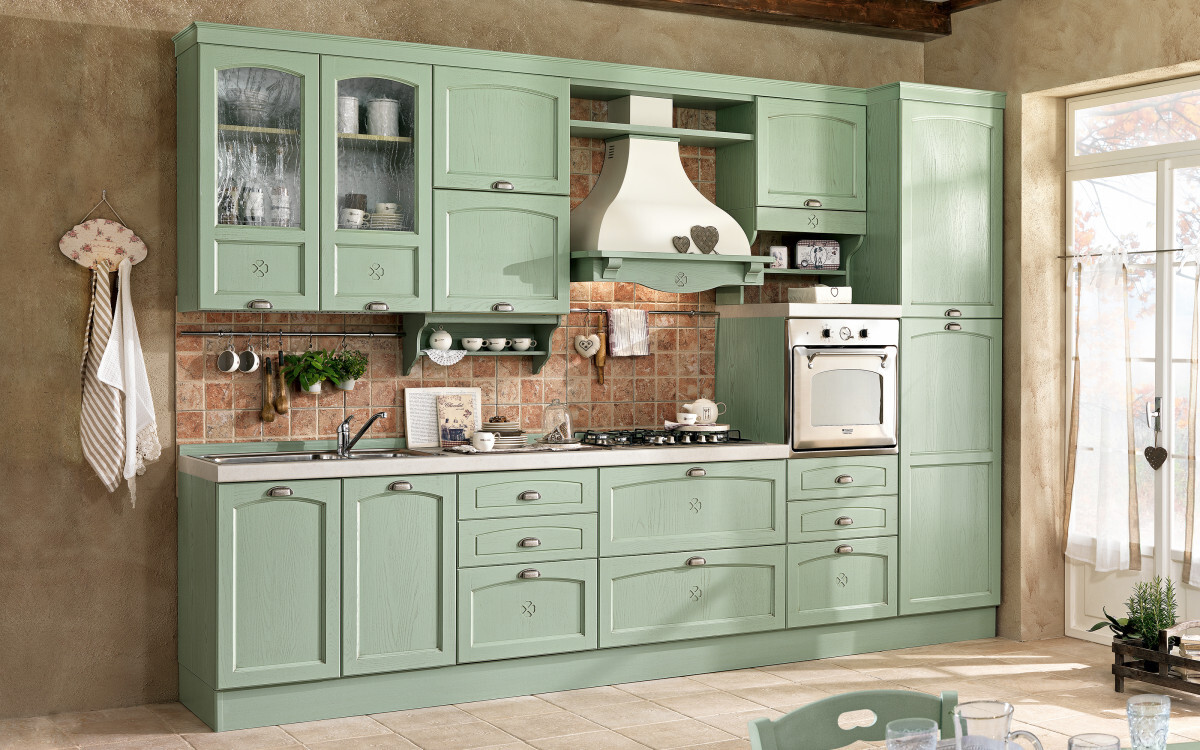
 Patinated green; this also shows the type of hood I have in mind (y)
It’s more challenging with the dishwasher front since it is only hung on when the dishwasher is installed. But we already know that.
Fortunately, the toe kicks are continuous; having each cabinet with its own panel looks very cheap to me. It feels like sloppy work.
By the way, a decent range hood costs half as much as a good dishwasher (V-Zug, Miele, Siemens, AEG). And I definitely won’t bring low-quality brands like PKM or Candy into my home.
I’ve now adjusted the layout again, without the dishwasher, but with a 60cm (24 inches) cabinet with shelves on the far right. That works.
I initially wanted to buy a kitchen from Italy, but after three weeks of back and forth just for planning, I gave up. And custom kitchens (cucine su misura) are non-returnable. Still, they are all beautiful! Ci vediamo
Walnut/Walnut/matte cream (and 99 more colors!);
Similar topics