Hello,
It would be really great if everyone here could just post one or a few pictures showing the current state of their house.
I'll start right away.
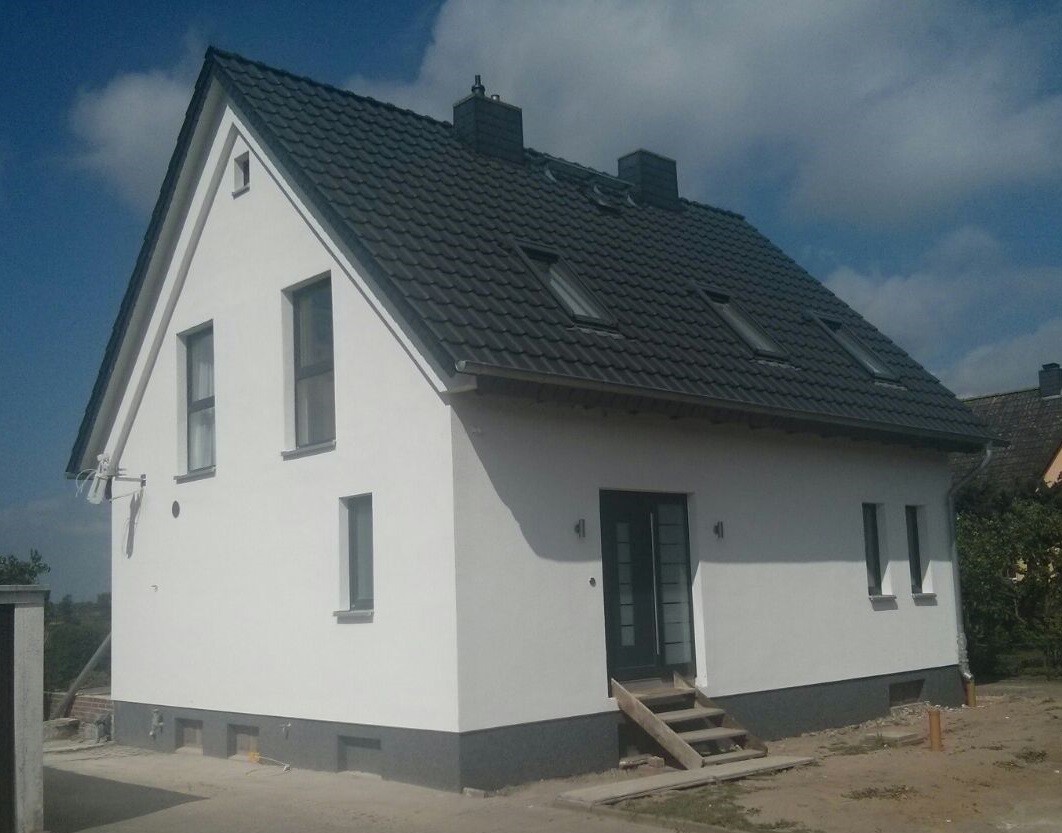
For renovations, it’s best to provide a comparison of before and after the remodeling.
Before March 2014:
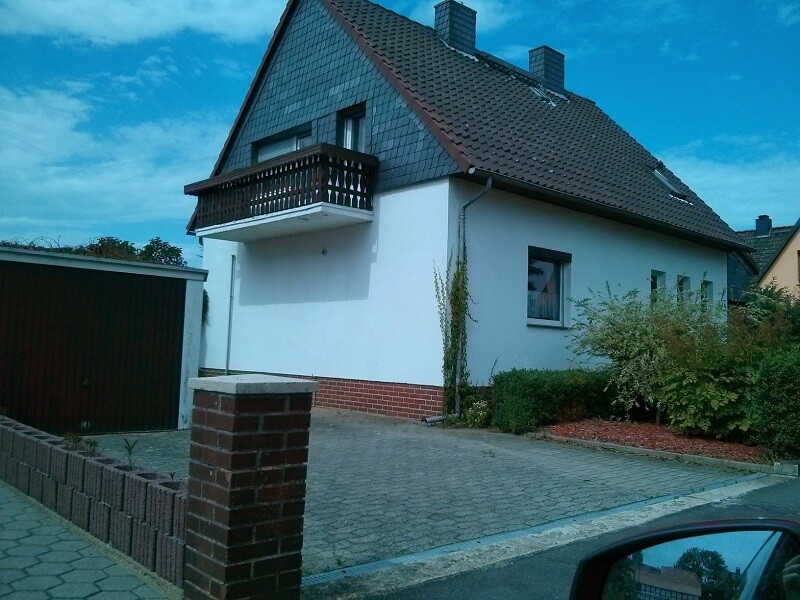
After May 2015:
It would be really great if everyone here could just post one or a few pictures showing the current state of their house.
I'll start right away.
For renovations, it’s best to provide a comparison of before and after the remodeling.
Before March 2014:
After May 2015:
goalkeeper schrieb:
By now (one year after moving in), we have also paved and installed a porch roof.Congrats... How is the water drainage, actually? Can it flow away properly?
I think the barrels are placed a bit awkwardly, aren’t they? (Because of flies, etc.)
G
goalkeeper15 Jul 2021 13:43tumaa schrieb:
Congrats ...how is it actually with the water, can it drain away?
I think the bins are placed a bit inconveniently, right? (Because of flies, etc.)The water drains off the house roof perfectly.
The situation with the bins is correct – however, because of our neighbor who isn’t building, we couldn’t place the edge stones all the way to the property boundary due to the sloping ground. If the area is filled up again at some point, the edge stones will be removed, the remaining paving will be installed, and then a bin enclosure will be added. We didn’t want to drill into the paving at the current location of a box.

Here, we’ve made great progress again, steadily moving toward the targeted goal...
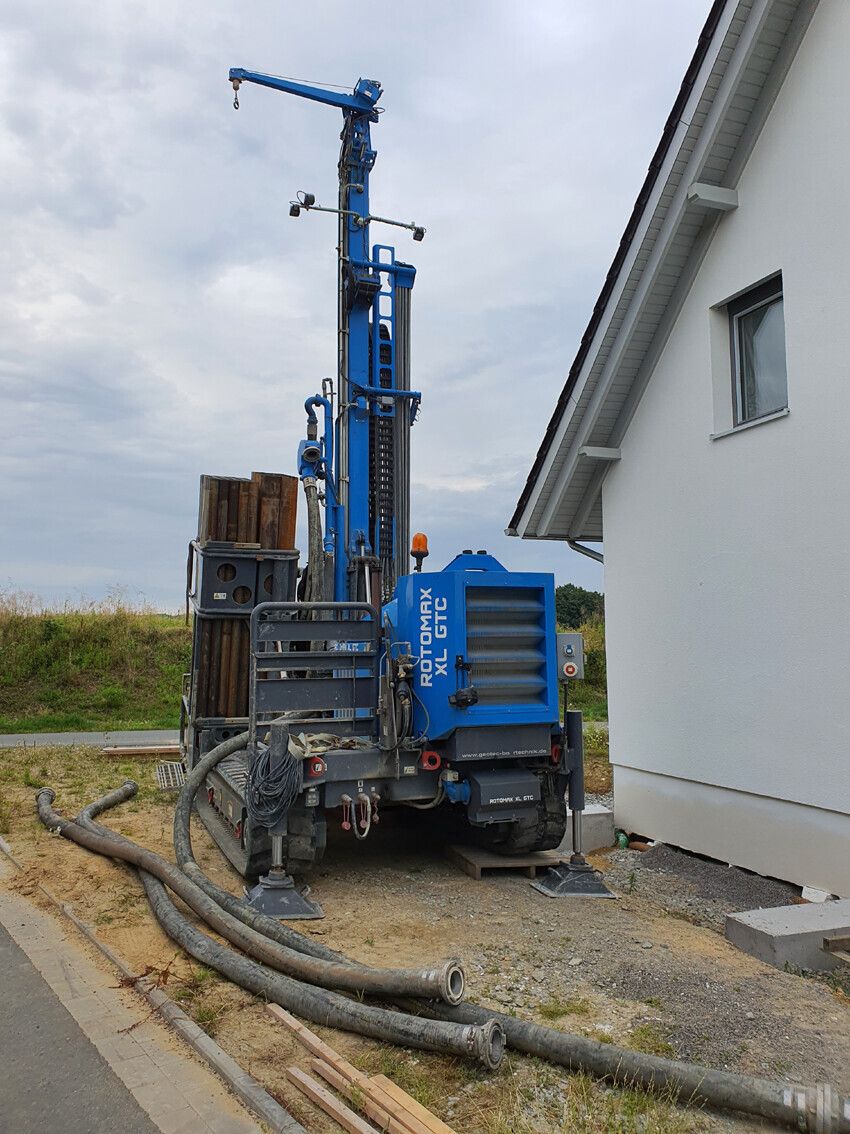
Two boreholes, each 110 m (360 feet) deep, for the brine-to-water heat pump

My new floor ;-)
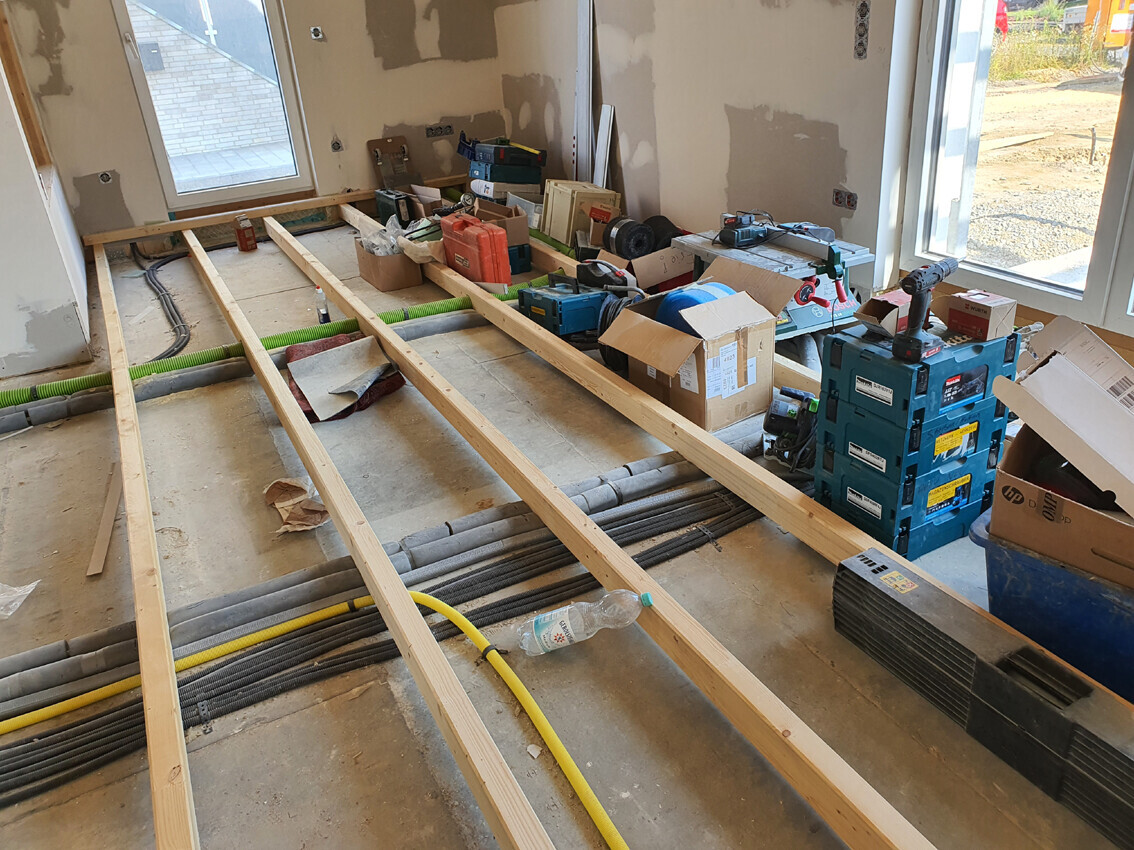
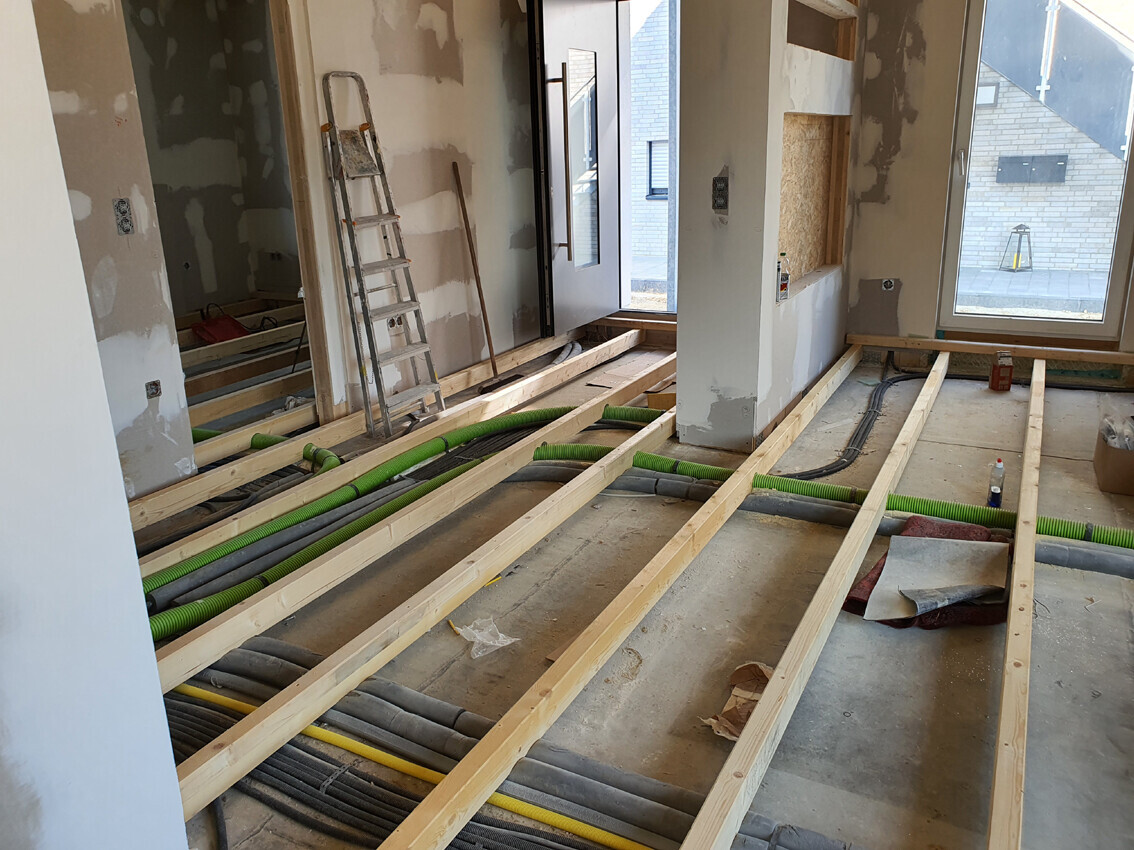
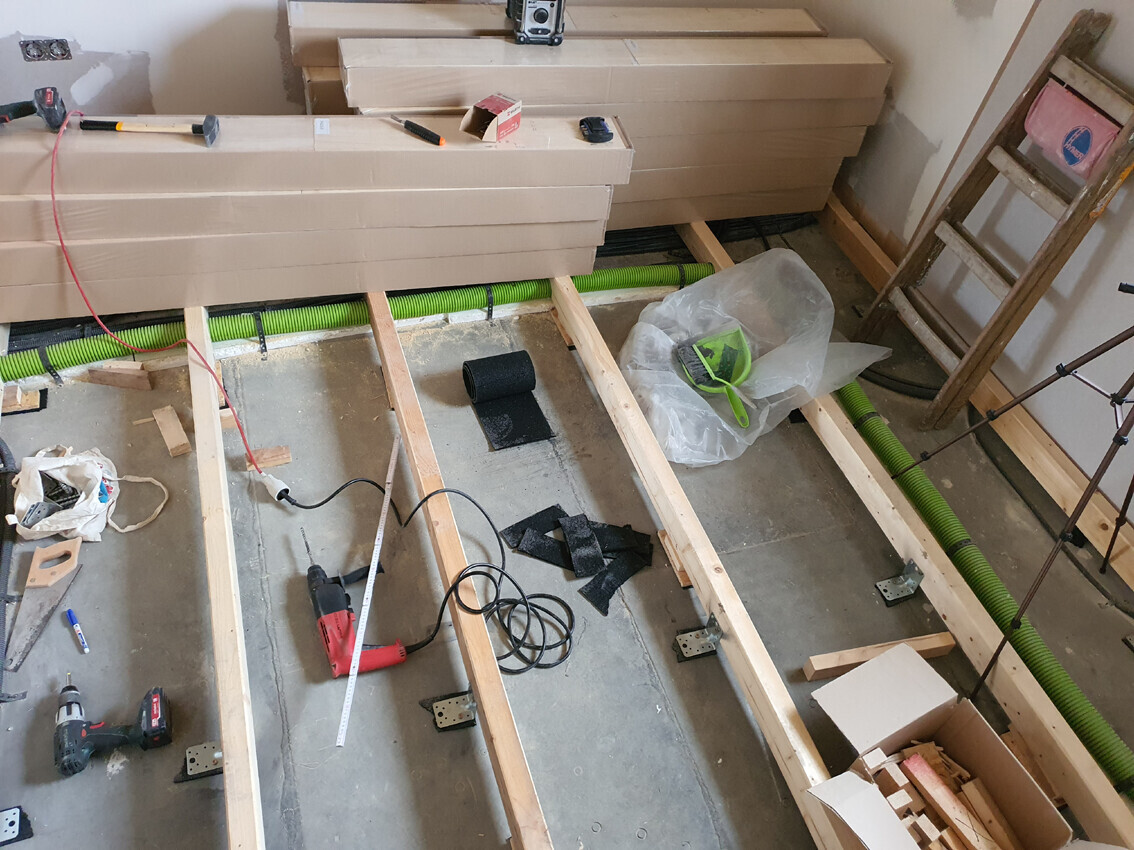
Edge timbers were leveled using a construction laser, then beams were screwed underneath and aligned perfectly with brackets, always placing sections of protective building mats underneath as cushioning.
Tomorrow we will start insulation -> 140 mm (5.5 inches) mineral wool with a thermal conductivity of 0.032 W/(m·K) plus 60 mm (2.4 inches) at 0.035 W/(m·K) (the latter placed between the 60 mm (2.4 inches) cross beams), followed by 18 mm (0.7 inches) OSB (then later 1.5 mm (0.06 inches) impact sound insulation plus parquet flooring as shown above).
Two boreholes, each 110 m (360 feet) deep, for the brine-to-water heat pump
My new floor ;-)
Edge timbers were leveled using a construction laser, then beams were screwed underneath and aligned perfectly with brackets, always placing sections of protective building mats underneath as cushioning.
Tomorrow we will start insulation -> 140 mm (5.5 inches) mineral wool with a thermal conductivity of 0.032 W/(m·K) plus 60 mm (2.4 inches) at 0.035 W/(m·K) (the latter placed between the 60 mm (2.4 inches) cross beams), followed by 18 mm (0.7 inches) OSB (then later 1.5 mm (0.06 inches) impact sound insulation plus parquet flooring as shown above).
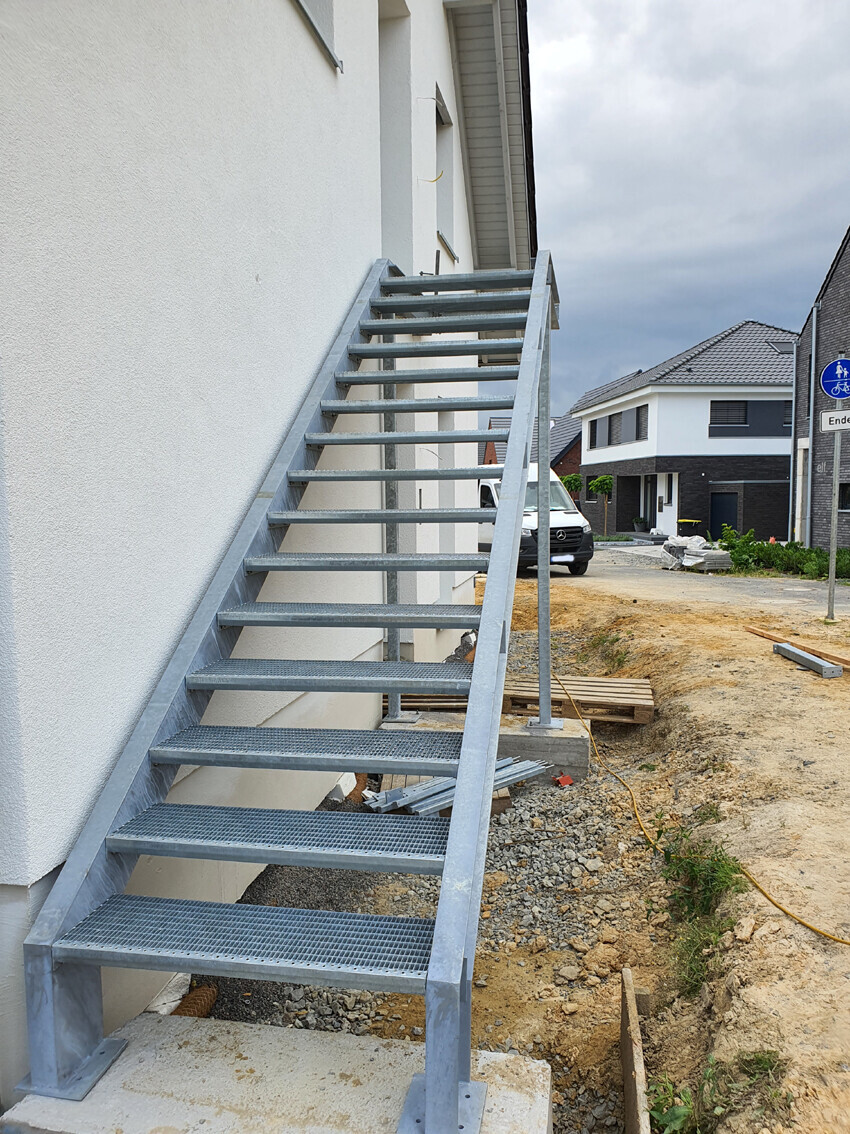
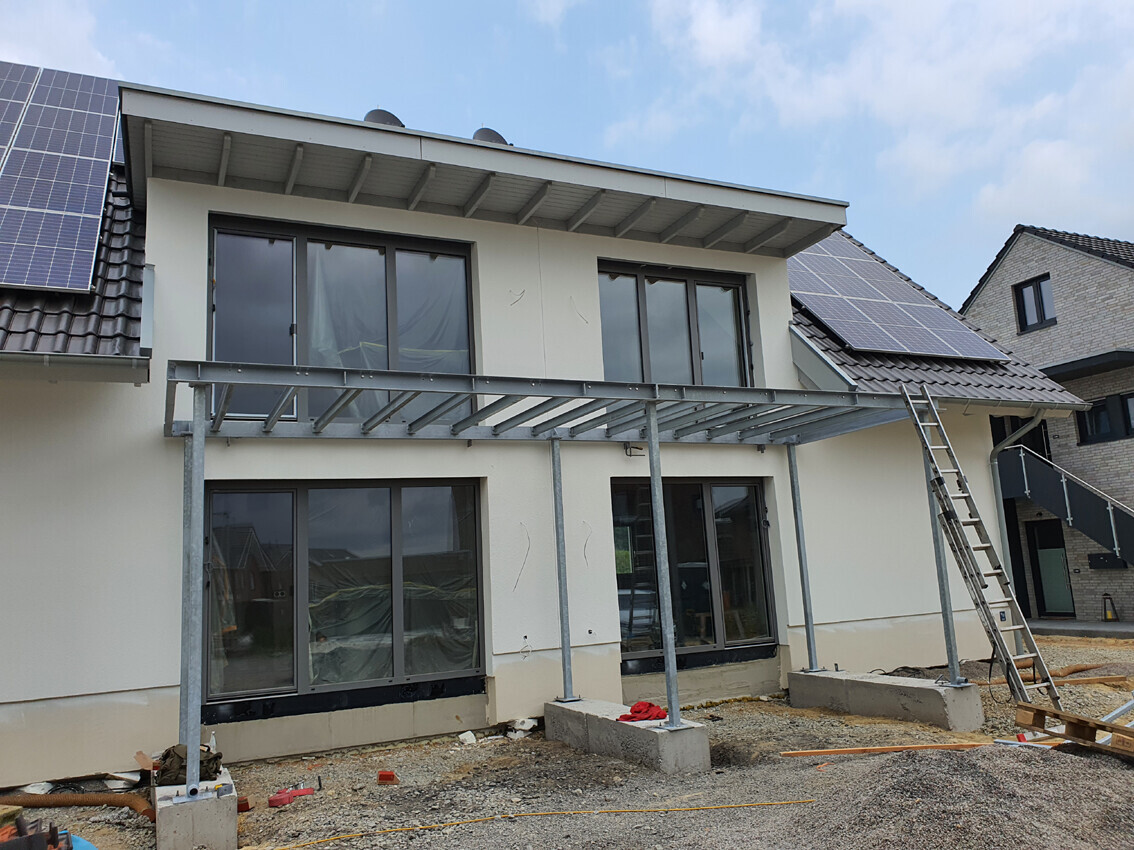
And finally stairs, although they are not completely finished yet, and already the base of the balcony.
And here is a small insight into how the smart home patch cabling will look.
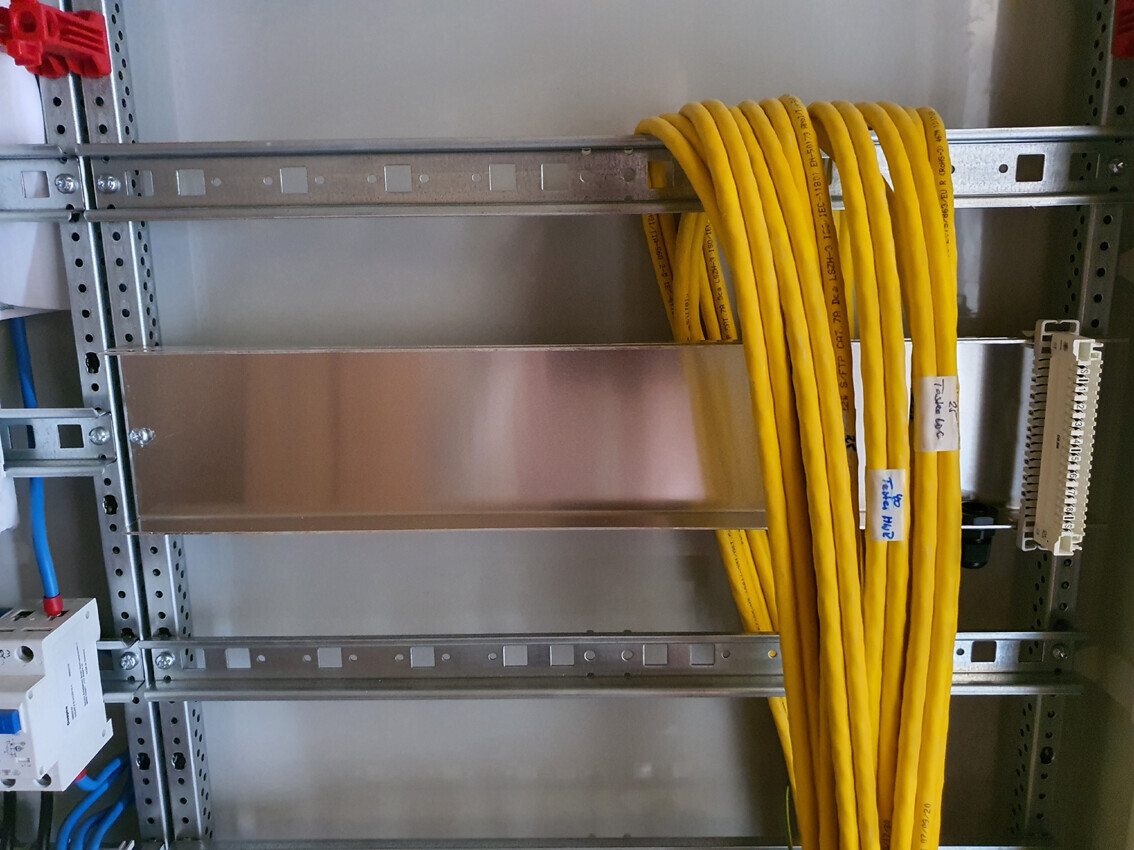
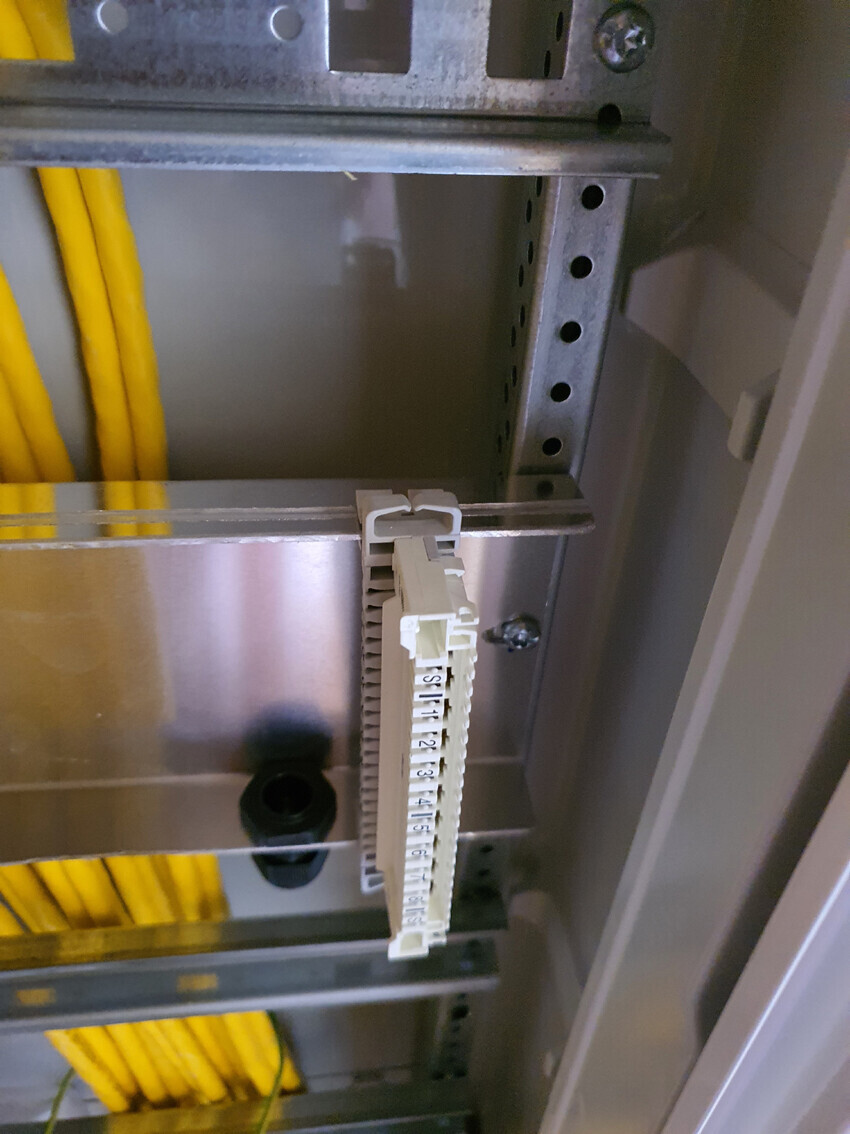
Top and bottom are recesses for the punch-down blocks (LSA strips) to snap in, with drilled openings including cable glands for strain relief. Of course, it’s a bit of work to do this for every cable, but it’s a small series for the 4 housing units 😎. So I can work a bit more efficiently than on a one-off project.
And here is a small insight into how the smart home patch cabling will look.
Top and bottom are recesses for the punch-down blocks (LSA strips) to snap in, with drilled openings including cable glands for strain relief. Of course, it’s a bit of work to do this for every cable, but it’s a small series for the 4 housing units 😎. So I can work a bit more efficiently than on a one-off project.

Similar topics