Hello,
It would be really great if everyone here could just post one or a few pictures showing the current state of their house.
I'll start right away.
For renovations, it’s best to provide a comparison of before and after the remodeling.
Before March 2014:
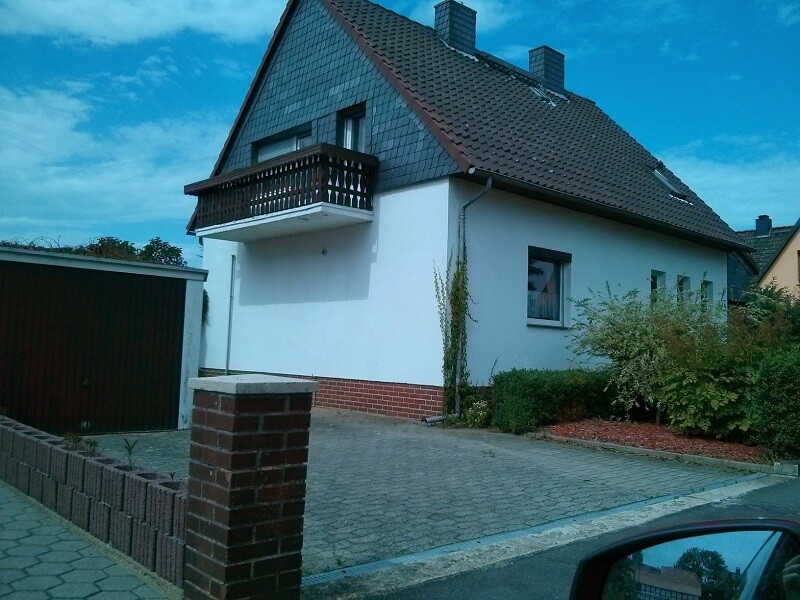
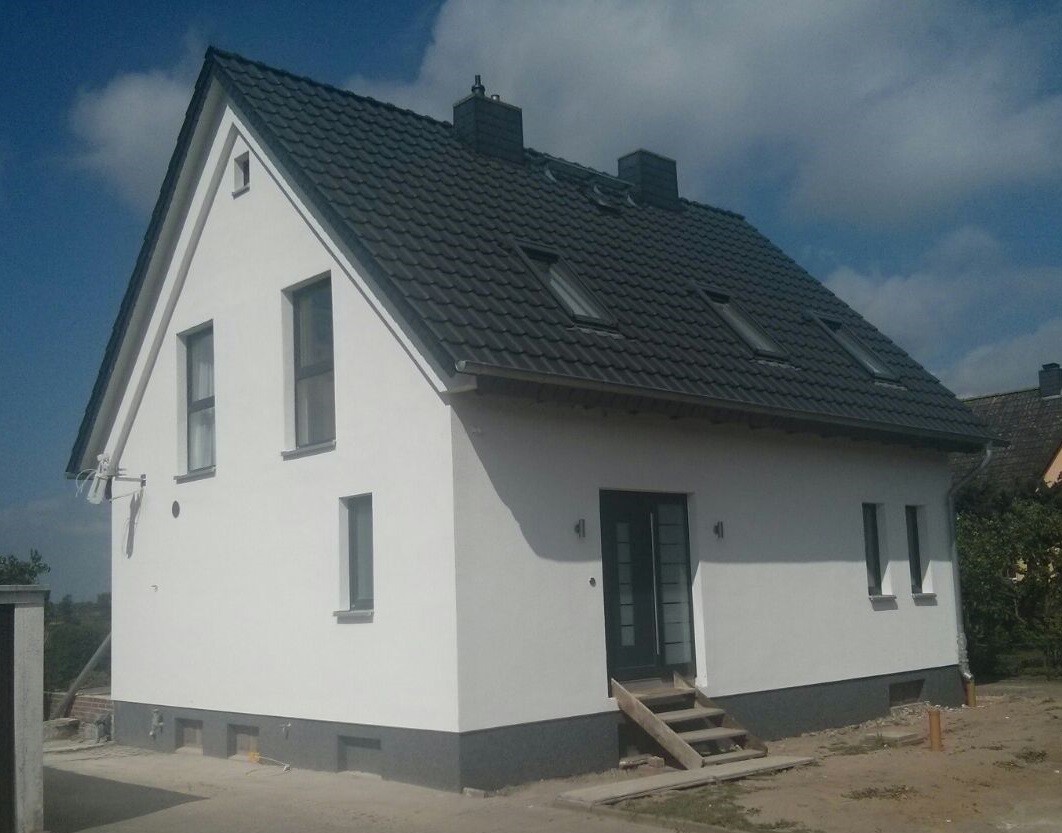
After May 2015:
It would be really great if everyone here could just post one or a few pictures showing the current state of their house.
I'll start right away.
For renovations, it’s best to provide a comparison of before and after the remodeling.
Before March 2014:
After May 2015:

i_b_n_a_n schrieb:
Quick updates: The Q2 smoothing has been gently sanded at the transitions and then treated with primer (now the walls are as smooth as a baby’s bottom 😉 ). Out of a total of 900m² (9700 sq ft) surface area, we managed an estimated 350m² (3800 sq ft) this weekend. In one residential unit, we also installed the outlets, prepared the push-button cables, and did some preliminary work on the distribution board (only low voltage; the rest will be done by the electrician of course). For next week, we prepared additional cables for the house connections that we want to lay in the trench and route through the multi-utility conduit (network cables for the wallboxes and power for the outdoor area / bikeports).
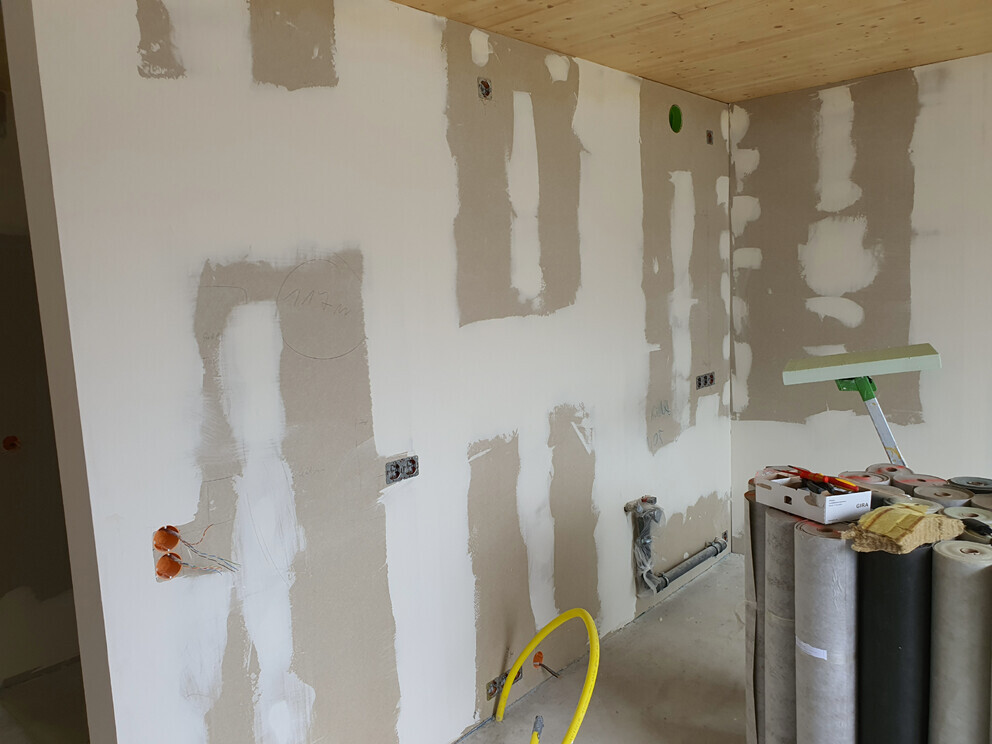
Here the screed installer really messed up and pushed the gas pipe right in front of the outlets (these people don’t think even 1cm during work. I fear they are not even paid for that). So a few centimeters of screed will have to be removed, the pipe moved to the left, and foamed back in. The rolls on the right in the picture are the 300m² (3200 sq ft) impact sound insulation for under the vinyl and parquet flooring.
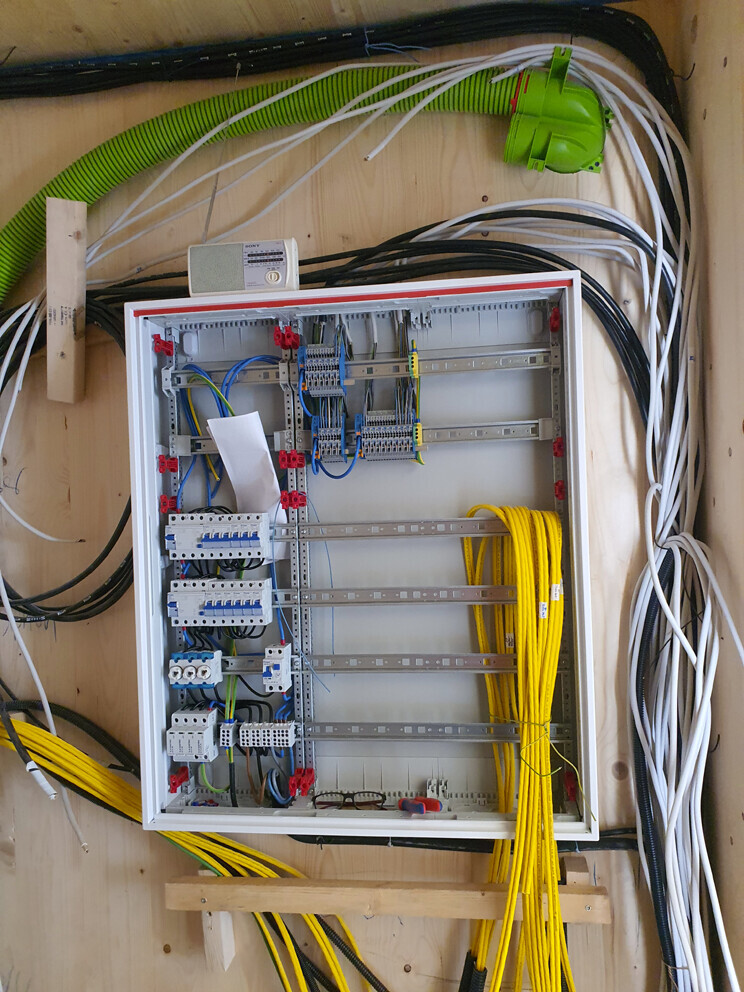
My “cute little distribution board” — unfortunately, the electrician has only had a few hours so far.
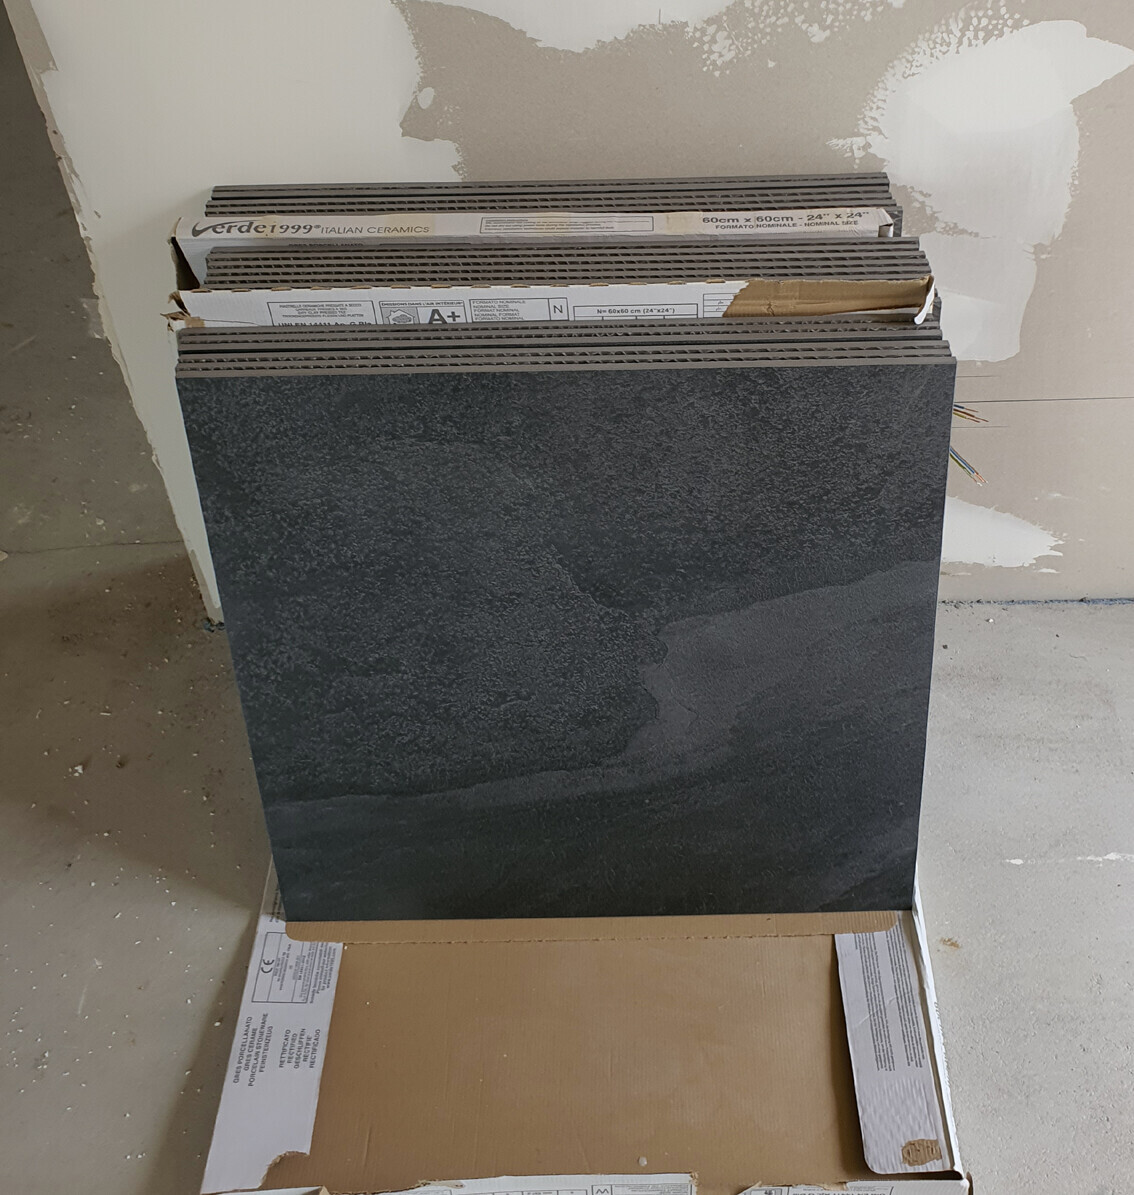
And here as a teaser, the bathroom tiles on their own:
Next week, a lot will finally happen again. Outdoor stairs and balconies will arrive and be installed, the long-awaited house connections will be made, the drilling for the heat pump (110m / 360 ft per semi-detached house) will take place, and all four bathrooms will be tiled (very soon). Wouldn’t it be easier to simply move the outlet behind the gas pipe and leave the screed as is, or are you required to meet some specific clearance or regulation regarding the power installation?

seat88 schrieb:
Wouldn't it be easier to simply move the outlet behind the gas pipe and leave the screed as it is, or are you restricted to a certain measurement for the electrical installation? Good idea, sometimes the simplest solutions just don’t come to mind 😀
It’s not that easy either since the cable is fixed in the timber frame wall with clamps (each outlet is wired separately here because it’s intended for appliances like the property’s equipment or the oven) and the wall is already closed, but I think drilling a hole next to it and rerouting the cable should work. Thanks!
M
Myrna_Loy13 Jul 2021 19:57i_b_n_a_n schrieb:
Small updates: The Q2 plastering has been lightly sanded at the transitions and then treated with primer (now the walls are as smooth as a baby's bottom 😉 ). Out of a total area of 900m² (9700 sq ft), we managed an estimated 350m² (3800 sq ft) this weekend. In one housing unit, we installed the electrical outlets, prepared the switch cables, and partially set up the distribution board (only low voltage so far; the electrician will handle the rest of the wiring).
For the house connections to be done next week, we prepared additional cables that we plan to lay in the trench and run through the multi-duct (network cables for the wallboxes and power cables for the outdoor areas/bikeports).
Here the screed installer really messed up and pushed the gas pipe right in front of the outlets (they don’t seem to think even 1cm ahead when working. I’m afraid they’re probably not paid for that level of care). So a few centimeters of screed need to be removed, the pipe moved to the left, and then patched up again. The rolls on the right in the picture are the 300m² (3200 sq ft) impact sound insulation for under the vinyl and parquet flooring.
My “cute little distribution board,” unfortunately, the electrician has only had a few hours to work on it so far.
And here as a preview, the bathroom tiles on their own:
Next week, finally, a lot more progress will happen. The exterior stairs and balconies will be built and installed, the long-awaited house connections will be completed, the drilling for the heat pump (110m (360 ft) for each semi-detached house), and all four bathrooms will be tiled (shortly). Is that the Verde1999 Lava in Nero?

Dennis89 schrieb:
The scaffolding is finally gone! The garage roof will be installed this weekend.
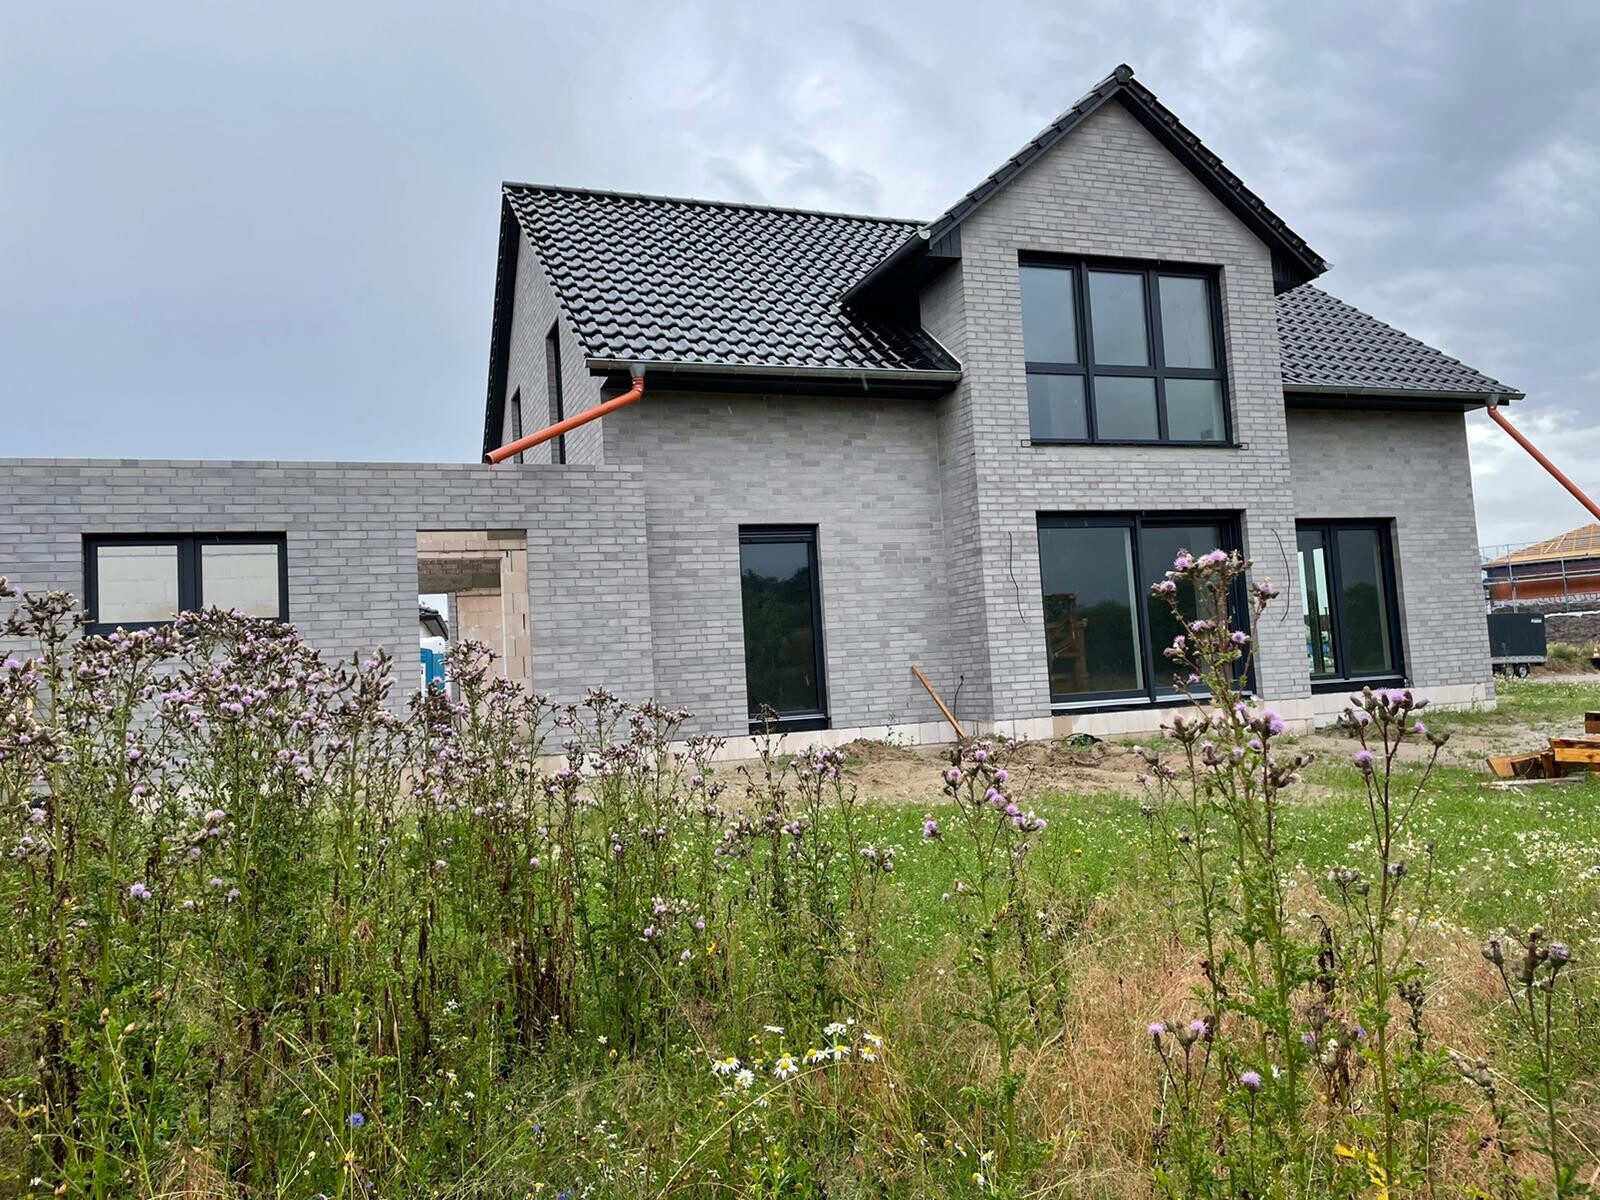
The downspouts are a nice design feature.Just kidding. It looks great!
Dennis89 schrieb:
The scaffolding is finally gone! The garage roof will be installed this weekend.
Brick facing by Rööööö ...........or :-) ?
Similar topics