
Hello everyone,
I have put into practice the idea of cladding my concrete block wall with facade wood. I wanted to share the result here in case it might inspire someone.
Key details:
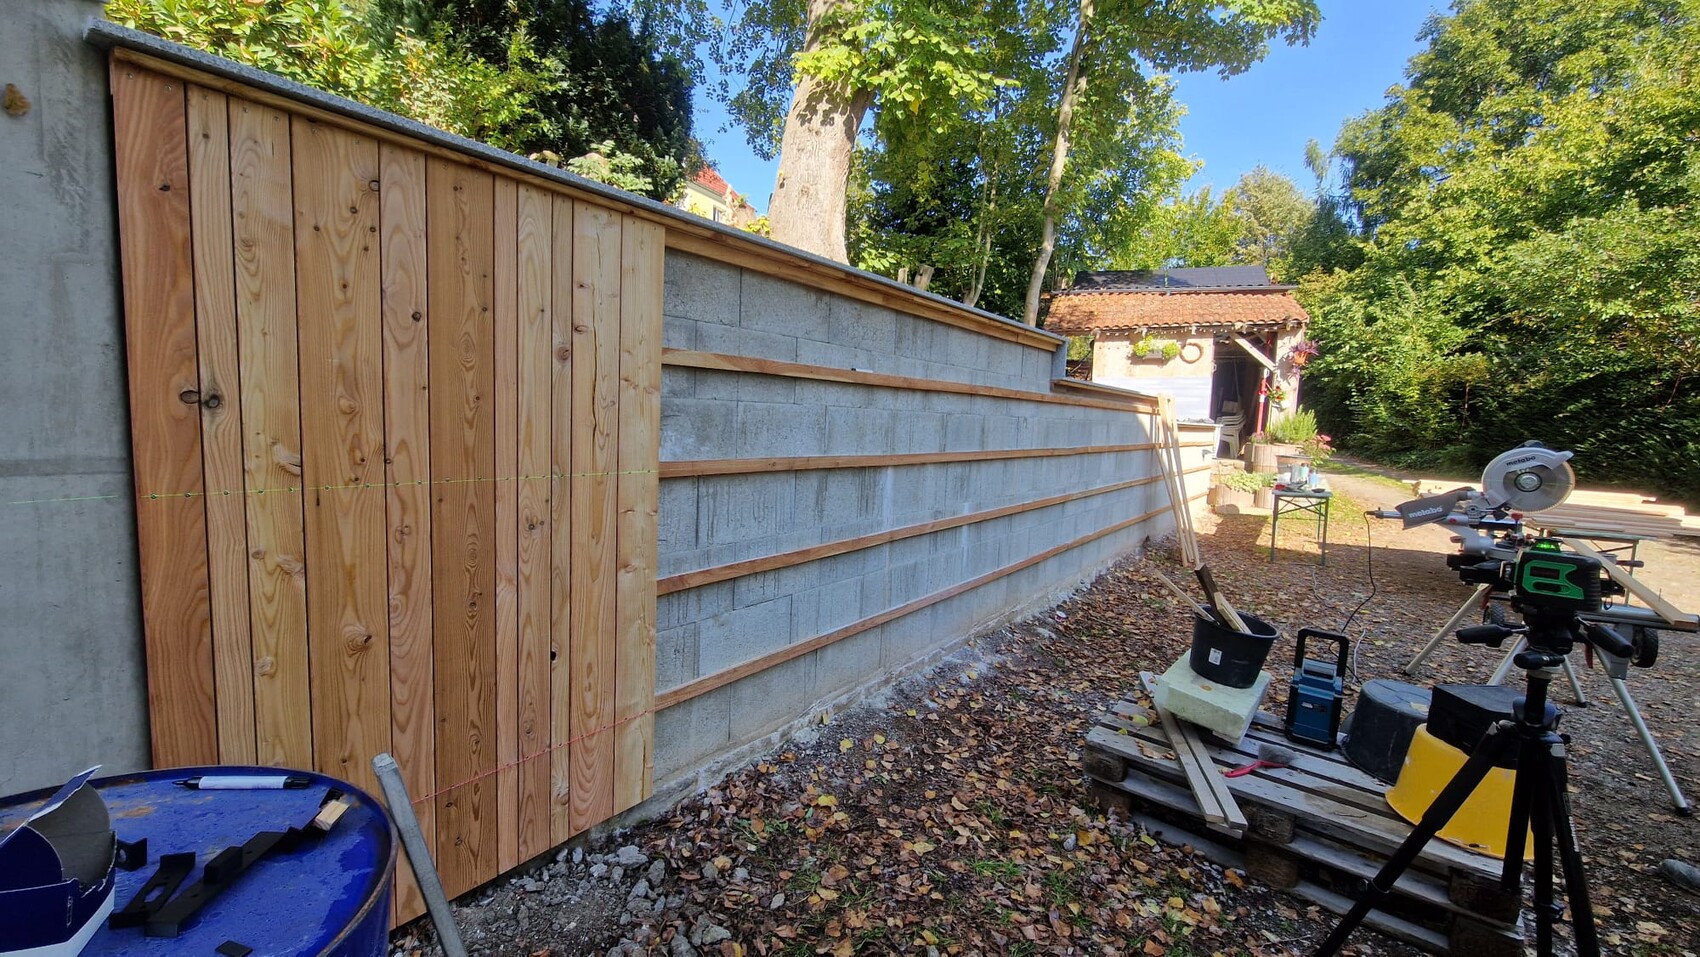
The wall (concrete block wall) was built mainly for aesthetics because we didn’t really like the slope behind it, and it also gave us a bit more usable space.
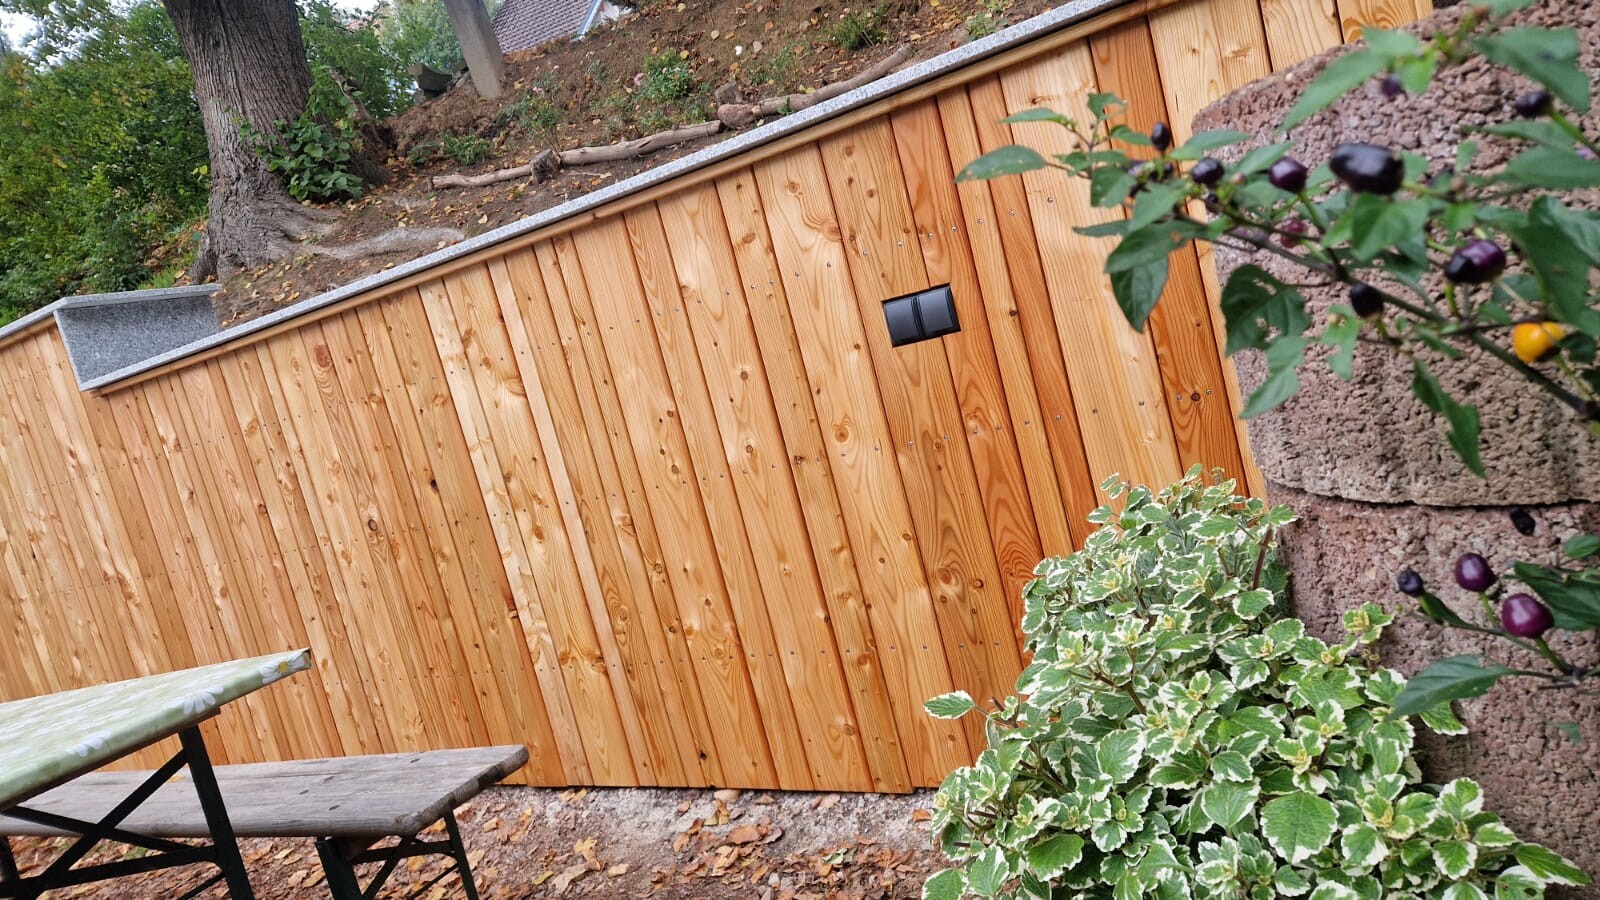
Length is just under 13 meters (42.6 feet), stepped twice in height, starting at 1.80 m (5.9 feet), then 1.65 m (5.4 feet), and 1.40 m (4.6 feet). As a cover, we used 2 cm (0.8 inches) thick, polished granite slabs, matching the look of our exterior window sills. The slabs overhang 7 cm (2.8 inches) on both the front and back and have a milled drip groove. Wood was planned anyway as the facade cladding, but the question was how exactly? Which pattern or style should we choose?
During a 2024 holiday in Austria, I saw a house facade built with boards of different widths. I had never seen that before and was immediately impressed.
As preparation, I made three drilling templates with a 3D printer to ensure the holes on every board were evenly spaced, keeping the look neat and the stainless steel facade screws uniform.
I chose practical board widths of 145 mm (5.7 inches), 90 mm (3.5 inches), and 52 mm (2 inches). That way, we could use the standard larch wood boards (145 mm wide) as a whole, and also split them into one-third and two-thirds parts (3 mm were lost due to the saw blade thickness during the longitudinal cut). A friend of mine had the necessary machines in his garage to cut, split, and chamfer the standard boards.
After installation, everything was coated with linseed oil varnish. The upper substructure is installed in an L-shape right under the granite cover. A 10 mm (0.4 inches) groove was milled inside the L, and an LED strip embedded in silicone was installed. Now the cat has a lit path from the carport to the house. 🙂
A quick note about the pattern: I searched online for a long time but didn’t find anything suitable. Then I took the holiday photo from Austria and noted down the sequence of the boards. After 34 boards, the pattern repeats. Otherwise, you can basically install them randomly, as long as no more than four boards of the same width follow each other.
Costs for the wood (including substructure) were around 750 € (euros), screws (all stainless steel) about 90 €. The LED strip cost 15 €. All machines (except for my friend’s in the garage) were already available from the house construction. We needed about three full days to complete the described work.
You can see the result in the attachments.
I have put into practice the idea of cladding my concrete block wall with facade wood. I wanted to share the result here in case it might inspire someone.
Key details:
The wall (concrete block wall) was built mainly for aesthetics because we didn’t really like the slope behind it, and it also gave us a bit more usable space.
Length is just under 13 meters (42.6 feet), stepped twice in height, starting at 1.80 m (5.9 feet), then 1.65 m (5.4 feet), and 1.40 m (4.6 feet). As a cover, we used 2 cm (0.8 inches) thick, polished granite slabs, matching the look of our exterior window sills. The slabs overhang 7 cm (2.8 inches) on both the front and back and have a milled drip groove. Wood was planned anyway as the facade cladding, but the question was how exactly? Which pattern or style should we choose?
During a 2024 holiday in Austria, I saw a house facade built with boards of different widths. I had never seen that before and was immediately impressed.
As preparation, I made three drilling templates with a 3D printer to ensure the holes on every board were evenly spaced, keeping the look neat and the stainless steel facade screws uniform.
I chose practical board widths of 145 mm (5.7 inches), 90 mm (3.5 inches), and 52 mm (2 inches). That way, we could use the standard larch wood boards (145 mm wide) as a whole, and also split them into one-third and two-thirds parts (3 mm were lost due to the saw blade thickness during the longitudinal cut). A friend of mine had the necessary machines in his garage to cut, split, and chamfer the standard boards.
After installation, everything was coated with linseed oil varnish. The upper substructure is installed in an L-shape right under the granite cover. A 10 mm (0.4 inches) groove was milled inside the L, and an LED strip embedded in silicone was installed. Now the cat has a lit path from the carport to the house. 🙂
A quick note about the pattern: I searched online for a long time but didn’t find anything suitable. Then I took the holiday photo from Austria and noted down the sequence of the boards. After 34 boards, the pattern repeats. Otherwise, you can basically install them randomly, as long as no more than four boards of the same width follow each other.
Costs for the wood (including substructure) were around 750 € (euros), screws (all stainless steel) about 90 €. The LED strip cost 15 €. All machines (except for my friend’s in the garage) were already available from the house construction. We needed about three full days to complete the described work.
You can see the result in the attachments.

Similar topics