Hello,
I wanted to give a brief, ongoing report on the renovation of our old farmstead. Basically, a little diary for ourselves – with maybe some added value for others with similar projects. Our budget: 340,000 EUR including everything, plus ongoing expenses covered from salary, for: modernization of the attic, renovation of the ground floor, with a total of around 190 m² (2,045 sq ft) of living space.
I'll start at the beginning:
We searched for a suitable plot for a long time; there are one or two posts about this in the forum. Unfortunately, plots are also scarce in our area. The older new development areas are sold out, except for the less desirable plots; the “new” development area, which was supposed to come to market 1.5 years ago, is still delayed. The city administration can’t agree on a developer [...]
A great plot that we wanted was unfortunately bought by a competitor. Then our wish list changed: we now wanted two adjacent plots (or one large one that could be divided): one for my parents, one for us. We hoped for certain advantages if Grandma and Grandpa later lived next door. Also, we could better support them in old age. The new development area continued to be delayed. My mom’s and sister’s horses fell ill with lead poisoning where they were kept, so my mom wanted to bring the horses to her place. We then searched in the rural zone for a large plot either close to a stable or ideally with permission to build one. Ha! If only it were that simple...
Although, despite good contacts with the building authority and mayor through my parents, we experienced a fairly reasonable approach to public law (though maybe the contacts didn’t even affect that), nothing really fit. In the end, I expanded my search to old farmsteads that, judging by their layout, could be divided into two living units or were already divided in part. That also took time. Sometimes we hesitated too long. I come from the real estate industry and had difficulty committing to a property immediately without a building surveyor (technical due diligence, as we say) involved.
Then we found our current farmstead, and it fit the bill: just under 400 m² (4,306 sq ft) of living space on paper, realistically a bit less; about 6,200 m² (1.53 acres) plot; a small stable/shed in the outdoor area; carport for 5 cars; division into two theoretical semi-detached units possible or partly already done; DSL 200 Mbps available (! – rare in rural areas here); well-developed road access. What was missing was pasture/land for the horses. What didn’t fully meet our wishes was the state road running along the property with a speed limit of 100 km/h (62 mph) and a large number of crows. But – we liked the house immediately; it had that certain something. My mom agreed spontaneously. No negotiation on the purchase price, which hurt our budget, but that way no one else saw the house and the risk of wild bargaining was eliminated. This does happen here now, especially when wealthy people from the south look for vacation homes on the Baltic coast.
To-dos:
Subdivision of the floor plan into two semi-detached units
Decide who gets the fully renovated semi-detached unit and who still has to renovate
Division of purchase price and incidental costs
Pasture
Outdoor facilities, etc.
TBC
Fun fact: We later learned the hairdresser of my husband’s used to live here with her parents. Our village is small.
11ant schrieb:
That’s why the picture with the cat staircase was posted twice – so it’s already forgiven 🙂I think a cat staircase is really cool.
So, I want to share an update again. It’s been such a long time that I had to reread my previous posts first. Due to the new baby and a complicated birth, as well as the drastic changes that come with having a baby (Metime has expired), almost nothing happened here for a solid 5 months 😀
Things have been moving along again for the past two months.
But here’s the update:
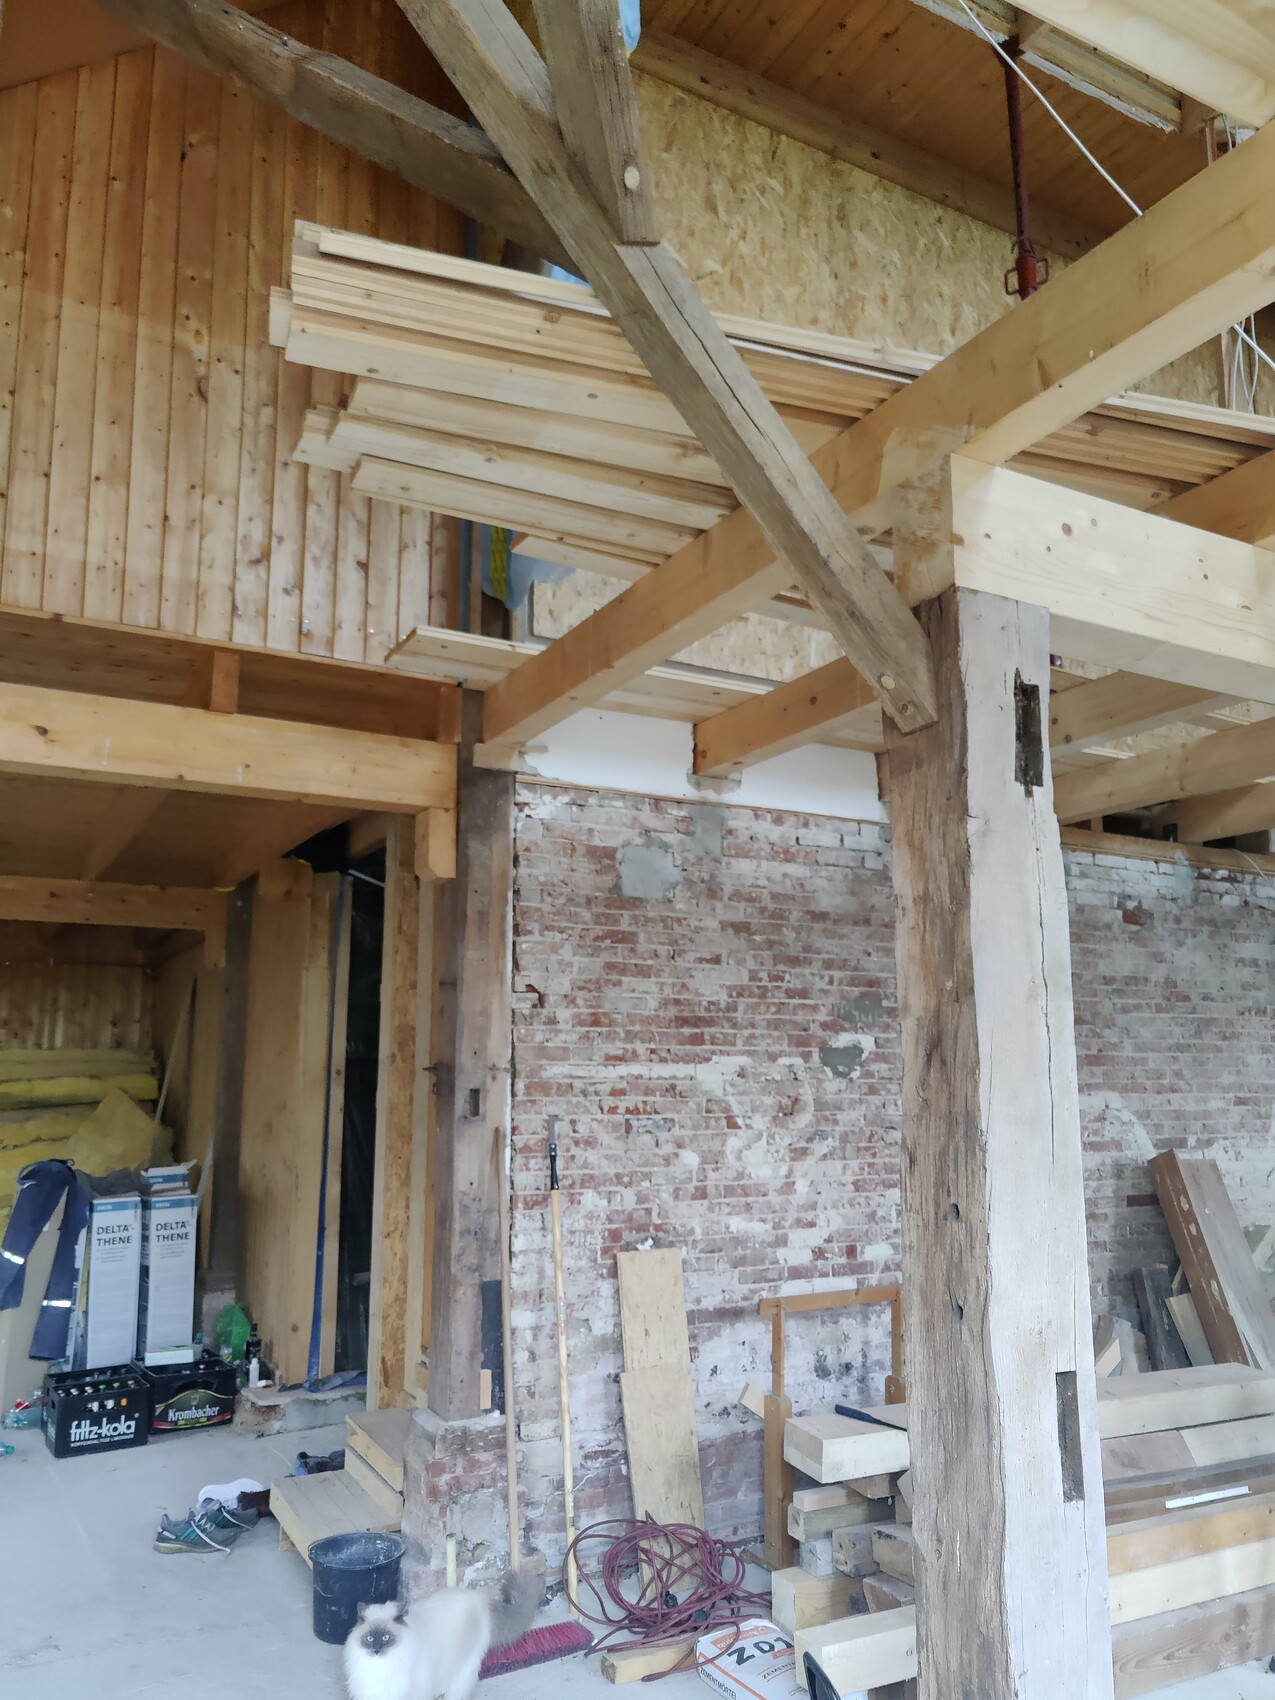
Main beam: completed and supported – using old oak beams from a historic building supplier
Horizontal damp proof course: completed – for 4,000 EUR… that was a real bargain (rebricked and inserted bitumen membrane)
Intermediate ceiling: started, new support beams and the wooden floor decking are installed (except for the area where the internal insulation of the gable wall still needs to be raised)
Internal insulation: started, will probably be finished in about two weeks
Drywall partitions: when wood prices skyrocketed, we decided that, given the relatively small difference, it made sense to have the interior walls built with sand-lime bricks by the masons instead.
Outsourced work:
As announced, the main beam was supported by an external contractor, the company where my husband completed his apprenticeship. They also replaced the rotten sole plate and fixed two leaks in the roof area. We were very satisfied with the price-to-performance ratio… but of course, it helps to still have a good relationship with the people involved.
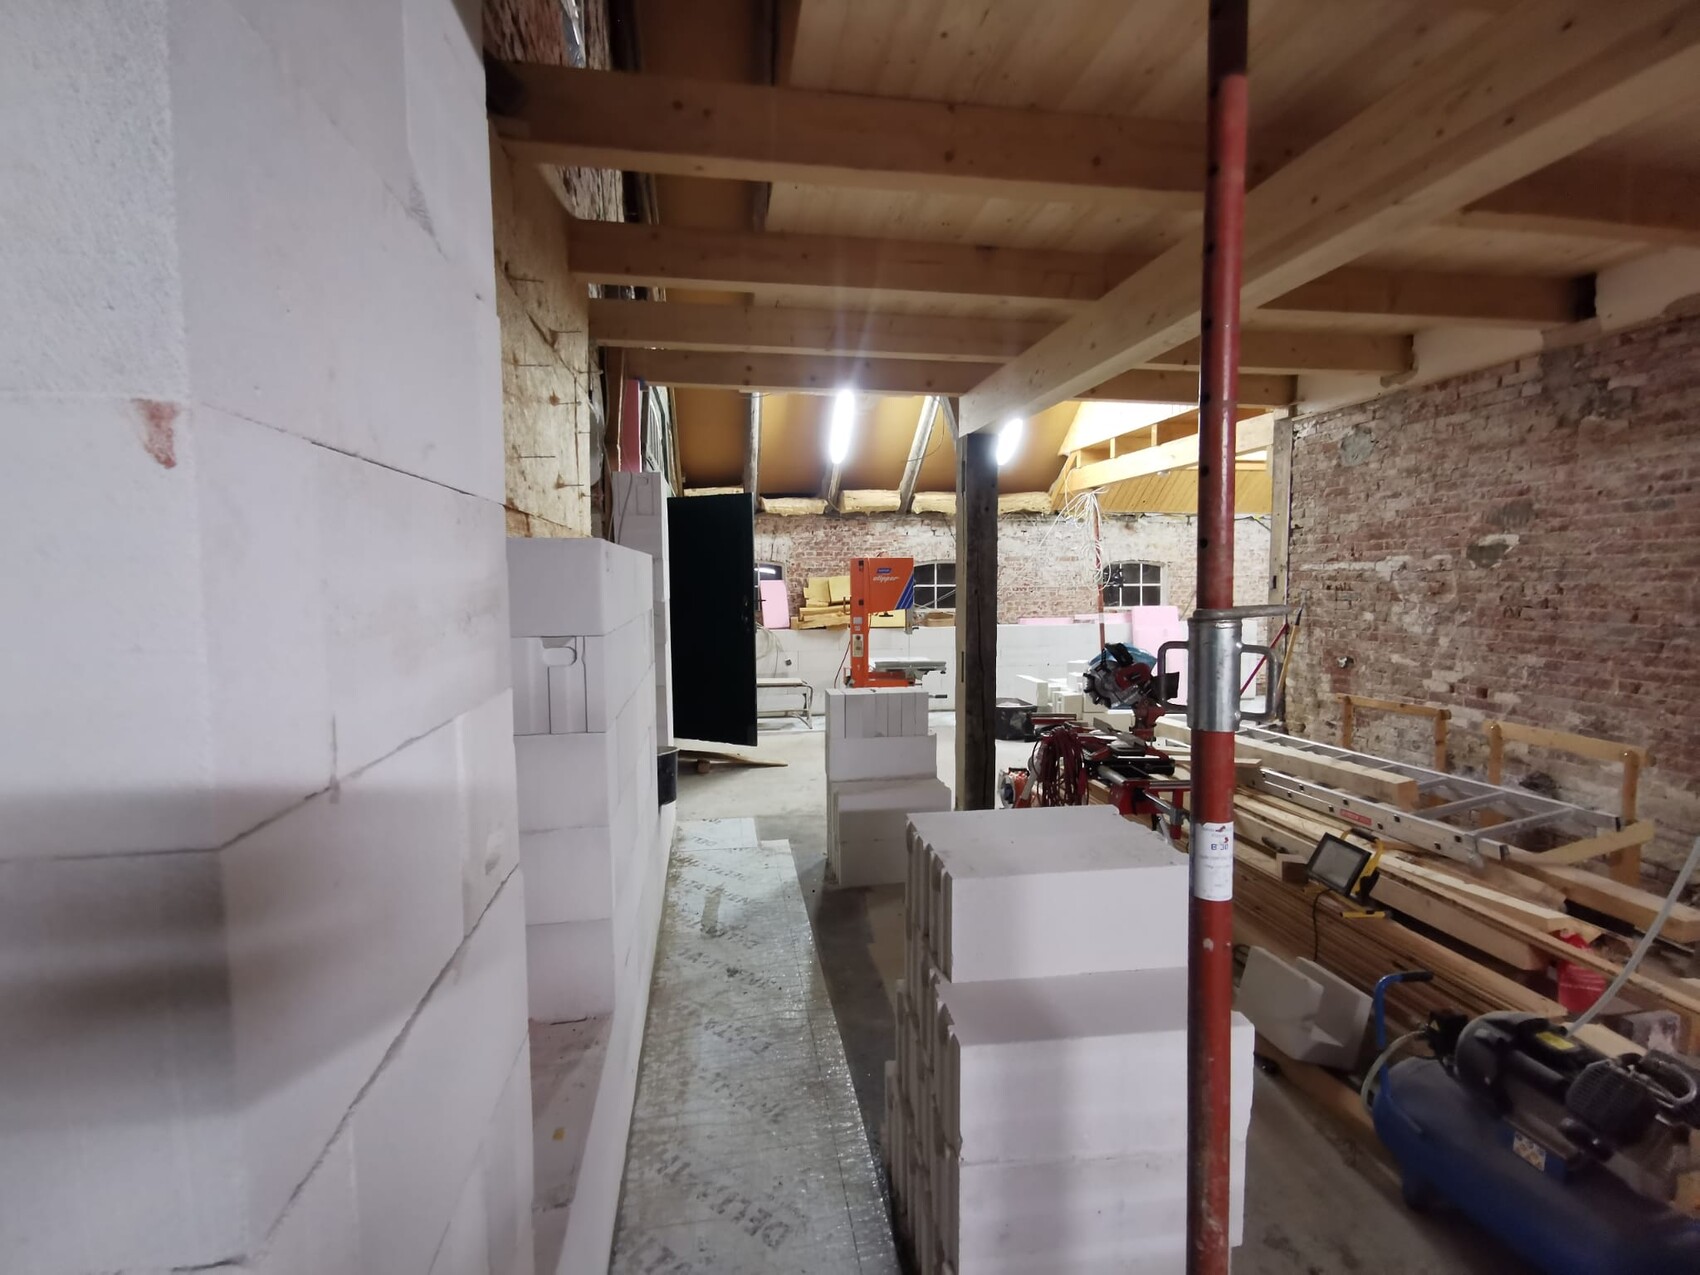
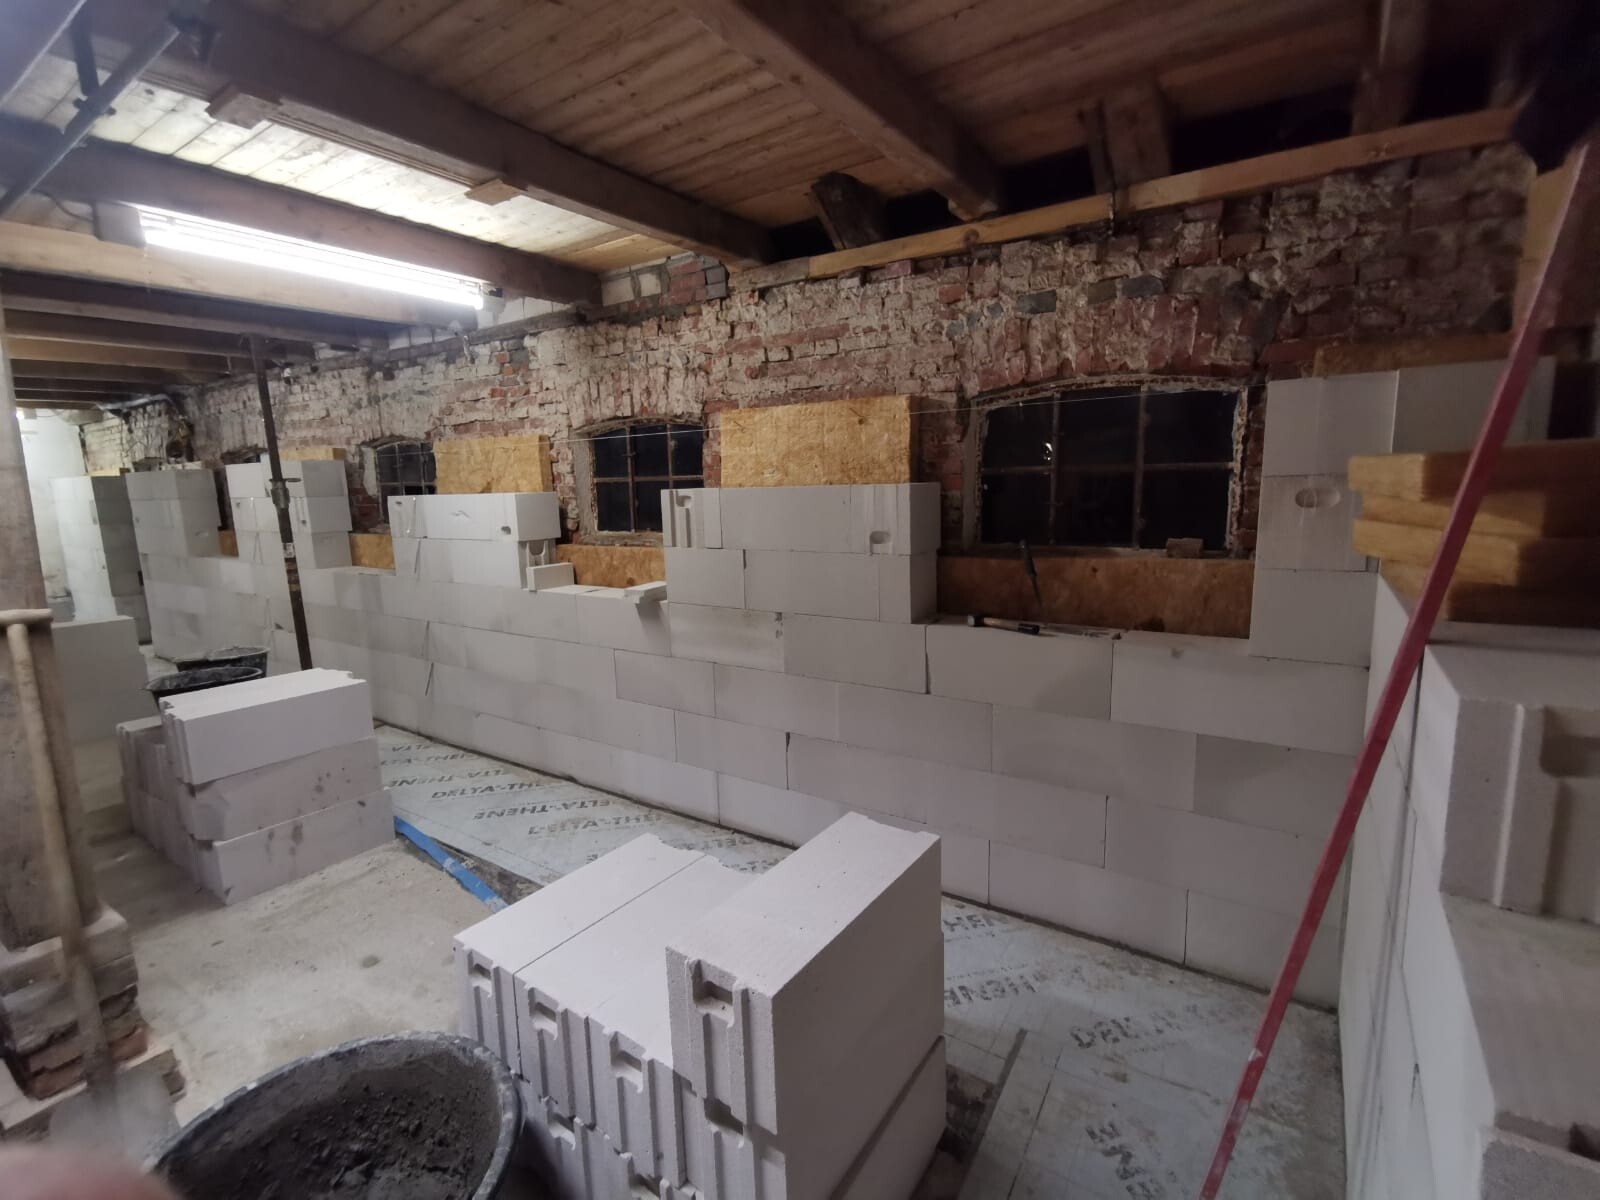
For the internal insulation, after a lot of back and forth, we switched to another mason (whom my husband also knows from earlier, although he didn’t work there) and are now going for a two-layer construction with aerated concrete blocks and mineral wool insulation. Except for the original architect, everyone (another architect, two masons) preferred the two-layer method instead of using mineral-based insulation boards. I was initially concerned about moisture (condensation from the inside) and the support beams. I wasn’t enthusiastic about the mineral insulation boards due to their lack of load-bearing capacity. We had to swallow a bitter pill, but I hope we made the right decision. Additional ring beams will be installed right away to give the structural stability a boost.
We are actually having the uneven exterior wall demolished. We didn’t want the wall to go even further out of alignment after finishing everything downstairs. Additional cost around 10,000 EUR. Yay 😀 First, the new inner shell will be built, then the exterior wall (outer shell) will be gradually removed and rebuilt.
DIY work:
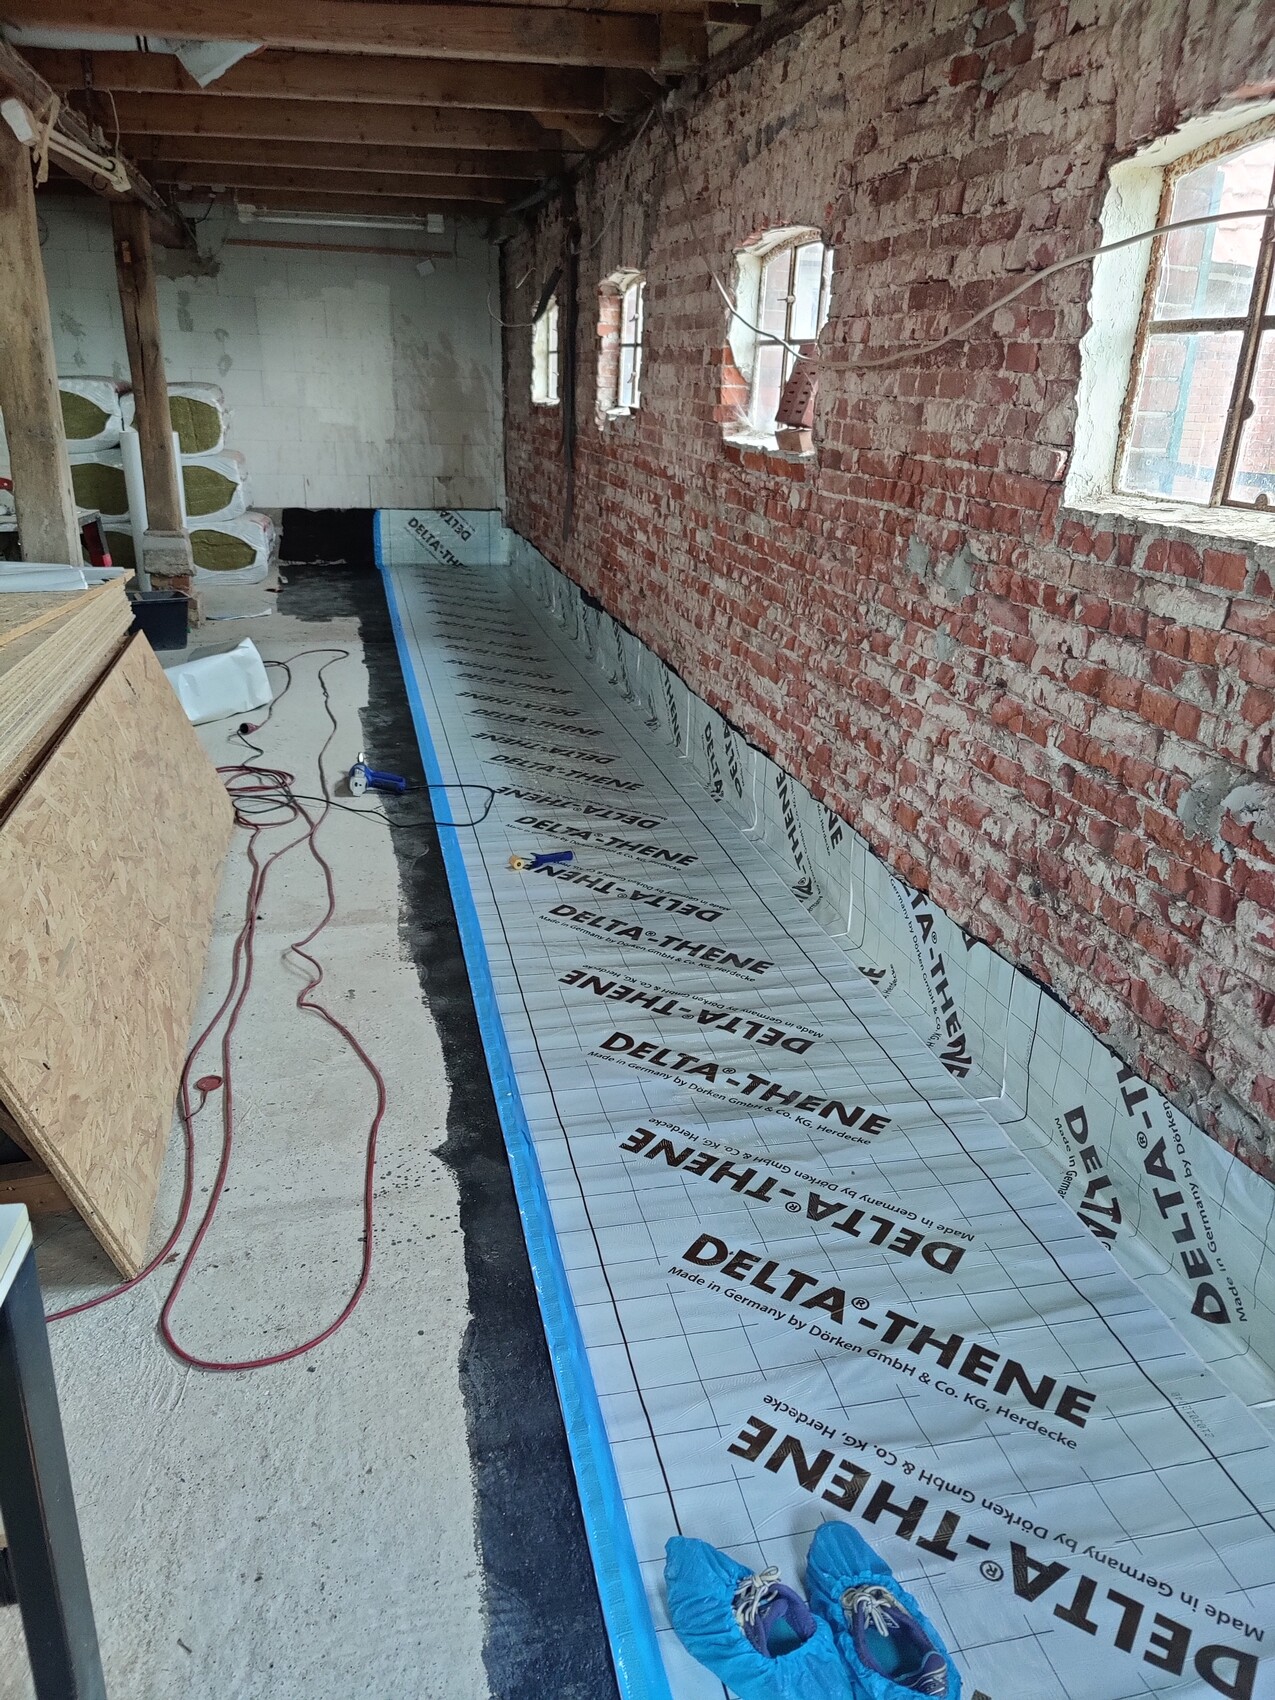
We installed the support beams for the office, partially put in the new wooden ceiling, dismantled old electrical wiring, and laid Deltathene (a damp-proof membrane) where the second outer wall layer will be. Everything went fairly smoothly. Shoring up the office floor and installing the new support beams was a bit fiddly but otherwise went without incidents.
Schedule:
Goal by the end of February: internal insulation and interior walls completed, electrical work at least started, ideally finished, but I expect that to be in March.
Goal by the end of April: electrical work finished, windows installed, most of the office fit-out hopefully completed.
Oh, and since we can’t go on vacation, we got a hot tub… maybe not the smartest move to spend 5k before finishing everything. But I was cranky.
Photos are partially not current but older.

Things have been moving along again for the past two months.
But here’s the update:
Main beam: completed and supported – using old oak beams from a historic building supplier
Horizontal damp proof course: completed – for 4,000 EUR… that was a real bargain (rebricked and inserted bitumen membrane)
Intermediate ceiling: started, new support beams and the wooden floor decking are installed (except for the area where the internal insulation of the gable wall still needs to be raised)
Internal insulation: started, will probably be finished in about two weeks
Drywall partitions: when wood prices skyrocketed, we decided that, given the relatively small difference, it made sense to have the interior walls built with sand-lime bricks by the masons instead.
Outsourced work:
As announced, the main beam was supported by an external contractor, the company where my husband completed his apprenticeship. They also replaced the rotten sole plate and fixed two leaks in the roof area. We were very satisfied with the price-to-performance ratio… but of course, it helps to still have a good relationship with the people involved.
For the internal insulation, after a lot of back and forth, we switched to another mason (whom my husband also knows from earlier, although he didn’t work there) and are now going for a two-layer construction with aerated concrete blocks and mineral wool insulation. Except for the original architect, everyone (another architect, two masons) preferred the two-layer method instead of using mineral-based insulation boards. I was initially concerned about moisture (condensation from the inside) and the support beams. I wasn’t enthusiastic about the mineral insulation boards due to their lack of load-bearing capacity. We had to swallow a bitter pill, but I hope we made the right decision. Additional ring beams will be installed right away to give the structural stability a boost.
We are actually having the uneven exterior wall demolished. We didn’t want the wall to go even further out of alignment after finishing everything downstairs. Additional cost around 10,000 EUR. Yay 😀 First, the new inner shell will be built, then the exterior wall (outer shell) will be gradually removed and rebuilt.
DIY work:
We installed the support beams for the office, partially put in the new wooden ceiling, dismantled old electrical wiring, and laid Deltathene (a damp-proof membrane) where the second outer wall layer will be. Everything went fairly smoothly. Shoring up the office floor and installing the new support beams was a bit fiddly but otherwise went without incidents.
Schedule:
Goal by the end of February: internal insulation and interior walls completed, electrical work at least started, ideally finished, but I expect that to be in March.
Goal by the end of April: electrical work finished, windows installed, most of the office fit-out hopefully completed.
Oh, and since we can’t go on vacation, we got a hot tub… maybe not the smartest move to spend 5k before finishing everything. But I was cranky.
Photos are partially not current but older.
M
Myrna_Loy23 Jan 2022 17:44We were advised against using mineral wool insulation between the cavity walls. Now I'm unsure again. Old buildings… they really make you go gray. 🤨
What I find particularly difficult with interior insulation or renovating an older building is that if you ask four people, you get four different answers. This might sometimes be the case with new construction as well, but with older buildings, future problems are often predicted. How are you handling it? Using a solid masonry wall with thick stone? I think that way you are definitely on the safe side (although advocates of Multipor or clay insulation would probably say otherwise). What was the specific argument against mineral wool?
We have now decided on this approach because the mason has already carried out similar work several times like this, and there have been no issues so far.
We have now decided on this approach because the mason has already carried out similar work several times like this, and there have been no issues so far.
M
Myrna_Loy24 Jan 2022 16:33Yes, the horror scenarios... Ask two people and you get four opinions.
We were told that with our wall construction (limestone-sandstone quarry), it is difficult to predict whether condensation will occur inside the wall – and if that happens, the insulation would become saturated and the damage would only be noticed so late that you would almost have to demolish it. We were advised to apply insulating plaster directly onto the old wall before installing the stone.
We were told that with our wall construction (limestone-sandstone quarry), it is difficult to predict whether condensation will occur inside the wall – and if that happens, the insulation would become saturated and the damage would only be noticed so late that you would almost have to demolish it. We were advised to apply insulating plaster directly onto the old wall before installing the stone.
That sounds very reasonable. So you’re probably using a type of brick that can absorb and release moisture well? That would be similar to the Multipor method.
I have actually considered doing a test borehole after a few years to see what the situation looks like behind the wall. Although in that case, it would of course be a nightmare scenario. Honestly, apart from the support beams, I don’t see much difference regarding condensation in our build – it’s old field-fired brick, which you can’t really compare to modern facing brick, but still, then there’s a ventilated air layer, insulation (80mm (3 inches)), aerated concrete (240cm (94 inches)). I’m just going to stay optimistic... for now 😉
By the way, are there any pictures of your old building?
Similar topics