Hello everyone,
I am new to the forum and would like to briefly introduce myself. I am 36 years old, from southern Germany, and currently renovating our house, built in 1969.
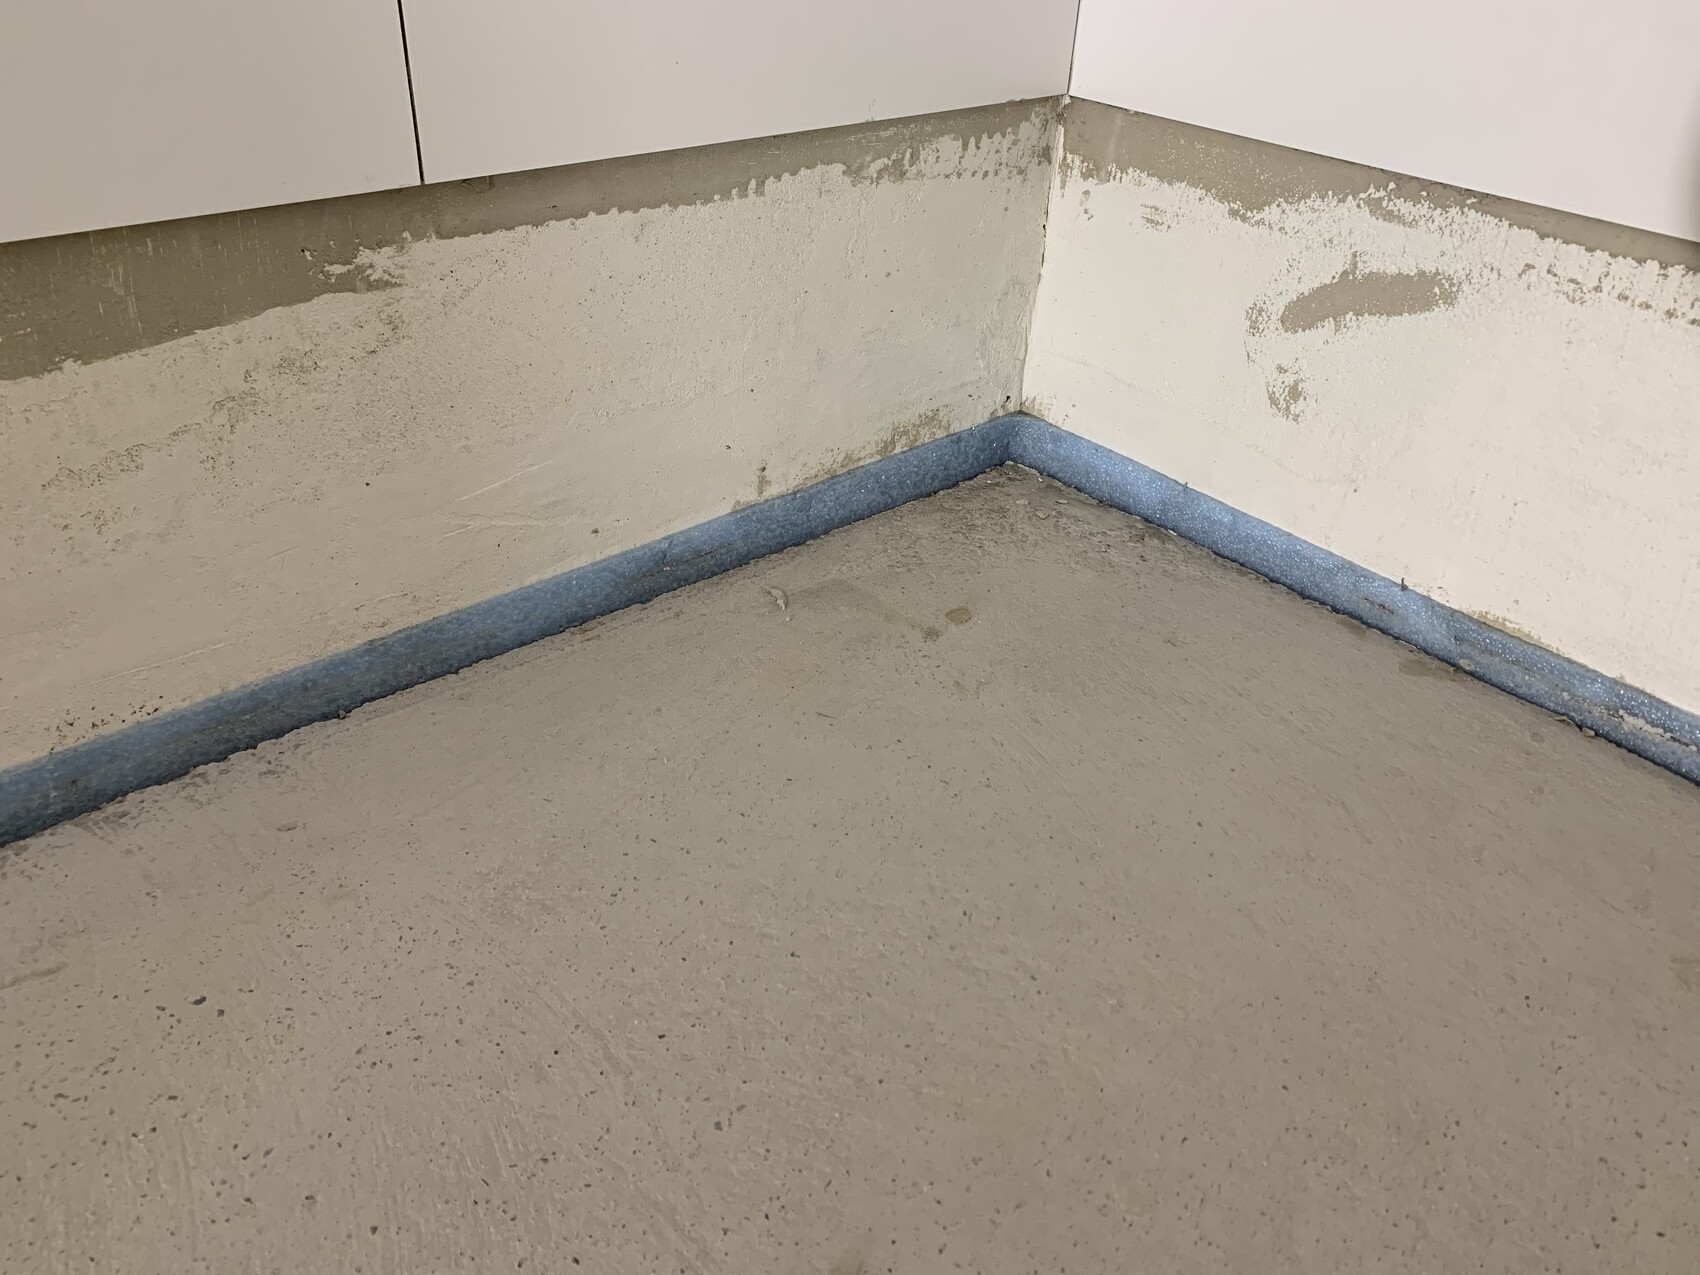
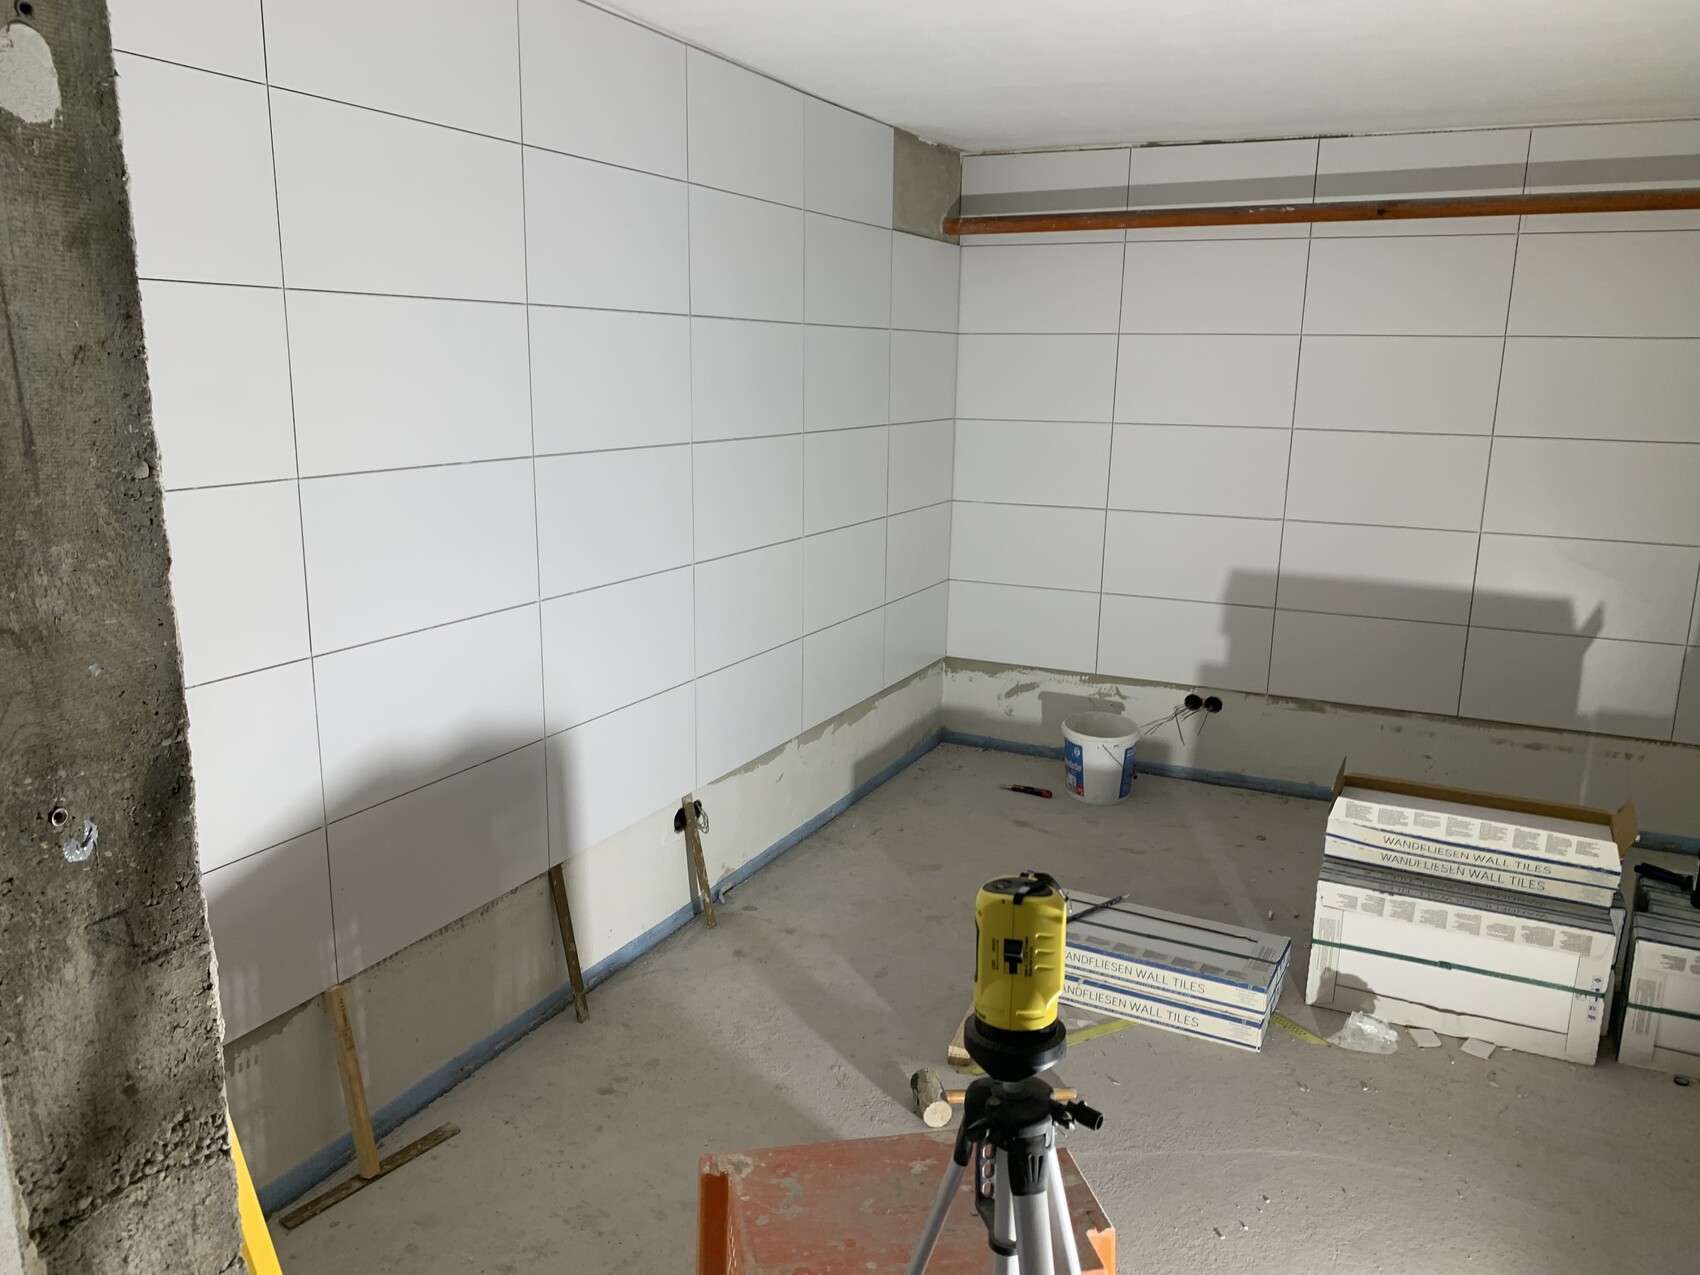
At the moment, I am working on renovating the basement. We excavated all the old concrete, paving, and natural ground. A new concrete slab was then poured (10-15cm thick) and connected to the foundation with steel bars. On top of that, a polyethylene vapor barrier was installed, followed by a concrete screed (industrial quality). The individual rooms and walls were separated from the screed by perimeter insulation strips.
Now I want to create a cove fillet on the wall with epoxy resin and then coat the entire floor with epoxy resin.
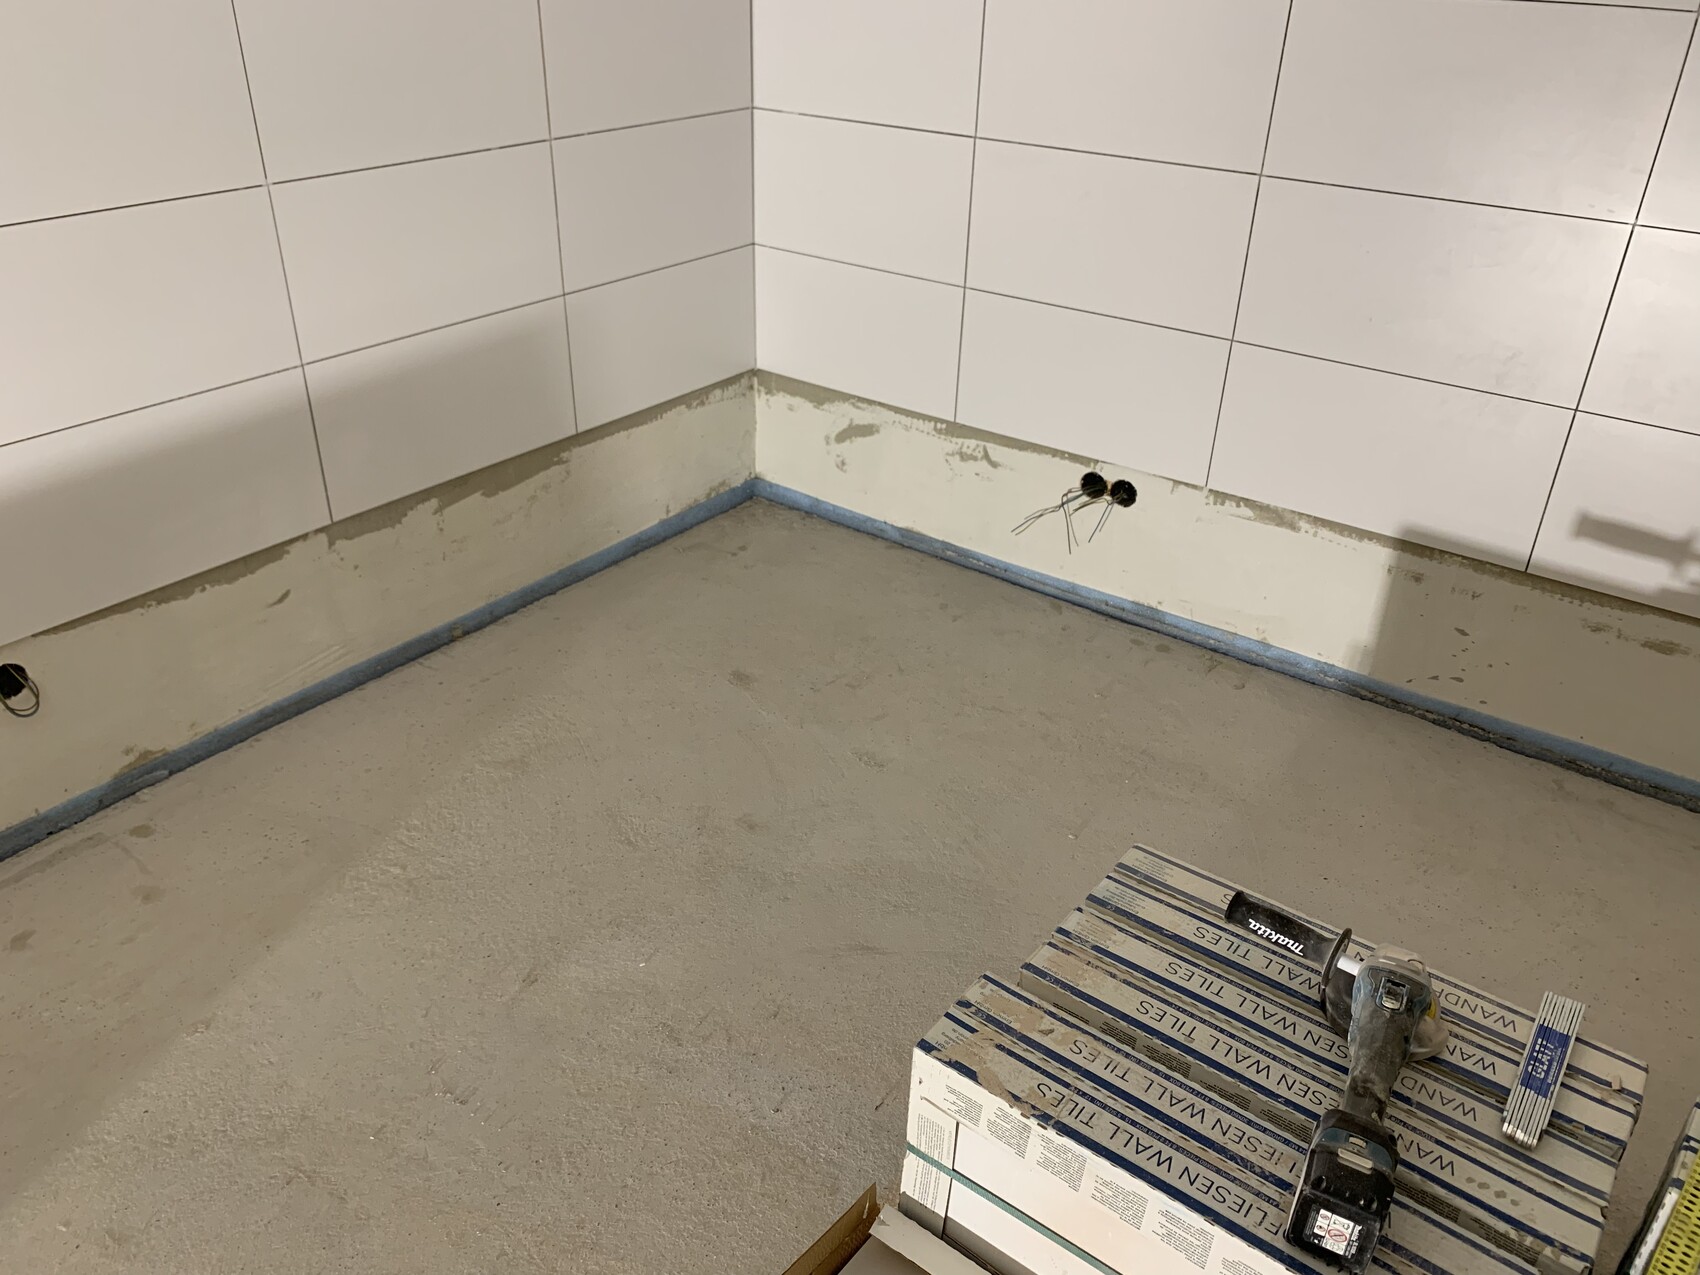
I have heard that the cove fillet should be applied onto the edge insulation strip. However, I have the problem that the edge insulation strip and the tile covering are already flush, and I do not want the cove fillet to protrude. In addition, the edge insulation strip is damaged in some places due to grinding the concrete.
Can I cut off the edge insulation strip and install a new strip with lower thickness to separate the cove fillet, floor, and walls, so that the cove fillet is flush with the tiles? What material should this strip be made of so that the epoxy mortar bonds well?
Can the strip be glued to the wall? If yes, what adhesive should I use?
Or do you have any other suggestions? I would be very grateful for your tips!
Best regards
Bulli
I am new to the forum and would like to briefly introduce myself. I am 36 years old, from southern Germany, and currently renovating our house, built in 1969.
At the moment, I am working on renovating the basement. We excavated all the old concrete, paving, and natural ground. A new concrete slab was then poured (10-15cm thick) and connected to the foundation with steel bars. On top of that, a polyethylene vapor barrier was installed, followed by a concrete screed (industrial quality). The individual rooms and walls were separated from the screed by perimeter insulation strips.
Now I want to create a cove fillet on the wall with epoxy resin and then coat the entire floor with epoxy resin.
I have heard that the cove fillet should be applied onto the edge insulation strip. However, I have the problem that the edge insulation strip and the tile covering are already flush, and I do not want the cove fillet to protrude. In addition, the edge insulation strip is damaged in some places due to grinding the concrete.
Can I cut off the edge insulation strip and install a new strip with lower thickness to separate the cove fillet, floor, and walls, so that the cove fillet is flush with the tiles? What material should this strip be made of so that the epoxy mortar bonds well?
Can the strip be glued to the wall? If yes, what adhesive should I use?
Or do you have any other suggestions? I would be very grateful for your tips!
Best regards
Bulli

I would like a 5-centimeter (2-inch) high coved skirting in my new, small bathroom—for cleaning reasons.
In the 1950s (or so), this was more common in hospitals, and I think this is how a transition between wall and floor should look to make it easy to clean!
However, this is so rarely done today that I haven’t come across any instructions on how to construct it. I have seen tiles with similar (slightly smaller) curves in public bathhouses.
The separation (designed breakpoint) between the elements—wall and floor—is created because otherwise cracks would appear somewhere. But to make it watertight, these joints must NOT have any cracks. I haven’t yet understood how this is solved.
Even without the cove, wet rooms are sealed at this spot with membranes, but if moisture gets under the tiles, something has clearly gone wrong...
Unfortunately, I can’t offer any helpful advice, but I am interested in the solution. (Although, for ecological reasons, I try to avoid using plastics in construction myself... but that’s another issue 🙄 )

To those interested in this topic, here are some technical notes without losing sight of the practical aspects.
The 5cm (2 inches) radius for a cove fillet comes from hygiene requirements for food processing and handling facilities. It is a regulation, therefore.
Obviously, such a rule does not apply to a private bathroom.
However, a questioner, acting as the builder, has decided to implement this type of transitional solution between floor and wall in their private living spaces as well. There is basically nothing against this.
Let’s take a look at solutions in the industrial sector. There are two basic scenarios:
1. We have a composite floor structure (which does not move) and a masonry or concrete wall surface.
2. We have a composite floor structure (as above) and a sandwich panel wall of a cold storage room.
In situation (1) there are no problems. The base of the cove is firmly attached to the existing floor surface (concrete or composite screed), and after priming the wall surface, the vertical leg is also rigidly connected to the wall.
In the second case, however, we must expect movement of the wall.
In the case of the builder in question, though, the movement is in the screed because in a residential building it will not be a composite floor construction but a floating screed above insulation layers.
Therefore, the industrial case (2) and the private residential building face the same problem: unpredictable movements between floor and wall. This will very likely cause cracking or detachment, wherever and however it may occur, due to stresses from movement.
How is this problem solved?
By anchoring only one leg firmly, while the other leg remains "movable," meaning it is not firmly attached to the wall surface.
There is no single solution to achieve a water-tight transition, as project-specific conditions must be considered.
For example, with tiled walls on a movable or plastic wall, a sealing tape is always installed as a rear waterproofing layer in the horizontal plane and extended 5cm (2 inches) vertically.
And this is exactly how it must be done in the private project here!
Furthermore, cove fillets can be manually shaped with appropriate forming tools, or prefabricated profile elements can be embedded into the base layer of the screed or concrete. These profiles can then be coated, or better: a color-matched sealant is applied by rolling the outer surface in the exact same shade as the floor.
With floating screeds, the profile is glued only to the floor, not to the wall.
Now an informed layperson might ask: how is it possible to make this so watertight that the vertical leg does not allow water to run behind it?
Good question. No current professional standards or guidelines address this issue.
My own solution, used in many industrial projects, is to apply a strip of swelling paste to the back side of the cove profile before installation. This paste automatically seals any water ingress by significant swelling.
Alternatively, a swelling tape can be placed behind the profile element, for example "TPH Hydrotite SS0330".
The upper edge of the cove profile is then simply finished with an elastic sealant for visual closure. Acrylic or silicone sealants cannot provide long-term waterproofing, but in this described approach, they do not need to.
This method was implemented several years ago in a wet area of a building in Berlin according to my specifications—and it still performs reliably today!
-------------------
Regards, KlaRa
That sounds well-founded to me.
If I try to put it in my own words:
The floating screed (which can move independently from the subfloor and wall) is shaped like a tray. The tray edge is firmly connected to the floor so that no cracks form. This tray is watertight.
Between the tray edge and the wall, which can move relative to each other and thus become leaky, a material is inserted that swells when wet and seals any potential movement gaps. The joint between the tray and the wall (for example, made of silicone) will probably let water through eventually, but behind it is the actual seal that “works” when moisture appears and creates a proper waterproof seal.
I like this approach—even though it sounds relatively complex—... where can an ordinary person get this sealing material, and how is it reliably applied?
In any case:
Thank you for the explanation.
manohara schrieb:
I like that – even though it sounds quite complicated – where can an ordinary person get this sealing material, and how can it be applied reliably? Such work, especially involving reactive resins and the installation with a coving on a floating screed construction, should truly be handled only by professional specialists!
Because it is not just about the structure of the tasks to be performed.
Expert knowledge about working with reactive resins, the correct mixing and application techniques, and beforehand the preparatory work such as grinding or shot blasting – all of this is beyond the capabilities of non-professionals!
I have only provided information on how it could look in practice and how it would comply with professional standards.
-------------------
Best regards, KlaRa
Similar topics