Hello,
It would be really great if everyone here could just post one or a few pictures showing the current state of their house.
I'll start right away.
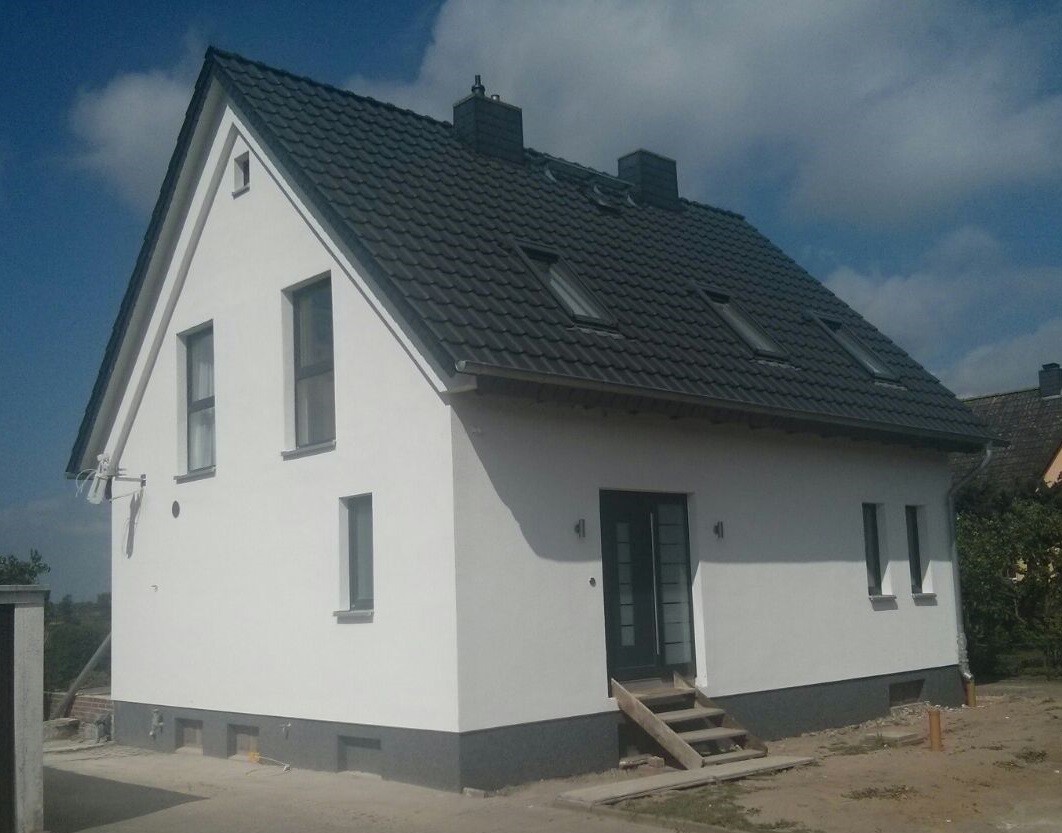
For renovations, it’s best to provide a comparison of before and after the remodeling.
Before March 2014:
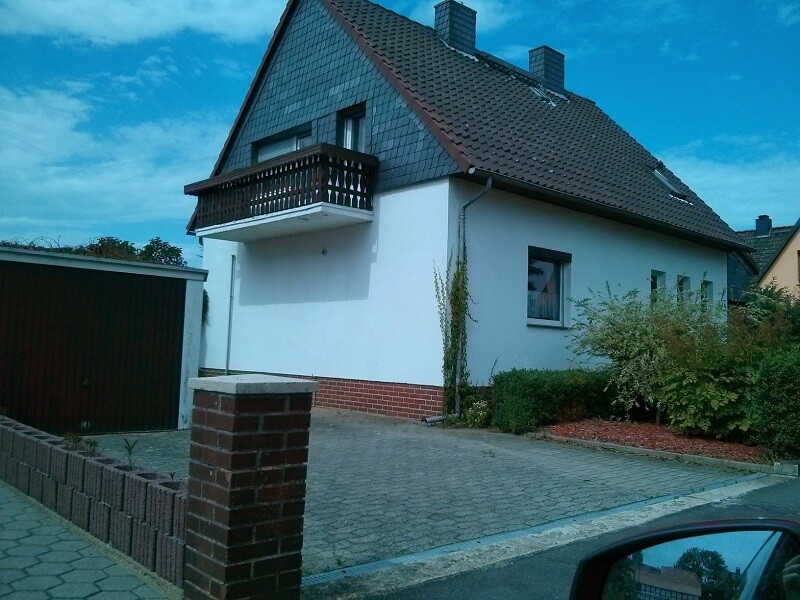
After May 2015:
It would be really great if everyone here could just post one or a few pictures showing the current state of their house.
I'll start right away.
For renovations, it’s best to provide a comparison of before and after the remodeling.
Before March 2014:
After May 2015:
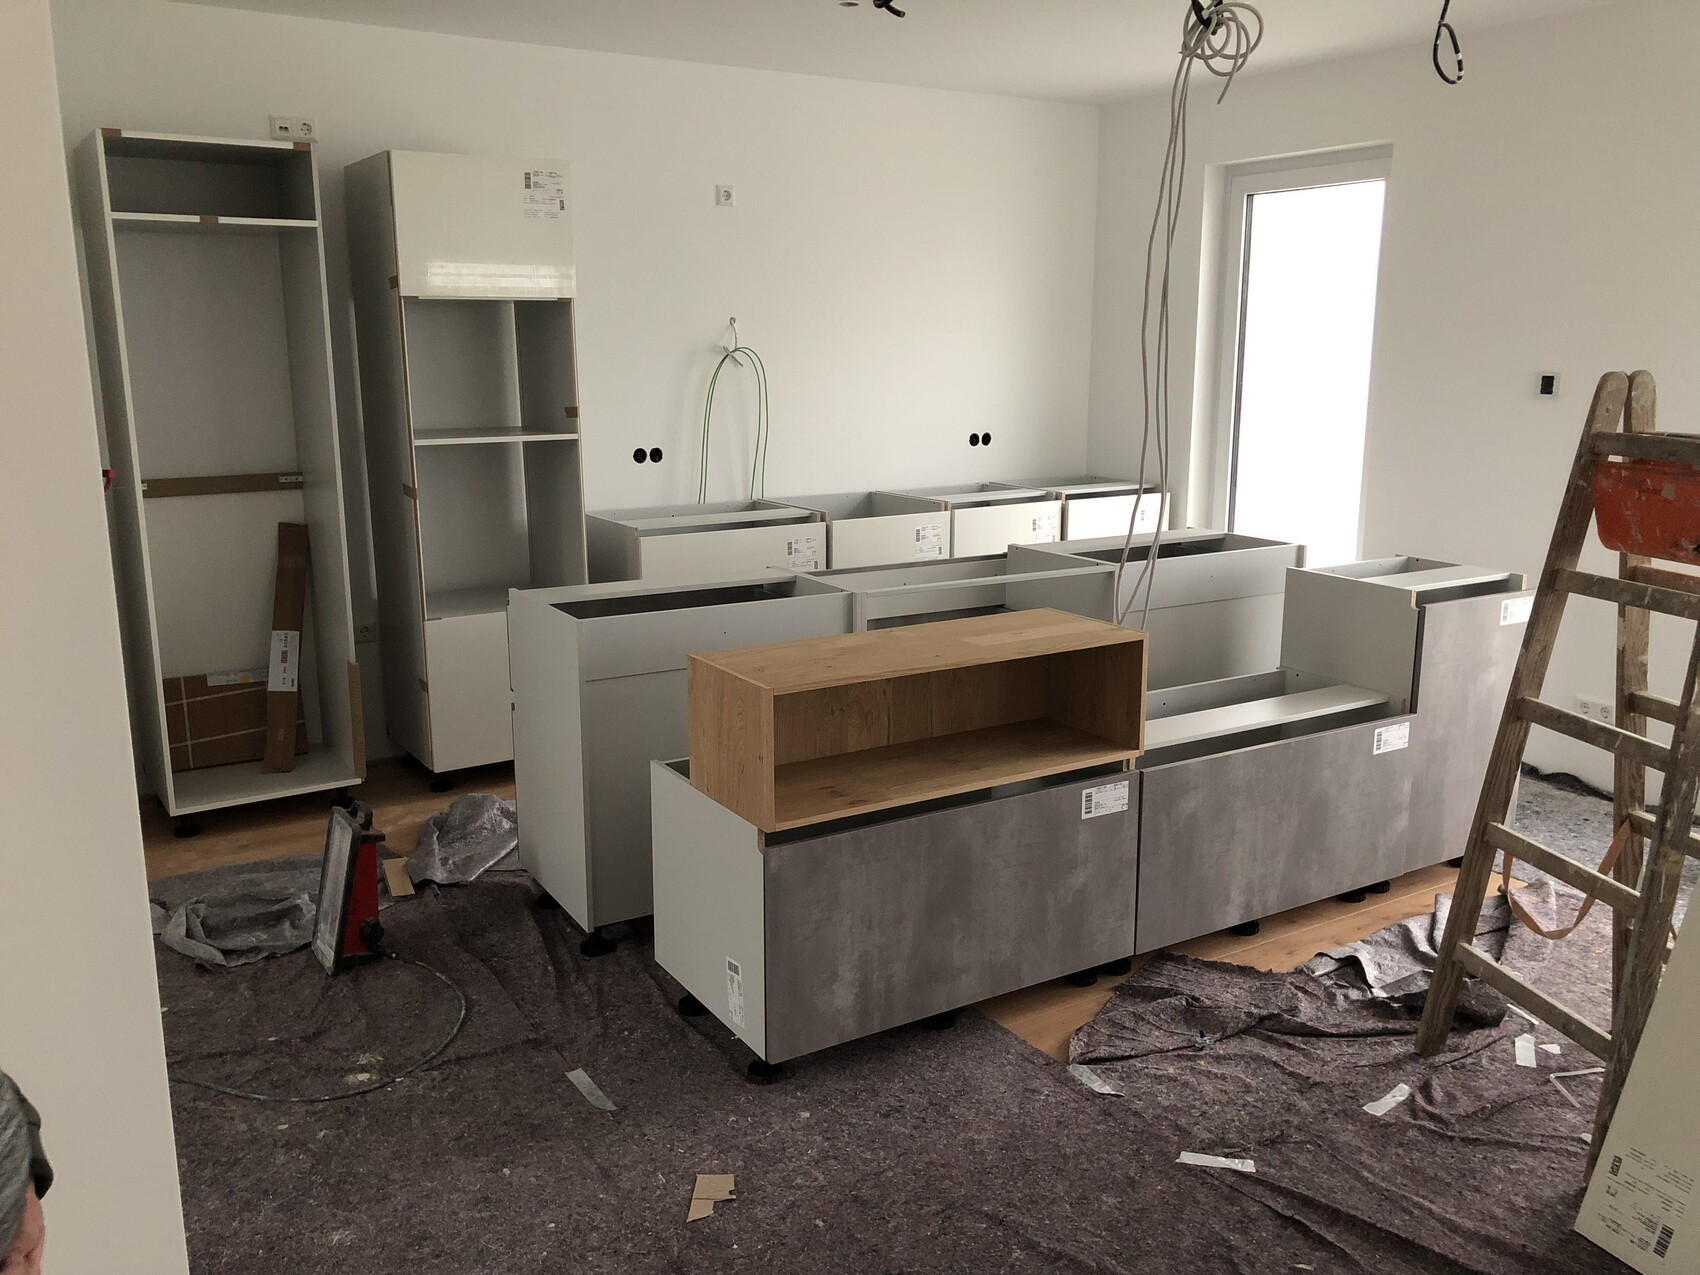
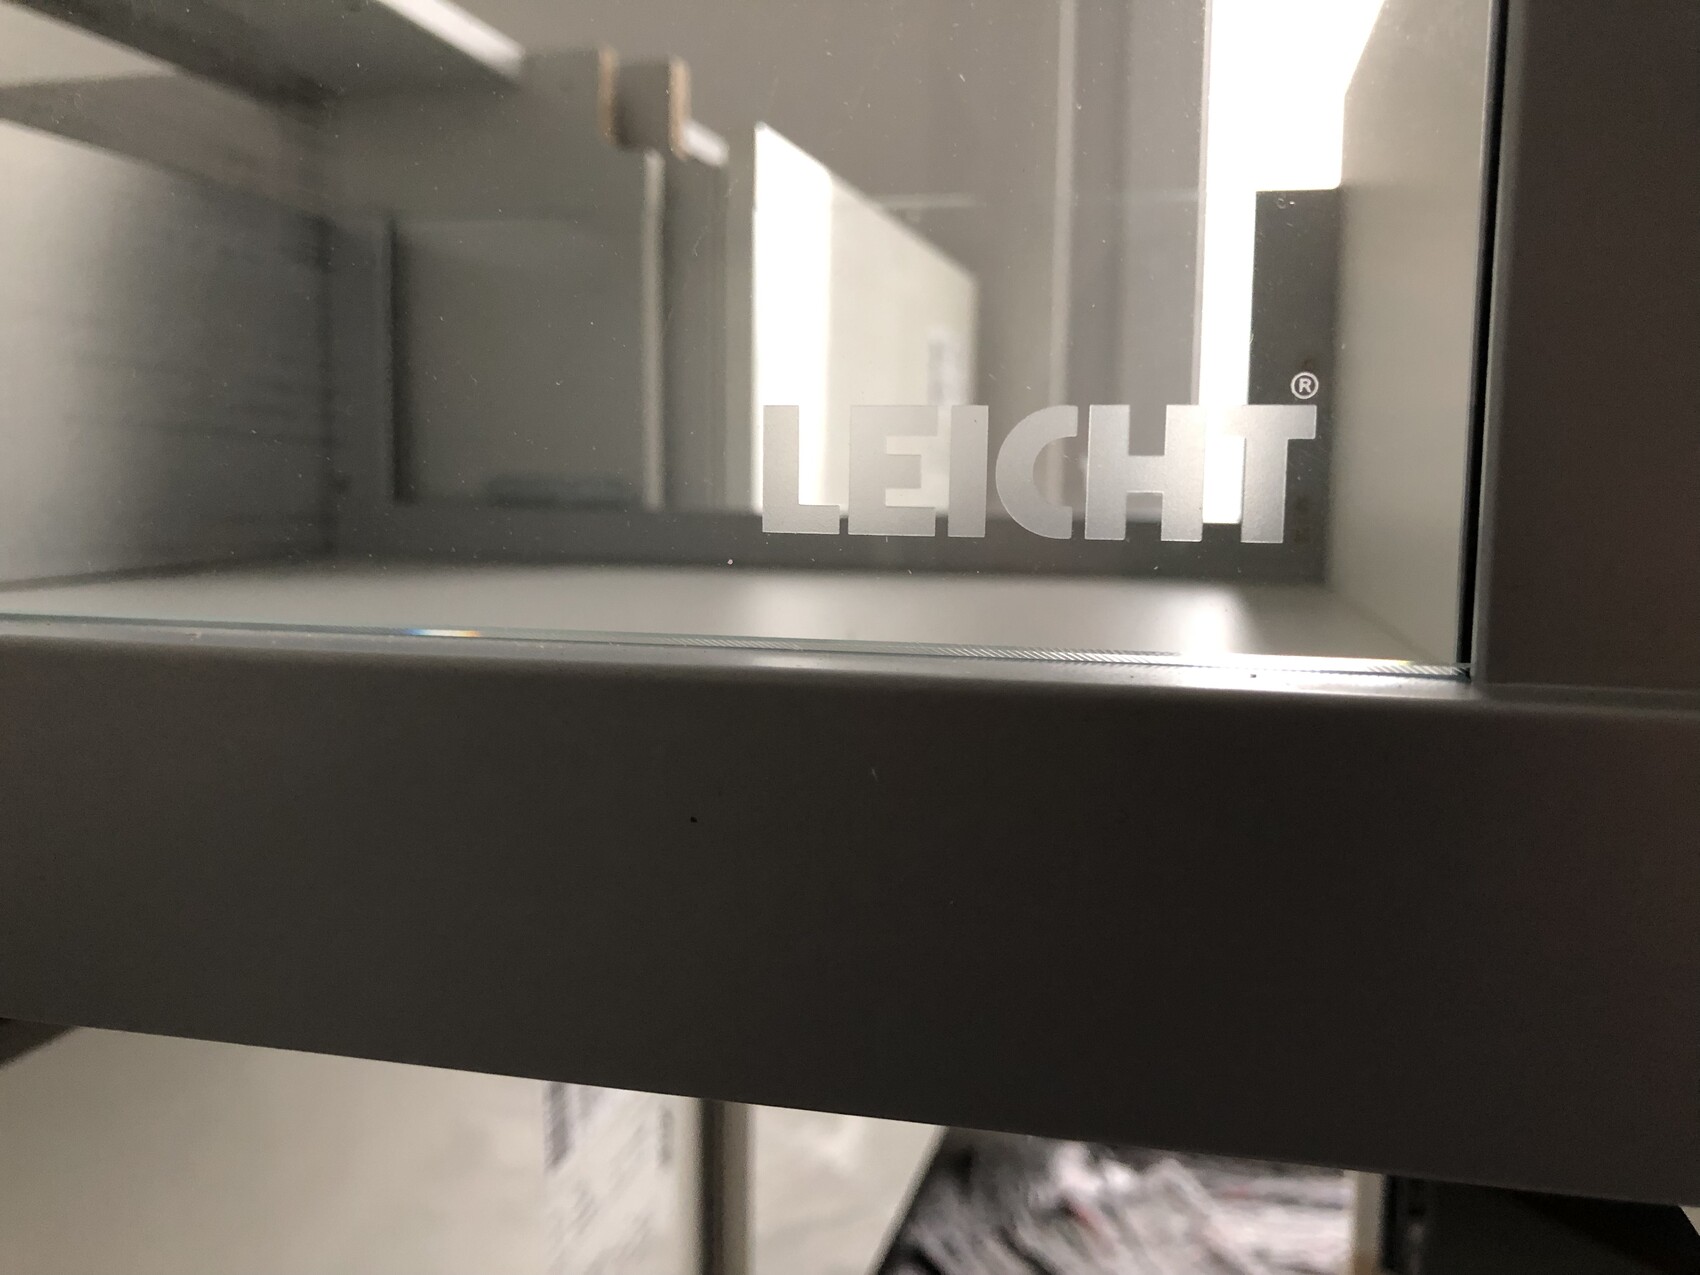
The kitchen cabinets were delivered today. Installation and the measurement for the Dekton countertop will take place tomorrow and Thursday.
Additionally, I was able to install some power, network, and TV outlets as well as the first KNX sensors.
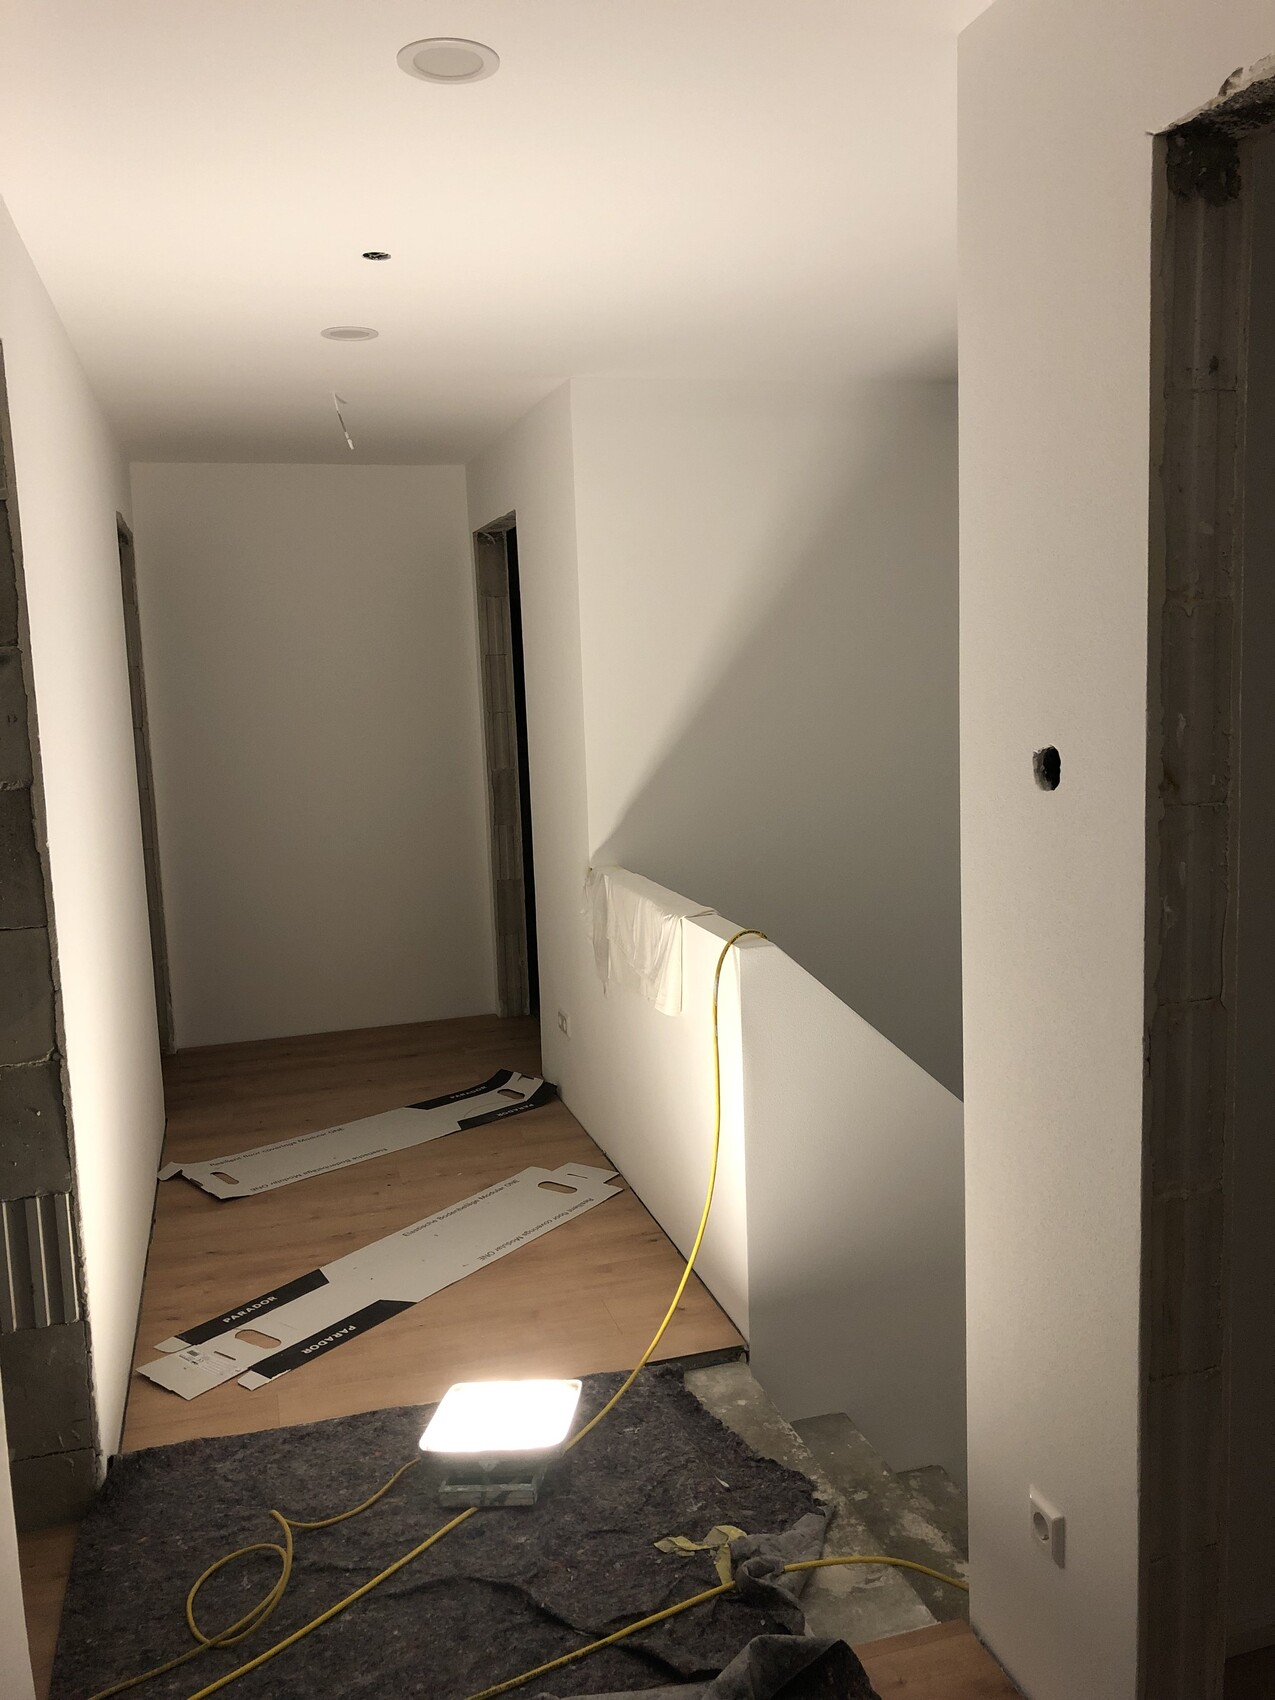
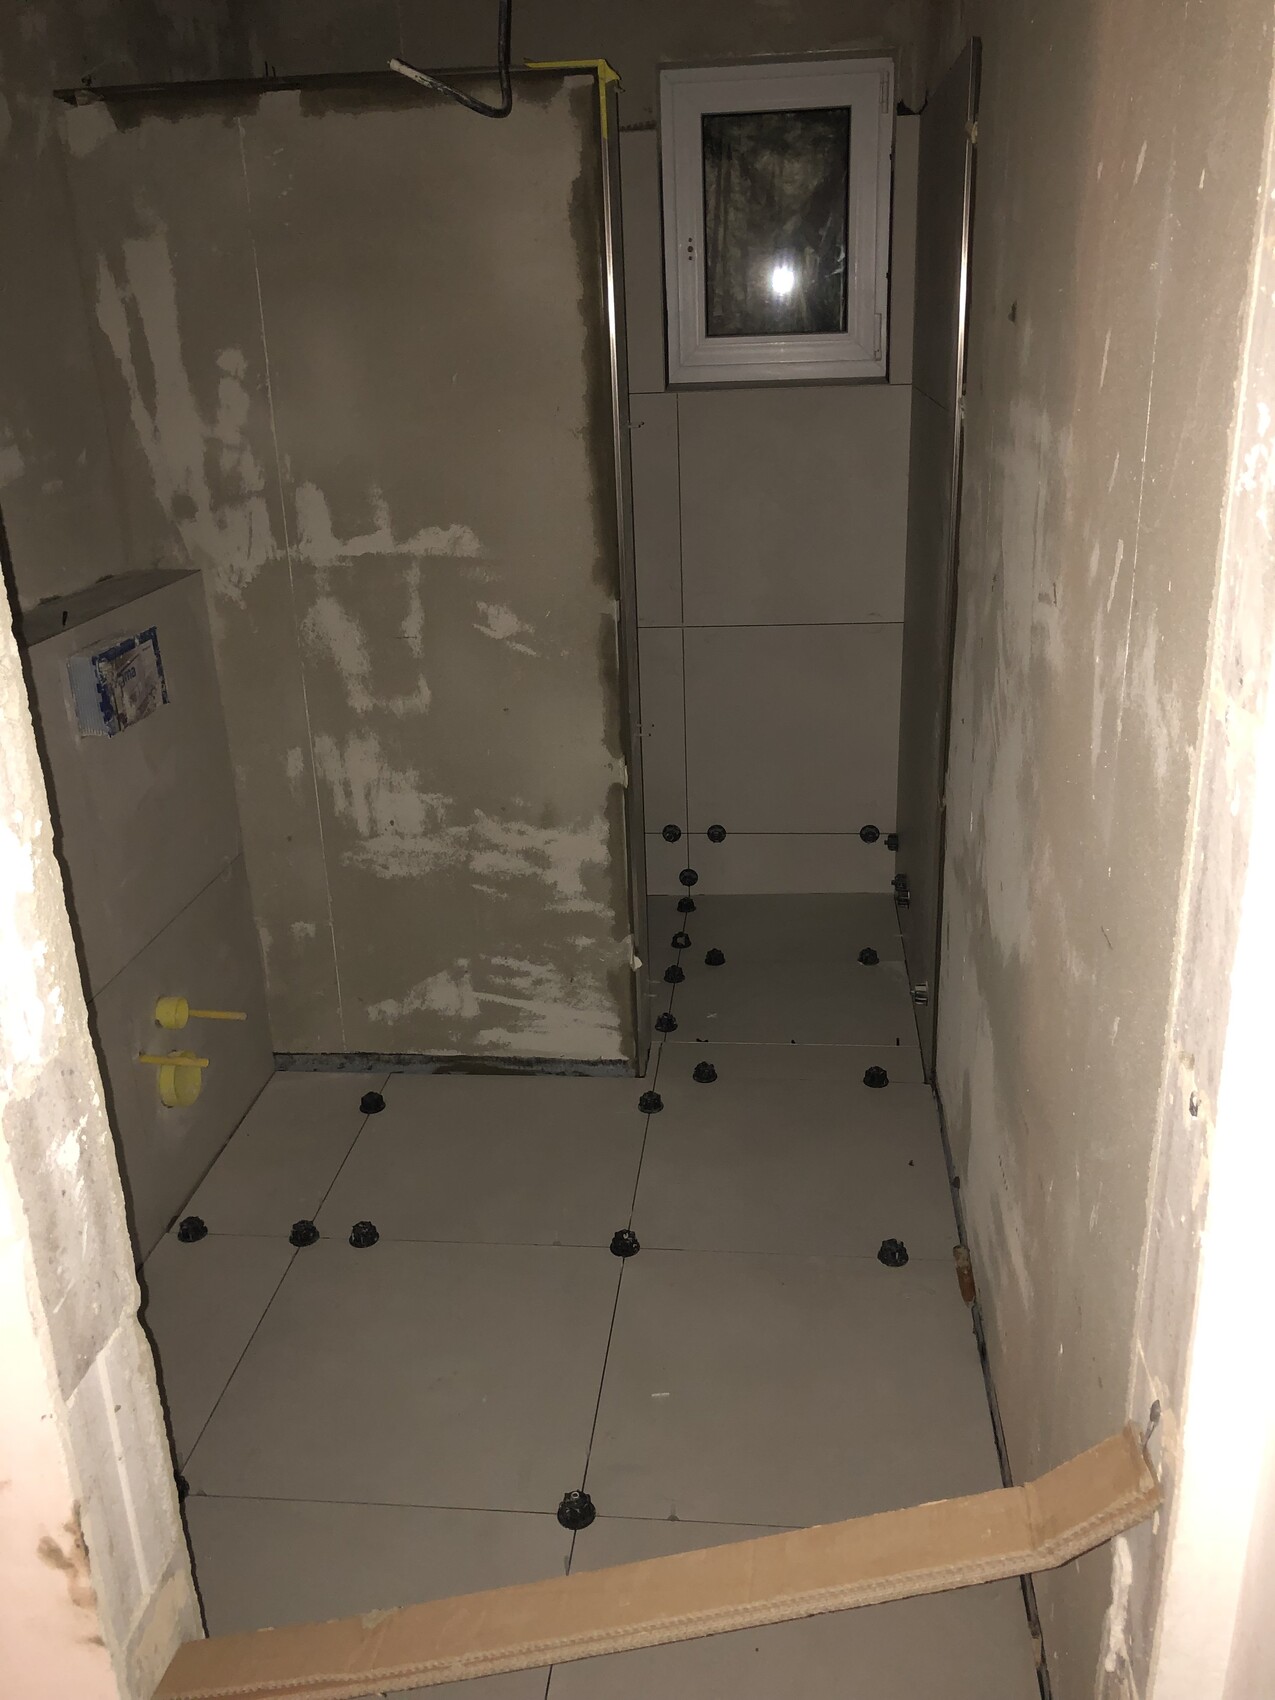
The basement shower room now also has tiles.
Next week, the stairs will be fitted with lacquered oak treads, and hopefully the week after that, the floor-to-ceiling glass sliding door will be installed. Measuring 2.60 x 2.40 m (8.5 x 7.9 ft), it will surely be spectacular.
We’re slowly approaching the home stretch.
Additionally, I was able to install some power, network, and TV outlets as well as the first KNX sensors.
The basement shower room now also has tiles.
Next week, the stairs will be fitted with lacquered oak treads, and hopefully the week after that, the floor-to-ceiling glass sliding door will be installed. Measuring 2.60 x 2.40 m (8.5 x 7.9 ft), it will surely be spectacular.
We’re slowly approaching the home stretch.
hampshire schrieb:
A concrete slab foundation is a bit unusual. It’s hard to imagine the whole house fitting on that area sometimes; other times it looks huge. It depends on your frame of mind.
Nice to see things progressing. Yes, that’s true. But it’s often the same when looking for an apartment, even with unfurnished rooms. Sometimes they seem huge and you wonder how little actually fits in, and other times they appeared so small but turn out to be spacious.

I found the foundation slab huge, but when the basement walls were up without the lid on top, I was afraid the house would feel too small. Once the lid was in place, though, it felt just right. And with the wooden basement, we had the luxury of experiencing all three states of matter in one day.
Things are moving quickly here as well. Yesterday, we had a meeting with the glazier to discuss the railing for the gallery and stairs. He’s also making the custom mirrors for the guest bathroom and main bathroom for us. For anyone debating whether to buy standard mirrors or have them custom made: go custom! It’s more affordable than you might think. We’re paying about €200 (around $220) for a mirror with magnetic mounting, approximately 80cm x 165cm (31.5 inches x 65 inches). Considering the mirror fits exactly as we want it, that’s really not much. I believe it gets even cheaper if the mirror is glued in place. Compared to the overall costs, it’s an investment that’s definitely worth it.
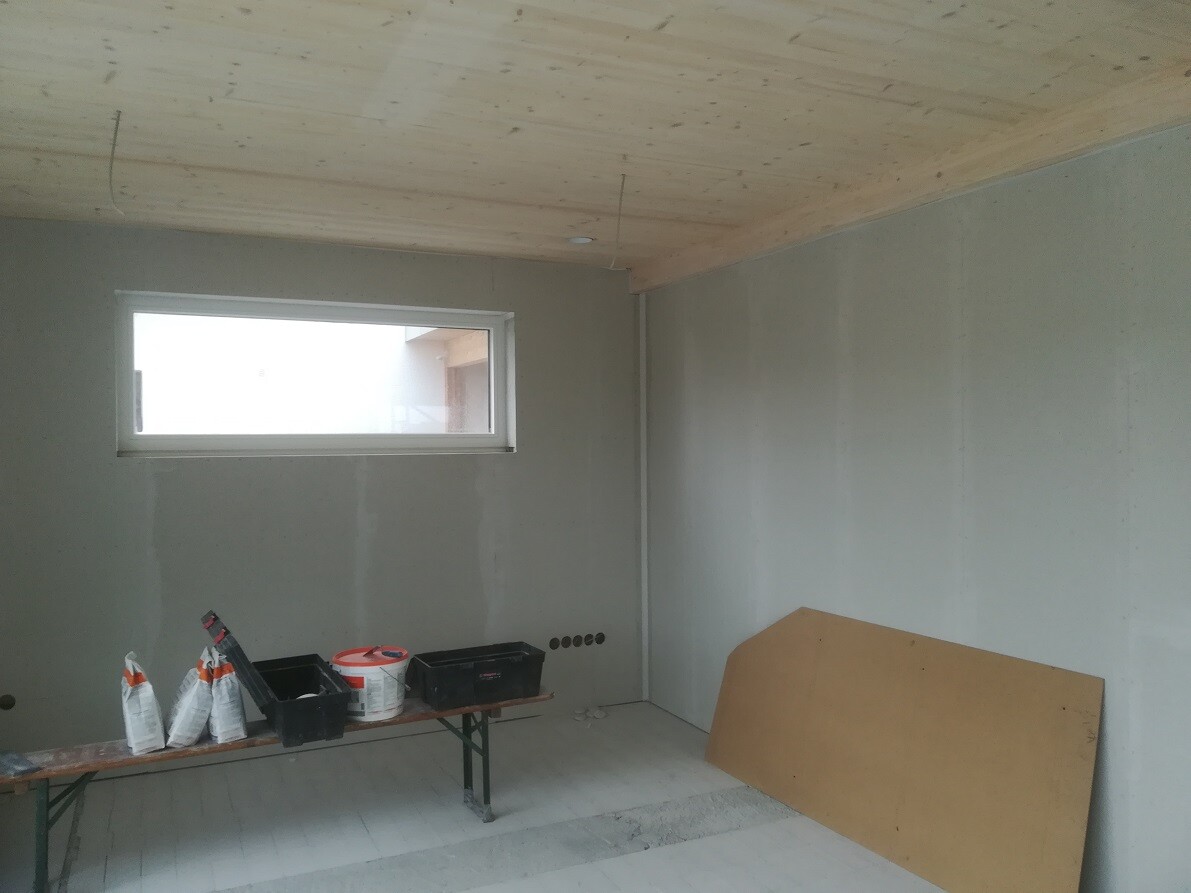
By now, almost all the walls have been sanded and filled:
The window recesses are all nicely done as well:
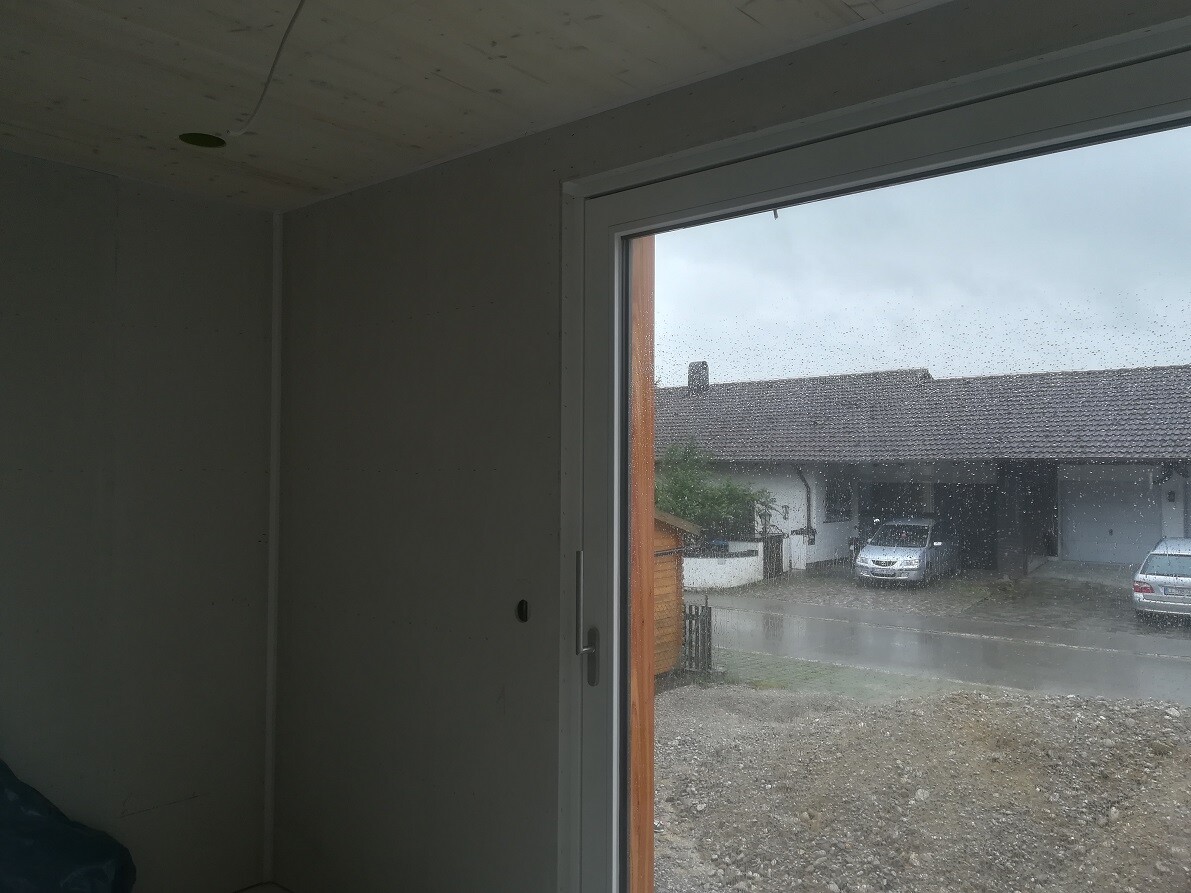
(the weather less so…)
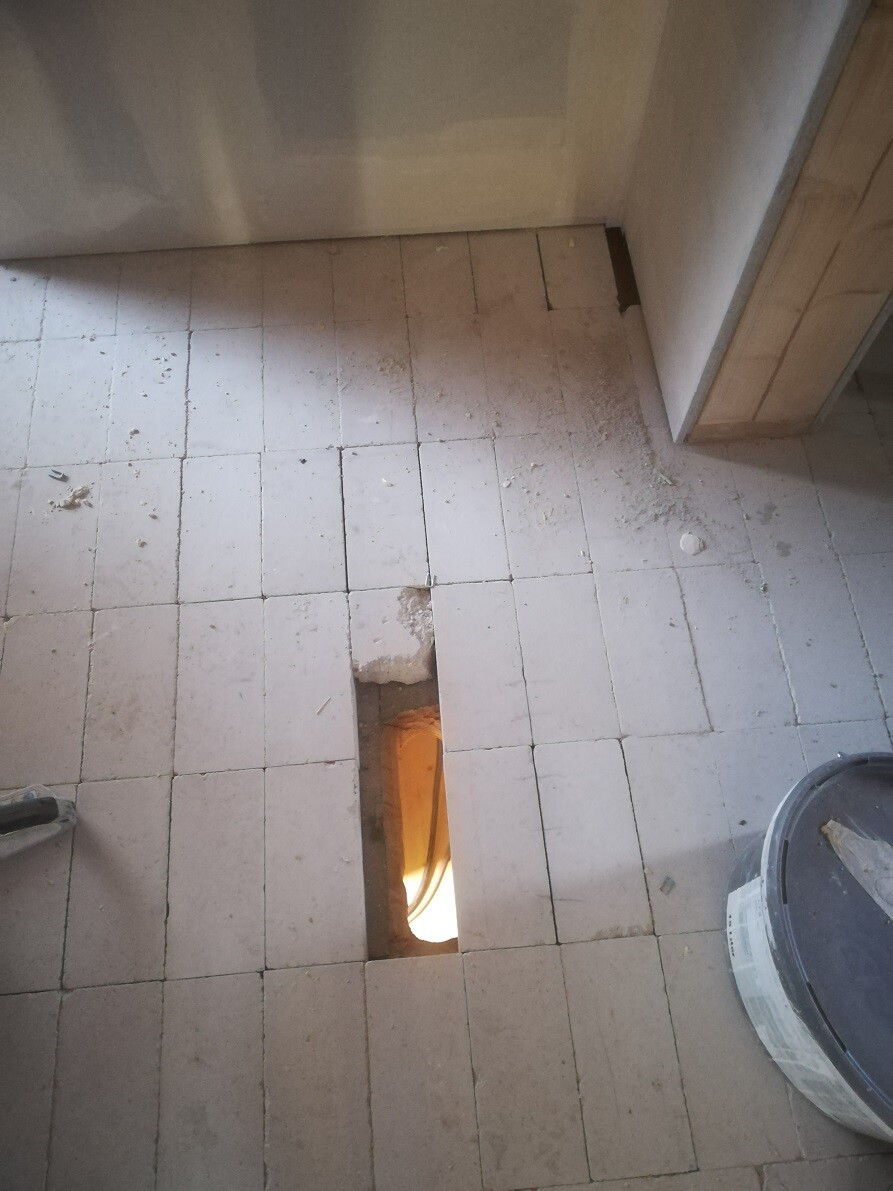
Through this hole in the floor (below is the freezer room), the pipes for the underfloor heating will run:
All wall work should be finished this week and priming will start. After that, painting can begin. Then the three-layer boards we’ve already painted will be installed on the attic ceiling, followed by the installation of the underfloor heating and the laying of tiles and hardwood flooring. So it’s really moving now. Since we don’t need to allow for drying time for a screed, everything is progressing smoothly.
On Friday, we’re going with our trusted carpenter to a stonemason who will supply our kitchen countertop. This way, we can choose the stone directly on site. We’ll also order a few window sills there—most of them (not many anyway) will be made from the same stone.
I think we’re now entering the home stretch *woohoo*!
Things are moving quickly here as well. Yesterday, we had a meeting with the glazier to discuss the railing for the gallery and stairs. He’s also making the custom mirrors for the guest bathroom and main bathroom for us. For anyone debating whether to buy standard mirrors or have them custom made: go custom! It’s more affordable than you might think. We’re paying about €200 (around $220) for a mirror with magnetic mounting, approximately 80cm x 165cm (31.5 inches x 65 inches). Considering the mirror fits exactly as we want it, that’s really not much. I believe it gets even cheaper if the mirror is glued in place. Compared to the overall costs, it’s an investment that’s definitely worth it.
By now, almost all the walls have been sanded and filled:
The window recesses are all nicely done as well:
(the weather less so…)
Through this hole in the floor (below is the freezer room), the pipes for the underfloor heating will run:
All wall work should be finished this week and priming will start. After that, painting can begin. Then the three-layer boards we’ve already painted will be installed on the attic ceiling, followed by the installation of the underfloor heating and the laying of tiles and hardwood flooring. So it’s really moving now. Since we don’t need to allow for drying time for a screed, everything is progressing smoothly.
On Friday, we’re going with our trusted carpenter to a stonemason who will supply our kitchen countertop. This way, we can choose the stone directly on site. We’ll also order a few window sills there—most of them (not many anyway) will be made from the same stone.
I think we’re now entering the home stretch *woohoo*!
P
pffreestyler22 May 2019 12:05Our heating system has now been put into operation. The plumber was quite stressed because the utility company’s civil engineers installed the electrical panel too centrally, and the gas meter didn’t fit properly. In the end, everything was forced to fit somehow. On the right, you can already see the preparation for the heating on the upper floor, in case it is ever finished. It all still looks quite rough; we will probably ask the carpenter to box it in and create a countertop over the washing machine and cabinets on the other side. Our neighbors did the same, and it looks really tidy in the utility room while also providing additional storage space.
The only downside is that the electrician is sick and the staff are needed elsewhere. So the heating is currently running on construction power, which means a window has to stay tilted open permanently.
What’s unfortunate is that where the plaster is still damp due to the non-absorbent ring beams and meets the drywall, some mold stains and a few small mold spots about 1-2cm (0.4-0.8 inches) have appeared on the drywall. Should we address this now or wait until the heating phase is complete and the walls can be painted or skim coated?
pffreestyler schrieb:
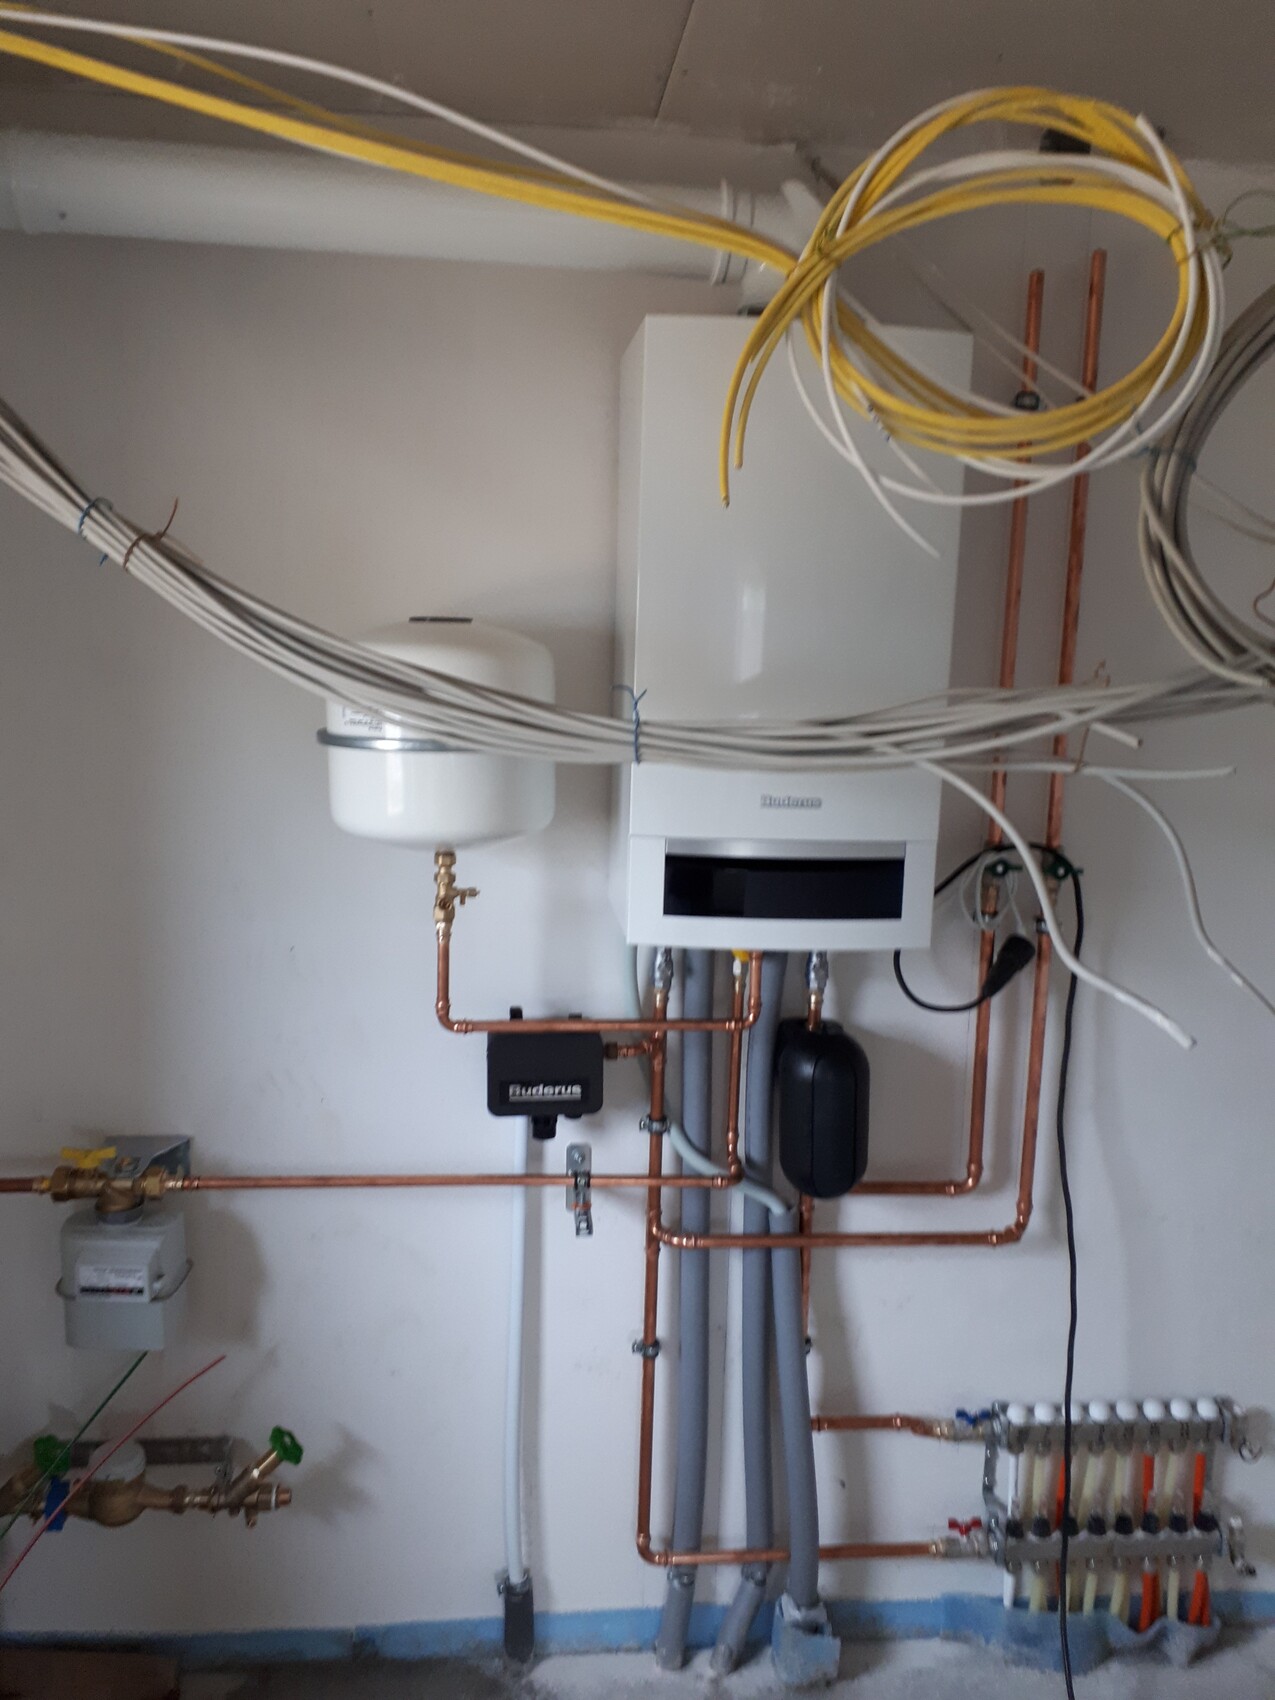
Our heating system has now been started up. The plumber was under pressure because the utility contractors installed the electrical box too centrally, and the gas meter didn’t fit properly. After some adjustments, it finally worked out. On the right, you can already see the preparation for the heating system on the upper floor in case it is finished later. Everything still looks quite rough; we will probably ask the carpenter to box it in and install a countertop over the washing machine and cabinets on the other side. Our neighbors did that, and it looks really neat in their utility room while also providing extra storage.
The problem is that the electrician is sick, and the crew is busy elsewhere. So, the heating is currently running on construction power, and one window has to remain slightly open permanently.
What’s unfortunate is that where the plaster is still damp due to the non-absorbent ring beams and meets the drywall, some mildew and a few small mold spots of about 1-2cm (0.4-0.8 inches) have appeared on the drywall. Should we address this now or wait until the heating phase is complete and the surfaces can be painted or filled?Is the drying phase for the screed not running yet? If not, then wait and see how much moisture develops. I could hardly breathe upstairs because of the humidity. From my perspective, it doesn’t matter if you treat it now or later; it will get worse and more extensive anyway. The main thing is not to leave it untreated afterward.pffreestyler schrieb:
Our heating system has now been put into operation. The plumber was sweating because the utility contractors placed the electrical box too centrally, and the gas meter didn’t fit properly. After some struggle, it finally worked out. On the right, you can already see the preparation for heating in the upper floor, in case it will be finished later. It still looks quite rough; we will probably ask the carpenter to cover it and install a countertop over the washing machine and cabinets on the other side. Our neighbors did that, and it looks very neat in their utility room while also adding extra storage space.
The problem is that the electrician is sick, and staff are assigned elsewhere. So the heating is currently running on construction power, which means one window needs to be kept slightly open continuously.
What’s unfortunate is that where the plaster is still damp due to the non-absorbent ring beams and meets the drywall, some mold spots and a few small areas of about 1-2 cm (0.4-0.8 inches) of mildew have appeared on the drywall. Should we address this now, or wait until the heating phase is complete and the surfaces can be painted or skim-coated?It was similar for us. We installed a drywall ceiling on the upper floor. However, on the advice of the site manager, we did not yet screw drywall panels to the ceiling. Only the wooden battens were placed below the vapor barrier. Despite ventilating several times during screed drying, some mold spots appeared. I ended up sanding all the battens, and some even had to be replaced.
If you’re unlucky and the panels soak up moisture during the screed heating, they could potentially fall from the ceiling later. :-(
Similar topics