Hello,
It would be really great if everyone here could just post one or a few pictures showing the current state of their house.
I'll start right away.
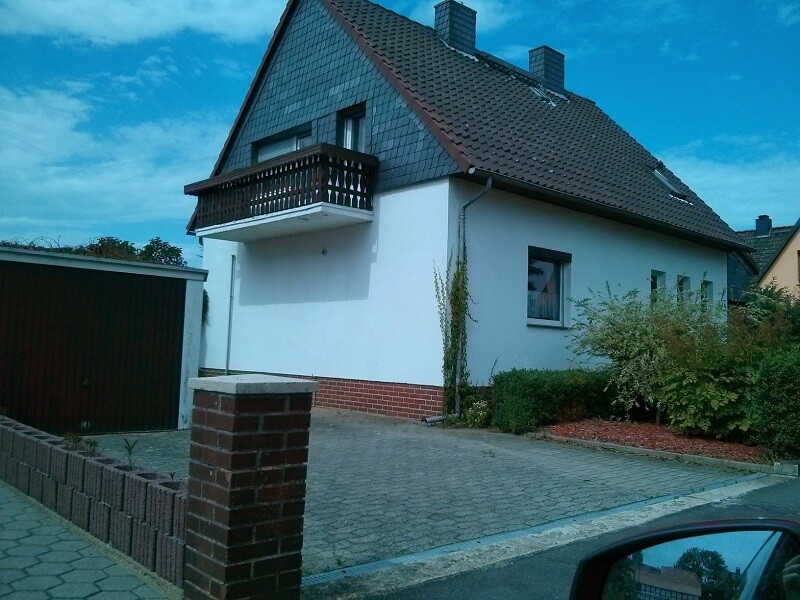
For renovations, it’s best to provide a comparison of before and after the remodeling.
Before March 2014:
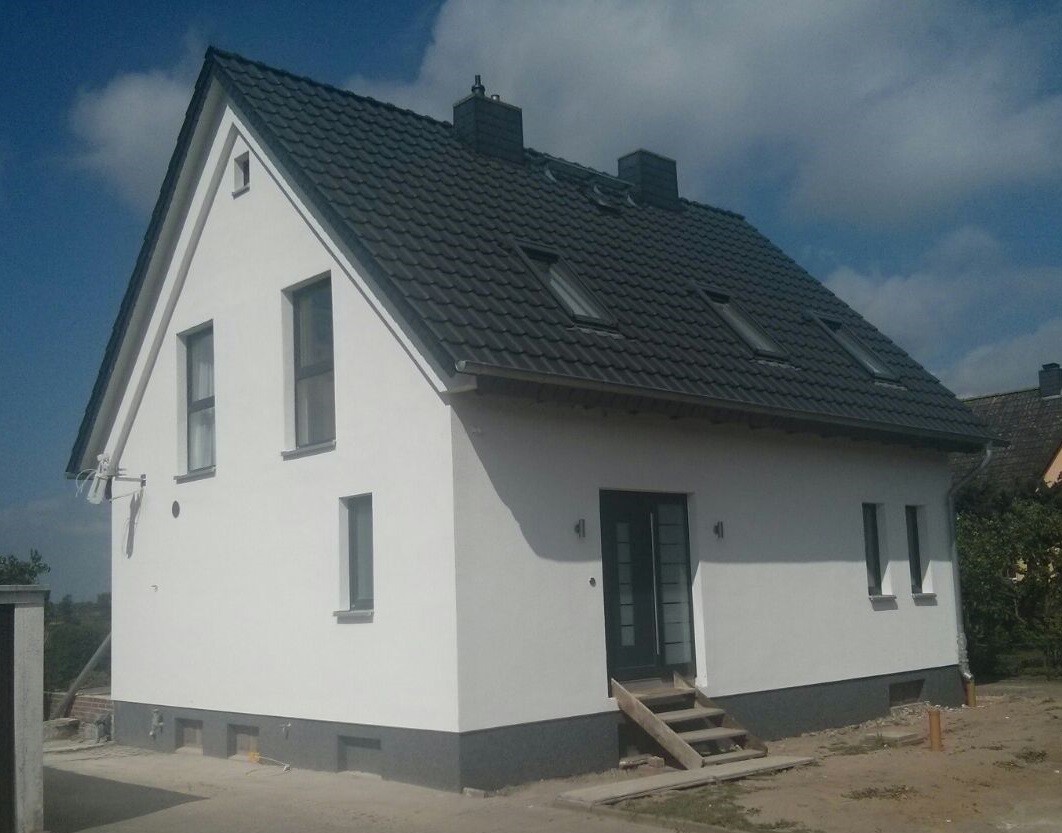
After May 2015:
It would be really great if everyone here could just post one or a few pictures showing the current state of their house.
I'll start right away.
For renovations, it’s best to provide a comparison of before and after the remodeling.
Before March 2014:
After May 2015:
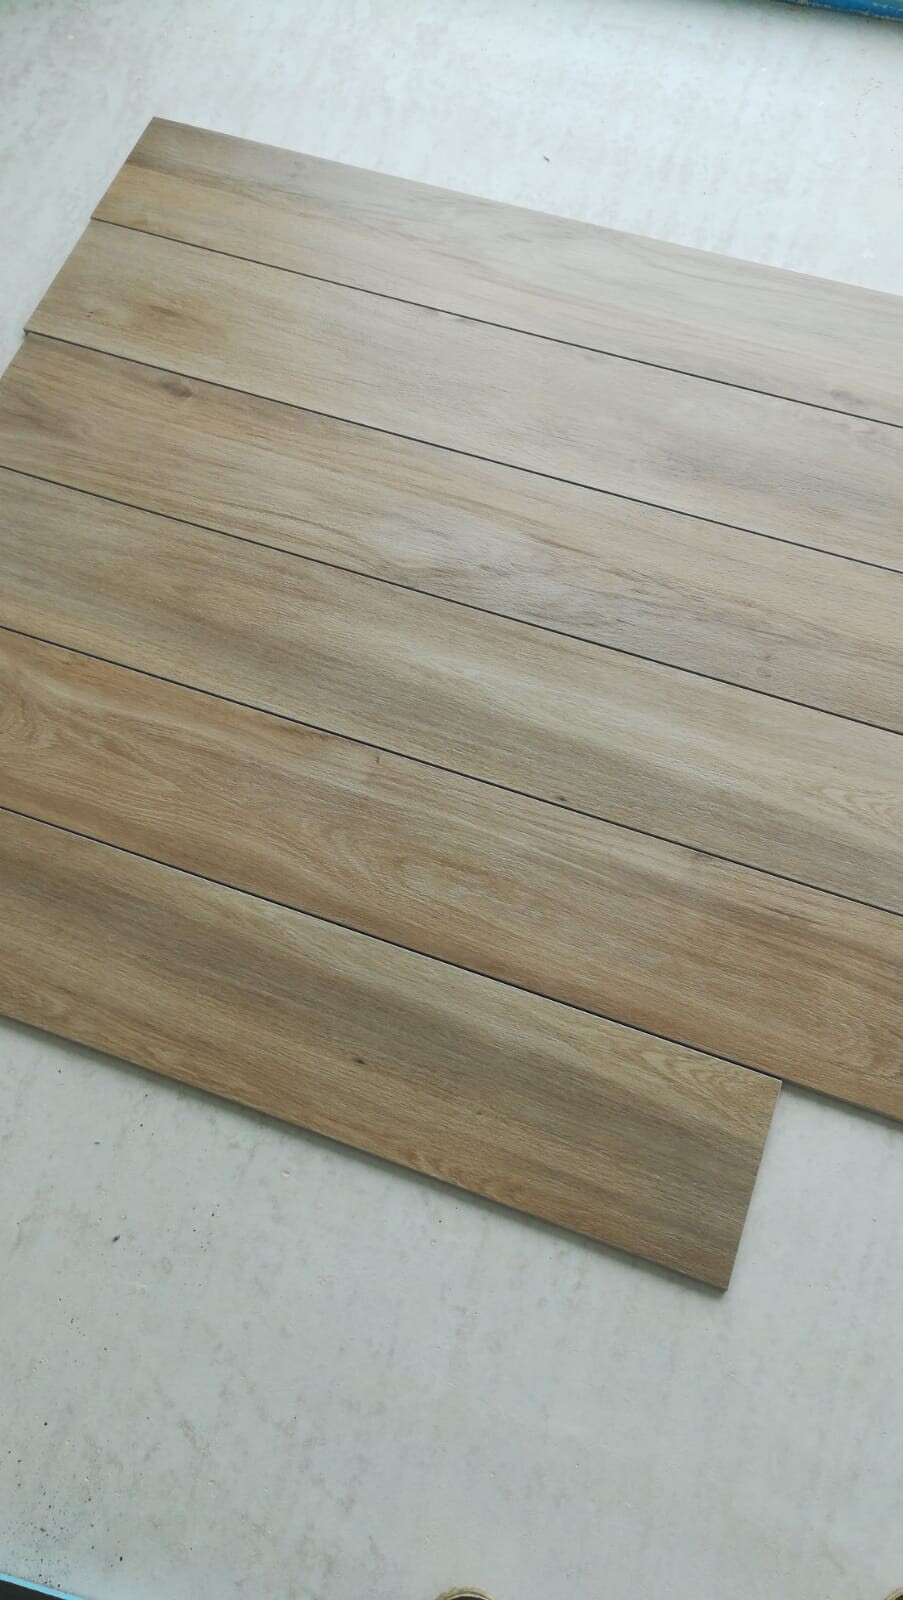
The venetian blinds are installed but still need to be connected. I was at the house yesterday; the fireplace was primed black without much care. However, you can already imagine that the contrast with the white walls will create a striking focal point. The stair treads will now be made of finger-jointed oak and varnished. The additional cost compared to beech is €1700.

quisel schrieb:
Things are finally moving... Who came up with this disastrous wastewater pipe layout...
Good luck if it ever gets clogged.

Zaba, oak is definitely nicer! You will enjoy it for many years, so it's worth the investment.
All our walls are now sealed with Fermacell:
This already gives a real feeling of home!
In addition, the front door has received protective covering to prevent any damage:
Now it’s time for filling and sanding – we got a preview of this last night when we entered the house and could hardly breathe because of the dust. This is probably the most unpleasant part, but it should be finished by the end of next week.
Then the underfloor heating will be installed using these floor panels that contain the heating loops:
Since we’re using this type of underfloor heating that doesn’t require screed, there’s no heat-up phase – meaning the tiler can start in the bathroom as soon as these panels with heating loops are in place. Scheduled for week 22 – we’re really looking forward to it!
Climbee schrieb:
Zaba, oak is also more beautiful! You'll enjoy it for years to come, so it’s worth the money.
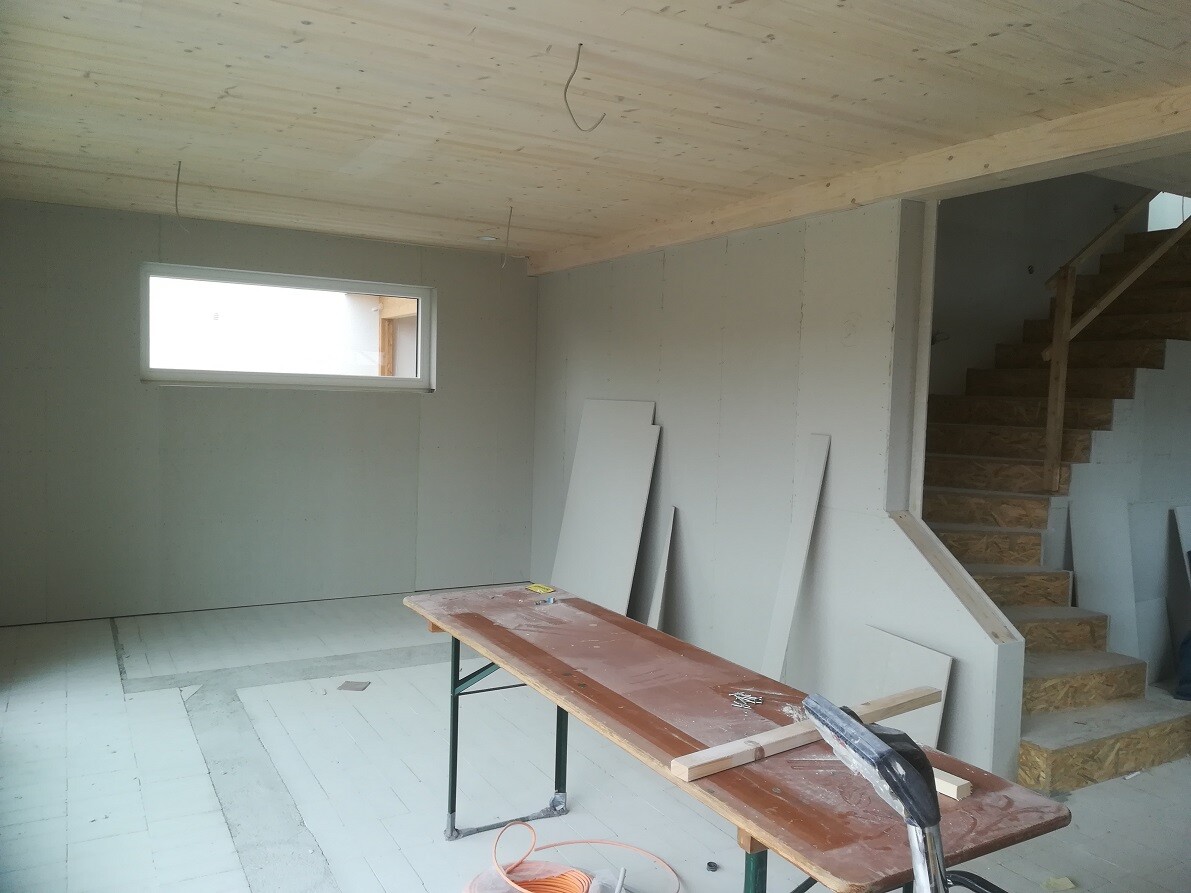
Here, all the walls are now sealed with Fermacell:
That really creates a true living atmosphere!
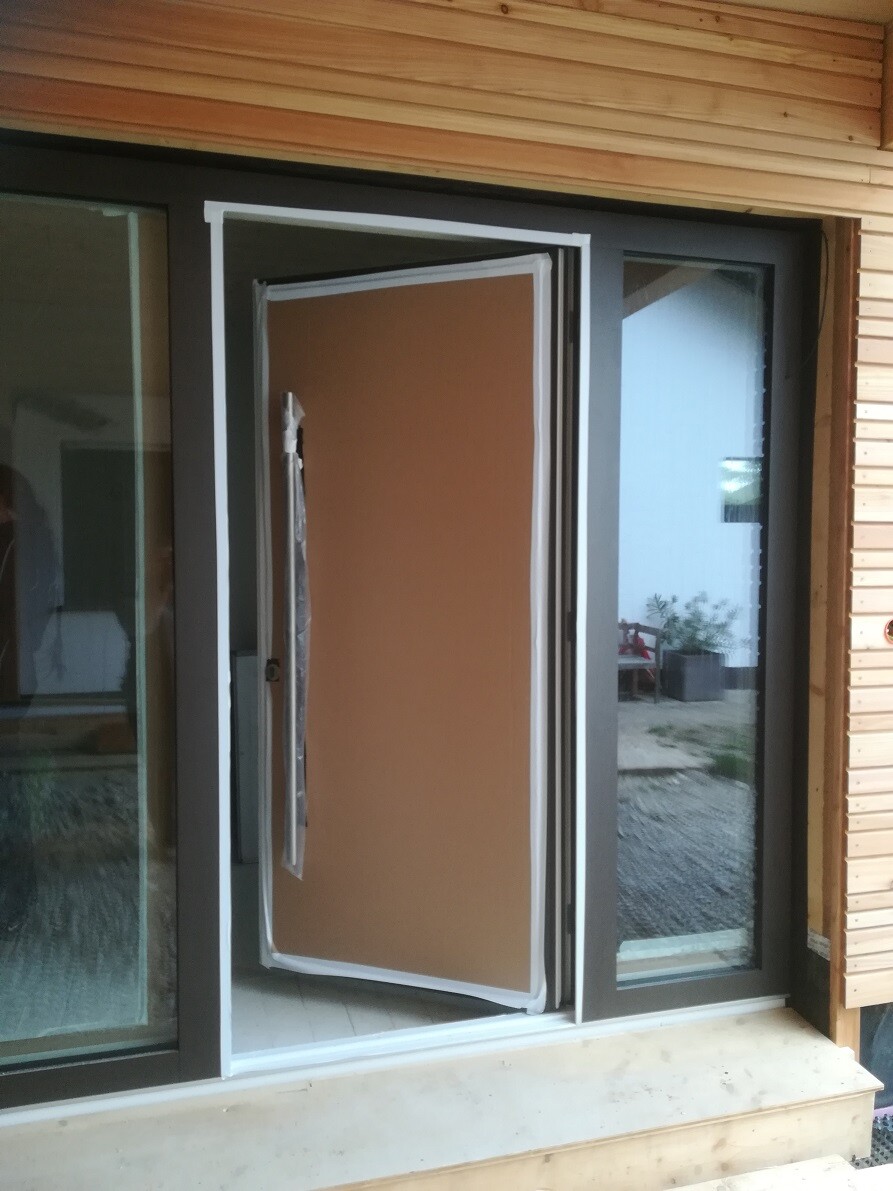
In addition, the front door has been given a protective covering to prevent any damage:
Now it’s time for filling and sanding – we already got a taste of that yesterday evening when we went inside and could barely breathe because of all the dust. This is probably the most unpleasant part, but it should be finished by the end of next week.
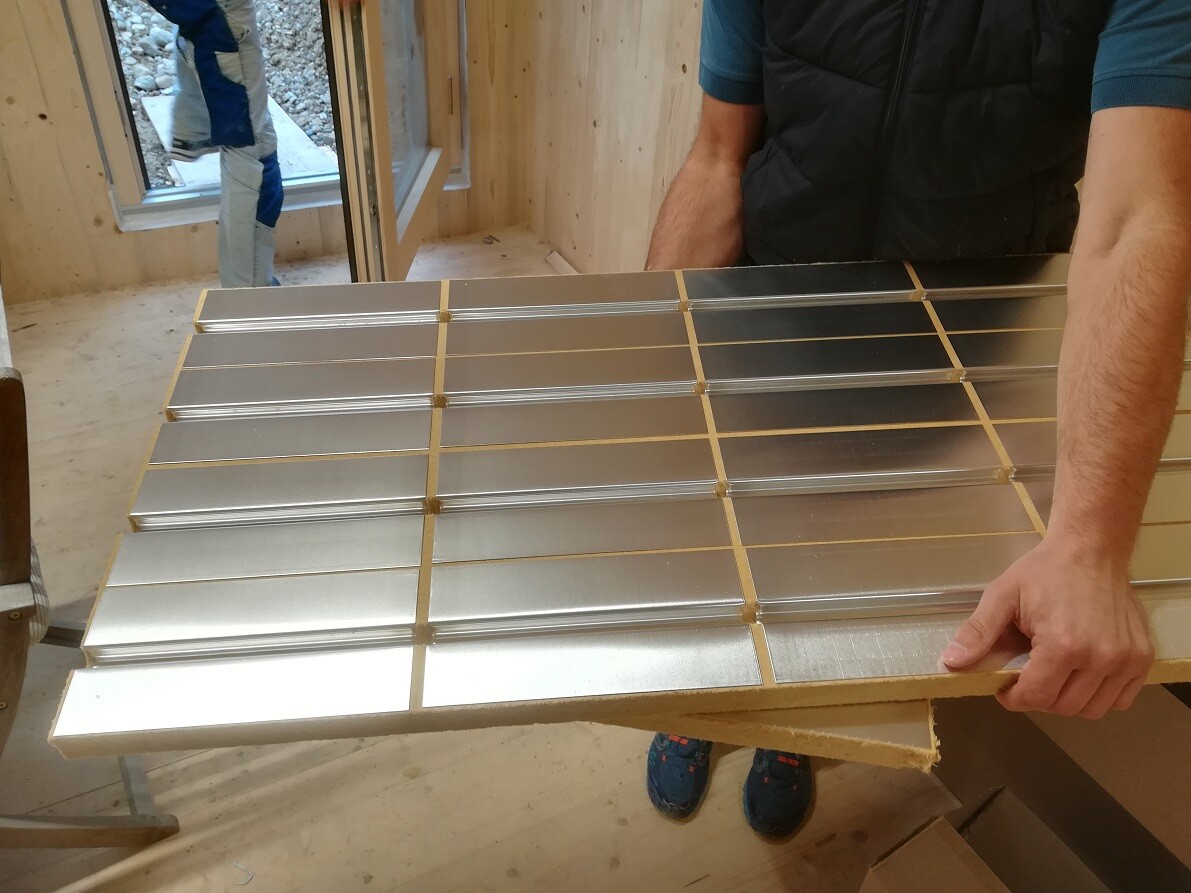
Then the underfloor heating will be installed using these floor panels that house the heating loops:
Since we have this type of underfloor heating that doesn’t require a screed layer, there’s no warm-up phase – meaning the tiler can start working in the bathroom as soon as these panels with the heating loops are in place. Planned for calendar week 22 – we’re really excited! Nice front door, and I also find the idea of skipping the screed layer interesting, but the heating loops or underfloor heating runs on electricity, right?
@Eichenstufen: As long as there’s still money available, it will continue without compromise.
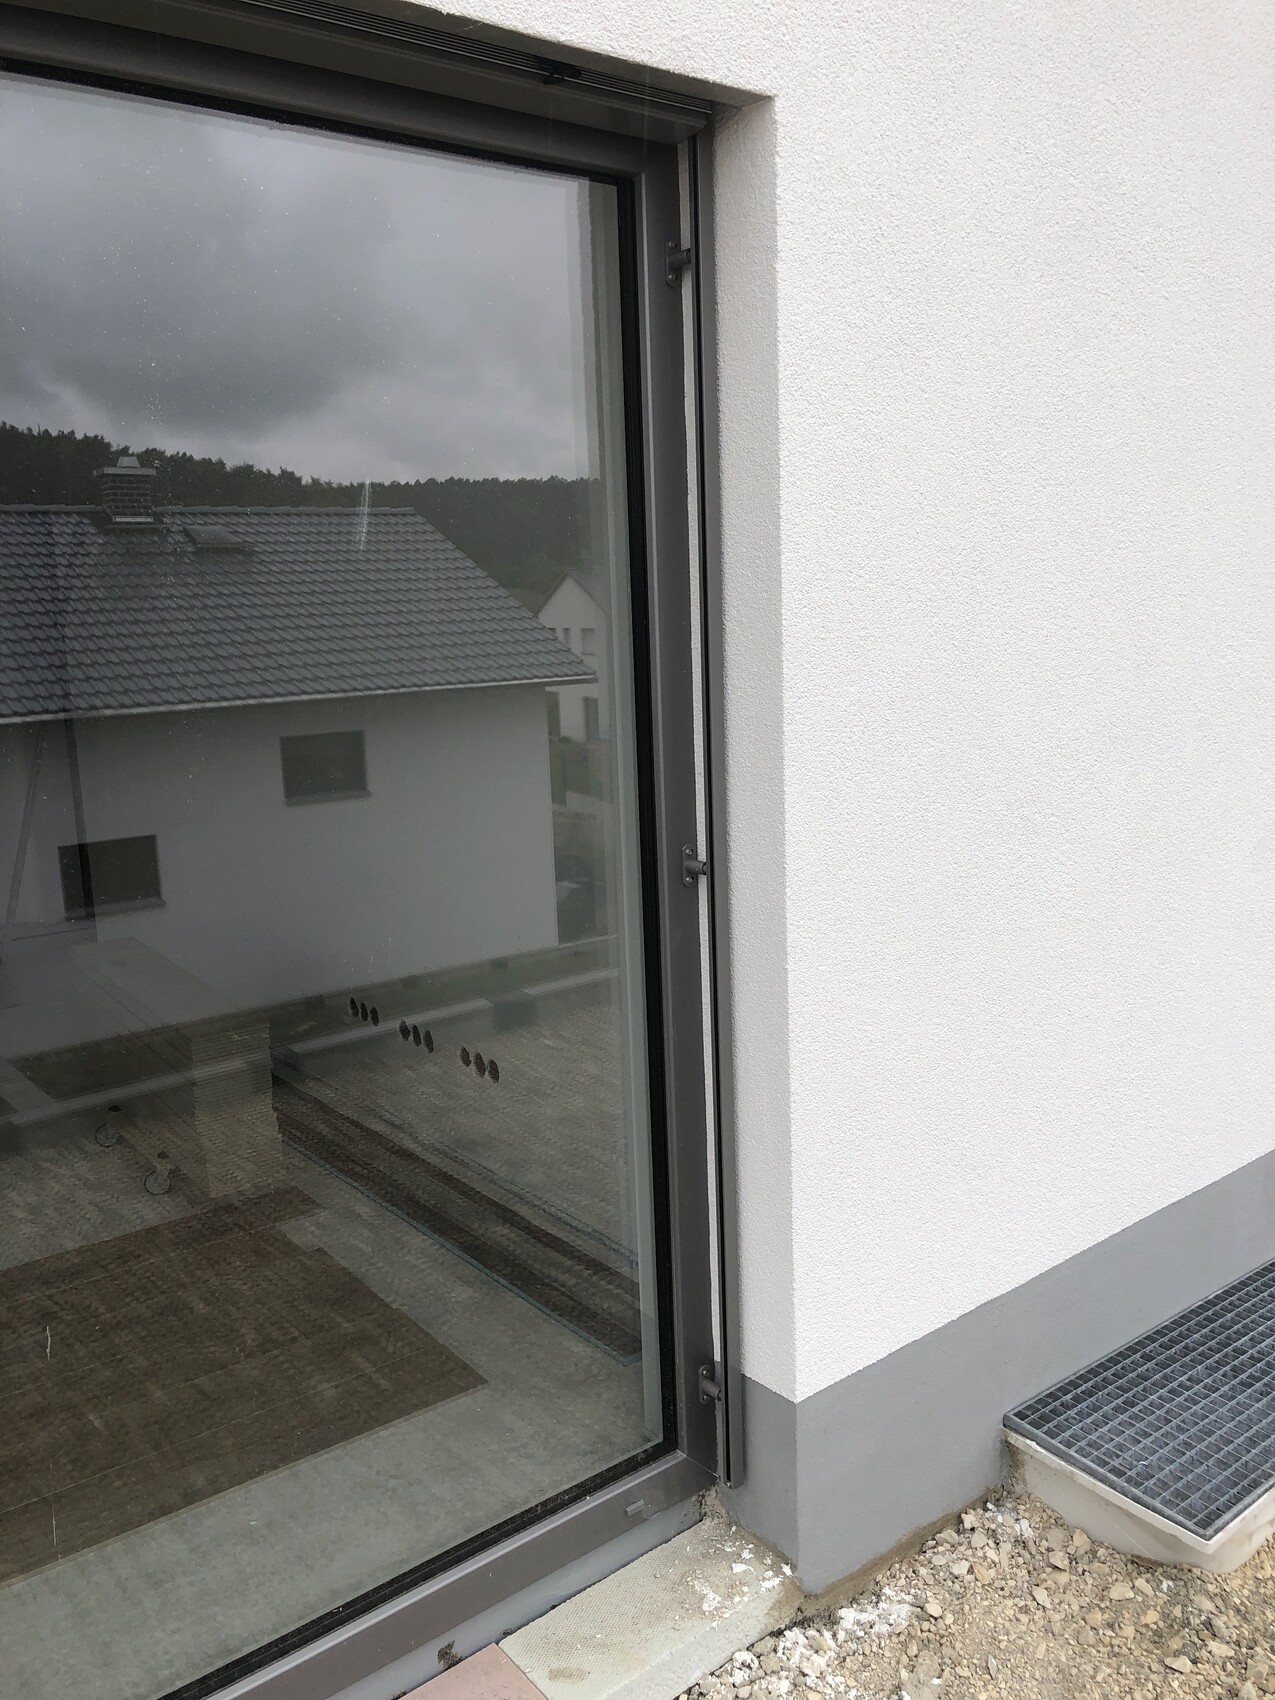
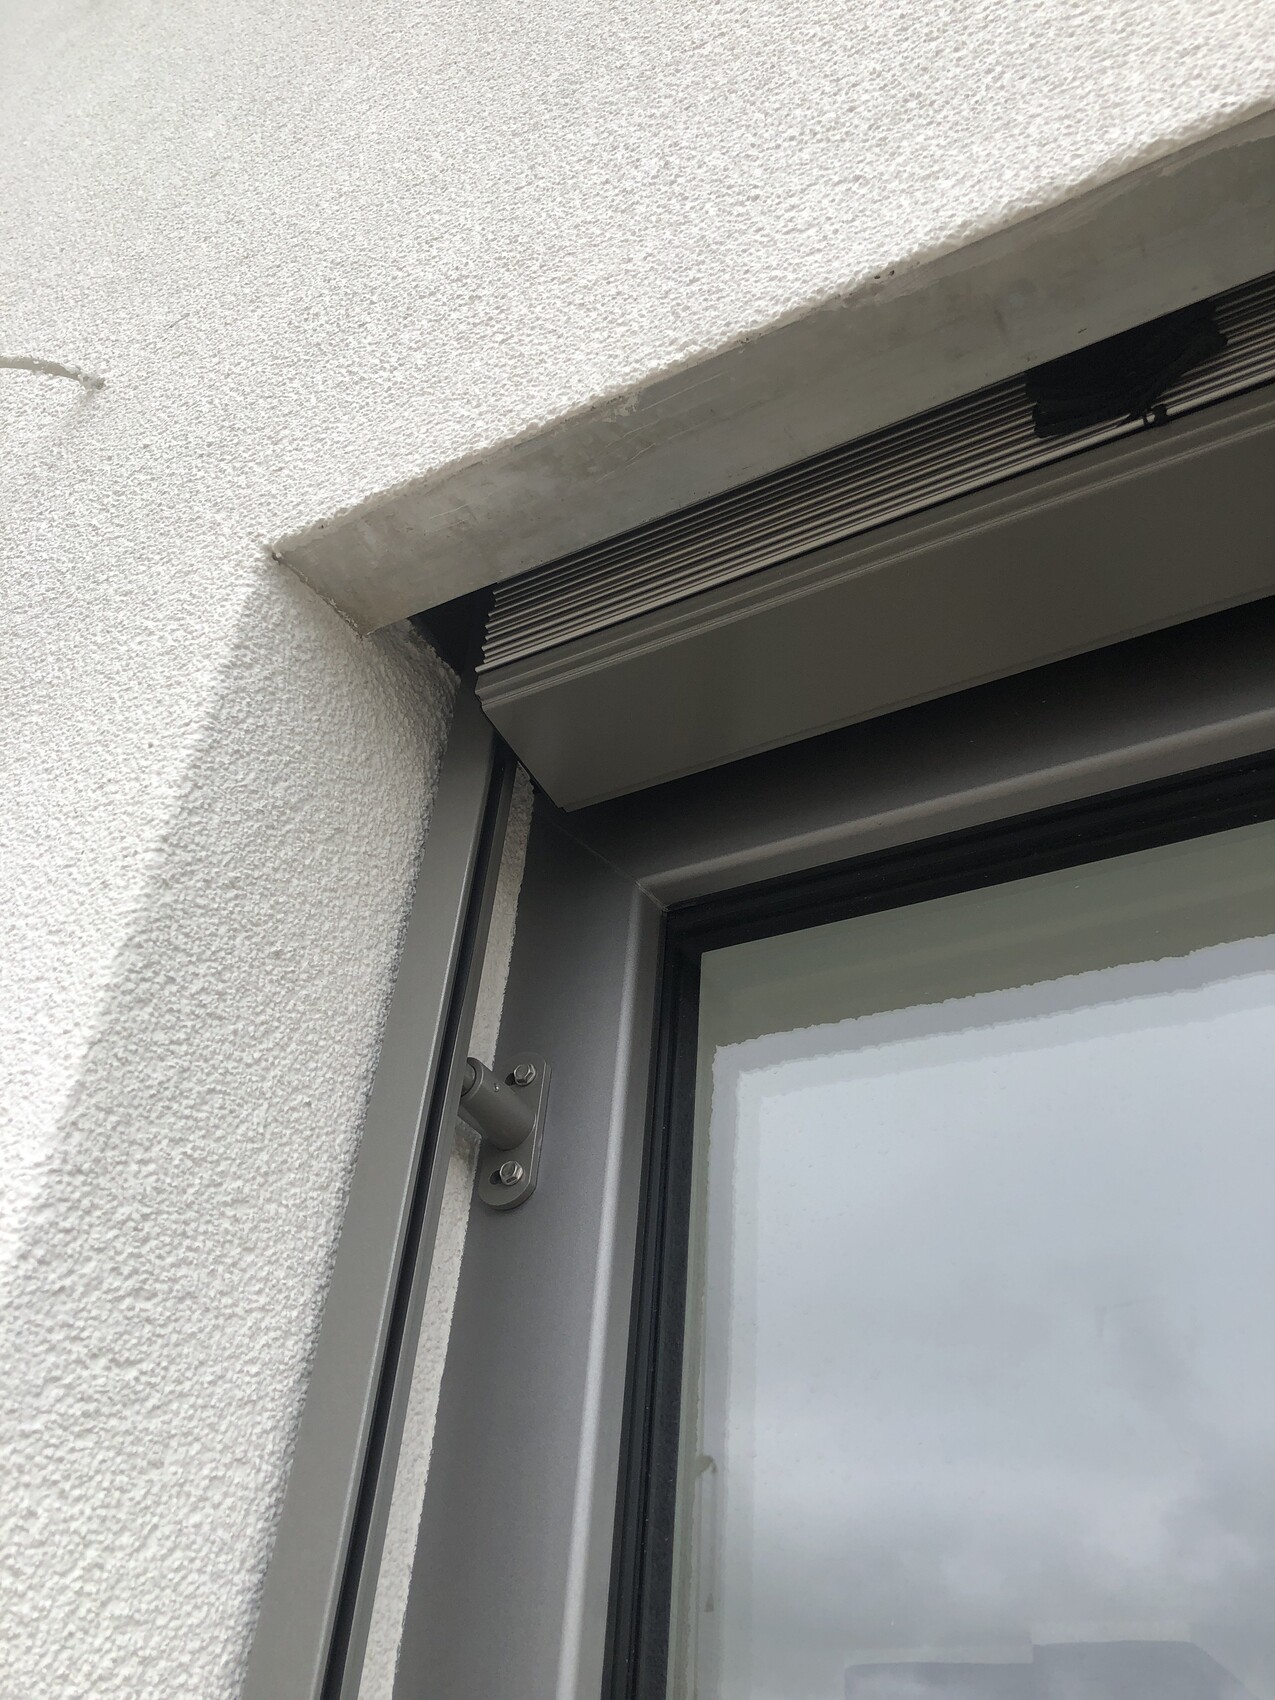
My wife took photos... as someone who loves symmetry, I hadn’t thought about the tile layout, but I think they did a good job despite no prior coordination... and yes, you’re seeing it right, we don’t have stainless steel trims at the top as a finish.
S
Schlenk-Bär17 May 2019 13:13Lumpi_LE schrieb:
Who came up with this disastrous drainage layout...
Good luck if something ever gets clogged there. Why, what’s wrong with it?
Similar topics