Hello,
It would be really great if everyone here could just post one or a few pictures showing the current state of their house.
I'll start right away.
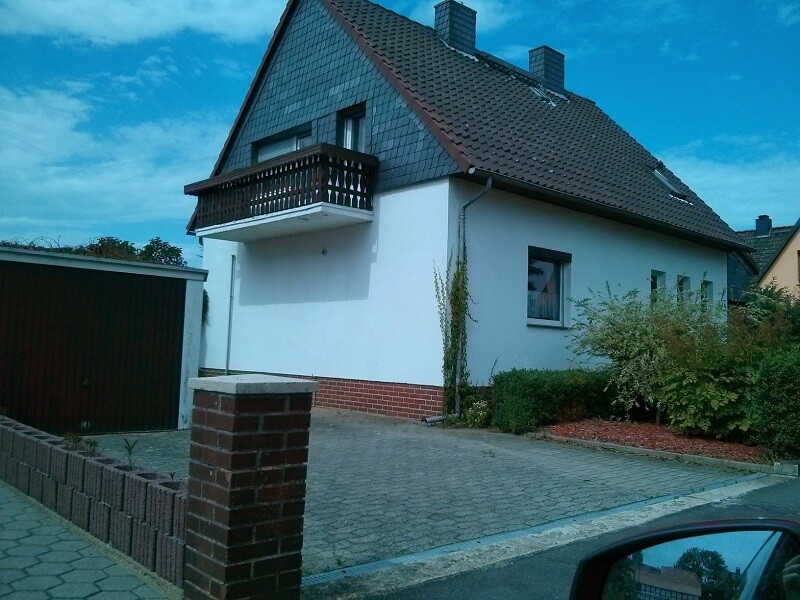
For renovations, it’s best to provide a comparison of before and after the remodeling.
Before March 2014:
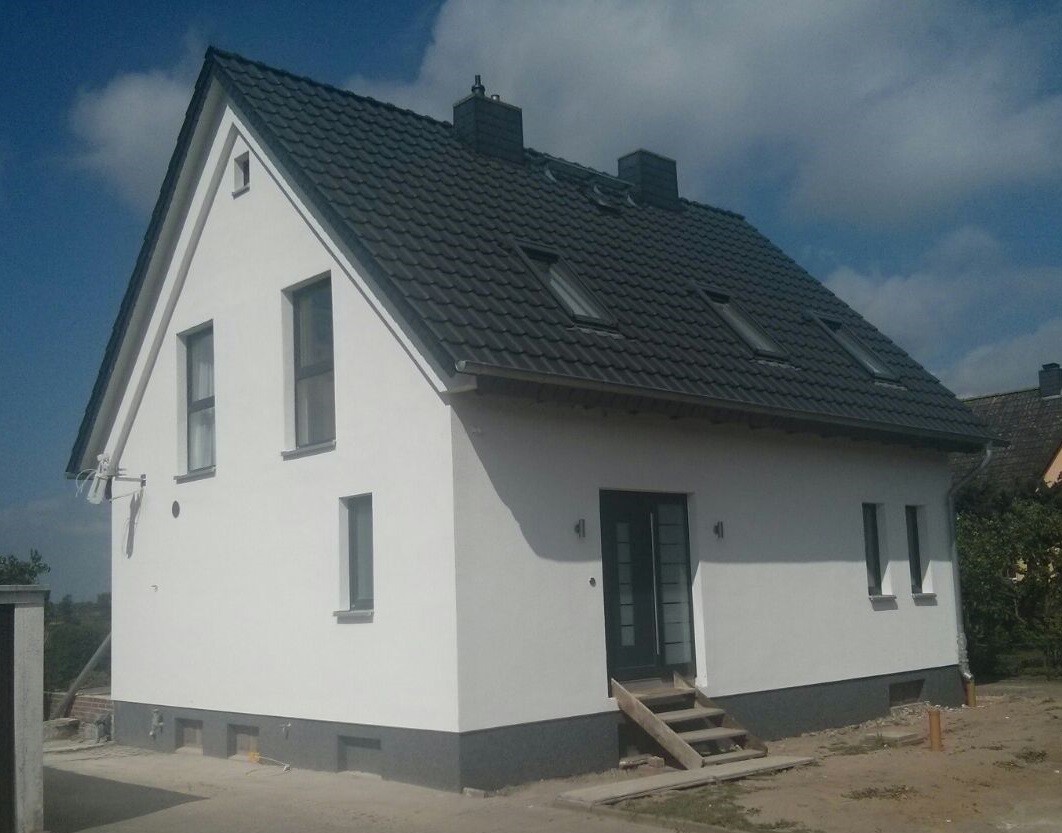
After May 2015:
It would be really great if everyone here could just post one or a few pictures showing the current state of their house.
I'll start right away.
For renovations, it’s best to provide a comparison of before and after the remodeling.
Before March 2014:
After May 2015:
Nordlys schrieb:
Use a good silicon resin paint; then it gets dirty very, very slowly. Yes, exactly. The plaster is applied on that base.
At the beginning, don’t paint at all, especially in new development areas. It gets dirty anyway during the first few years, and then you can still repaint it white or have it cleaned.
There are, of course, treatments against algae. Nowadays, they wash out more slowly. But it’s a matter of choice. These treatments are also available for exterior plaster, so you don’t have to mix them into paint and apply a coat.
There are, of course, treatments against algae. Nowadays, they wash out more slowly. But it’s a matter of choice. These treatments are also available for exterior plaster, so you don’t have to mix them into paint and apply a coat.
H
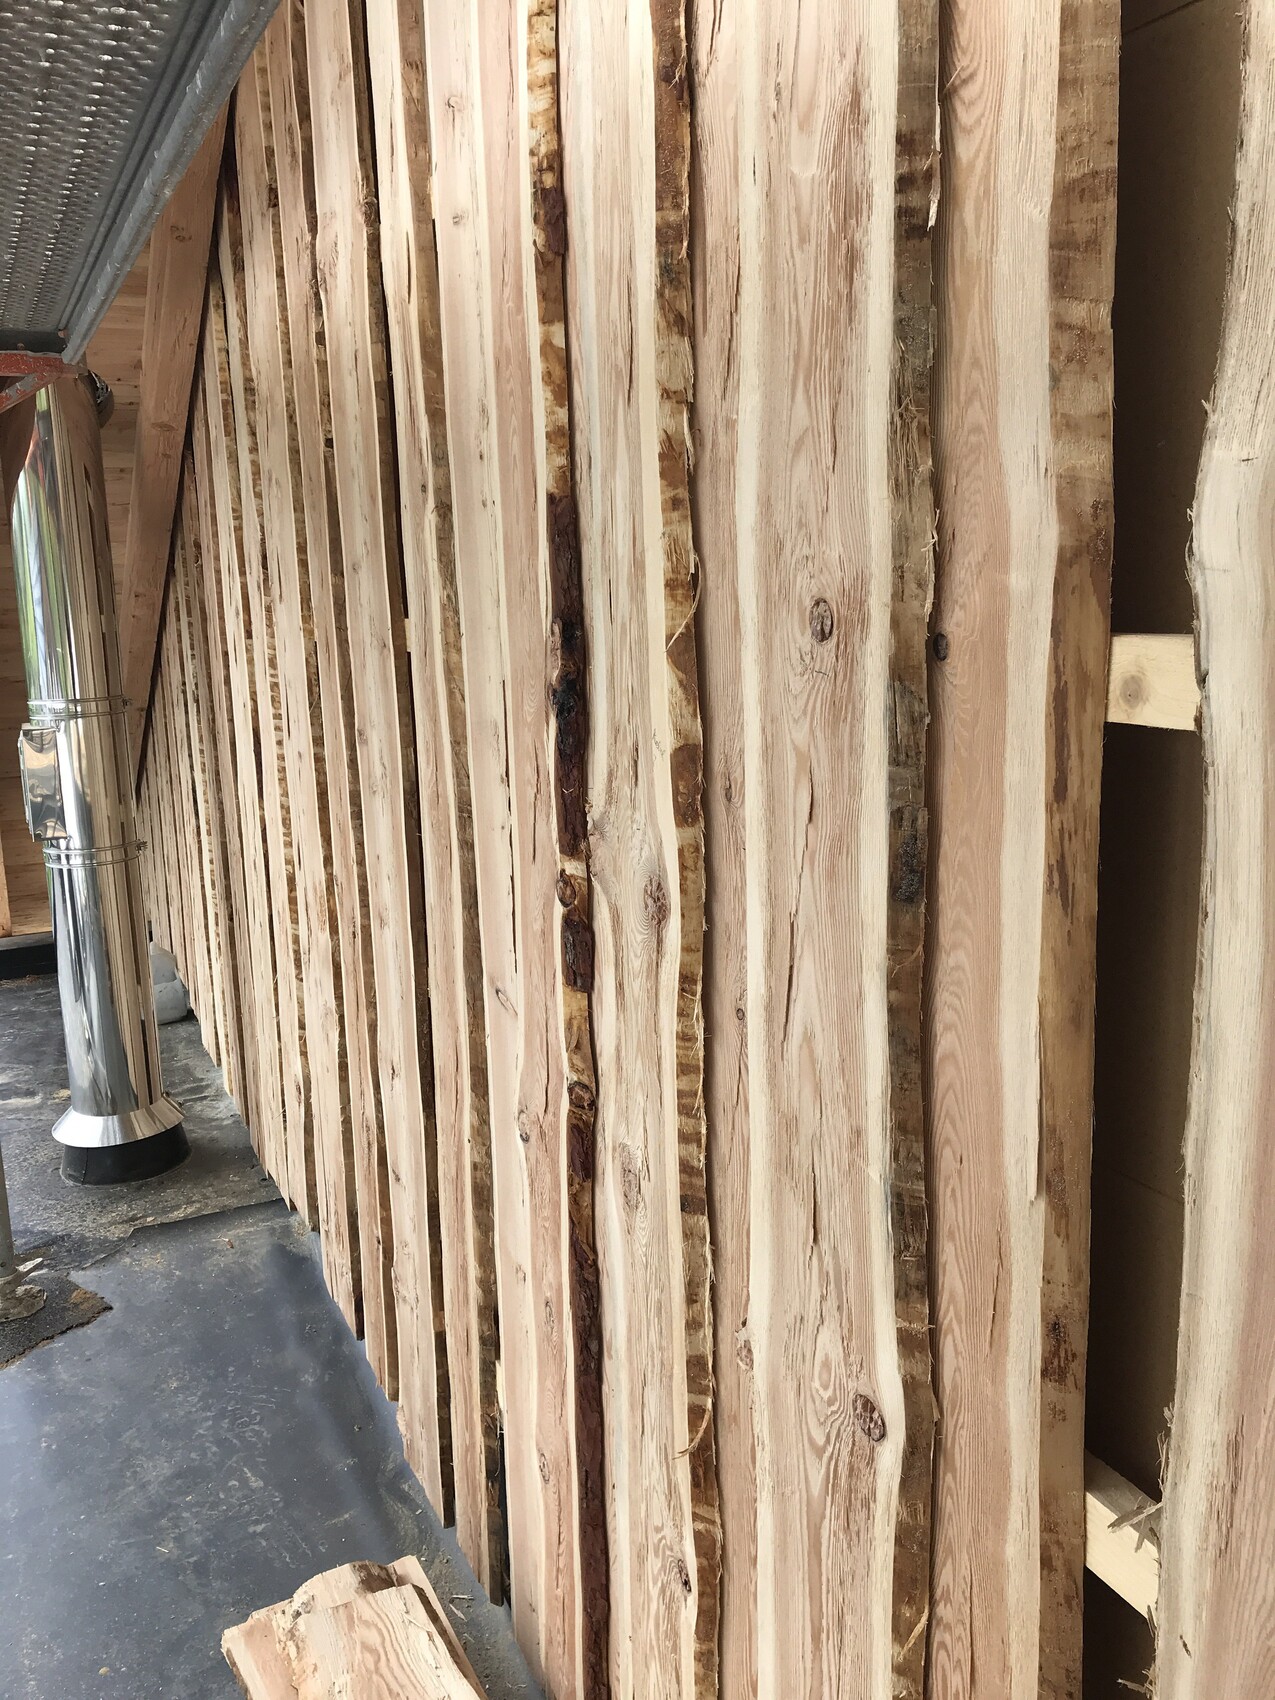
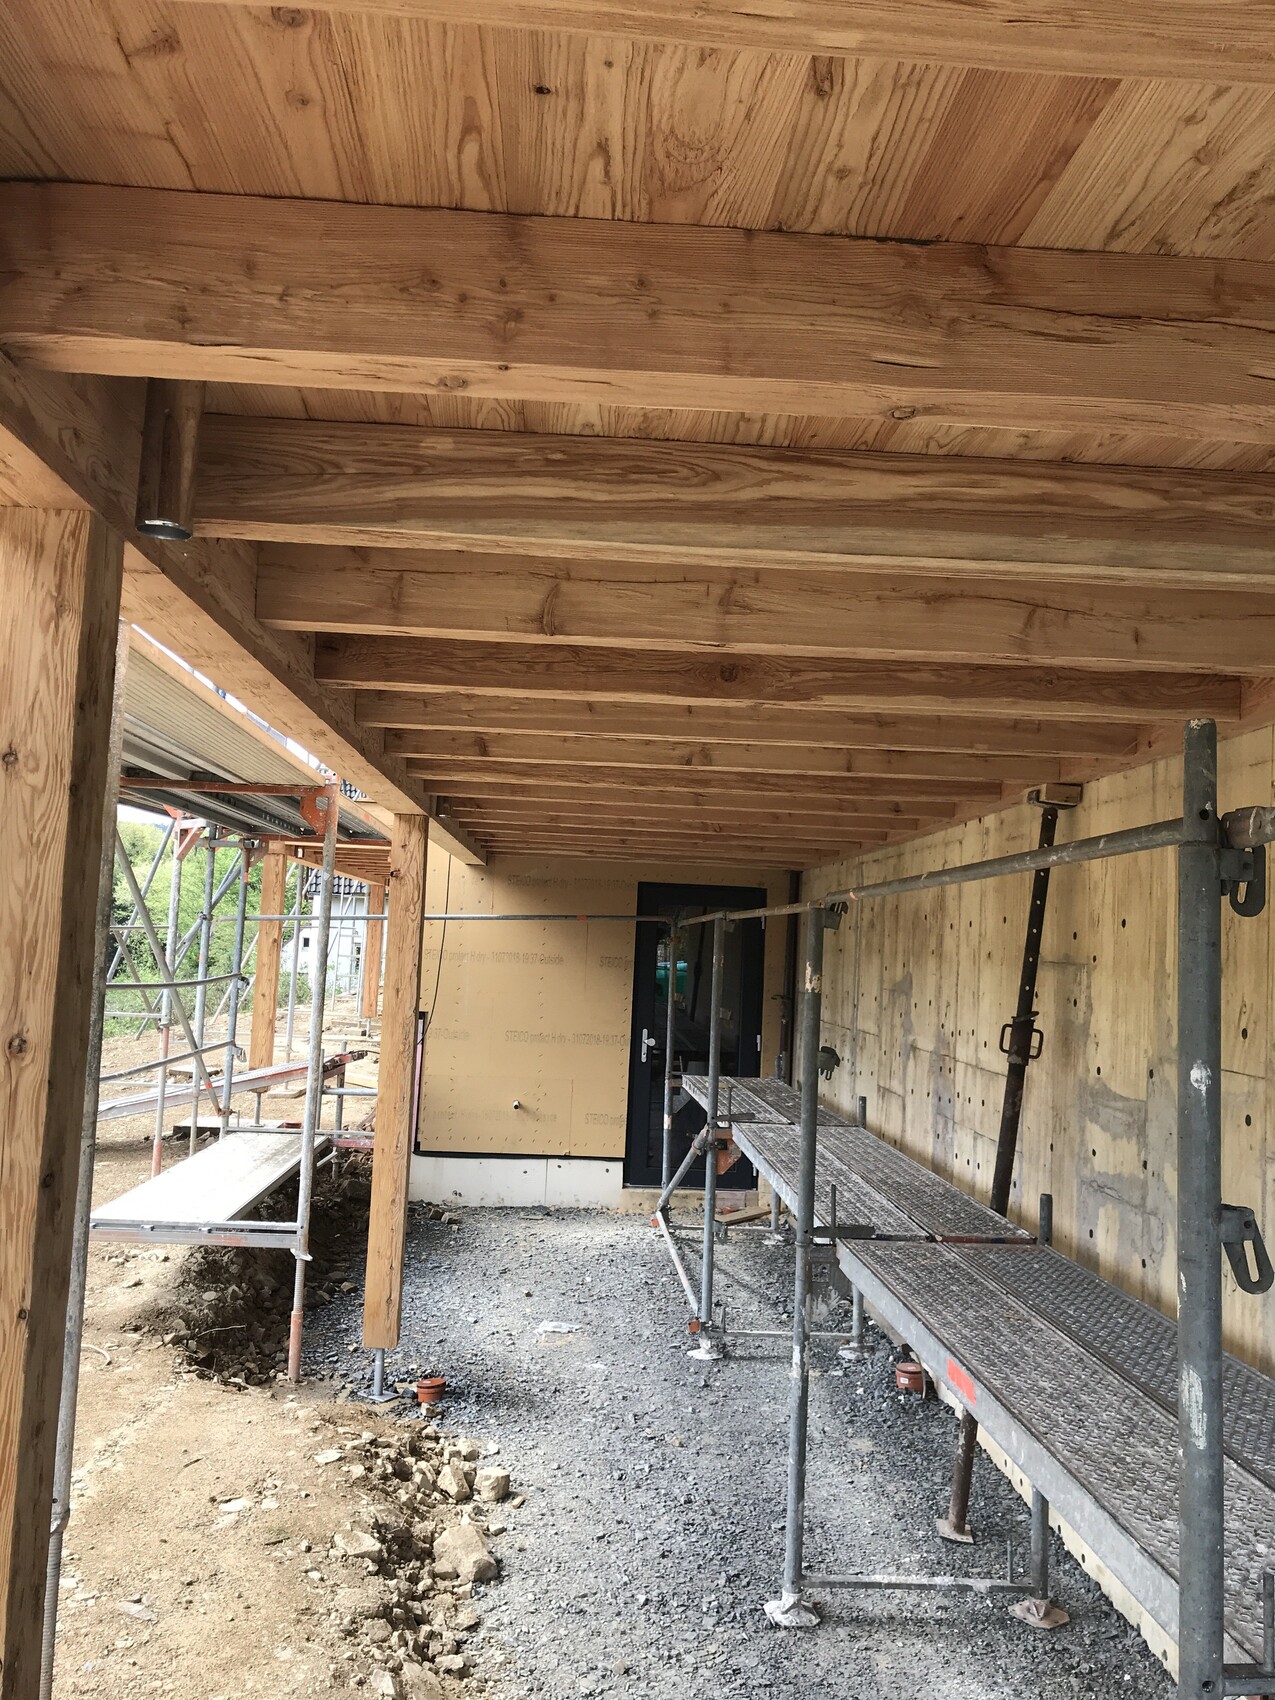
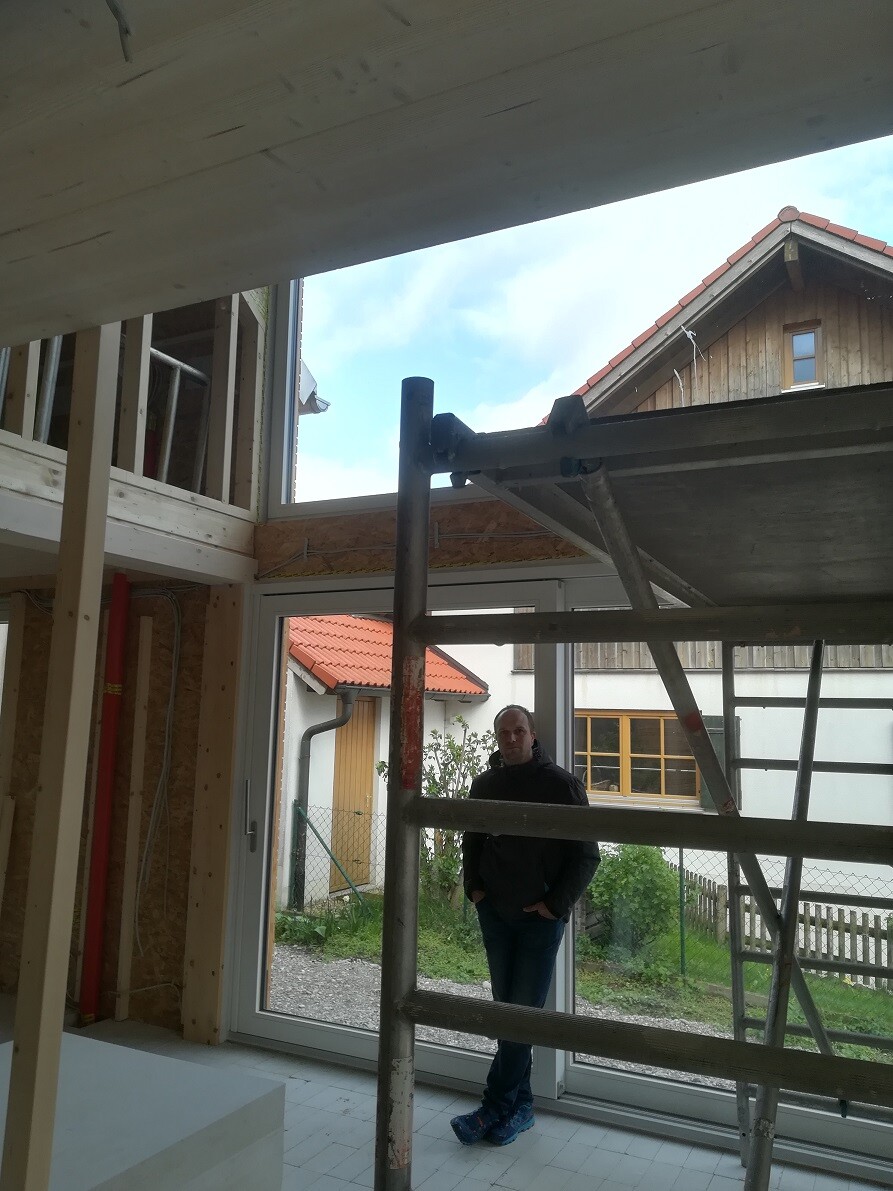
hampshire28 Apr 2019 23:41I have some photos again. It’s fun to watch the progress. Next week, the screed will be installed, and the exterior walls will get their larch wood cladding. You can already see some of it.
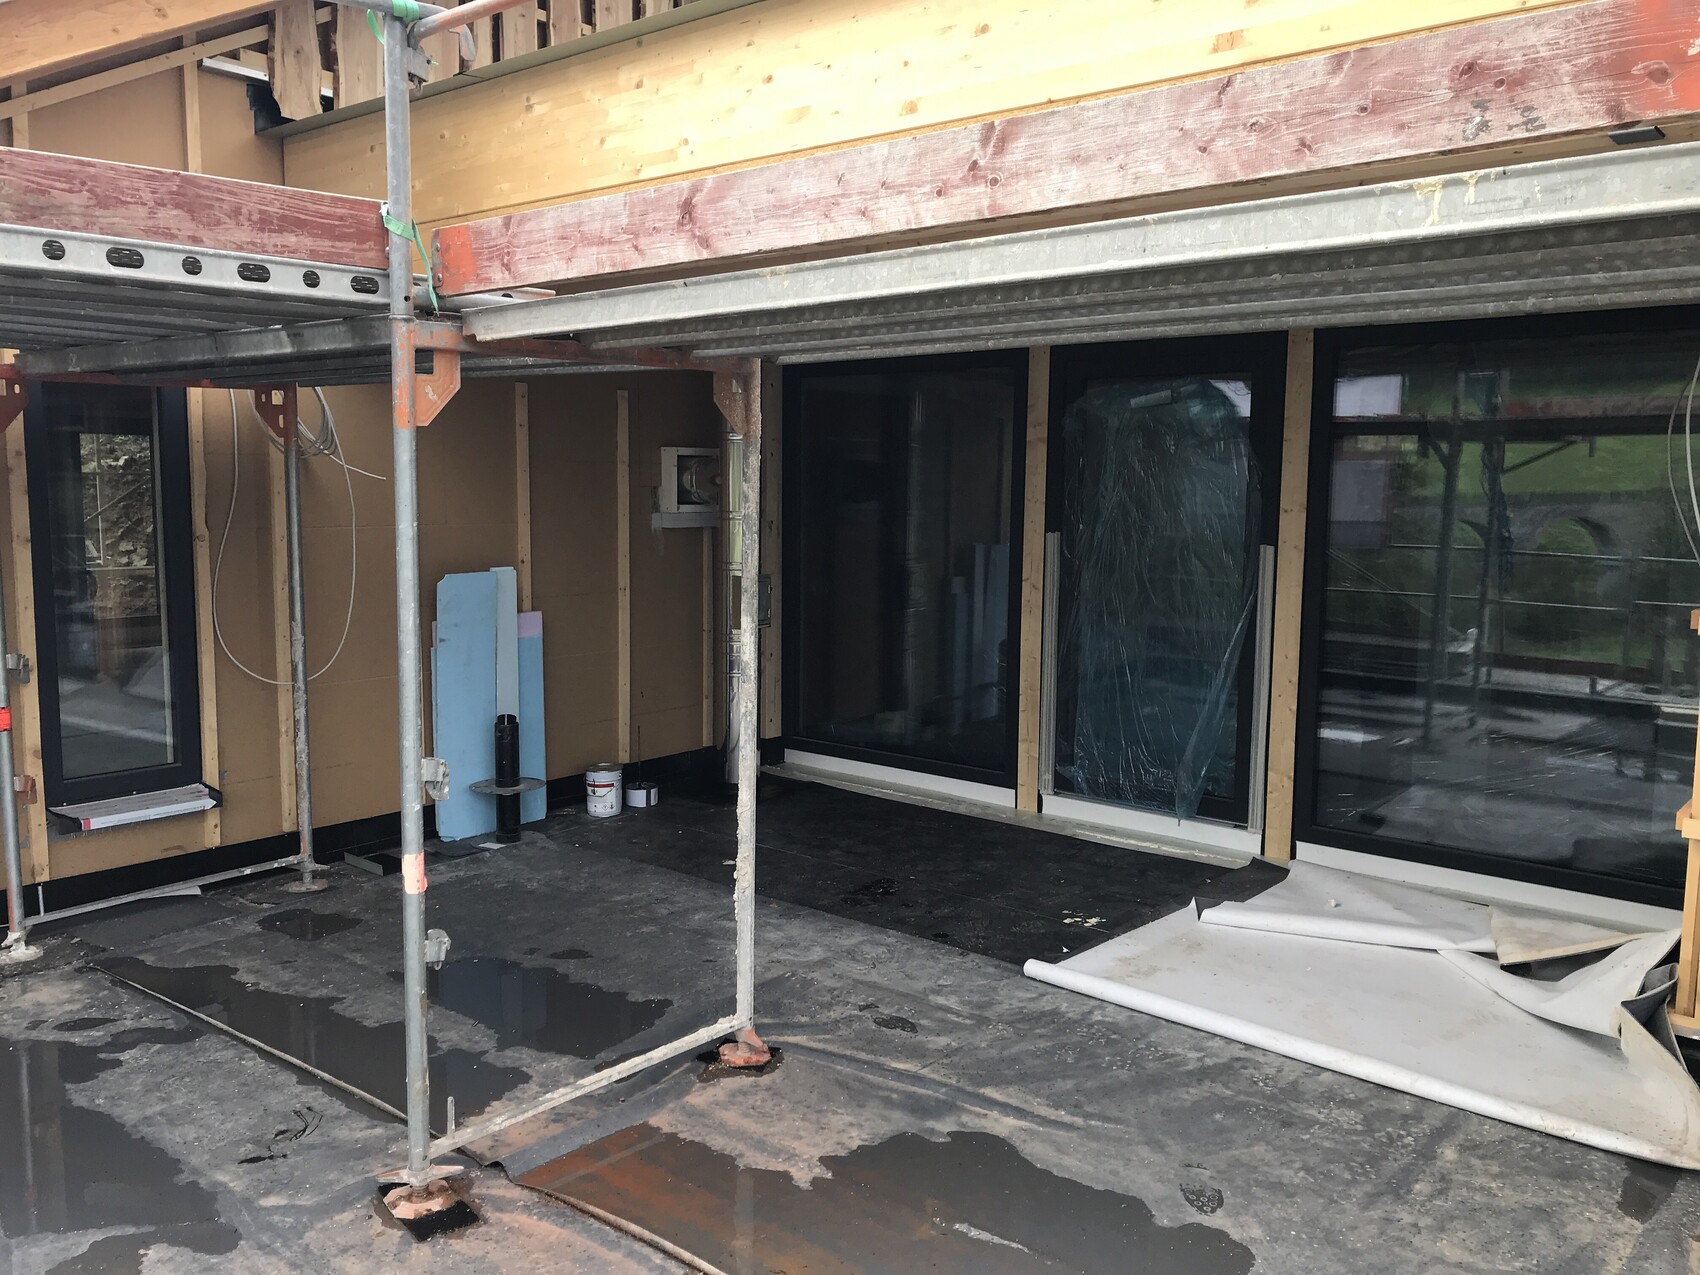
The covered terrace in the center of the building is taking shape. The scaffolding will be needed for another week. The floor covering will be the last to be added.
Under this part of the terrace is the utility room – and another covered space where we can “work on things.” The terrace is made of split larch wood.
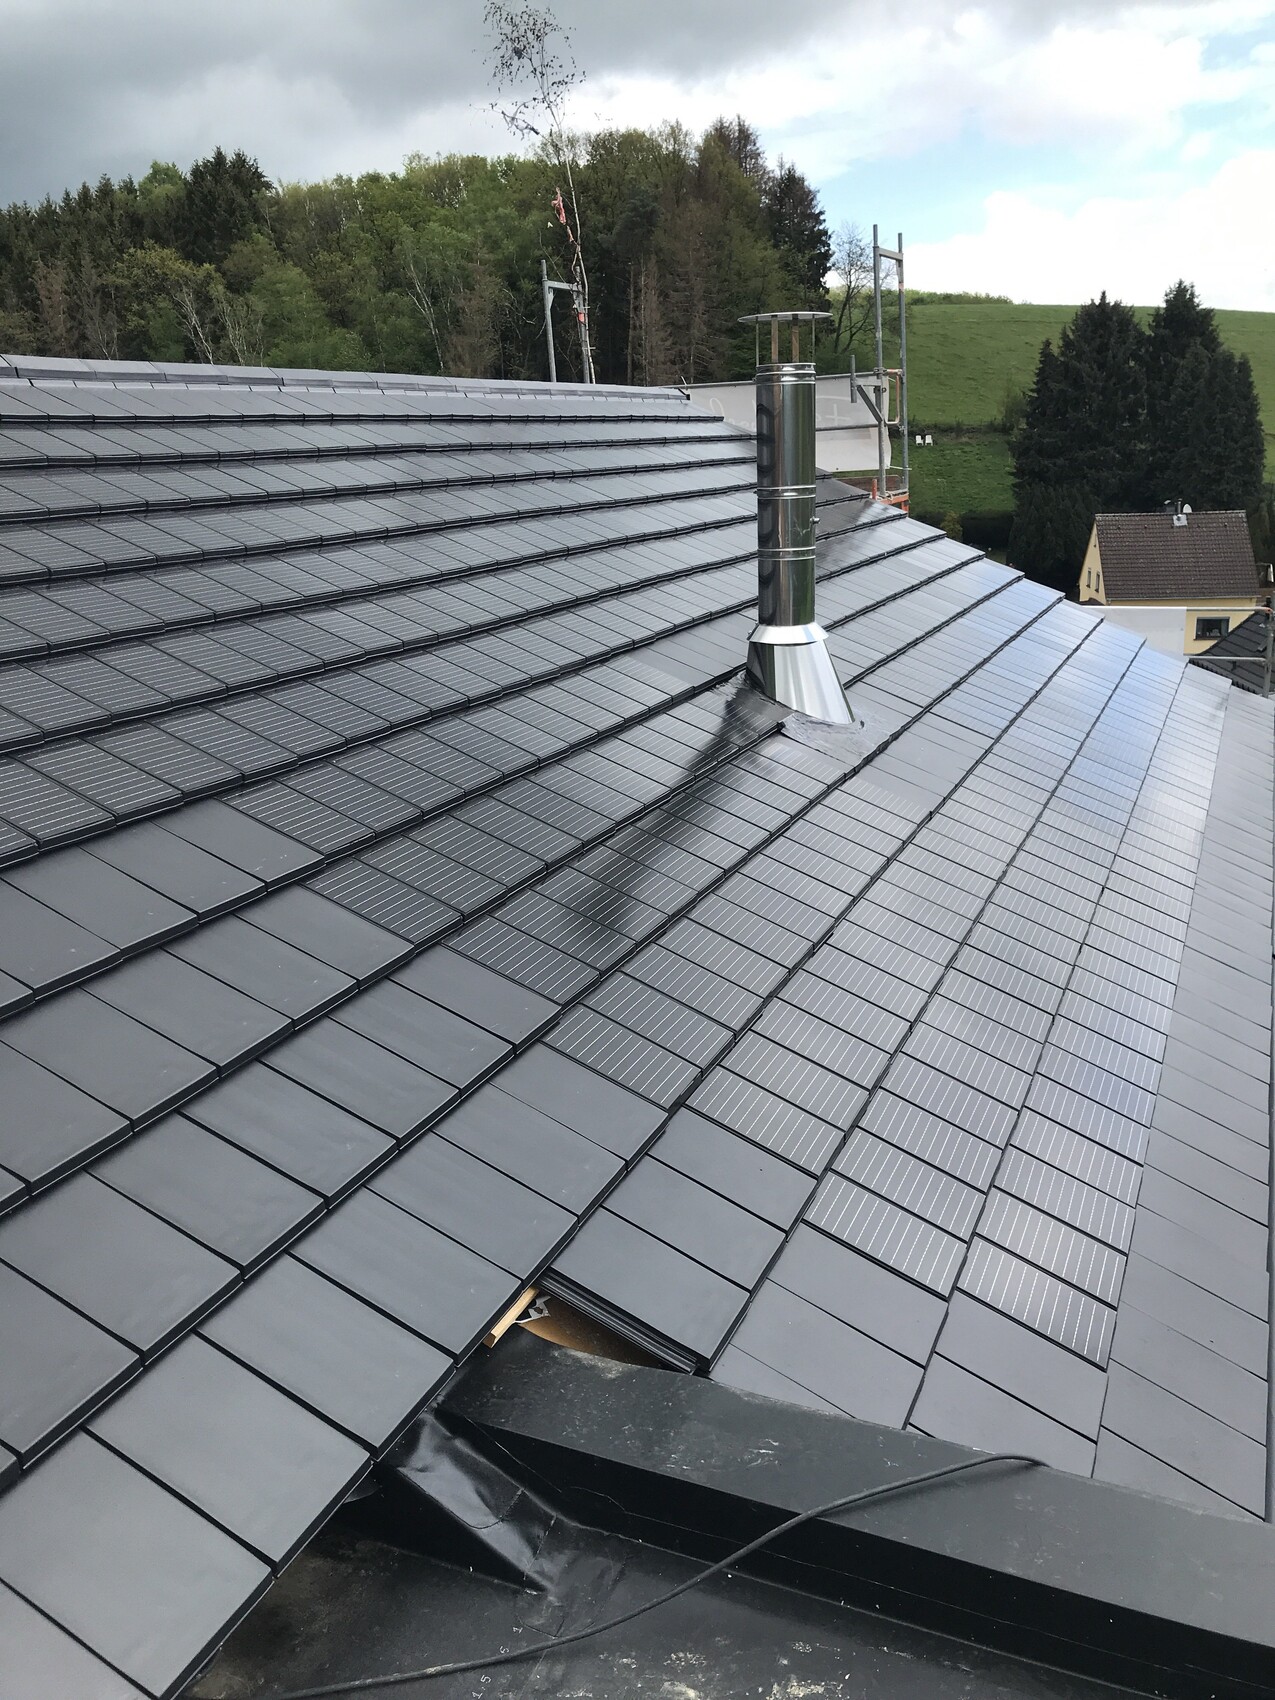
Thanks to the scaffolding, I was able to get a close-up of the roof with solar tiles. Up close, you can see the differences. To get everything perfectly aligned, the tiles will be “tapped” into place once more.
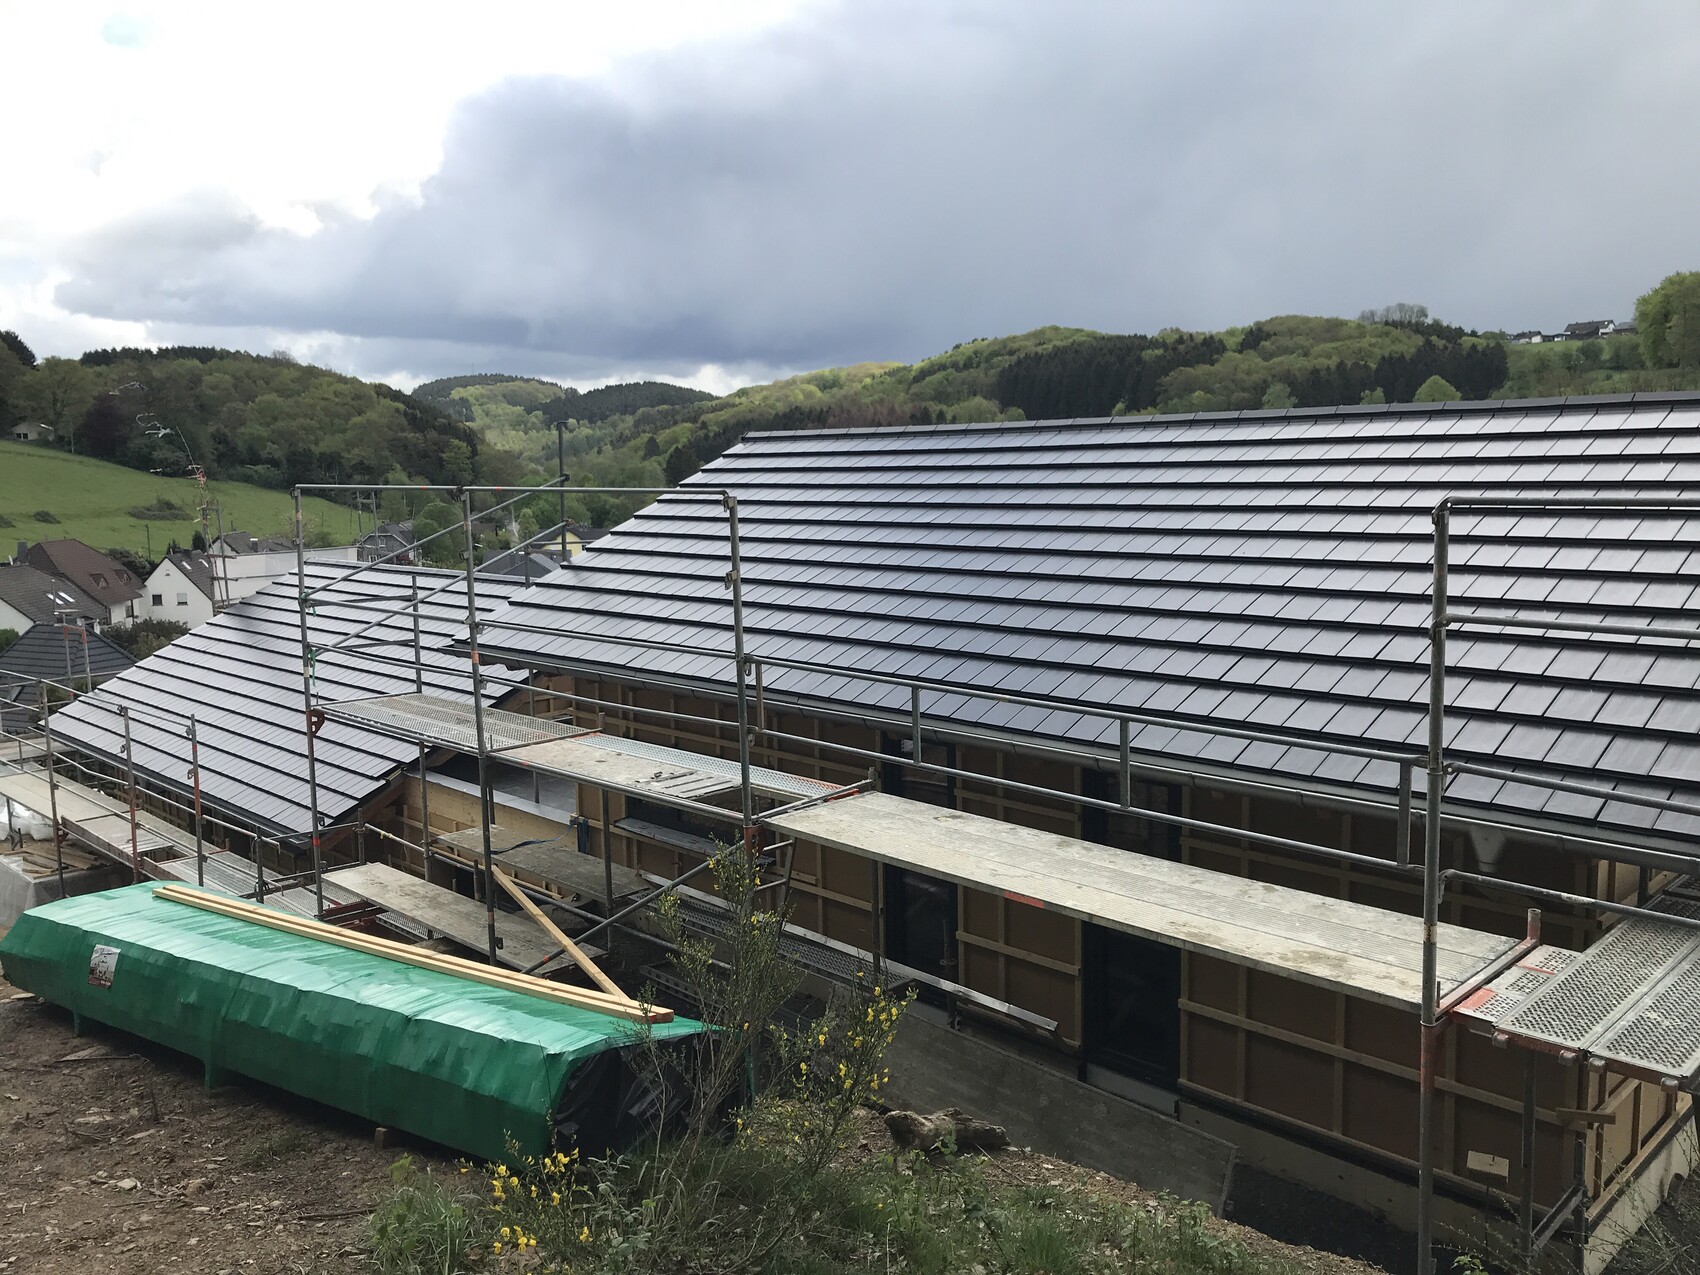
From the north side, you can see that the house is not only built on top but also into the hill. In the foreground is our sleeping level (upper floor), then comes the flat middle roof, which will be greened, and finally the roof of the east section with the two “children’s apartments.”
The covered terrace in the center of the building is taking shape. The scaffolding will be needed for another week. The floor covering will be the last to be added.
Under this part of the terrace is the utility room – and another covered space where we can “work on things.” The terrace is made of split larch wood.
Thanks to the scaffolding, I was able to get a close-up of the roof with solar tiles. Up close, you can see the differences. To get everything perfectly aligned, the tiles will be “tapped” into place once more.
From the north side, you can see that the house is not only built on top but also into the hill. In the foreground is our sleeping level (upper floor), then comes the flat middle roof, which will be greened, and finally the roof of the east section with the two “children’s apartments.”

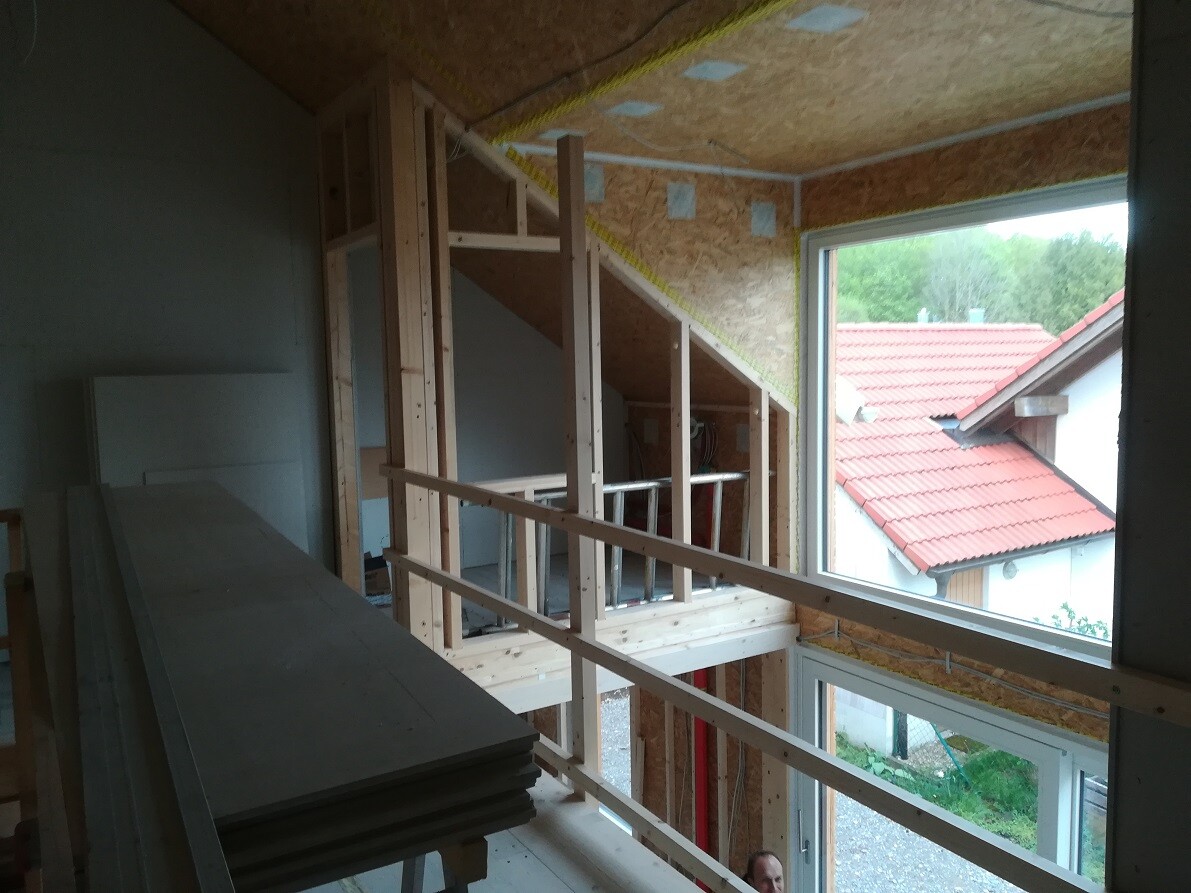
In our house, the space above the dining area has been opened up – it really gives a completely different sense of space!
Unfortunately, my phone doesn’t have a wide-angle lens, so it’s only possible to capture the room to a limited extent:

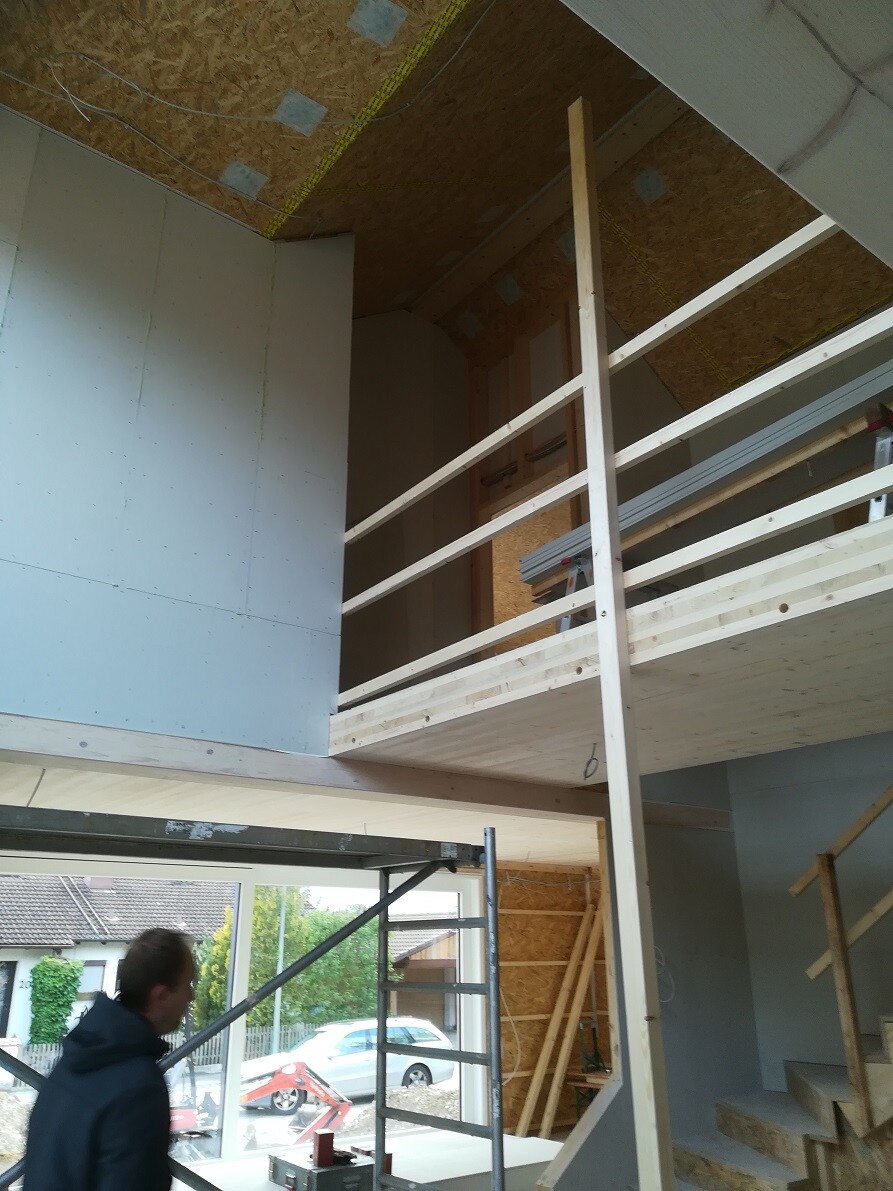
We’re definitely thrilled!
Regarding the wall construction: no OSB, but double-layered Fermacell on one side, then an insulation layer, followed by a single layer of Fermacell on the other side. This is supposed to provide better sound insulation than OSB.
I’m not familiar with either material and therefore can’t share any personal experience—I’m just trusting my builder on this.
Unfortunately, my phone doesn’t have a wide-angle lens, so it’s only possible to capture the room to a limited extent:
We’re definitely thrilled!
Regarding the wall construction: no OSB, but double-layered Fermacell on one side, then an insulation layer, followed by a single layer of Fermacell on the other side. This is supposed to provide better sound insulation than OSB.
I’m not familiar with either material and therefore can’t share any personal experience—I’m just trusting my builder on this.